
How to Sew Crazy Quilting
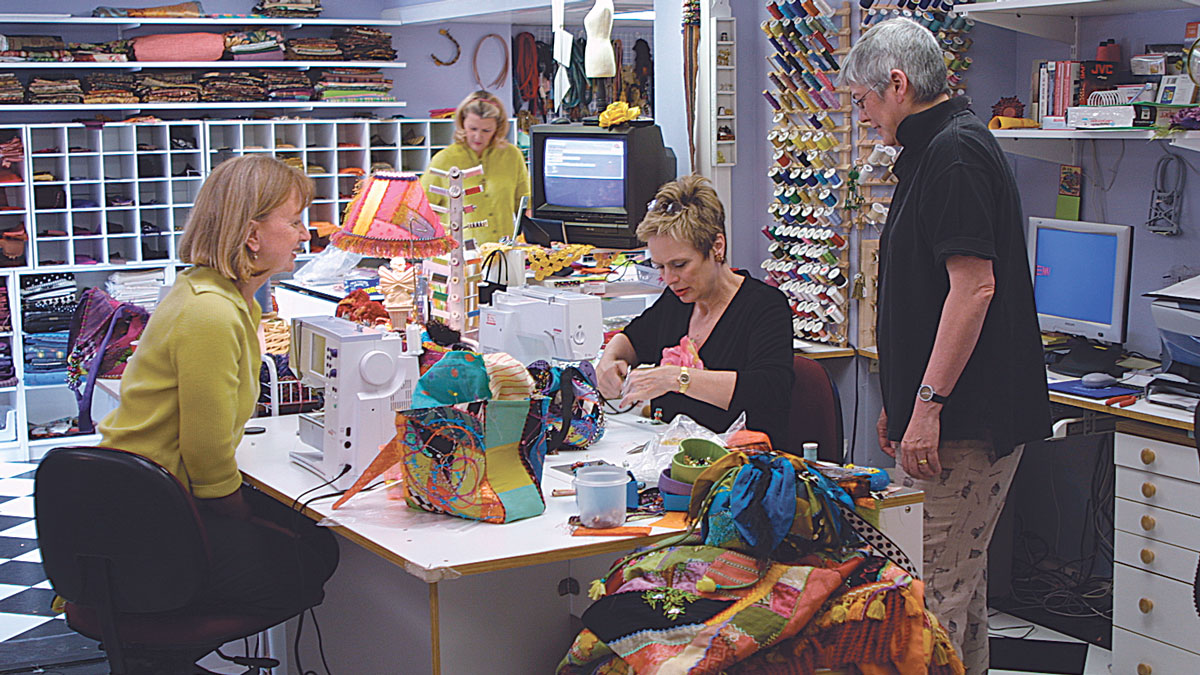
What happens when you put five women in a room for two days with all the fabric, beads, tassels, and trims they could want? Crazy creativity.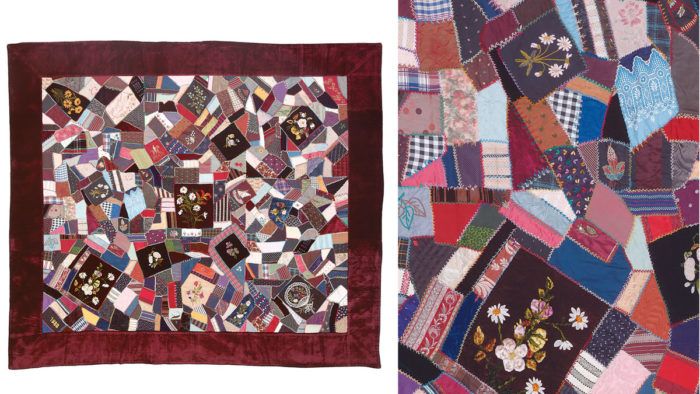
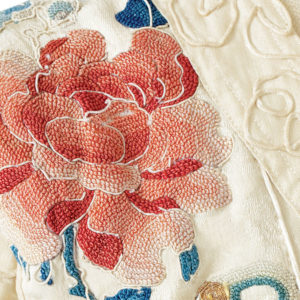
Exquisite embroidery and exuberant color run rampant over this late nineteenth century crazy quilt. The fabrics are silk, the embroidery is worked by hand with fine chenille as well as cotton floss, and the quilt is in exceptional condition. To enjoy our flirtation with contemporary crazy quilting, read on.

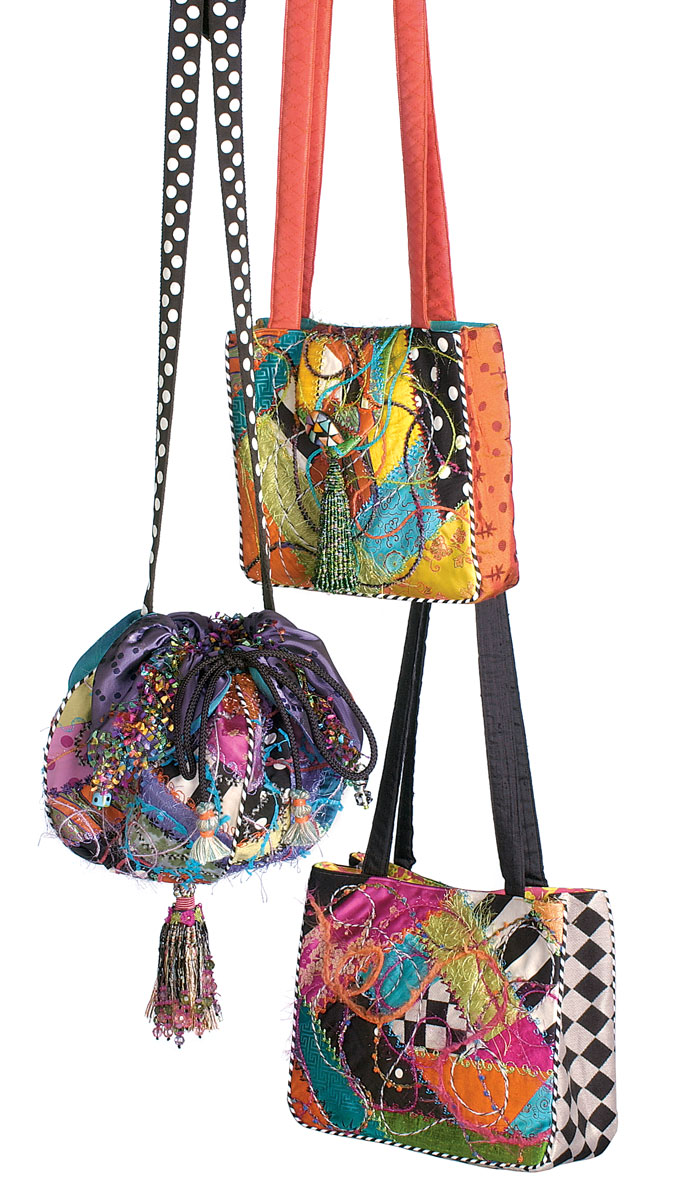
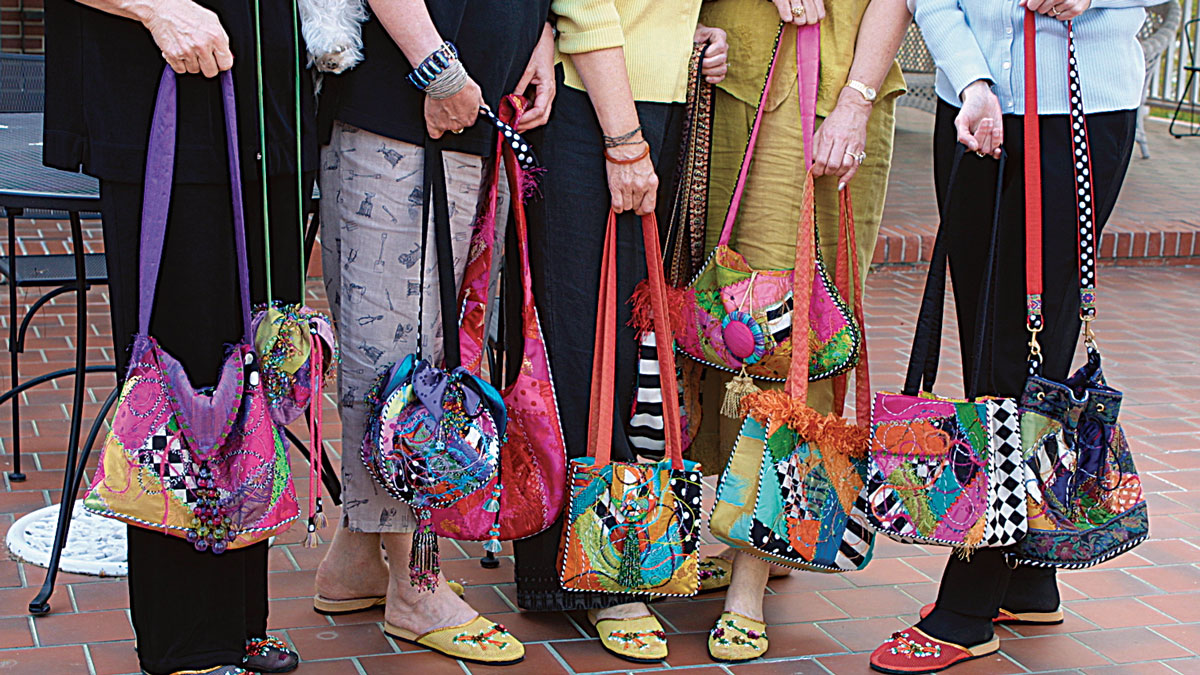
If you think crazy quilting is outdated, take a look at the handbags at the right and think again. A couple of years ago, I fell in love with embellished crazy quilting and, after much experimentation, I have developed some design ideas and machine-sewing techniques for bringing this Victorian quilting style into the 21st century. And now that I’ve been teaching crazy quilting workshops almost weekly, I’ve learned that this process is easy for beginners and a great design opportunity for expert sewers.
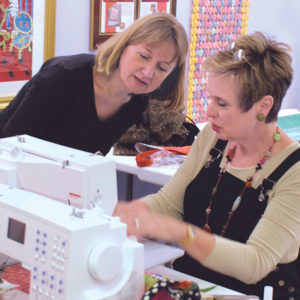
Last spring, I invited Threads former chief editor Chris Timmons, contributing editor Mary Ray, and associate editor Carol Fresia to join me and some of my sewing friends in a two-day class. We all had a great time getting to know each other, exchanging ideas, and making some of the most eye-catching purses you’ll ever see.
Although the handbags we made in our workshop have an out-of-control look, there’s actually a method behind the crazy-quilting madness. To learn about some of my embellishing techniques for crazy quilted home and personal accessories, take a peek into my studio. You’ll see from the photos of our workshop how easy it is to catch the crazy-quilting bug.
Fabric: bold and beautiful
When you’re choosing fabrics, don’t stop at two co ordinating colors when you can add three or four more to brighten the mix. For an 8-inch by 10-inch purse, aim for about 15 different fabrics; you might be surprised by how the colors interact, but you won’t be sorry. Black and white patterns (stripes, dots, checks) will help even the oddest combinations coalesce beautifully. Vary the textures of the fabrics you use-from matte to shiny to napped to positively hairy-and be sure to use fabulous fabrics, such as bro cade, dupioni, jacquard, and eye lash: they make all the difference.
 |
 |
 |
 |
 |
 |
From patchwork to purse. Assembling the embellished sections into a handbag involves piping the edges (above far left), “bagging” a colorful lining and turning the handbag right side out (above middle), topstitching the upper edges with monofilament thread, and giving the finished bag its final shape with a good, hard steam press (above right). And of course, there are those last-minute beads, buttons, and bows to select (right).
Surface embellishment: more is better
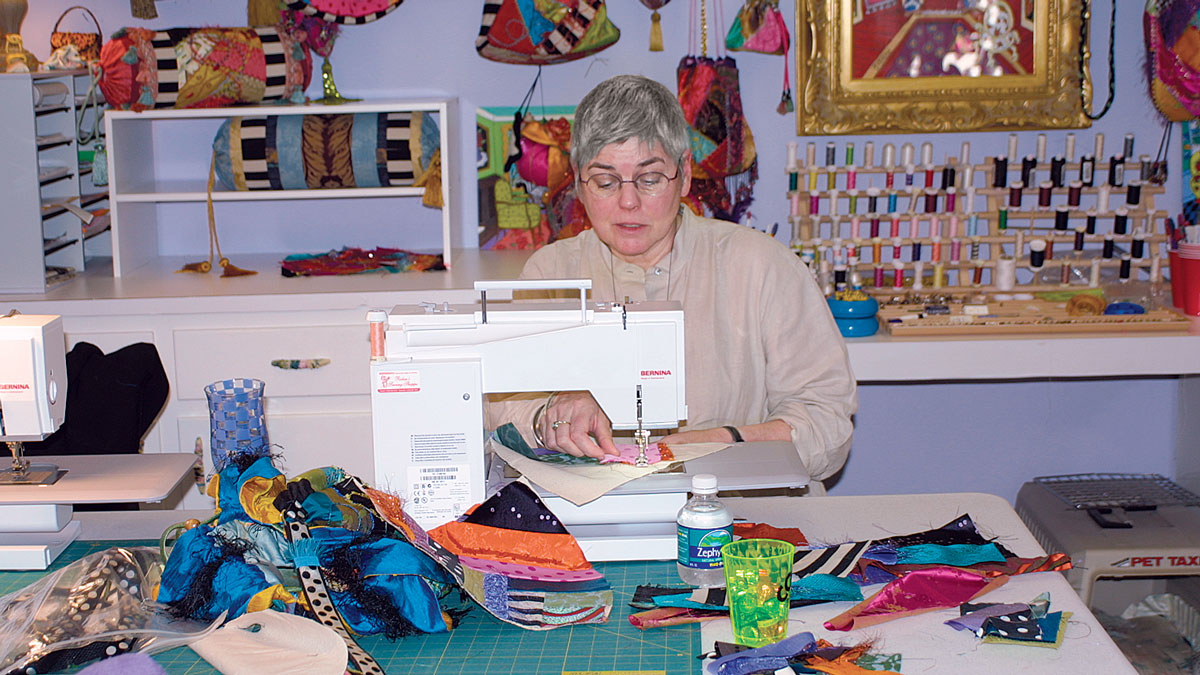
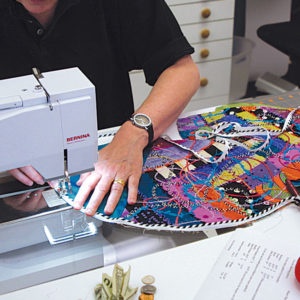
The first thing I do is piece the various sections onto a foundation fabric. This gives me the basic canvas on which I unleash an arsenal of embellishment techniques and materials.
To start, I use bobbin work to mimic the hand embroidery that’s found on vintage, traditional crazy quilts, using my sewing machine, a Bernina Artista l80E that has lots of decorative stitches appropriate for crazy embellishment. I wind decorative threads, including rayons and metallics, onto bobbins and use monofilament for the upper thread.
With the right side of the pieced fabric down and the machine set for a decorative stitch, I sew along the piecing seamlines (apparent on the foundation), so that the bobbin thread is worked onto the right side of the project; for more information on this technique, see “Bob-bin Work,” Threads, No. 97). I pass the bobbin thread ends to the wrong side with a large-eyed needle and tie them off.
To break up the geometric look of the pieced and ma chine-embroidered fabric, I next turn the patchwork right side up and embellish it with a series of meandering curves by couching (l call it “driving”) novelty yarns onto the surface. Chenilles, tufted or fluffy yarns, metallics, boucles, silk ribbons, and multicolor twists look great stitched over the patchwork. Monofilament upper thread, with regular polyester thread in the bob bin, makes the couching strong and invisible. Simply set your ma chine for a zigzag stitch, and anchor the end of the yarn where you want to begin, which can be at any point on the edge of the pieced fabric. With the needle down, lift the presser foot (I use a general-purpose zigzag foot with a side or center opening) slide the yarn through the opening and pull it forward, in front of the needle, the release the foot. Holding the yarn with one hand, and steering the fabric with the other hand, “drive” the yarn in loops and swirls over the fabric, stopping at the edge.
Finishing touches: every square inch counts
By now, my pieced fabric sections are rich with color, pattern, and texture-but I don’t stop here. My next step is to create a worthy set ting for them. For handbag gussets, I choose fabrics that pick up colors or patterns from the pieced panels, and I almost always use my signature striped piping to define edges. Quilting cottons in bold, bright prints are perfect for linings and interior pockets. And every handbag that leaves my studio has an embroidered label inside.
After the bag is assembled, I add beads, buttons, tassels, trims, or any other extra embellishment that captures my fancy. My perspective on embellishing is that, if you think there’s too much going on, you should probably add something else. And don’t talk yourself into the idea that a crazy quilted hand bag won’t go with anything you own. On the contrary, it will go with everything-trust me!
Barbara Randle, Bernina’s Artist of the Year, sews, designs, and teaches in Birmingham, Ala.


Log in or create an account to post a comment.
Sign up Log in