Why You Should Try Hand-Sewn Buttonholes
Achieve precise, durable results with traditional methods
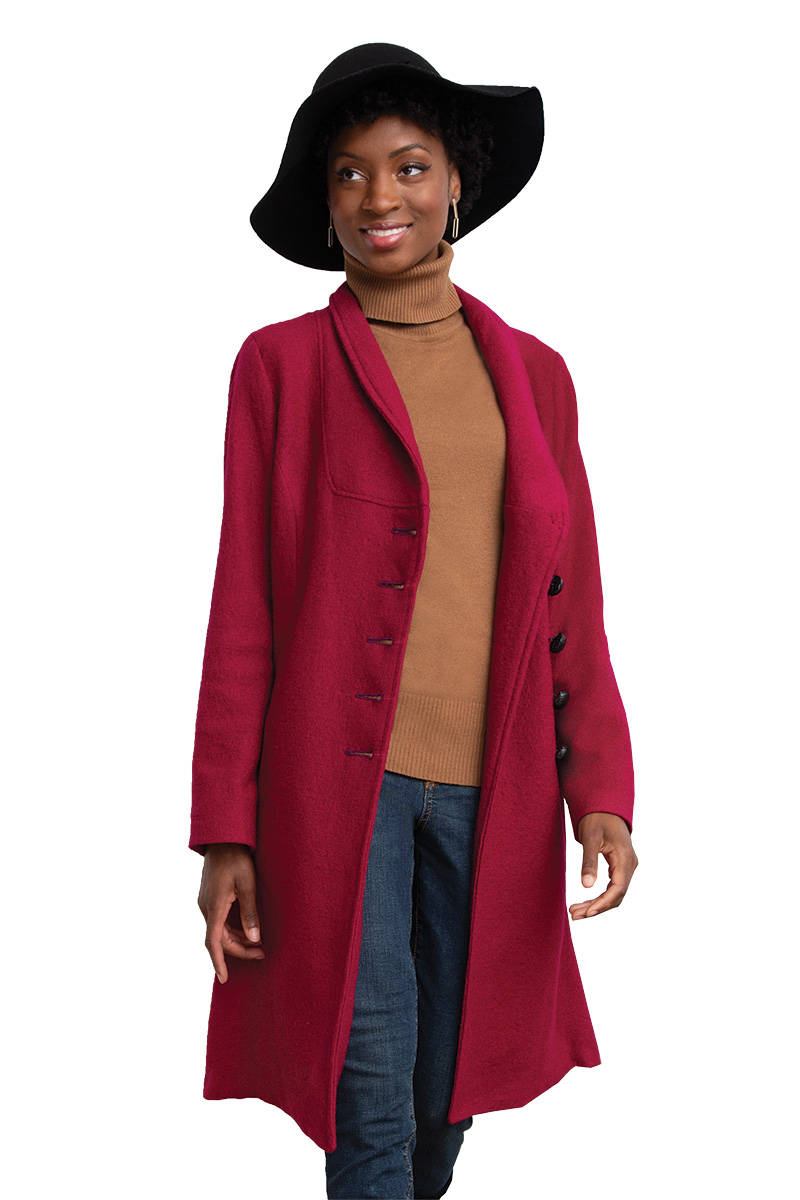
A beautiful handworked buttonhole elevates a tailored coat and improves the look of simple designs. Sewing buttonholes by machine is unwieldy if the fabric is thick, and getting exact positioning can be elusive. Working a buttonhole by hand gives increased control over the placement and enables you to reinforce the edge neatly and invisibly. If you want to create camouflaged buttonholes in a high-contrast patterned fabric, you can shift thread color to match the fabric pattern.

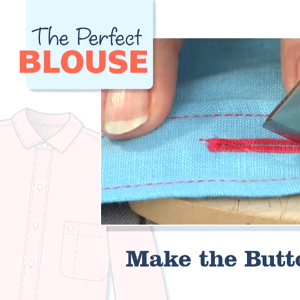
With this method, the buttonholes are cut open, then the edges are overcast with careful stitching. Perfecting this process takes repetition and time, but impeccable results are achievable. In this article, I’ll share specialized techniques for making beautiful keyhole-shaped buttonholes by hand, just as tailors have been doing for centuries.
Practice on a mock-up
Create a mock-up for refining your handworked buttonholes: Cut two layers of the fashion fabric 5 inches wide and 12 inches long, with the 12-inch edge cut on the straight grain. With right sides together, add any interfacing or stabilizing layers that will be in the finished garment. Sew along one long edge with a 1/4-inch-wide seam allowance, turn the fabrics so the two coat fabric layers are on the outside, and topstitch 1/4 inch from the edge. The mock-up is ready for practicing the buttonhole technique.
Prepare the closure area
Prewash or dry-clean all fabrics before beginning this process, as future shrinkage affects the finished look of the buttonholes. Then take steps to secure the fabric layers to achieve a neat result.
Mark the buttonhole positions
Along the edge, mark each buttonhole position with tailor’s chalk. I like to place them about 1-1/2 inches apart. The distance from the edge and…
Start your 14-day FREE trial to access this story.
Start your FREE trial today and get instant access to this article plus access to all Threads Insider content.
Start Your Free TrialAlready an Insider? Log in


Log in or become a member to post a comment.
Sign up Log in