


You can save torn or worn garments by darning holes by machine. Follow this video to learn how to speed the mending process—and keep your favorite clothes in rotation a little longer.
Mending by machine works best on non-stretch, woven fabrics, and is most successful on linear tears or holes that are no larger than 2 inches in any direction.
Prepare the area for darning
If the hole has frayed edges, trim the loose threads close to the fabric, without cutting into any edges that are intact. Then prepare an access point. If the damaged area is on a pair of pants, you may need to open a nearby seam to get to it by machine. Open the seam with the least amount of topstitching; you’ll sew it closed again when the repair is complete.
Start by stabilizing the damaged area. Apply a layer of lightweight fusible interfacing to the wrong side, over the tear or hole. Use white or off-white interfacing for light-colored fabrics, and black for dark-colored fabrics. On heavier fabrics, you may want to include another layer of fabric, such as quilting or shirt-weight cotton. Place this on the fabric’s wrong side, then fuse the interfacing over it.
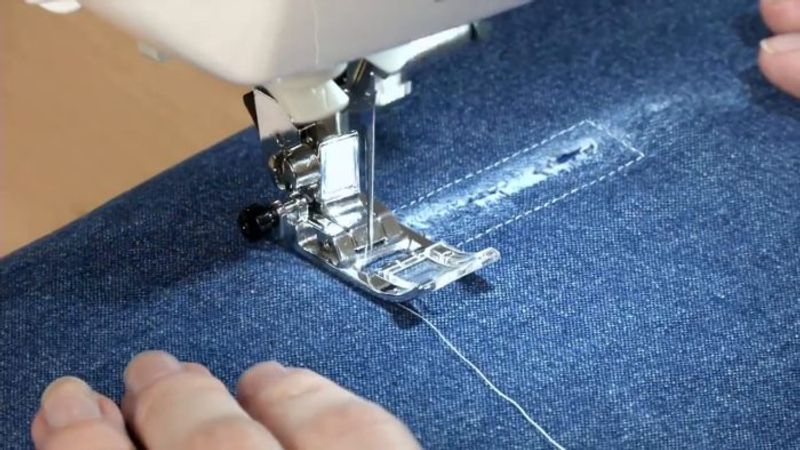
Darn the hole
Thread the machine with cotton thread for a flexible repair. You can match the thread to the fabric for less obtrusive mend, or choose contrasting thread for a more visible one.
To darn by machine, you can use an all-purpose presser foot or a darning (free-motion) foot.
With the all-purpose foot, sew a rectangle around the hole to create a frame. Then sew back and forth across the hole repeatedly, covering the entire area. Rotate the work 90 degrees and stitch perpendicular to the first stitching, if desired, for greater strength in the repair.
With the darning foot, you may wish to hoop the fabric first. Lower the feed dogs, slide the hoop under the machine’s shank, then attach the darning foot. Again, outline the area with a stitched rectangle, then move the fabric back and forth to darn it.
In both cases, finish the repair by pulling the upper thread to the wrong side and knotting the upper and bobbin threads together. Clip the thread tails. Press the work. If you opened a garment seam, sew it closed.
For more garment repair ideas, read “Simple Fixes and Mending Techniques.”


Log in or create an account to post a comment.
Sign up Log in