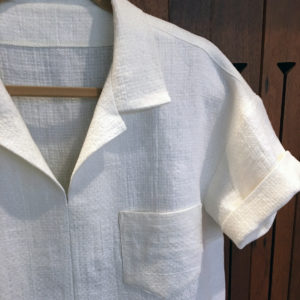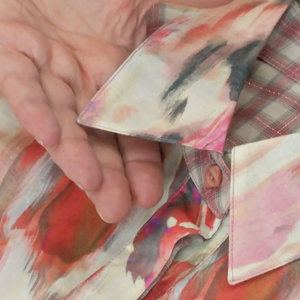
Sharp collar points are the hallmark of a well-sewn shirt. This video tip shows a method for ensuring a crisply angled corner, with only one extra step.
Sewing sequence for sharp collar points
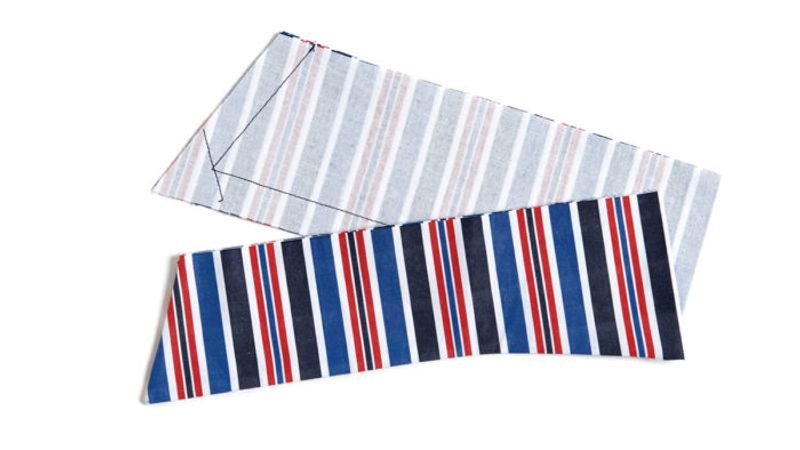
Begin by sewing the upper and undercollar, with right sides together. At the corners, stop with the needle down, pivot, and continue sewing the adjacent edge.
Before trimming the seam allowances, stitch a diagonal line across the corner, with one to three stitches inside the corner seamline. For lightweight fabrics, such as cotton or linen shirting, one stitch is adequate. Heavier fabrics, such as wool coating, may need up to three stitches.
Then trim the seam allowances as usual, turn the collar right side out, and press. Keep in mind that thicker fabrics produce slightly rounder collar points than fine, crisp textiles.
More tips for professional-looking collars
Find out about clipping corners properly from Threads Contributing Editor Louise Cutting. For a pro’s method of turning the collar, watch Threads seamstress Norma Bucko’s demonstration.


WOW! This is an awesome tip. Thanks soooo much for sharing, will try on my next shirt.
I really like this technique. I always have trouble getting the two sides to match, and this looks like an easier way to do it.
Why not sew off on the short ends without having to do that "pivot at the corners" *exactly* dance?
I prefer to sew off (sew off the fabric edges) the long edge, press and understitch the seams. Meet the right sides again and sew off the short sides. Fold the seam allowances, one over the other and flip right side out. Really clean, crisp corners, and no weakening seams by trimming the corners. Of course, this is sewing with 3/8" seam allowances, not 5/8".