
From Muslin to Pattern, Step by Step
Learn a pro's method for accurately transferring fitting changes from a test garment to the pattern tissue.
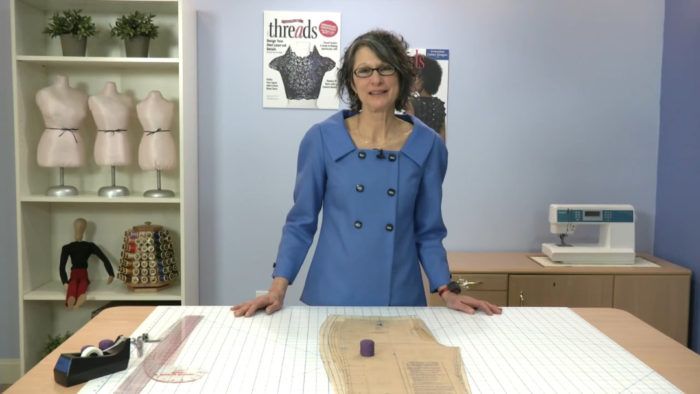
One of the best ways to get a great fit in your sewn clothes is to start with a muslin test garment. But once you’ve pinned the muslin to fit, how do you transfer those changes back to the pattern tissue?
In Threads #212 (Dec. 2020/Jan. 2021), Sarah Veblen explains the sequence for doing so. You can follow her process and learn the techniques that ensure your pattern reflects the fitting adjustments you made to the muslin.
Your fitting changes are unique to you and the garment you’re sewing, but the methods Sarah demonstrates below can be used by all sewers for adjusting patterns. You’ll see that her approach is systematic and logical, and it produces an accurate pattern that incorporates all the changes you need.
Once you become familiar with these patternmaking steps, you’ll feel confident adjusting patterns for yourself and others.
Transfer muslin changes to the pattern
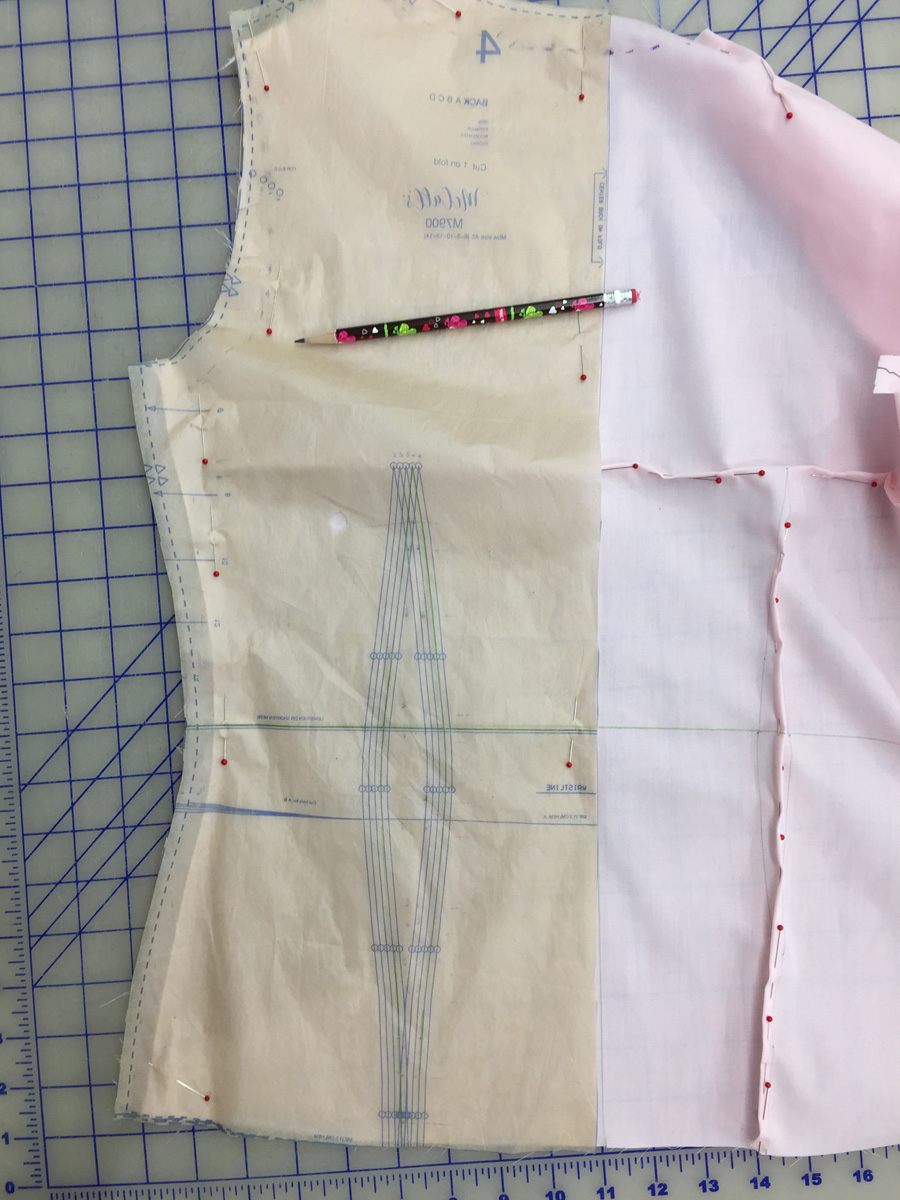
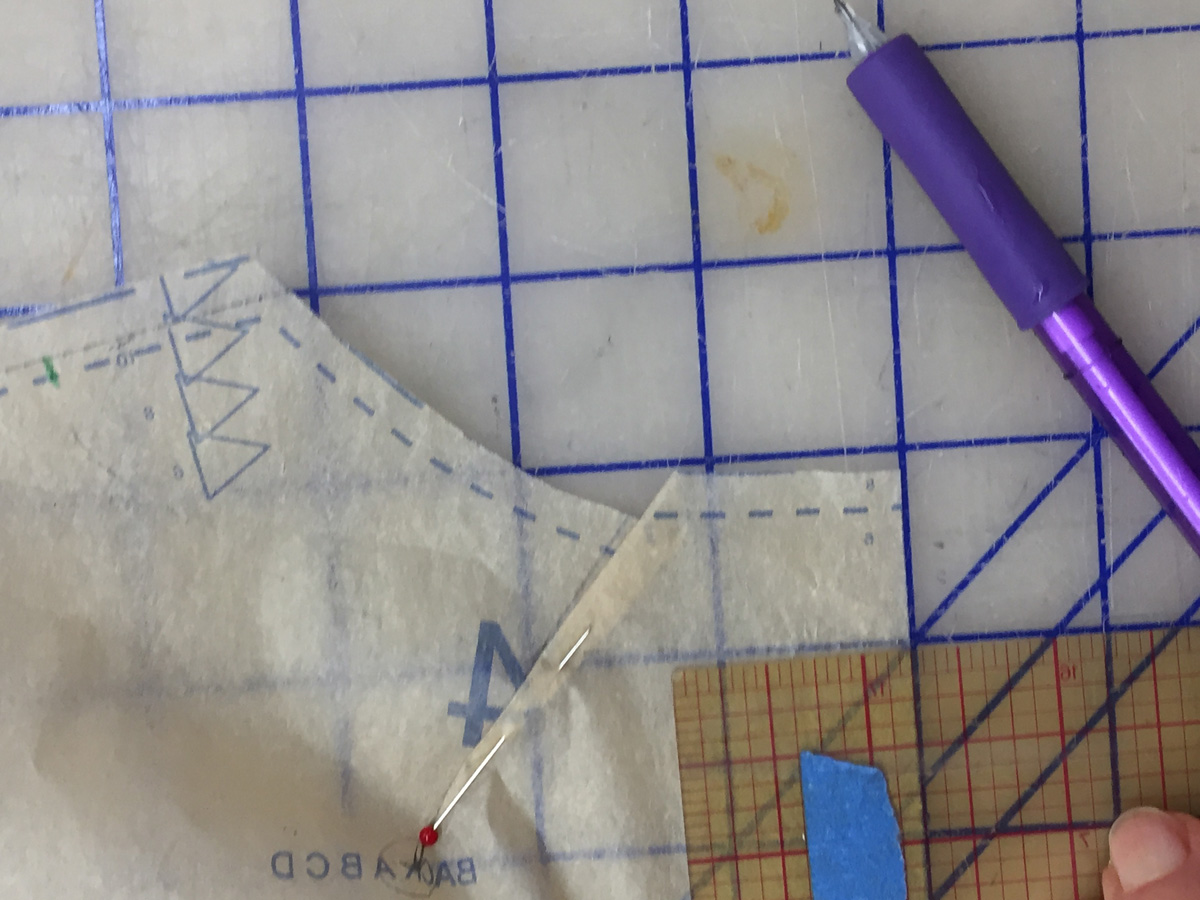
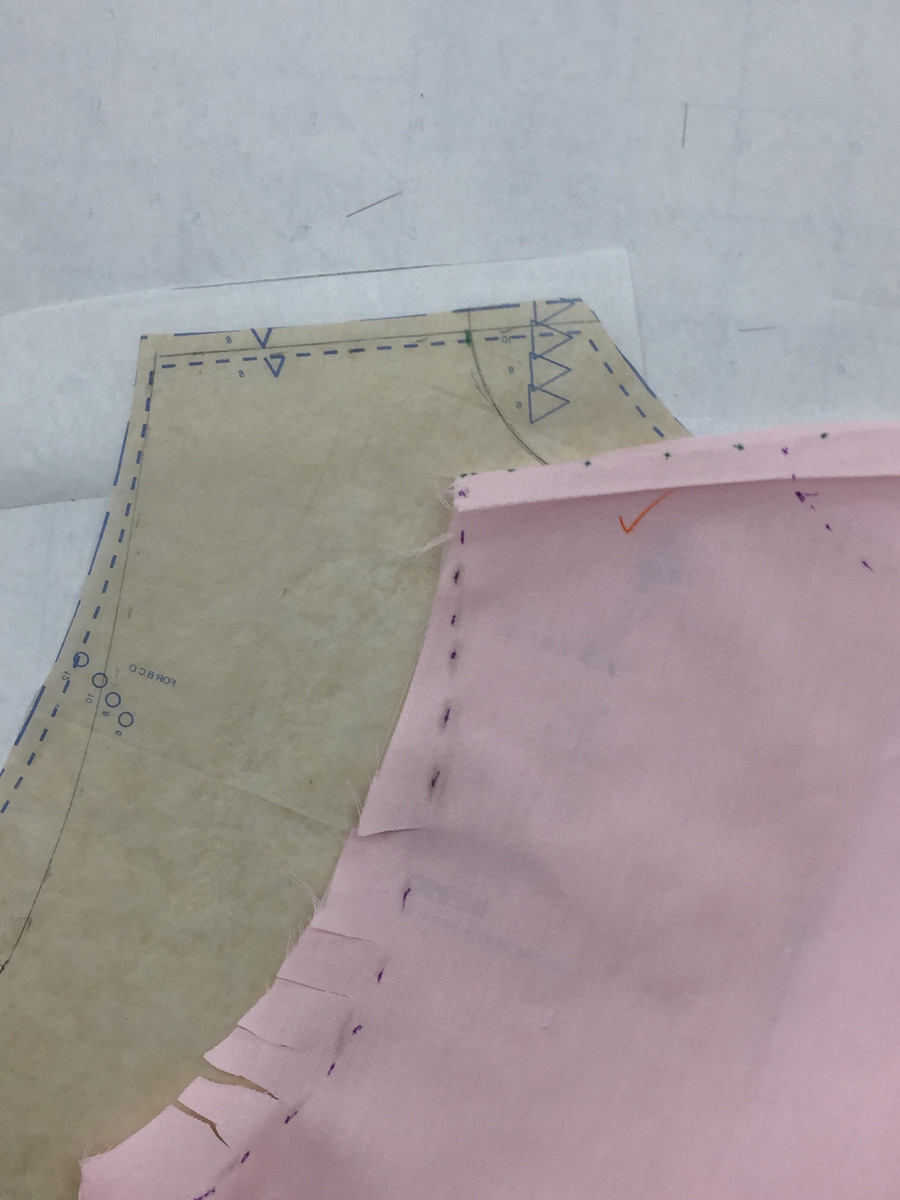
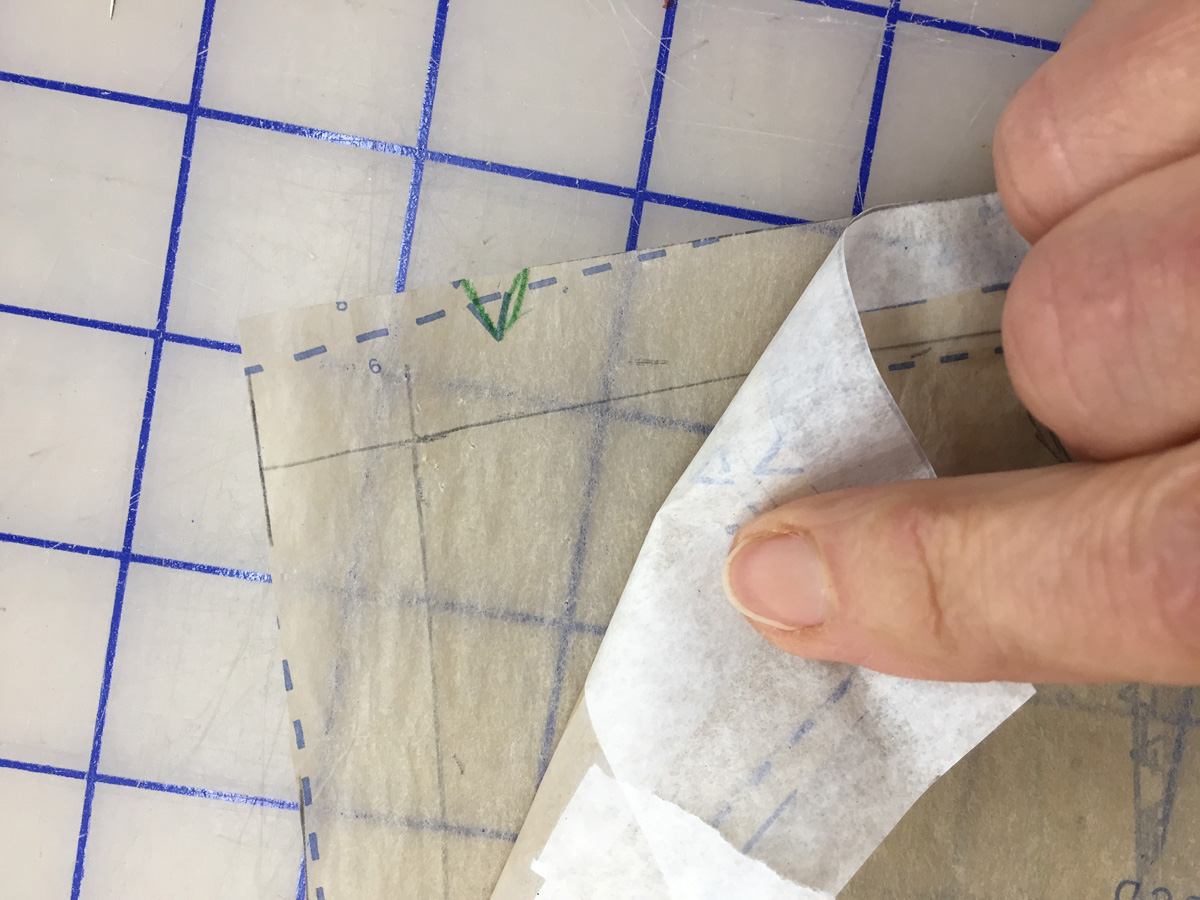
1. Mark where one edge of fabric meets the other, then remove pins. I use a fine-tip Sharpie marker, which makes permanent markings accurately. You don’t want the marks to disappear before you’ve completed the patternwork.
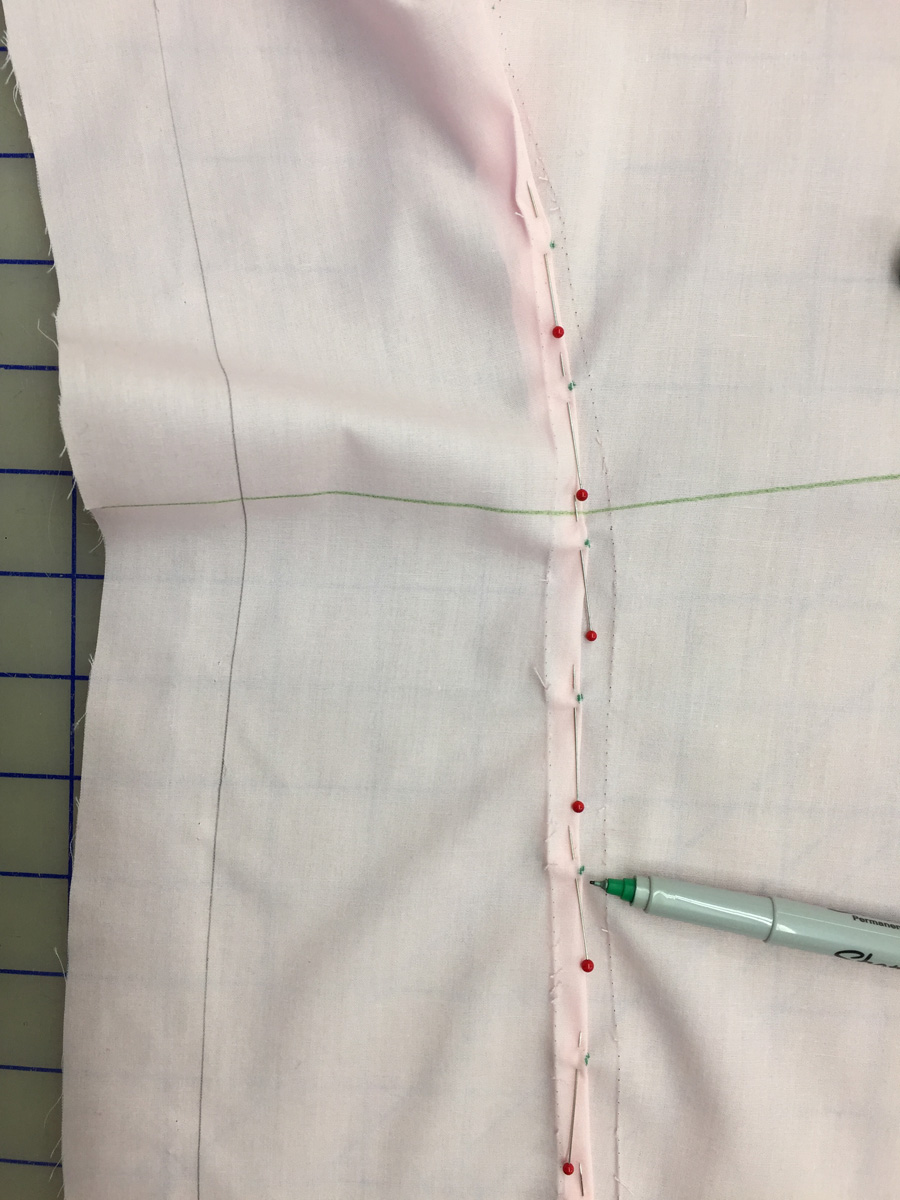
If you have pinned as shown in the photo below, where the pins denote the new seamline, mark each pin on both sides of the adjustment.
2. Take the muslin apart. This is not necessary but helpful. Press lightly to flatten the seam allowances.

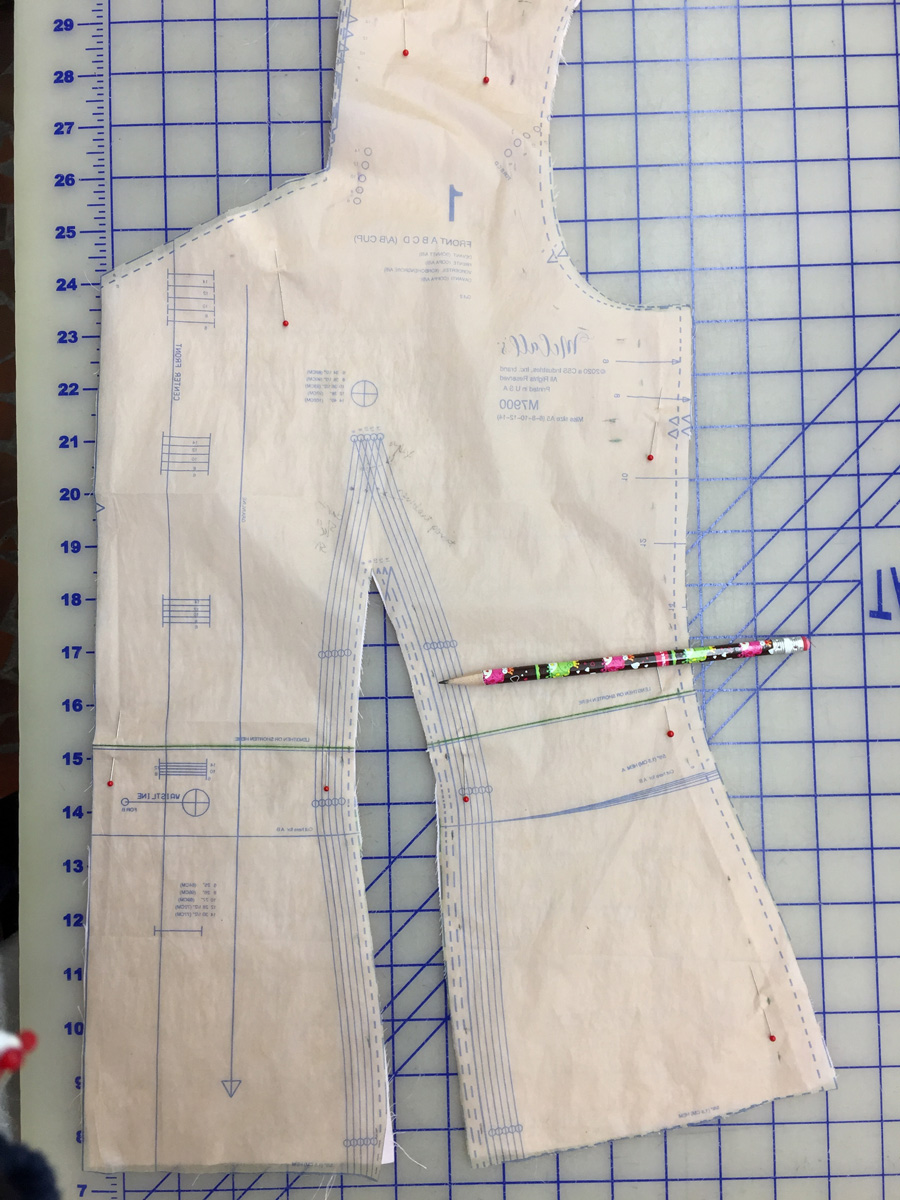
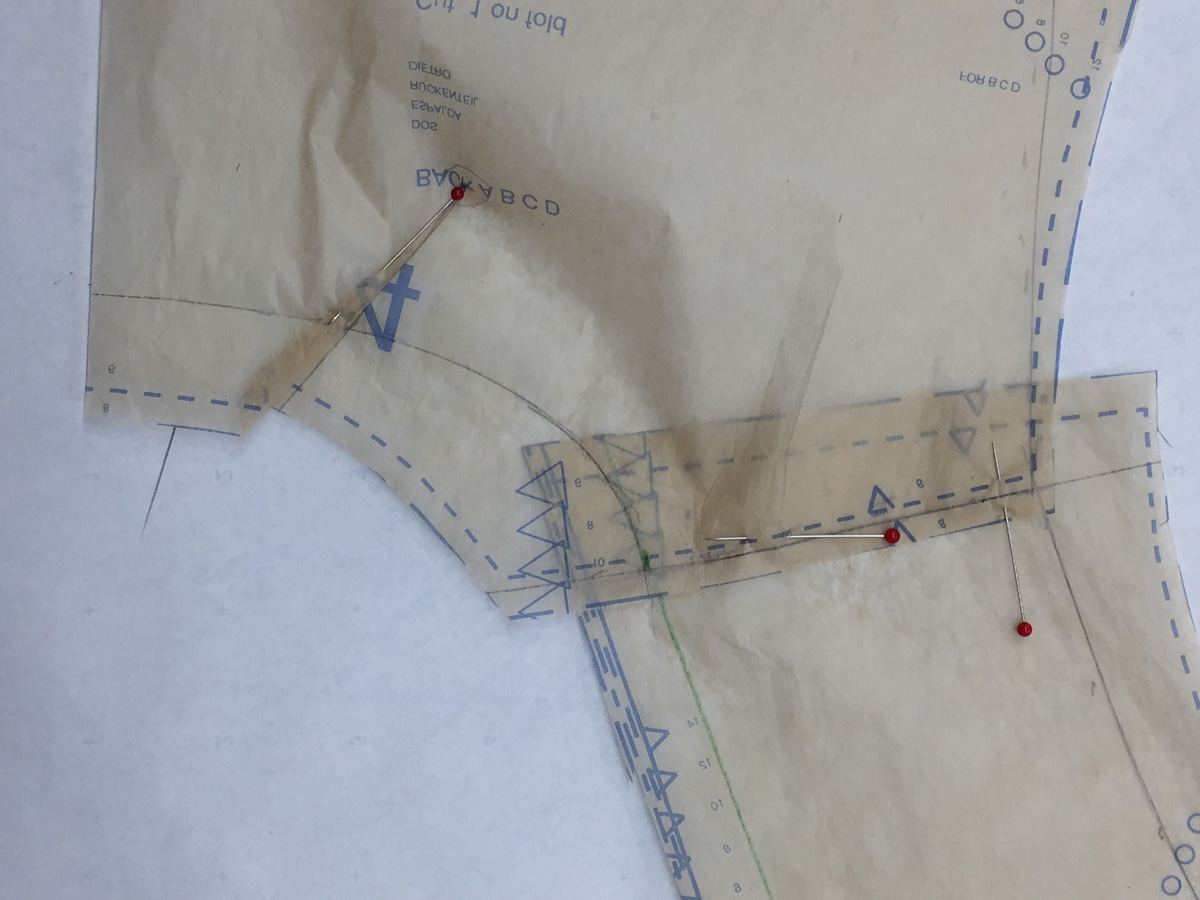
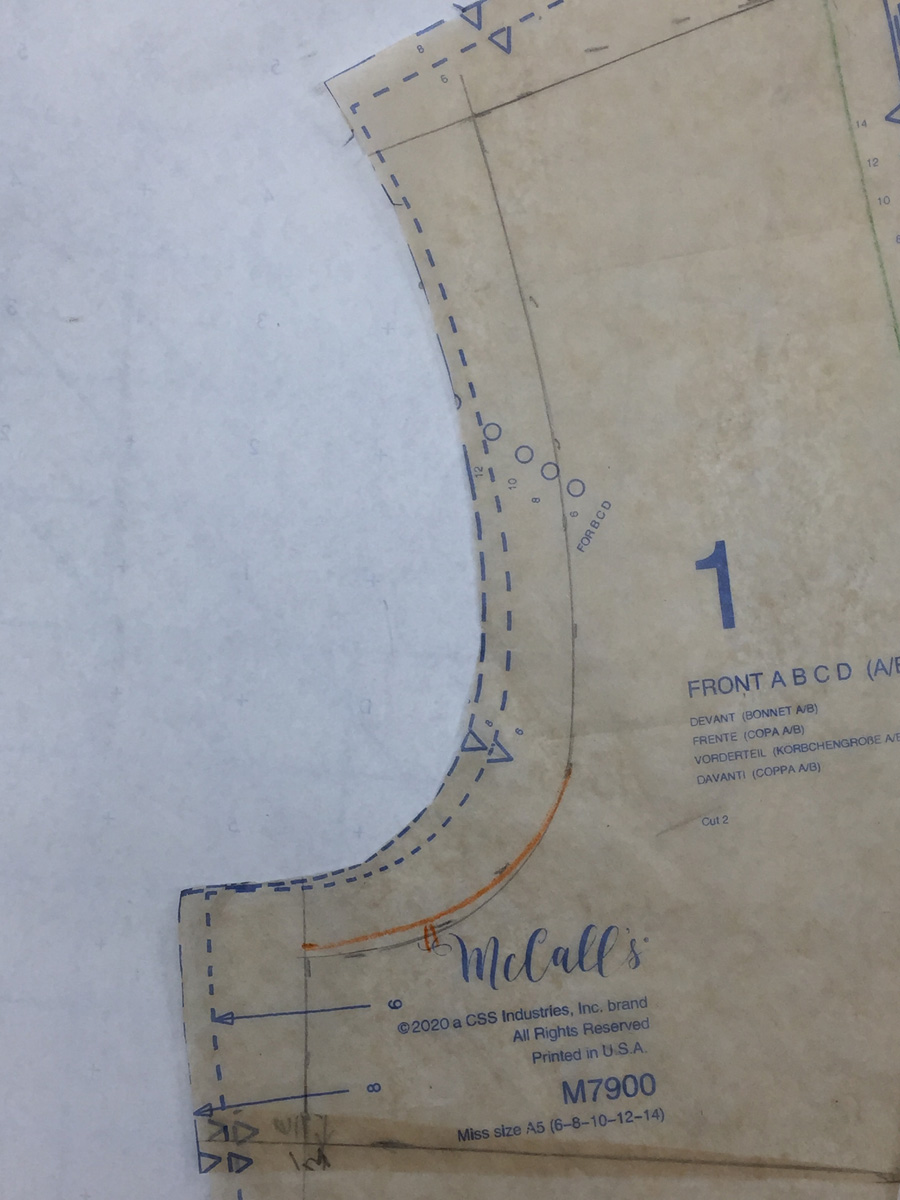
3. Place the front pattern on top of the front muslin section and align the pieces at the horizontal balance line (HBL), center front, notches, and around the perimeter. If the muslin has shrunk due to pressing (which occurred in this case), align the cut edge of the muslin to the cut edge of the pattern and key places, like the HBL.

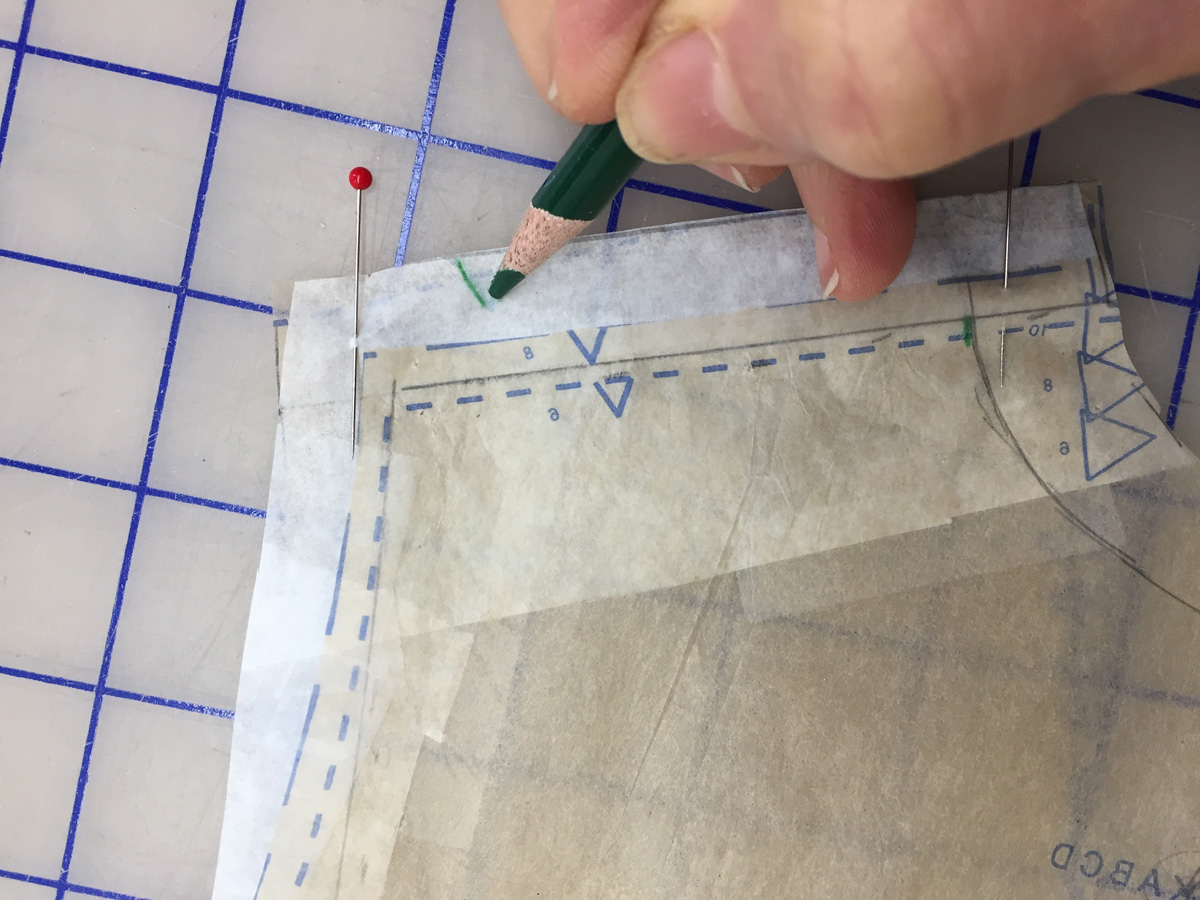
4. Accurately mark all fitting changes on the front pattern using small tick lines Mark these places:
• shoulder seamline
• armhole
• side seamline
• both dart legs
• intake for the side bust dart that will get rotated into waist dart
• waist dart’s new dart point
• bust apex, which is the rotation point for the dart transfer.
I prefer to work in lead pencil because it produces a thin, accurate line. Sometimes, I use a sharpened colored pencil if I can’t see the lead pencil well.
Tip: Be sure to use a marking implement that draws fine lines for accuracy.
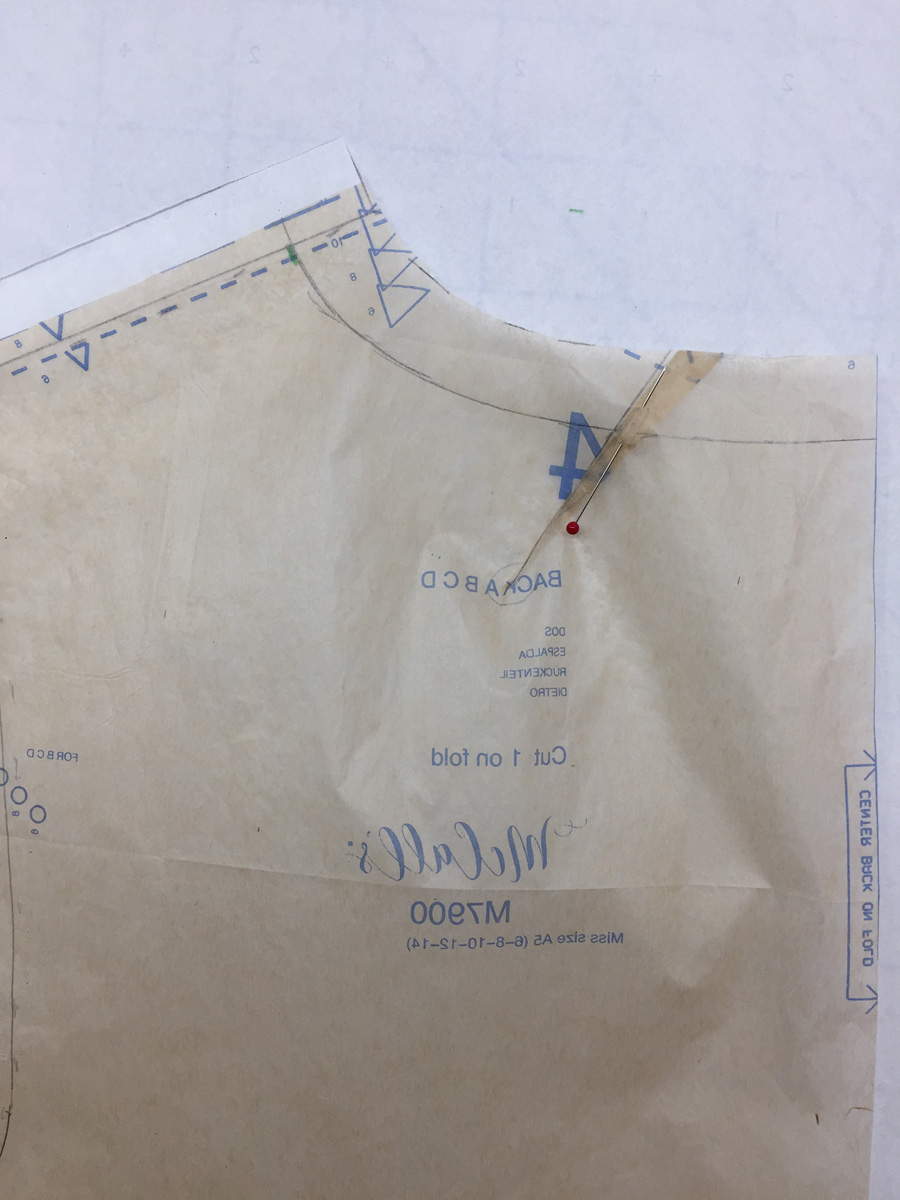
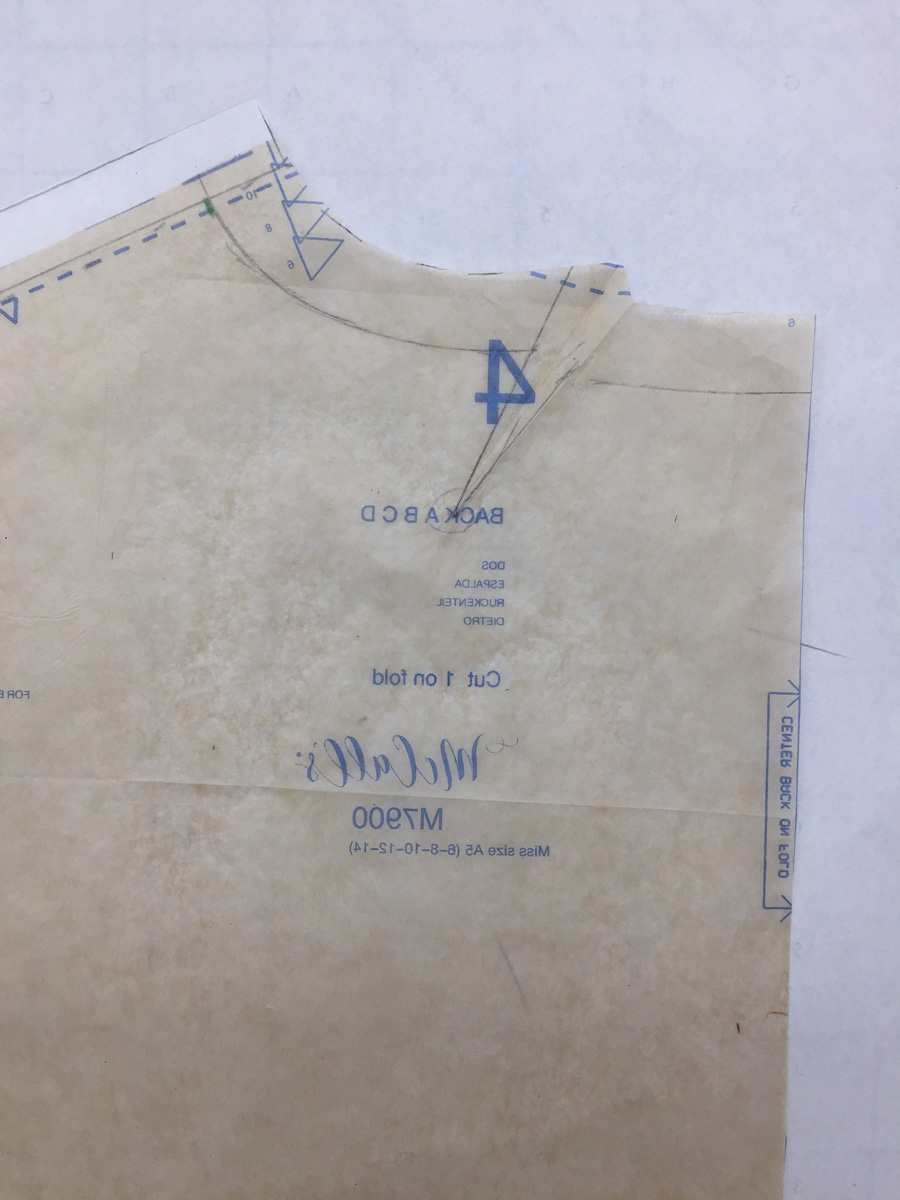
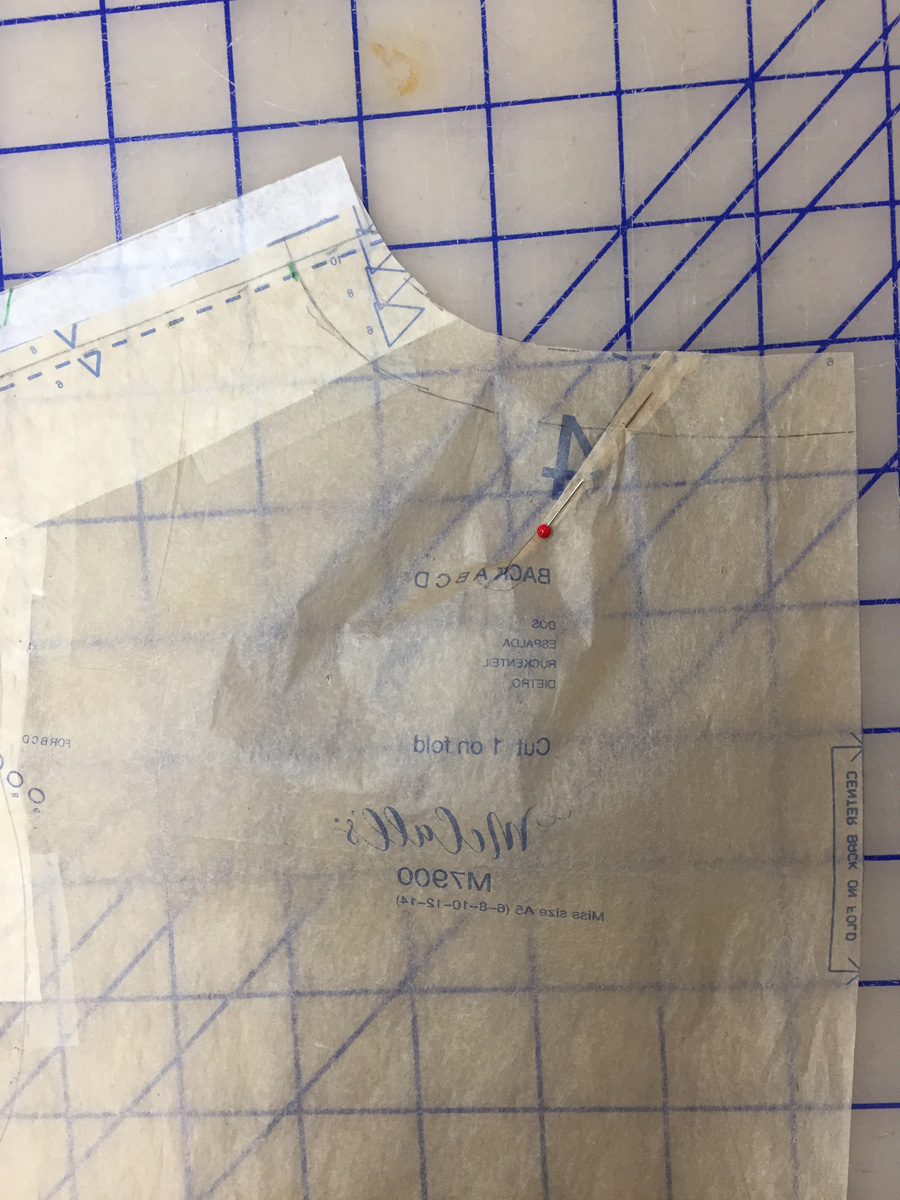
5. Align the back pattern atop the muslin and mark the back changes:
• shoulder seamline
• armhole
• side seamline
• waist dart
• back neck dart intake at the neck seamline and the dart’s point
• revised back neck seamline.
Make the length changes
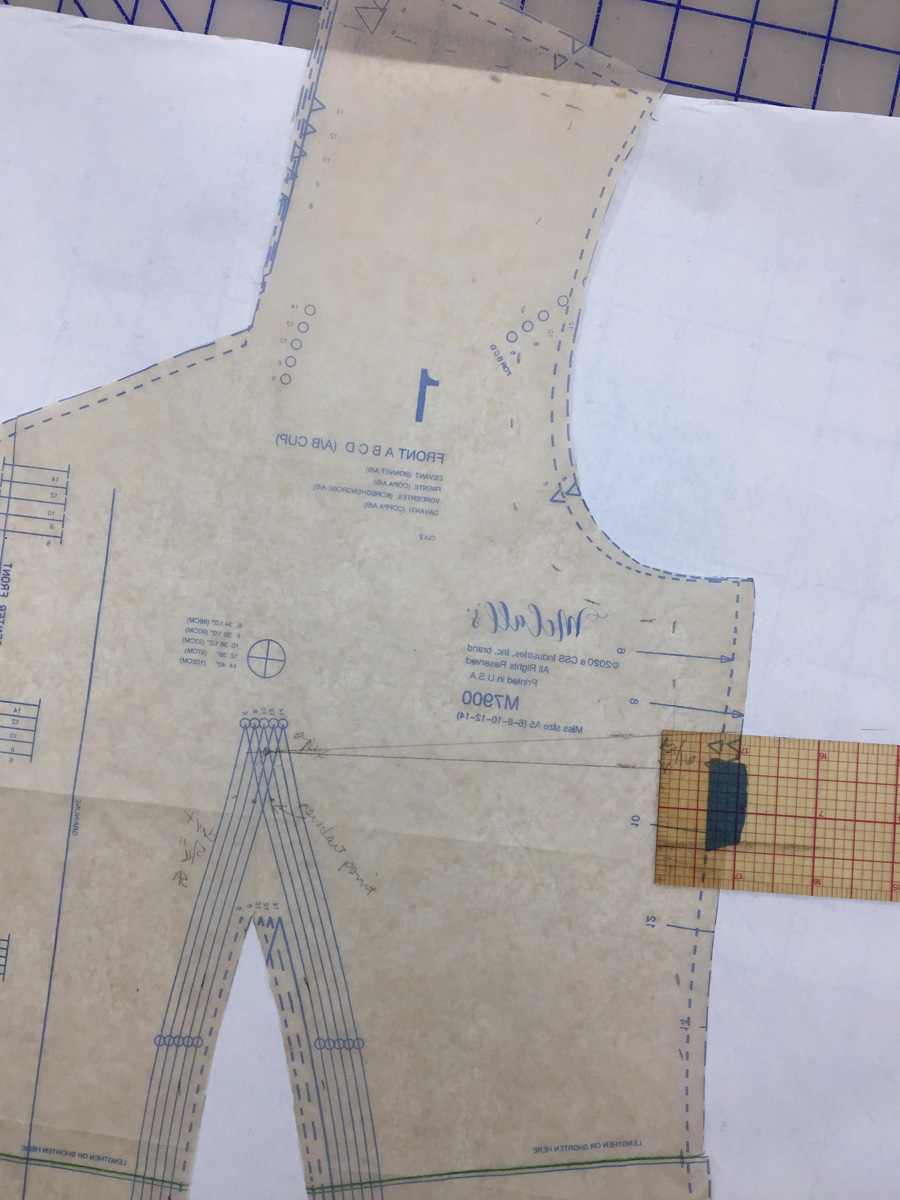
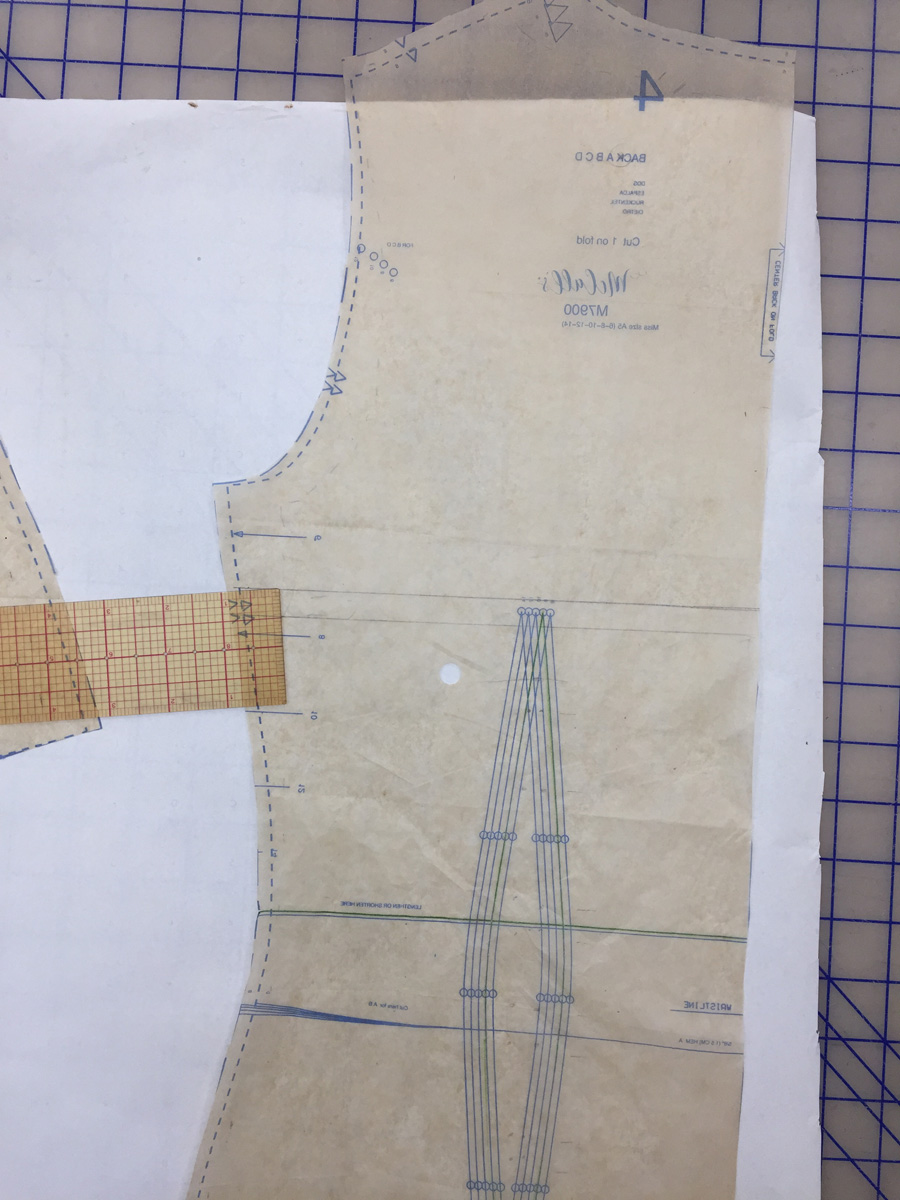
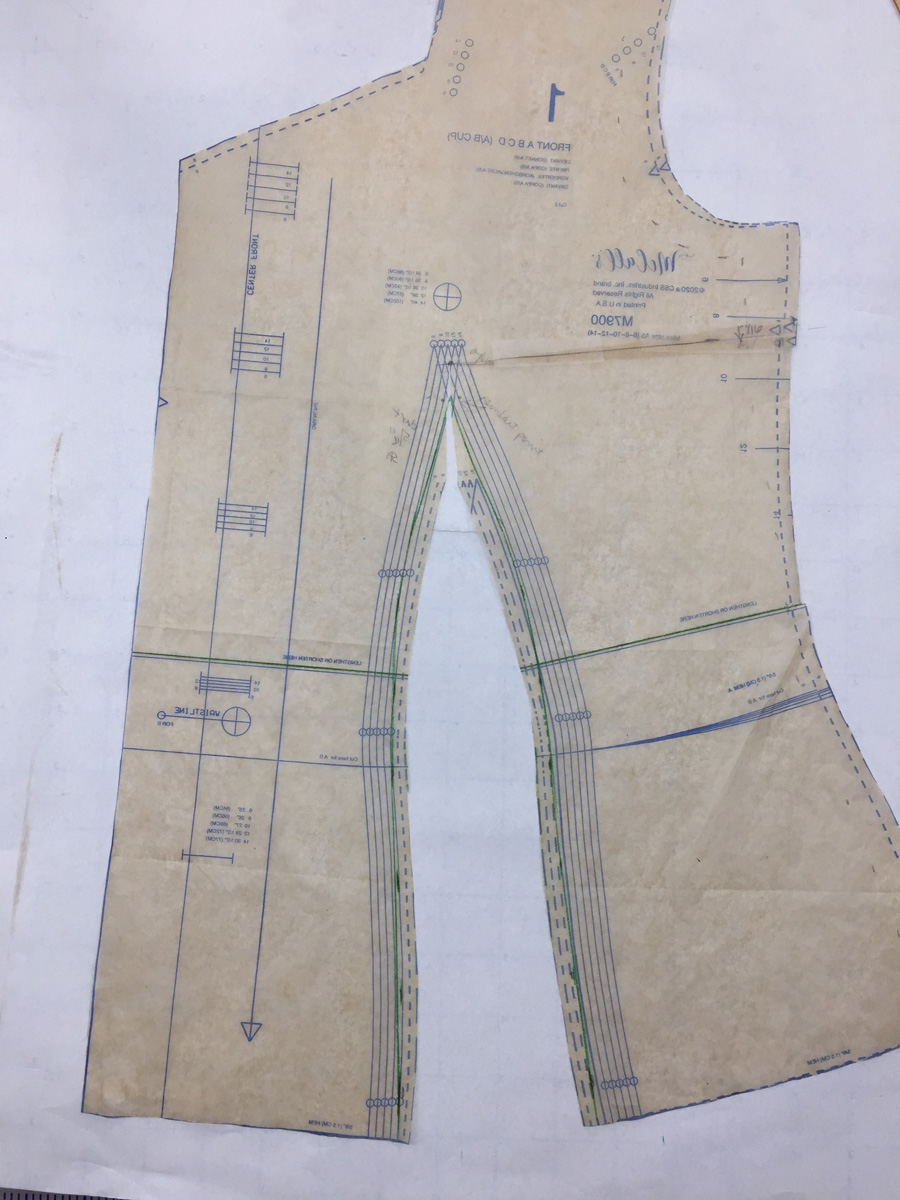
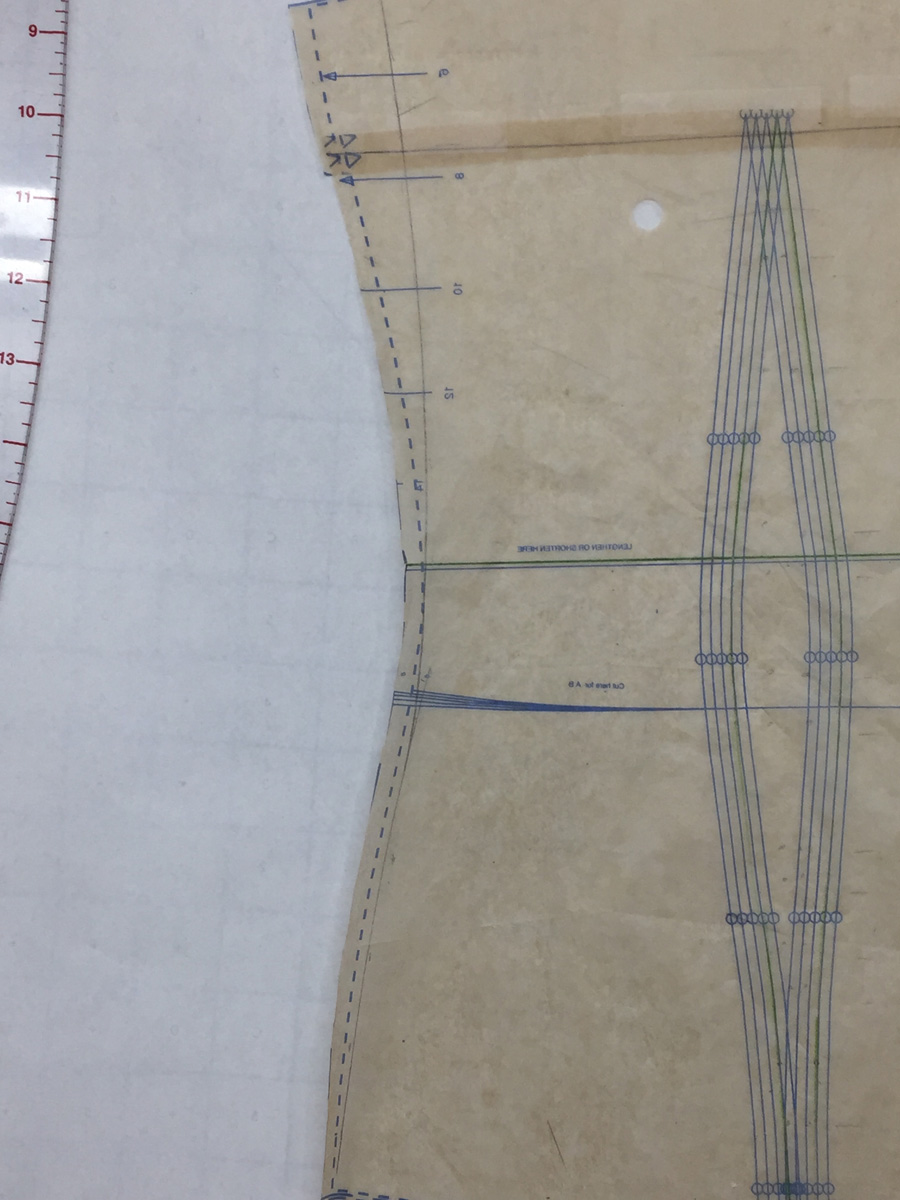
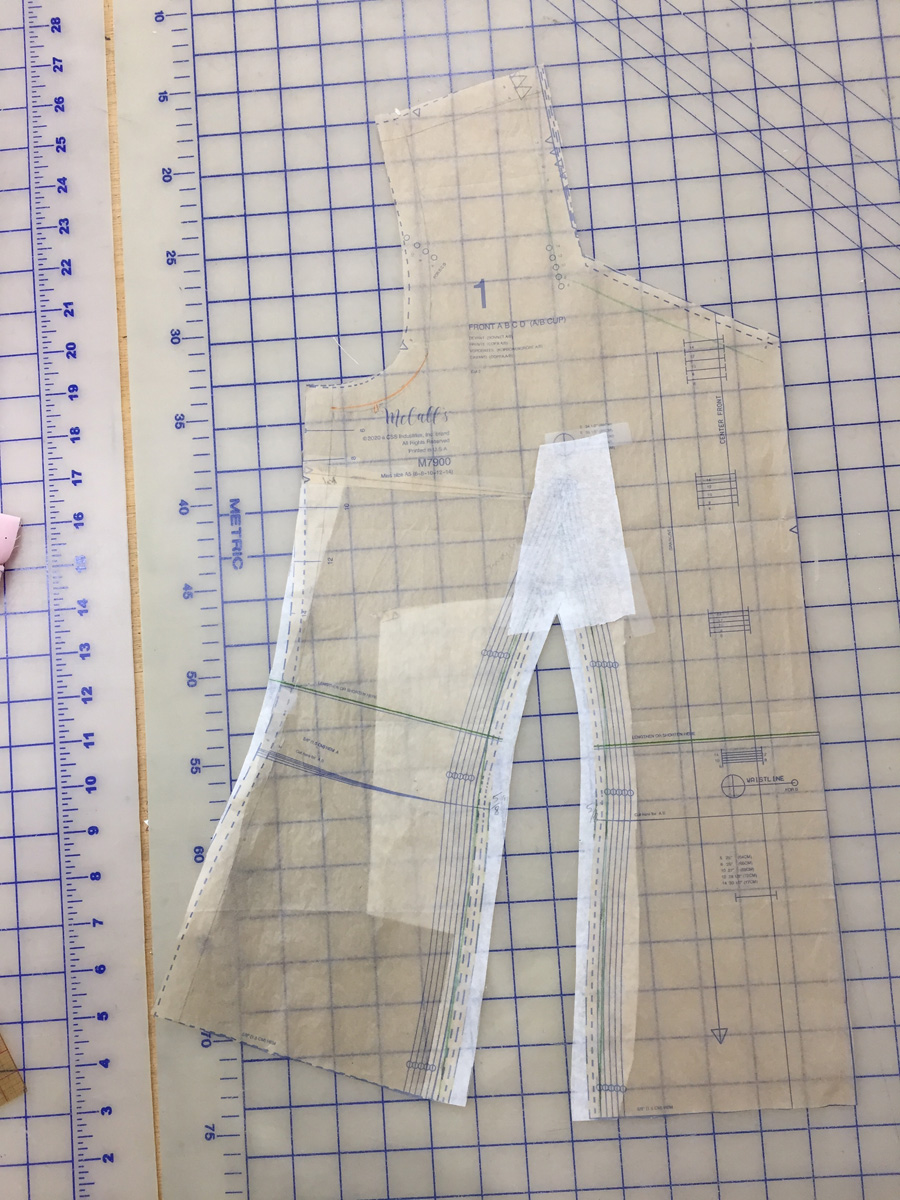
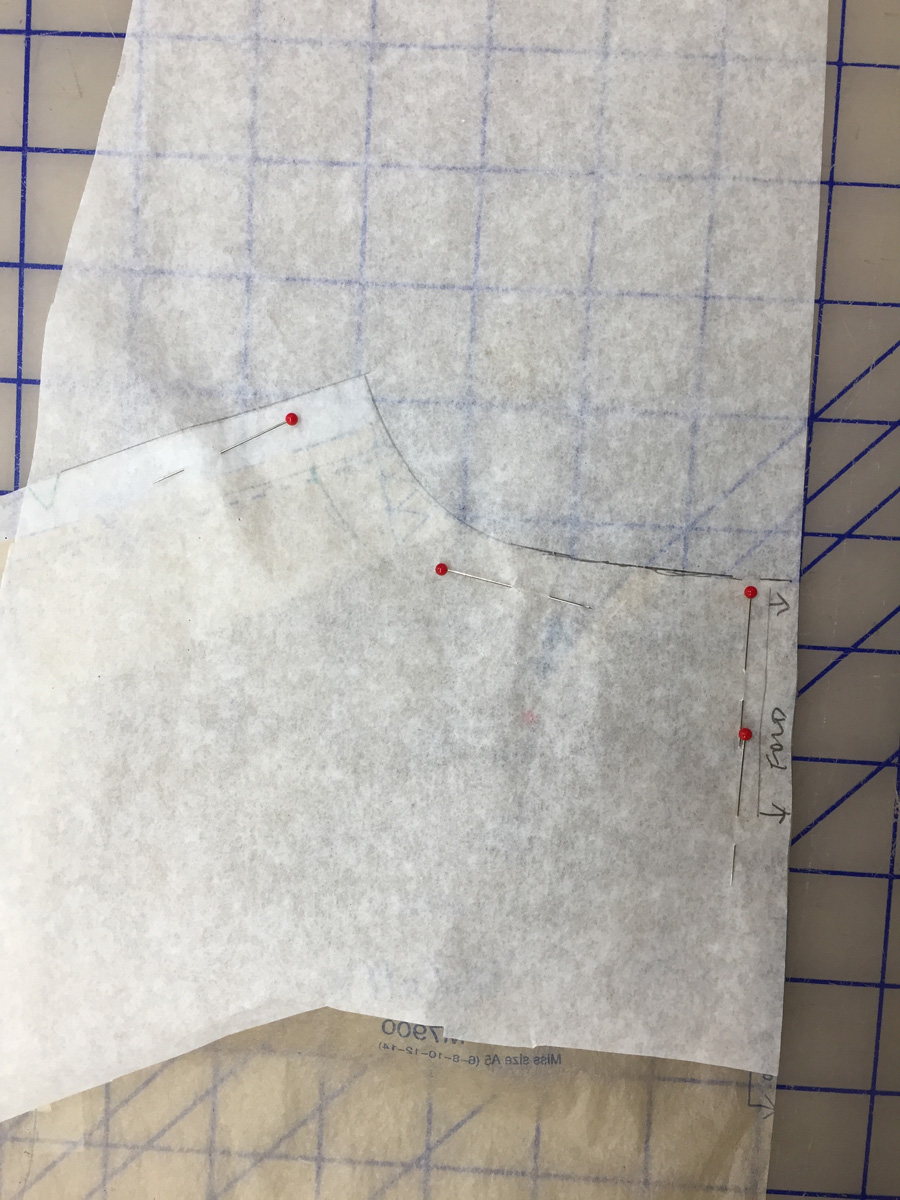
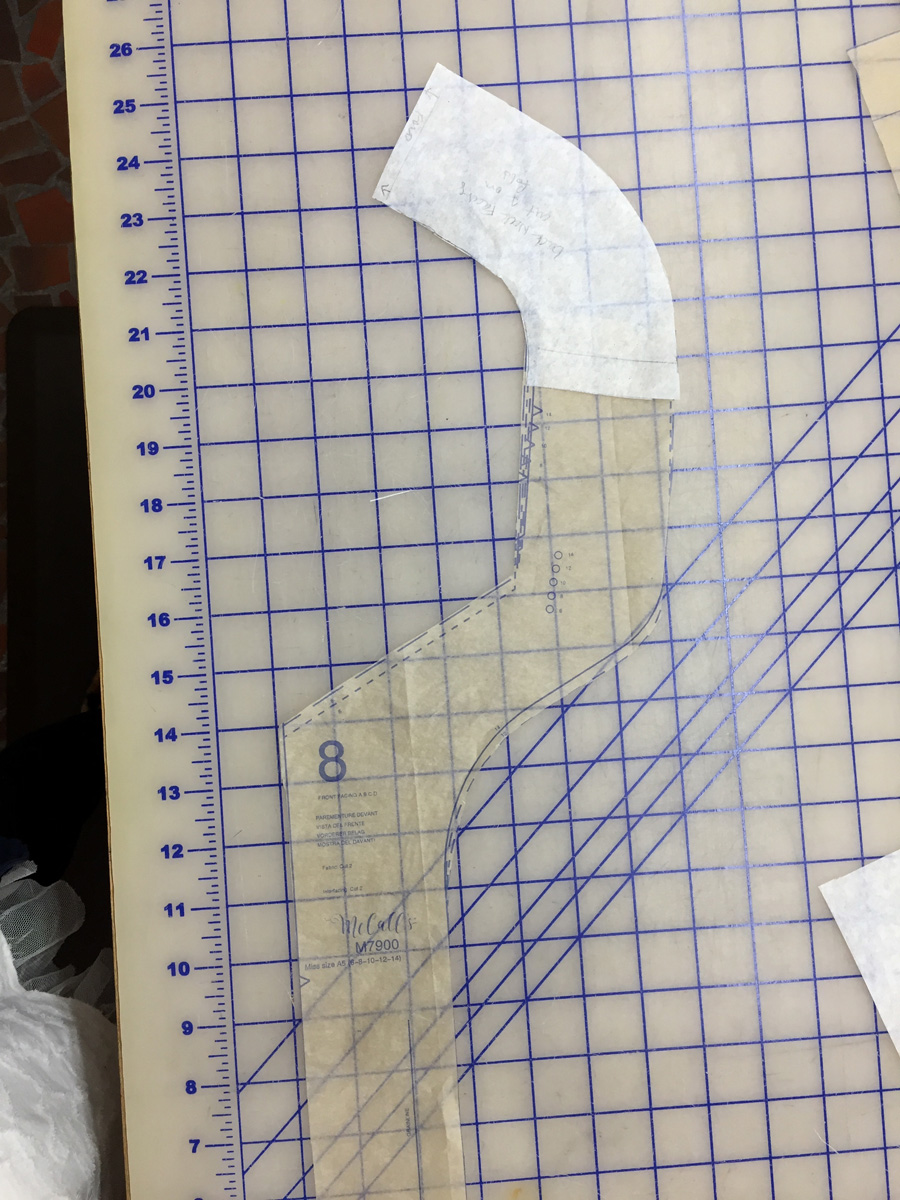
6. Place white paper under a buff-colored pattern to make the pattern and its markings easier to see. Make length changes to the pattern first, then width changes. Do all pattern work precisely and accurately.
7. Measure the added front bust dart intake at the side seam.
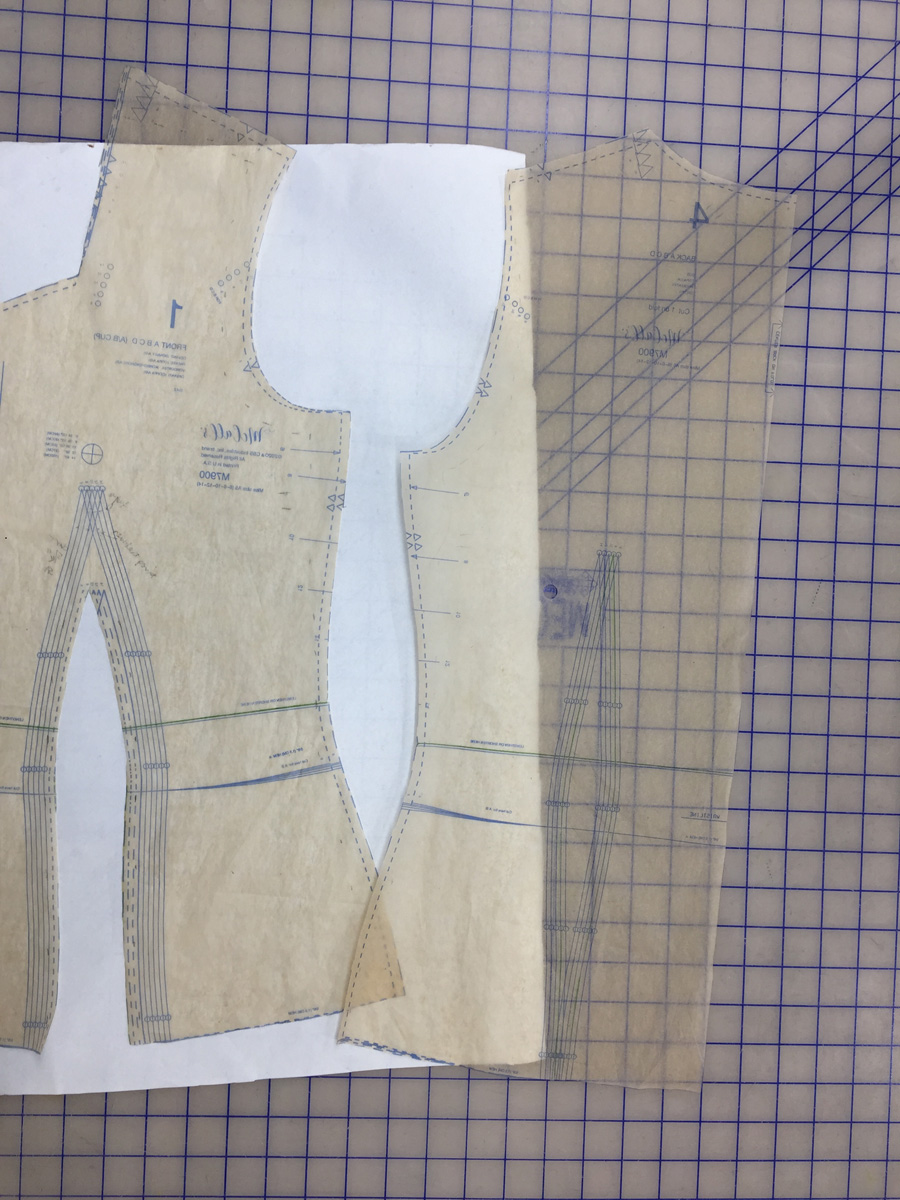
8. Rotate (transfer) the side bust dart into the waist dart. It is more accurate to cut the pattern through the bust dart than to fold out the dart in the tissue.
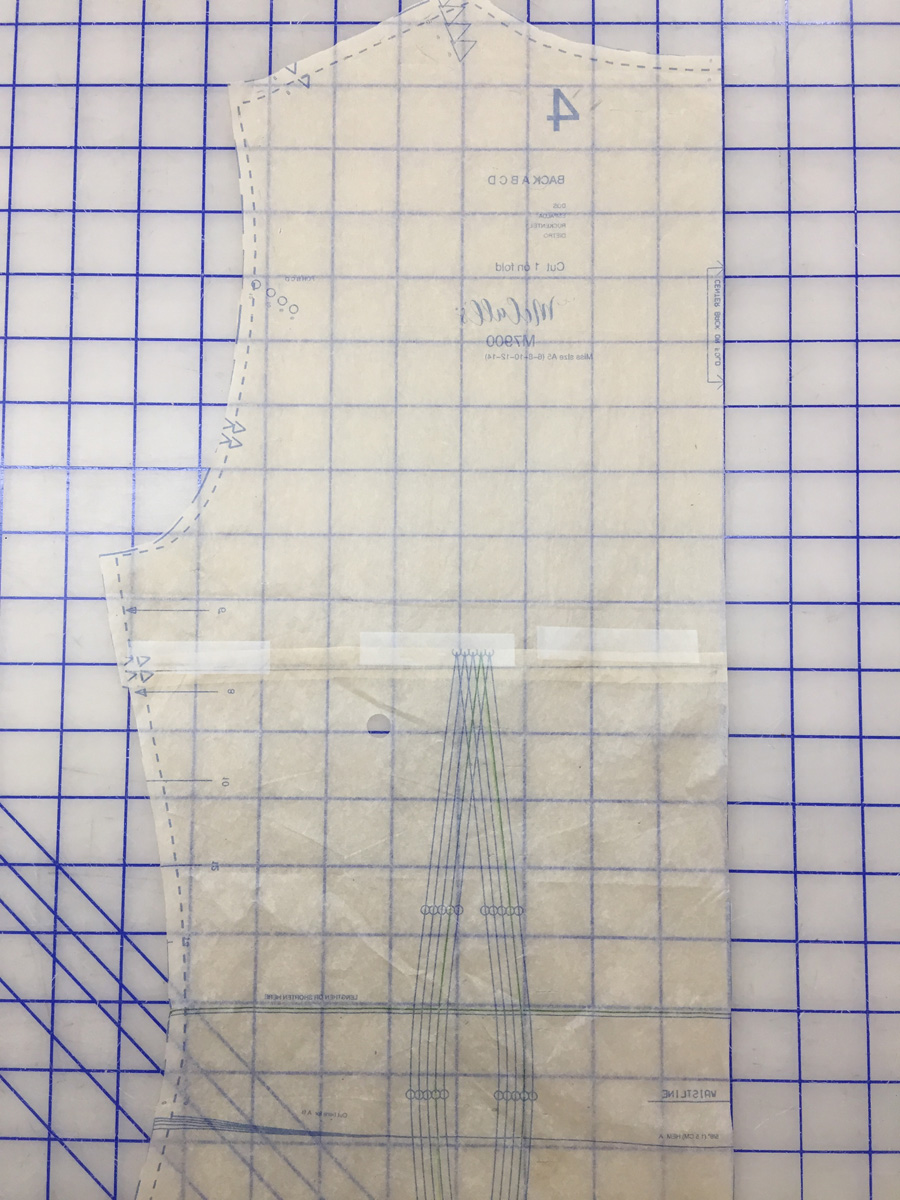
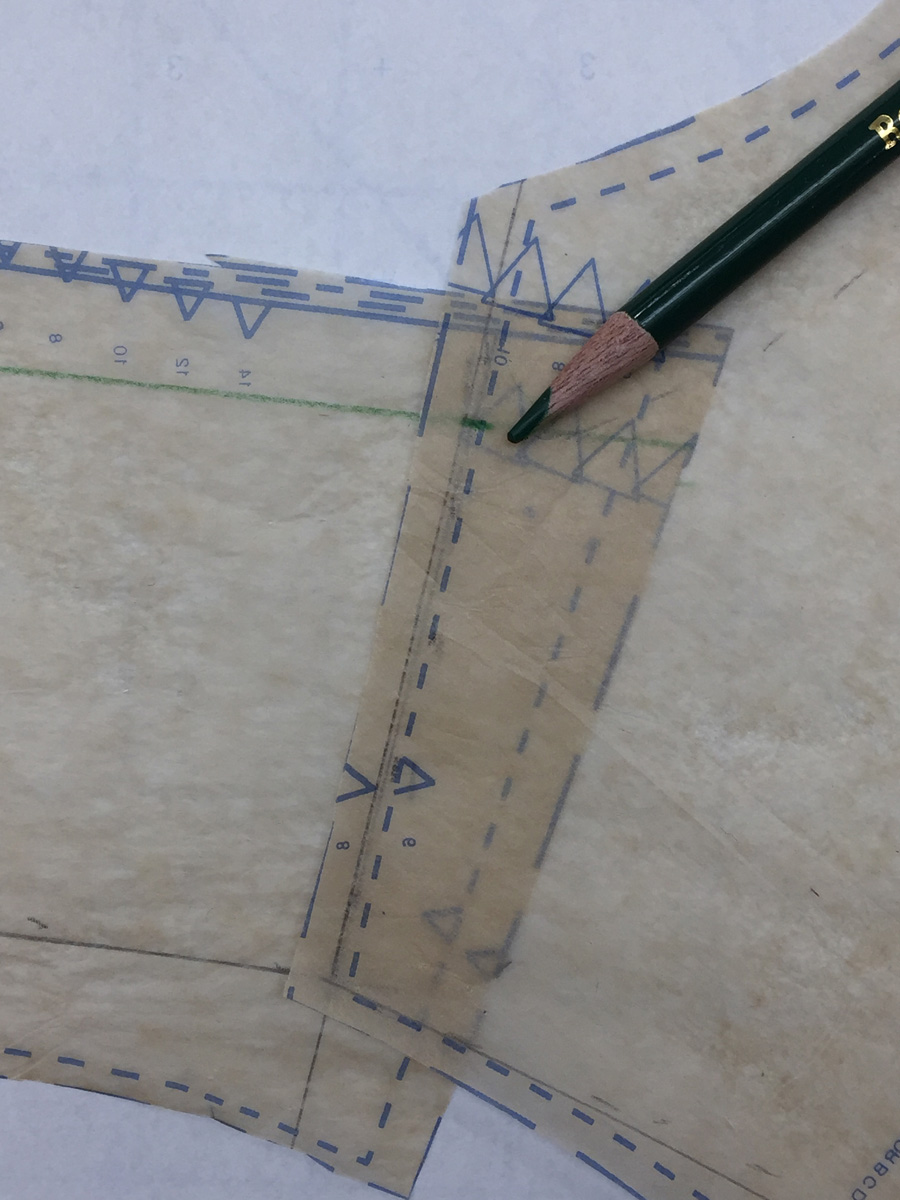
9. Working on the back pattern, mark the intake of the front side bust dart on the back side seam, at about the same level along the side seam. You’ll shorten the back with an even tuck, so its side seam matches the front pattern’s side seam.
Then draw a line perpendicular to the center-back foldline (or grainline) at each of the above marks so the intake of the front side bust dart equals the intake of the back even tuck.
10. Cut along either line or down the middle of the intake, and close the even tuck, keeping the center-back foldline straight and even. Tape the tuck in place.
The length changes are now completed. The rest of the changes can be made in any order.
Complete the front changes
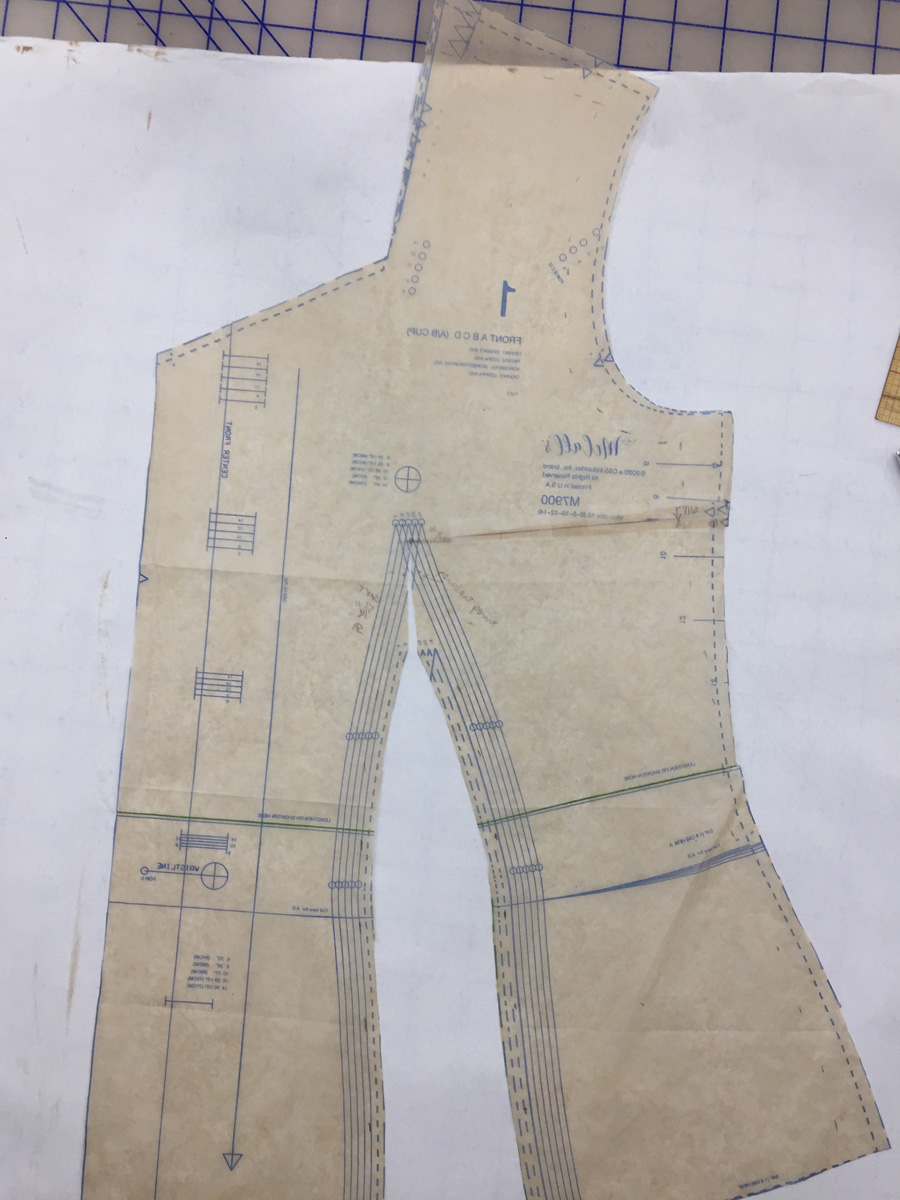
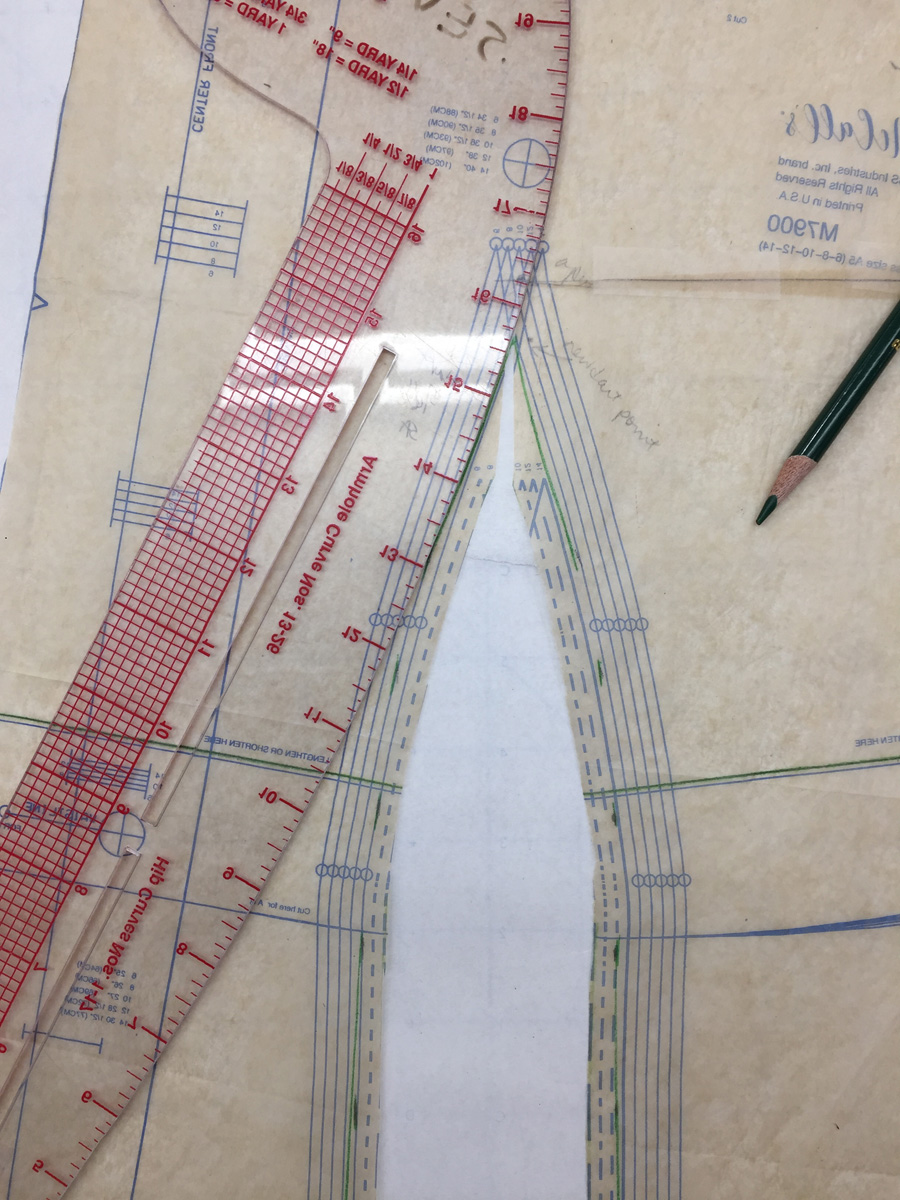
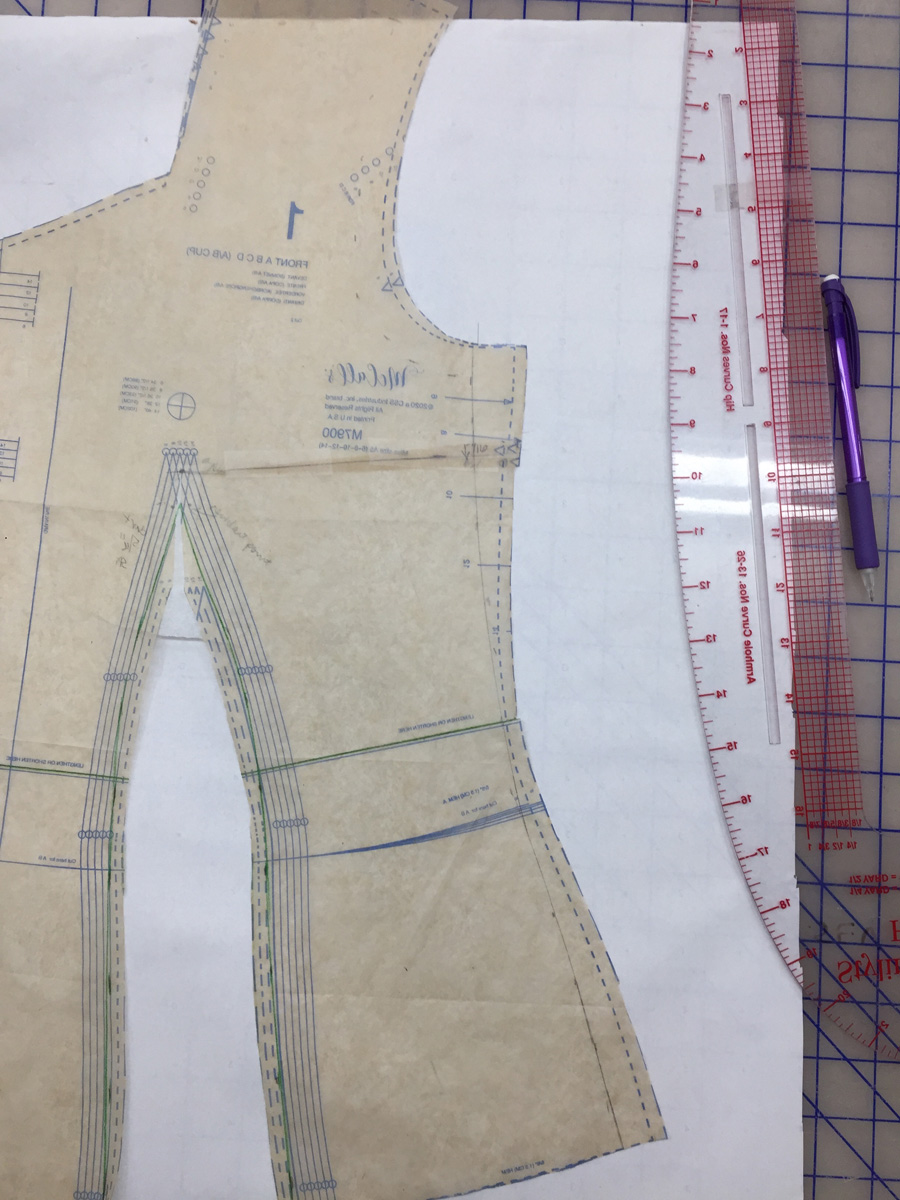
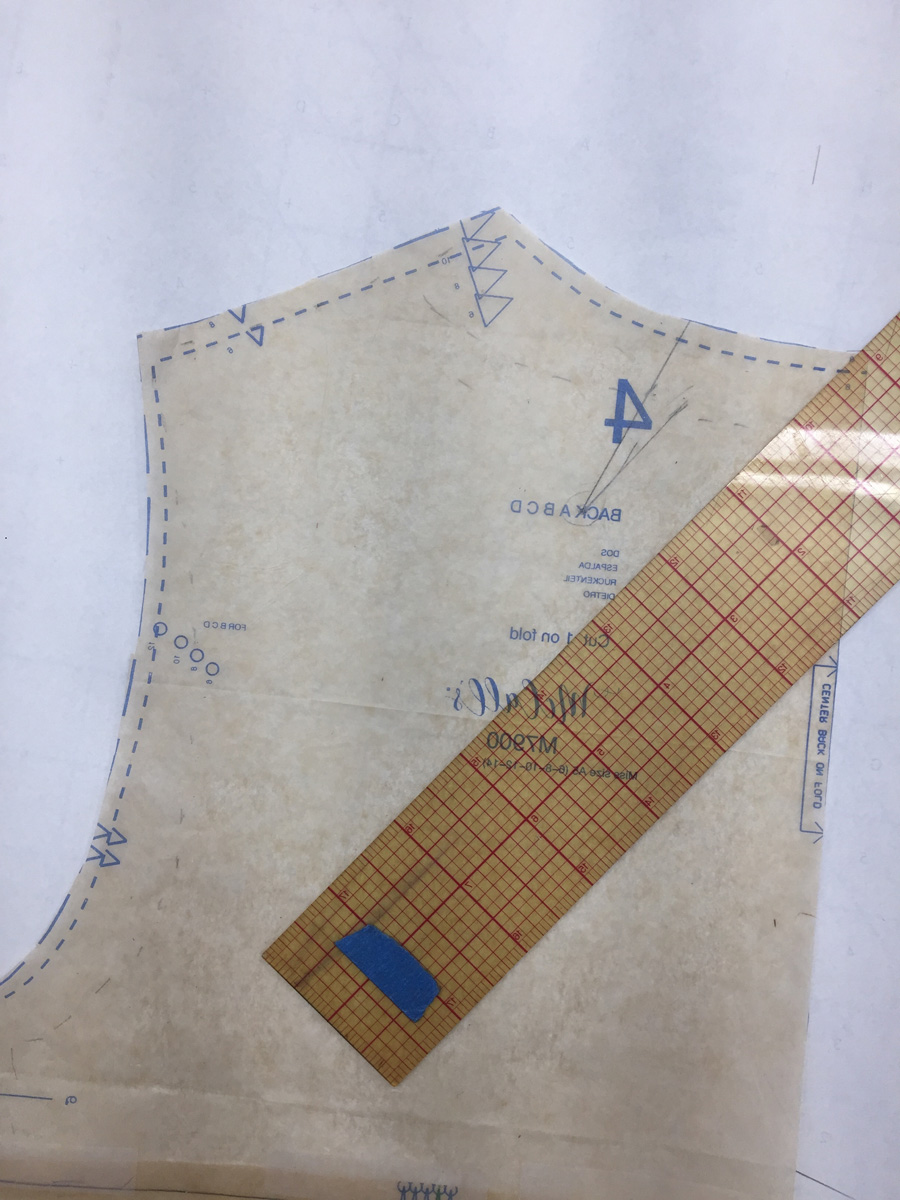
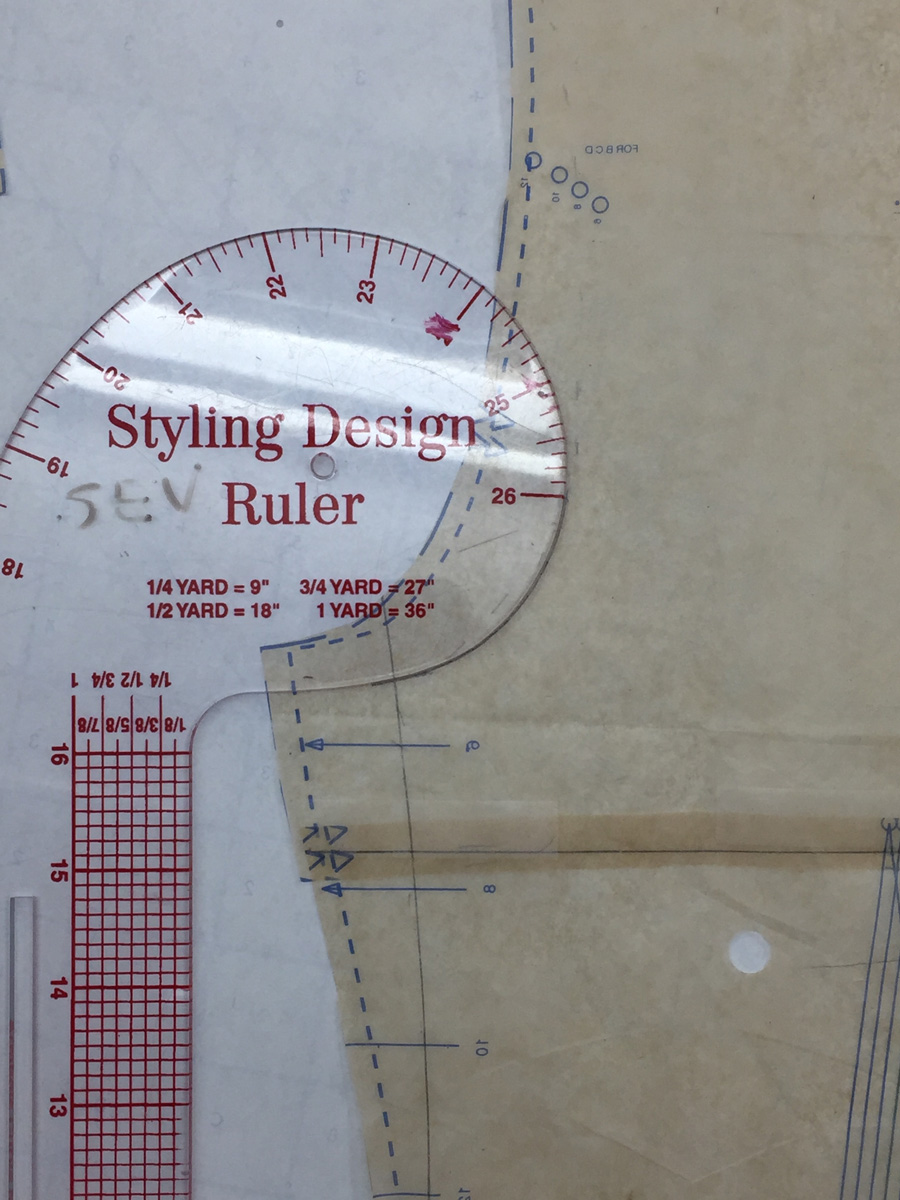
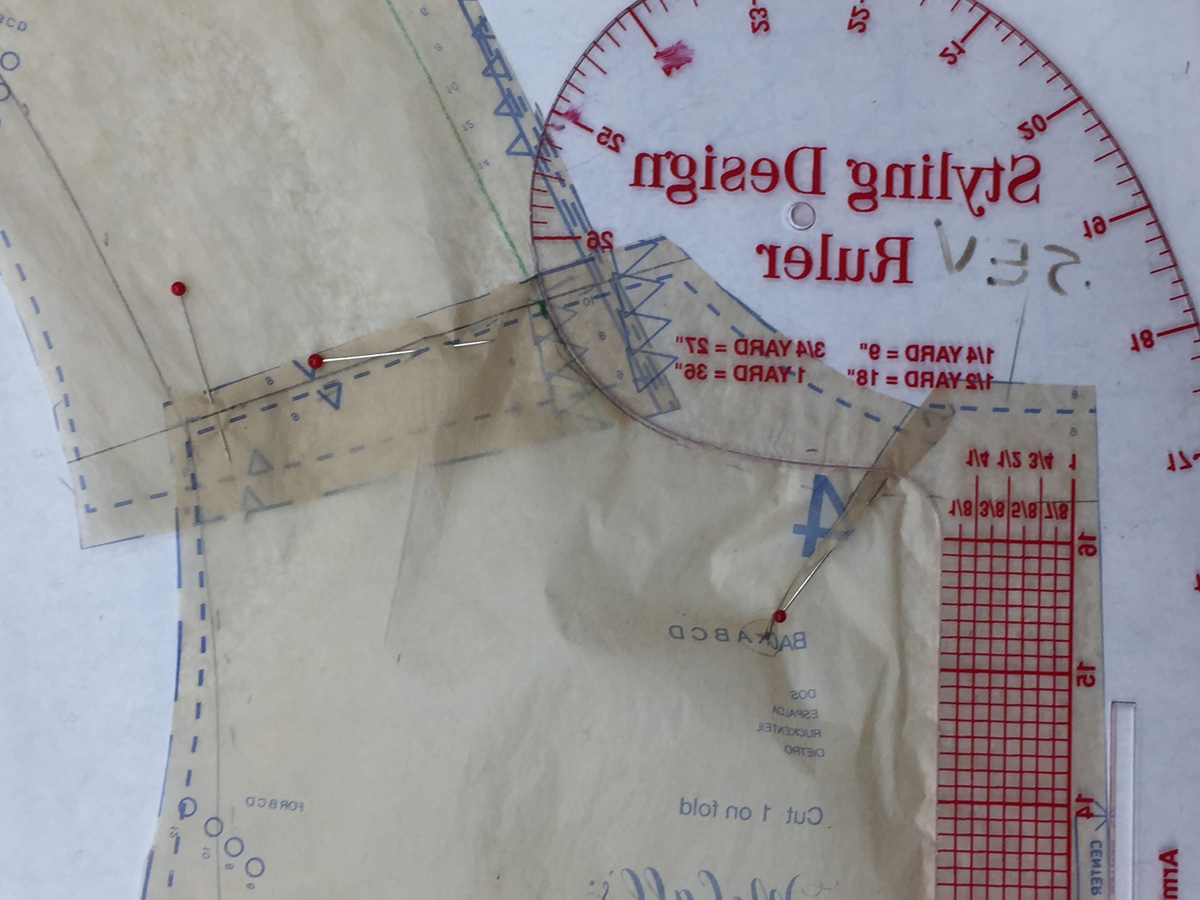
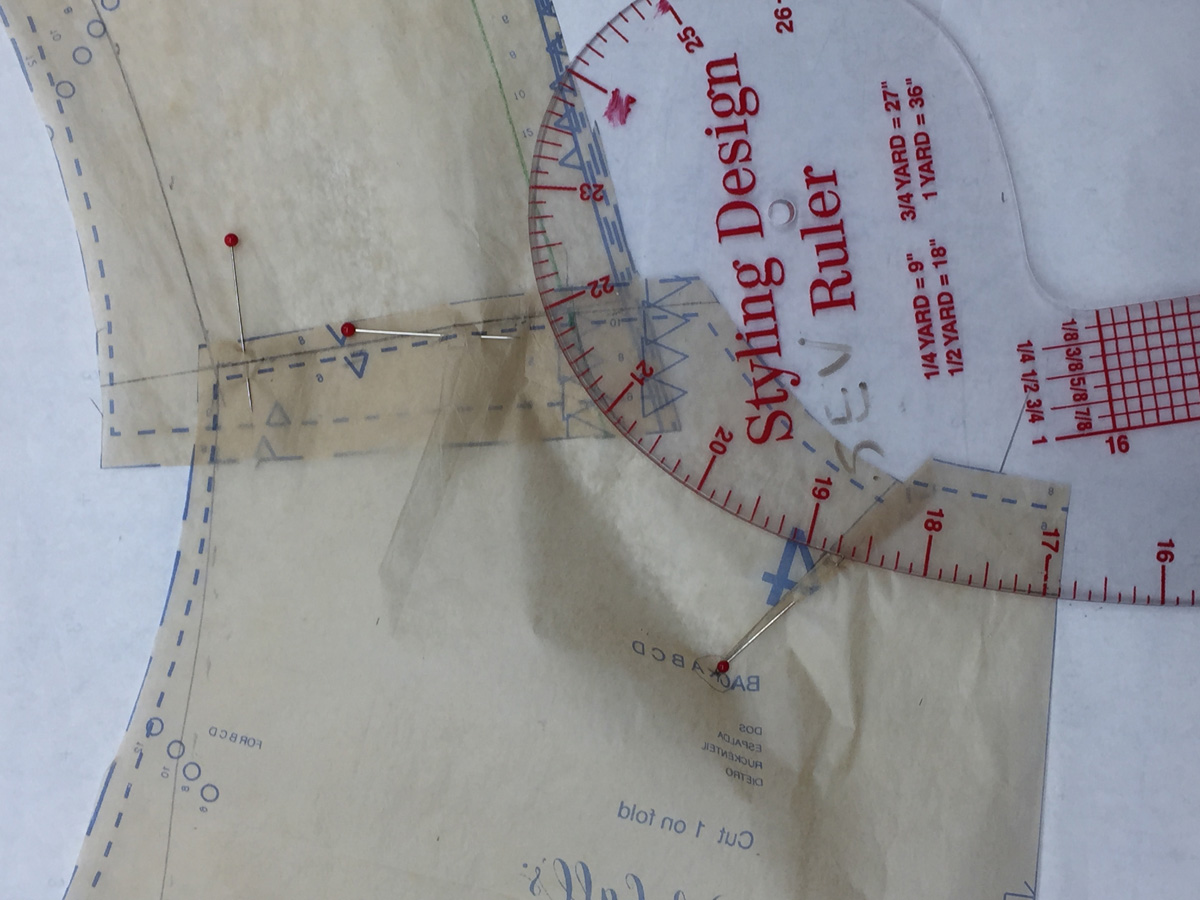
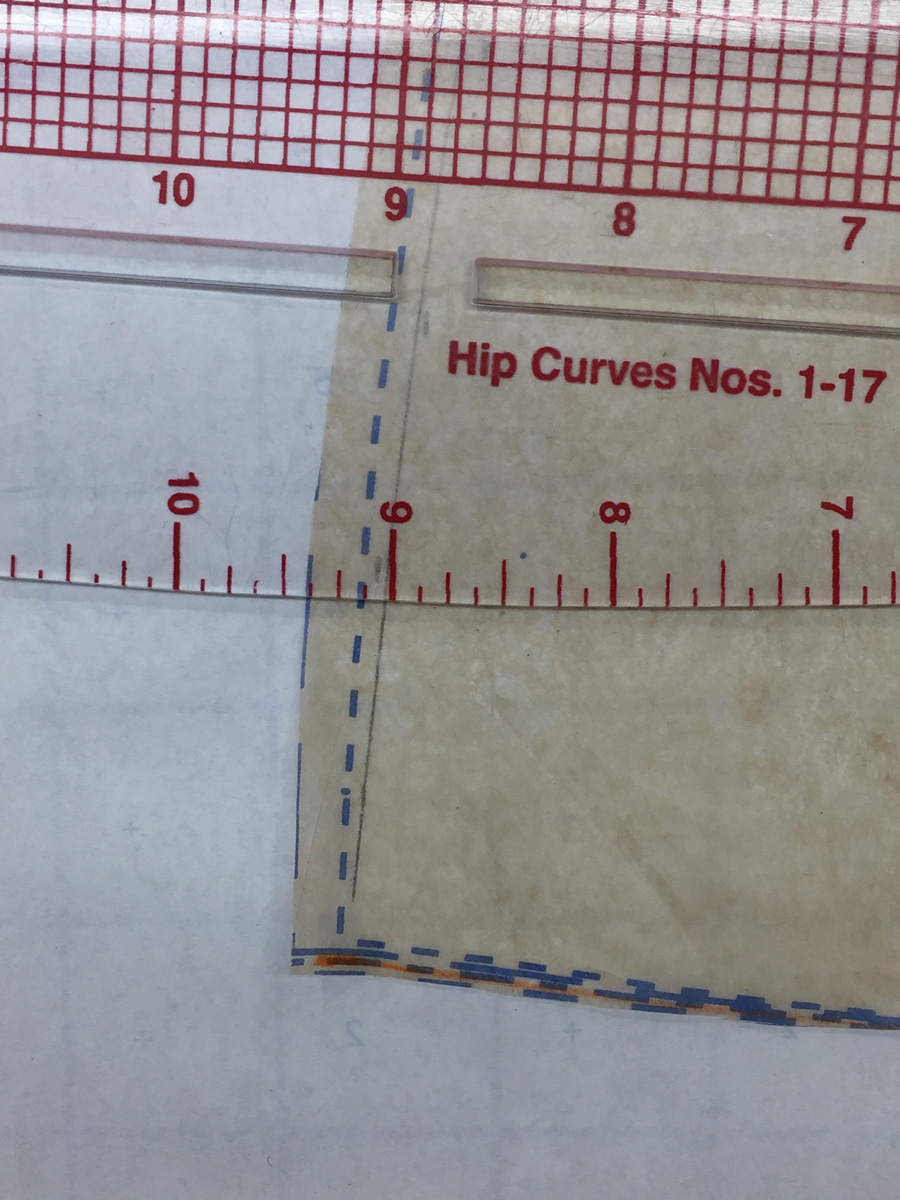
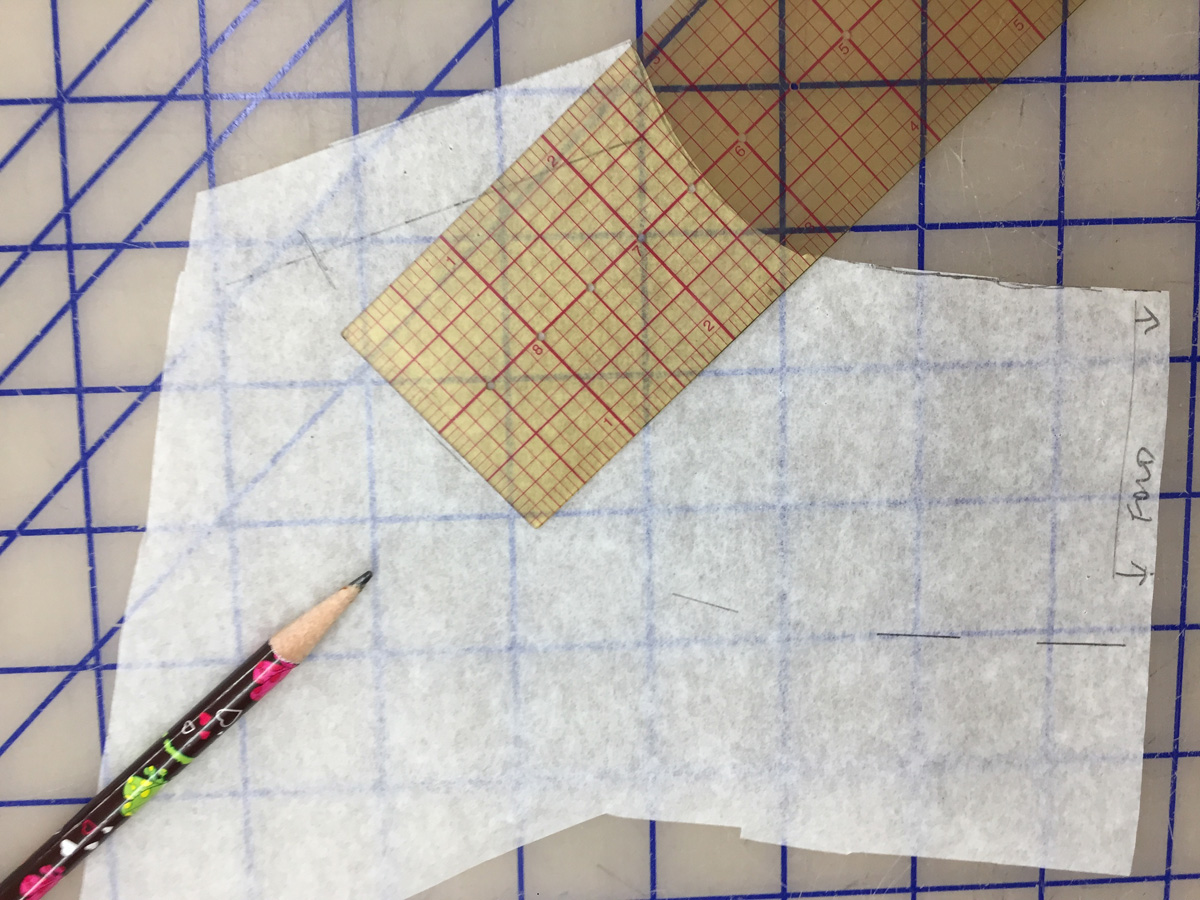
11. Using a fashion ruler as a guide, connect the tick marks on the lower portion of one of the new dart legs. Find a pleasing place on the fashion ruler that picks up most of the tick marks.
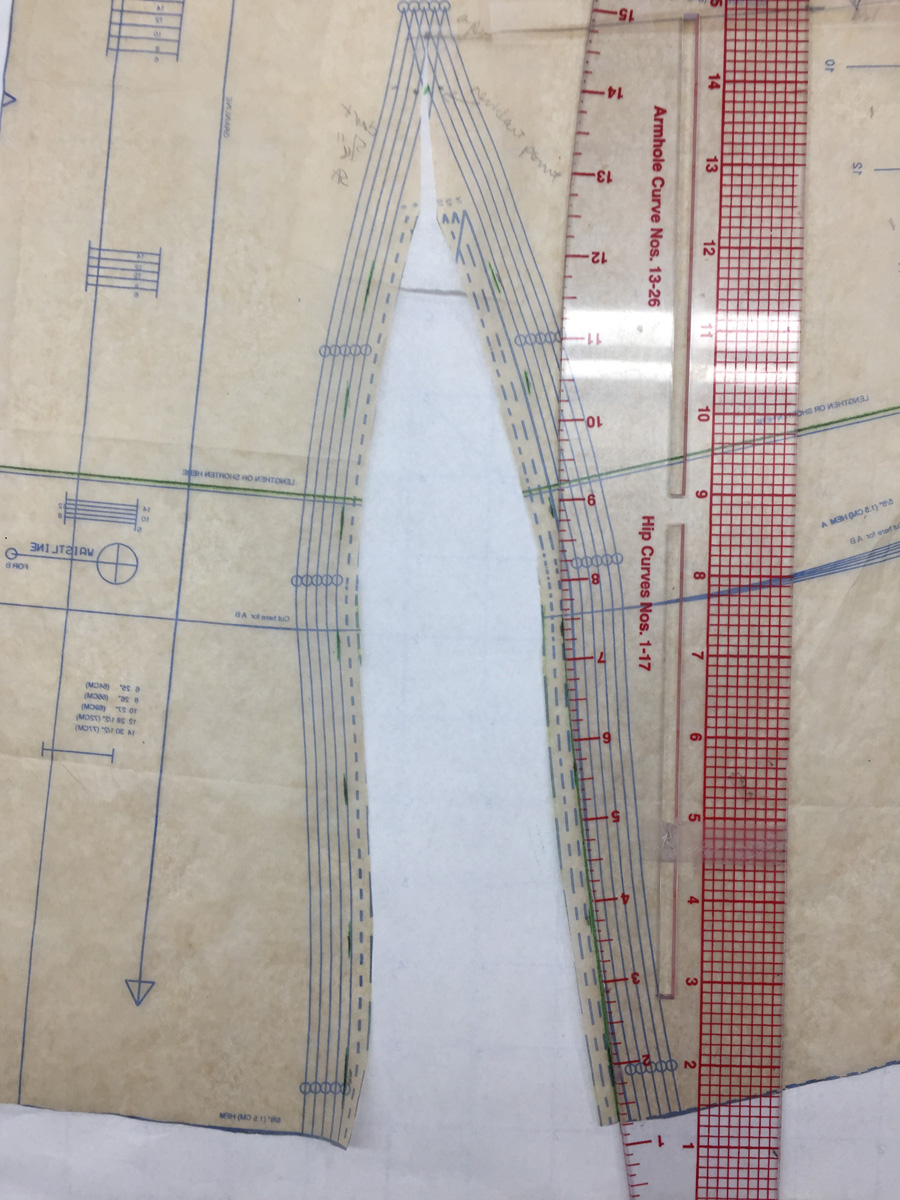
12. Flip the ruler over and use the same ruler position to redraw the opposite dart leg. This ensures each dart leg is the same and the dart can be successfully sewn.
Because the dart rotation in step 8 was at the bust point (not the dart point), the pattern has spread open where the new dart point of the waist dart was indicated. Mark the dart point in the middle.
13. Repeat this process for the dart’s upper portion.
14. Now connect the top and the bottom dart sections with a smooth blend, again using the fashion ruler as a guide.
The completed waist dart reflects the shaping you pinned in the muslin test garment.
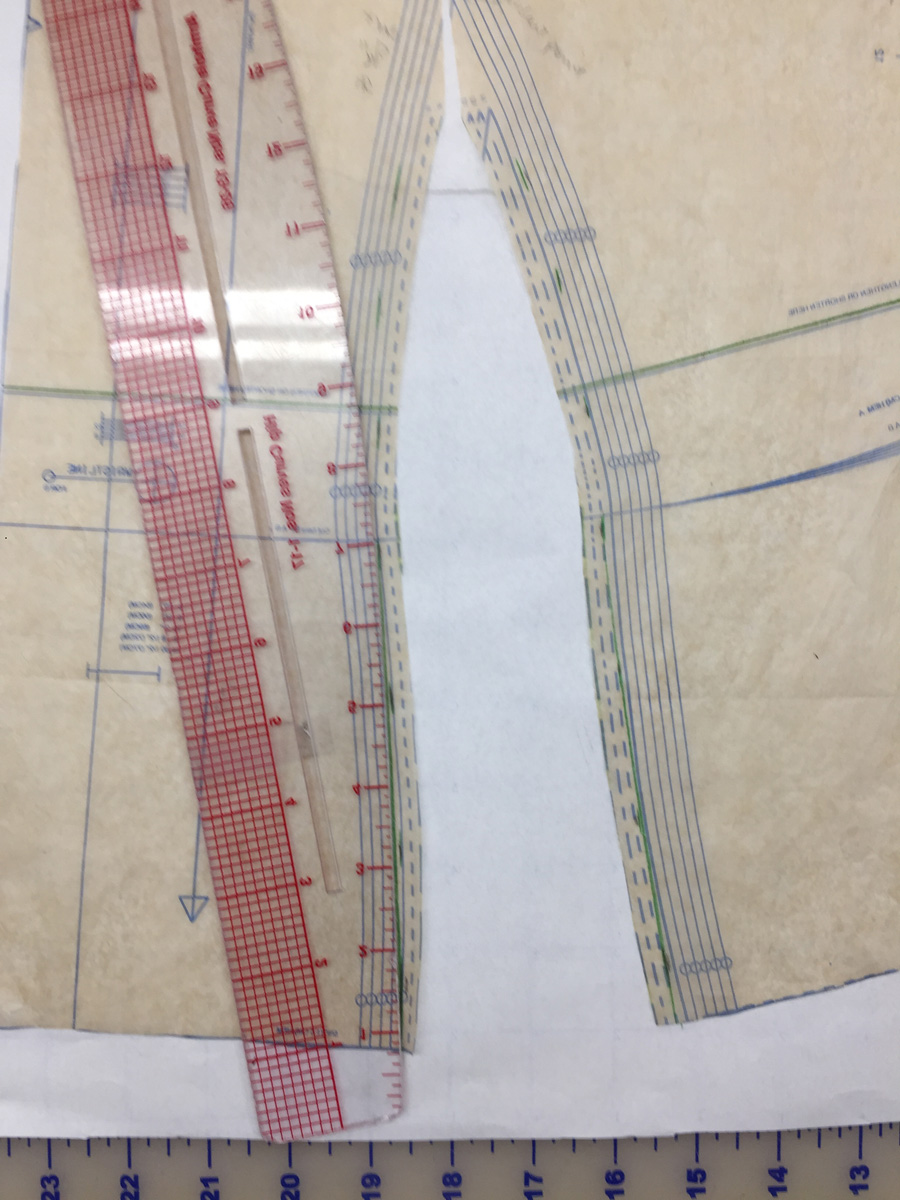
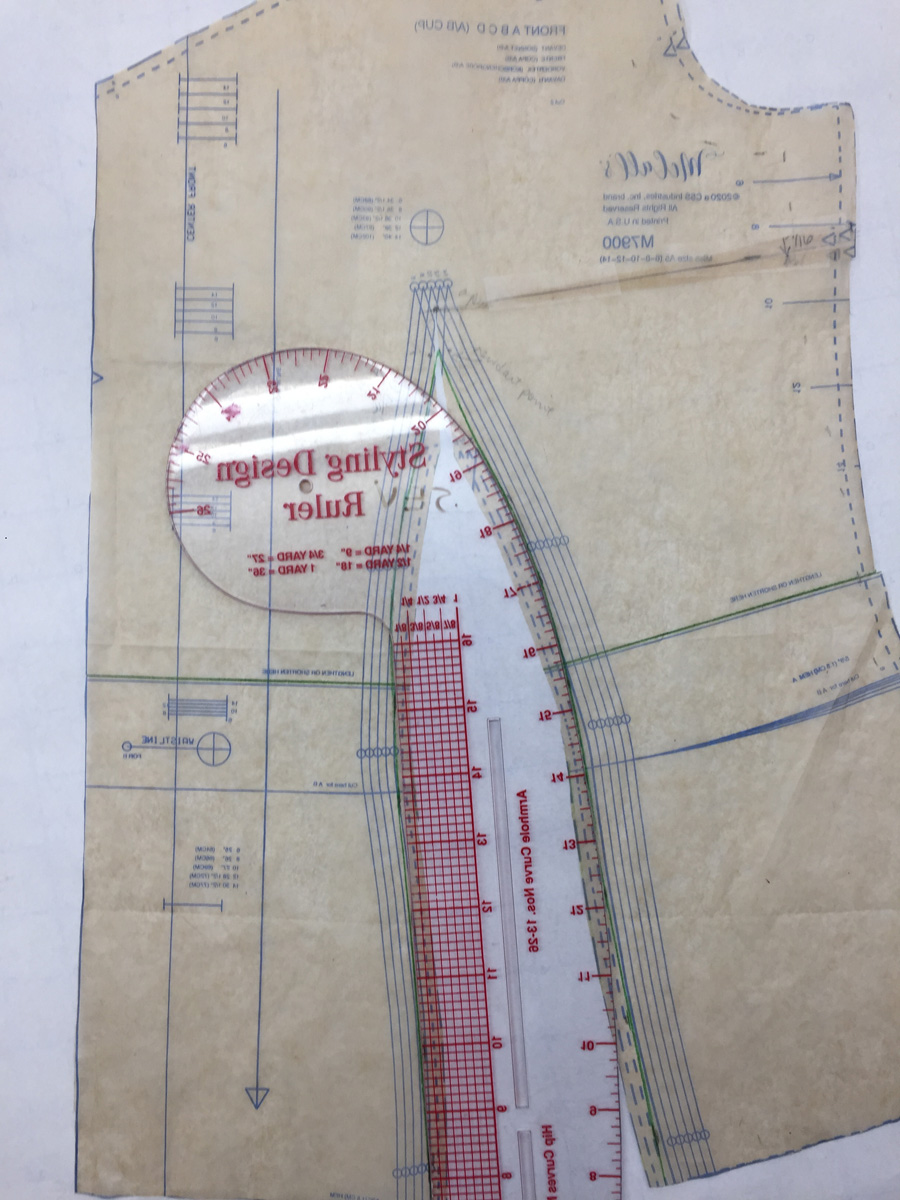
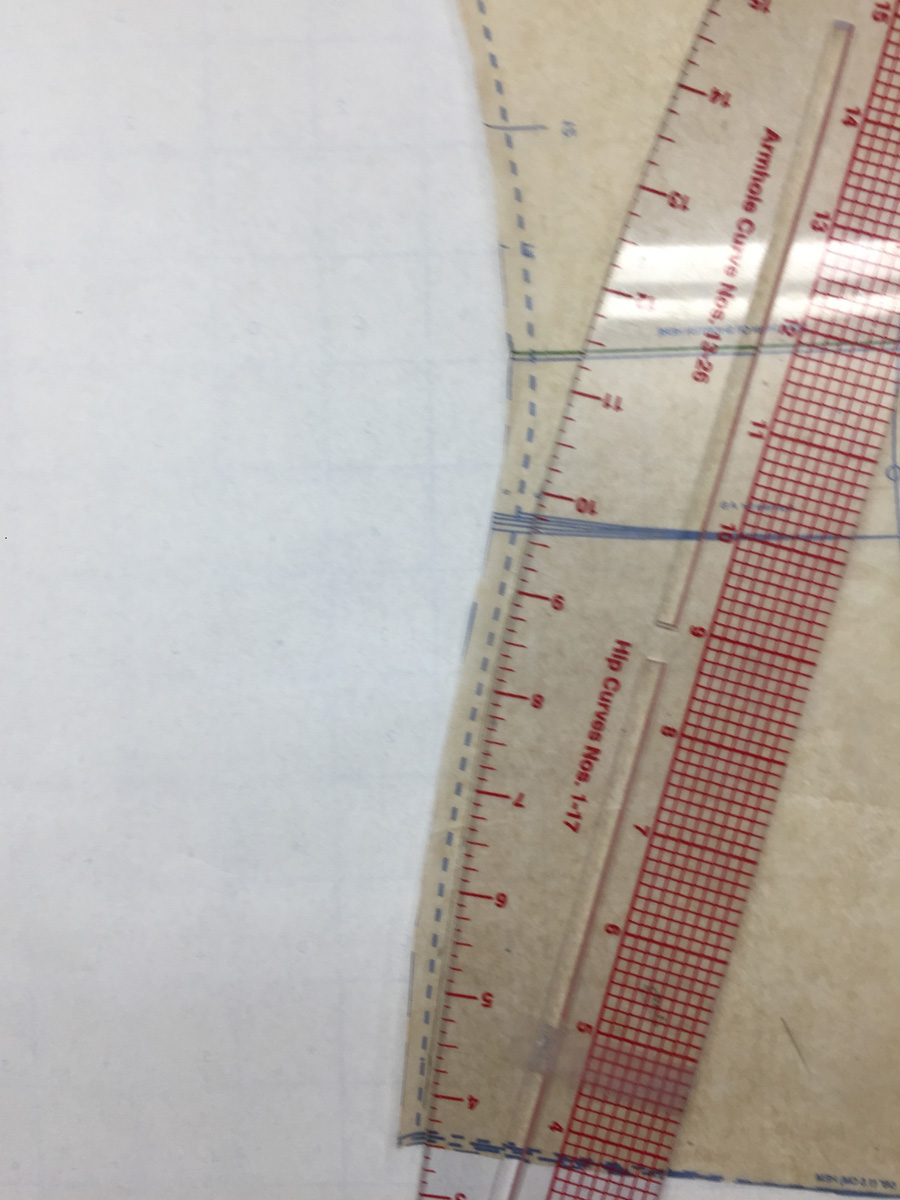
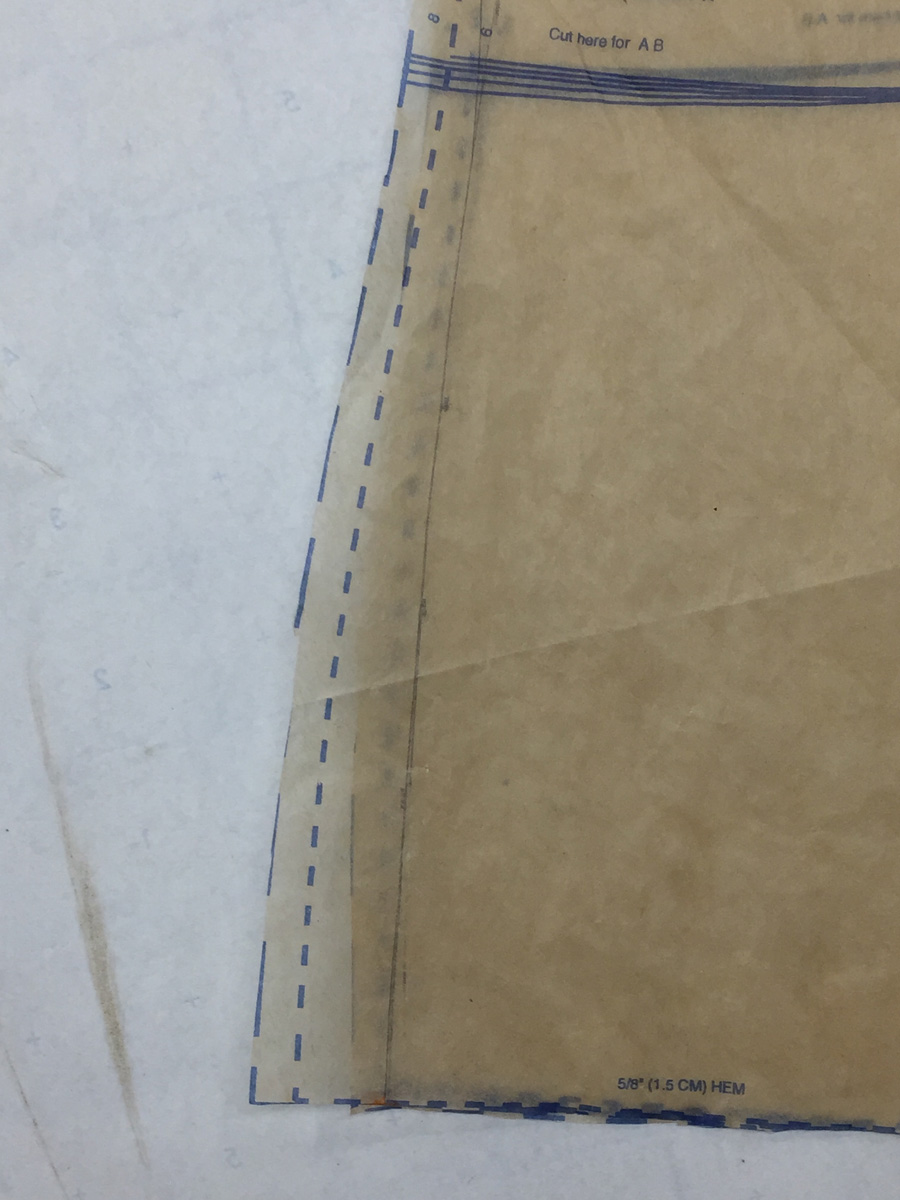
15. Start drawing the new side seamline, picking up as many tick marks as possible along a section of the fashion ruler. I’ve started at the bottom.
16. Draw the top and middle of the side seamline, blending smoothly to the lower portion.

The side seamline revision is completed.
17. Draw the shoulder seamline. I usually draft my shoulder seamlines straight, though the seamline was pinned in a curve in this case. I’ve connected the shoulder seam mark at the neck to the shoulder seam mark at the armhole.
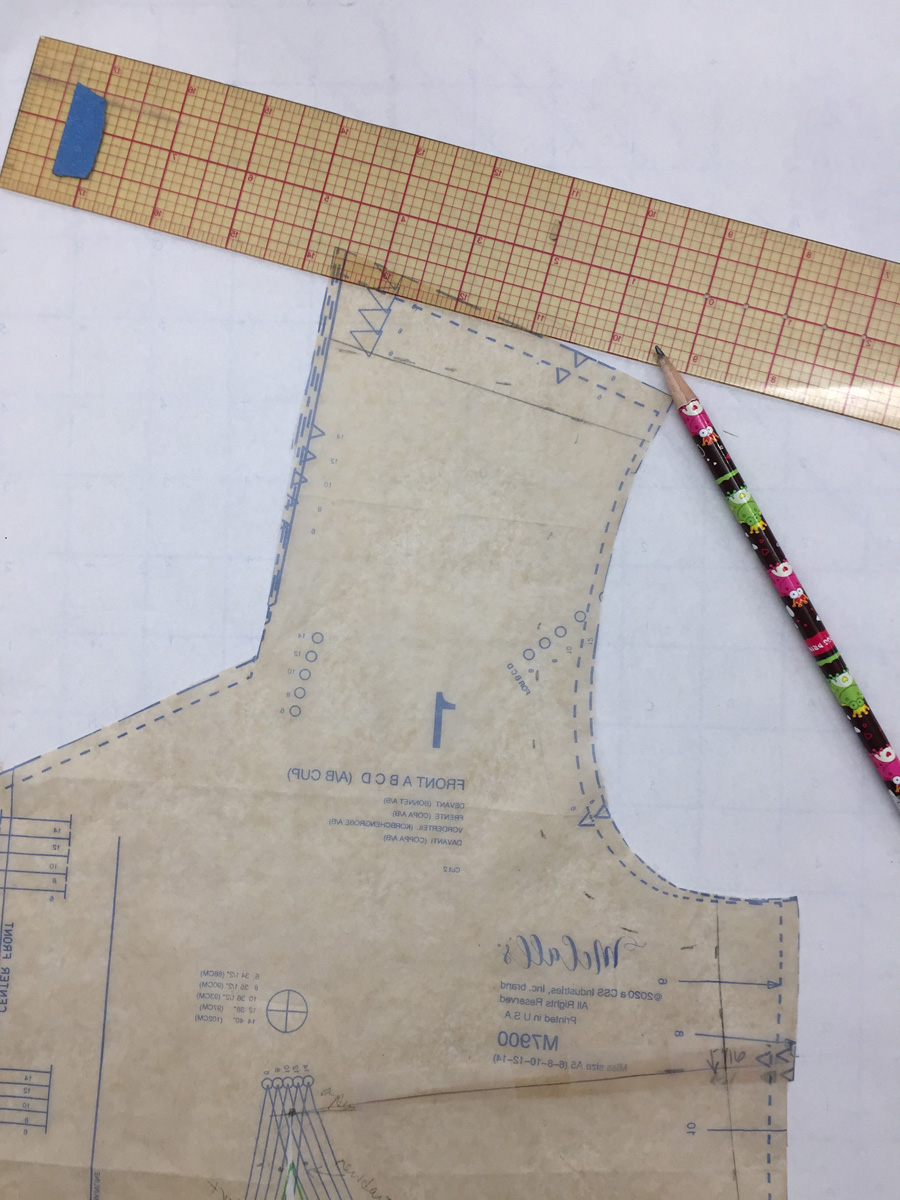
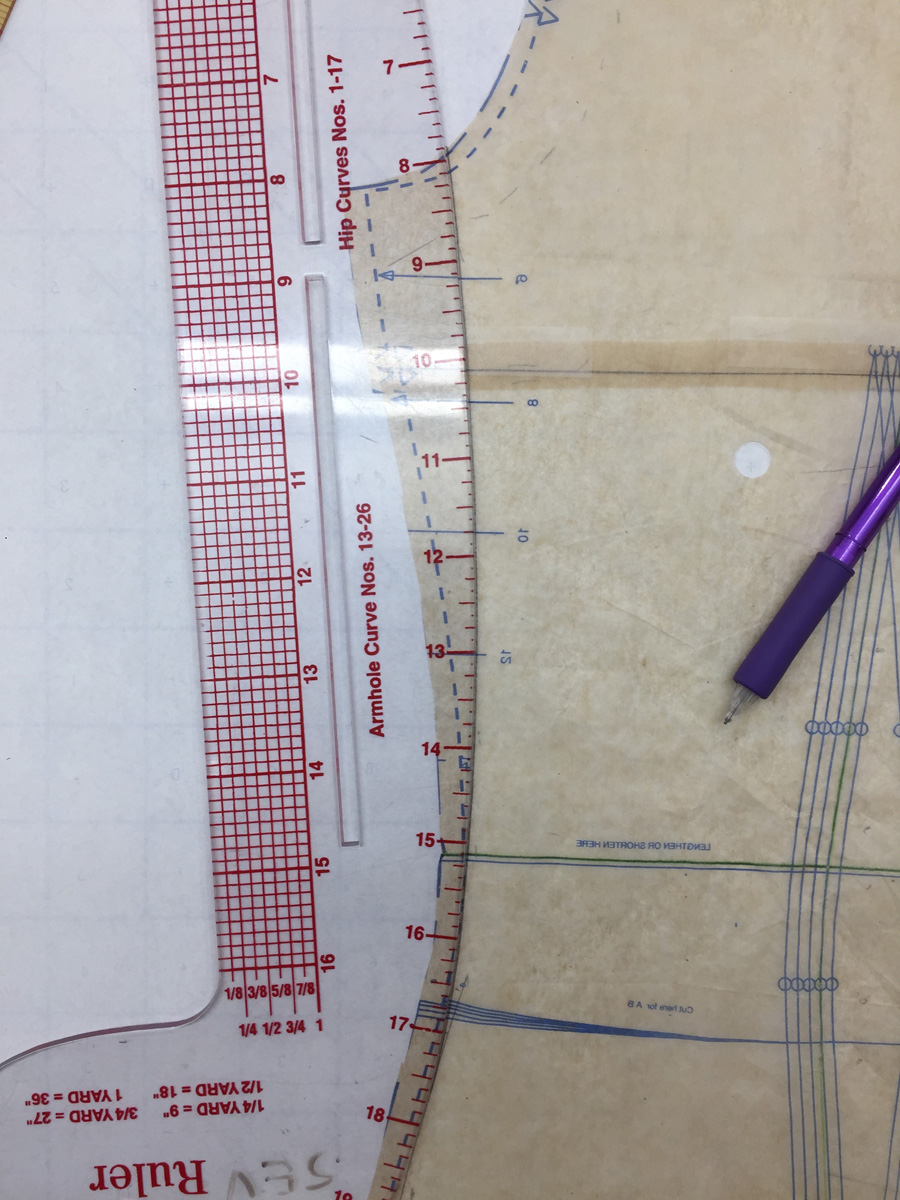
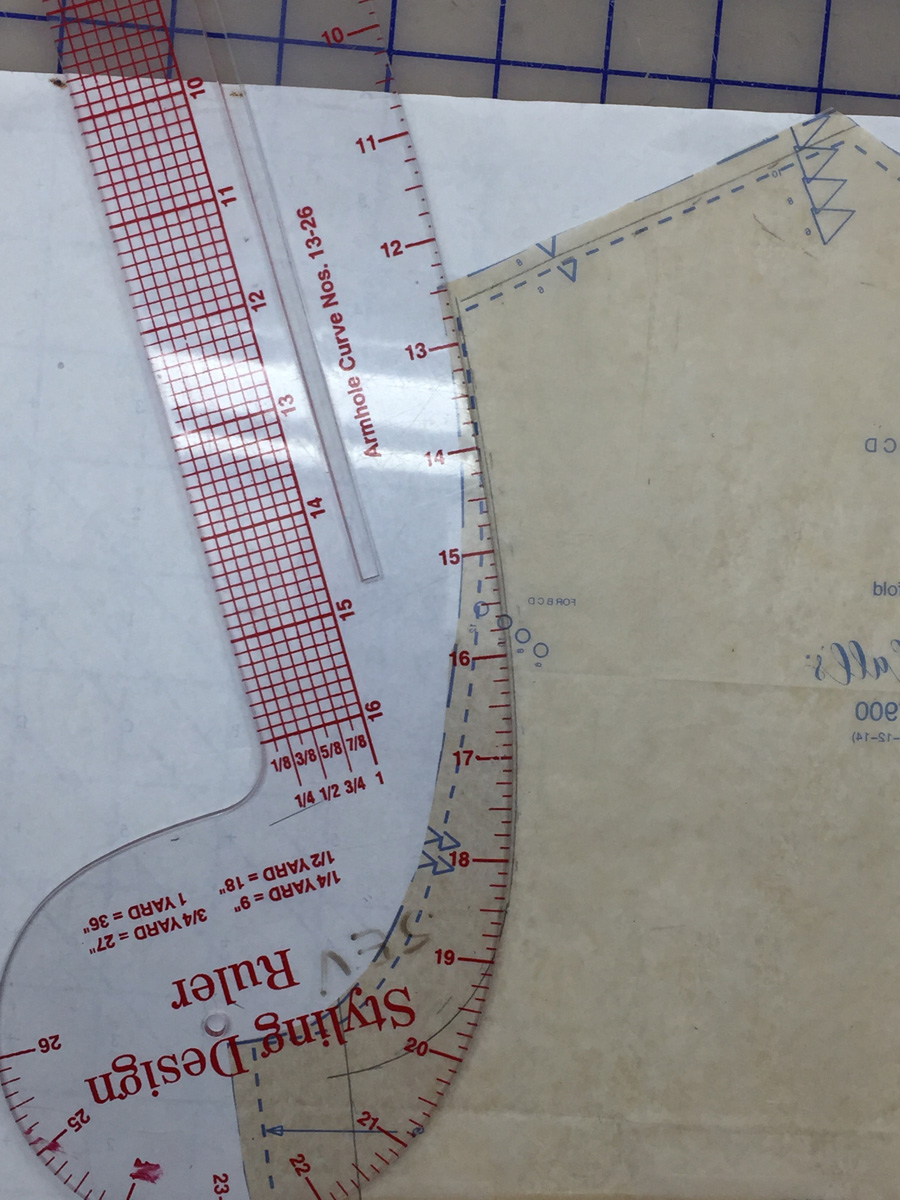
18. Redraw the lower part of the armhole. The “chin” of the fashion ruler works well.
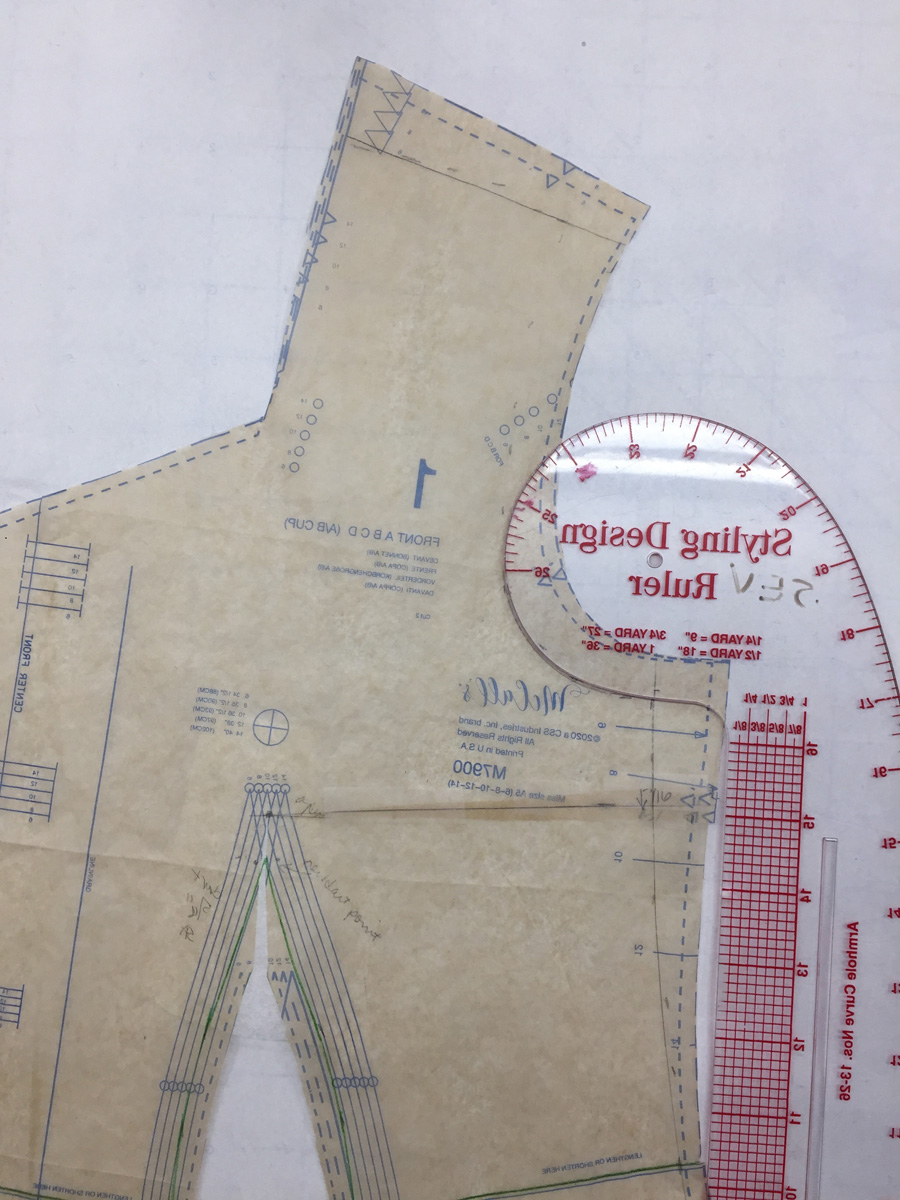
19. Flip the ruler to redraft the top and middle parts of the armhole seamline.

The armhole seamline is completed.
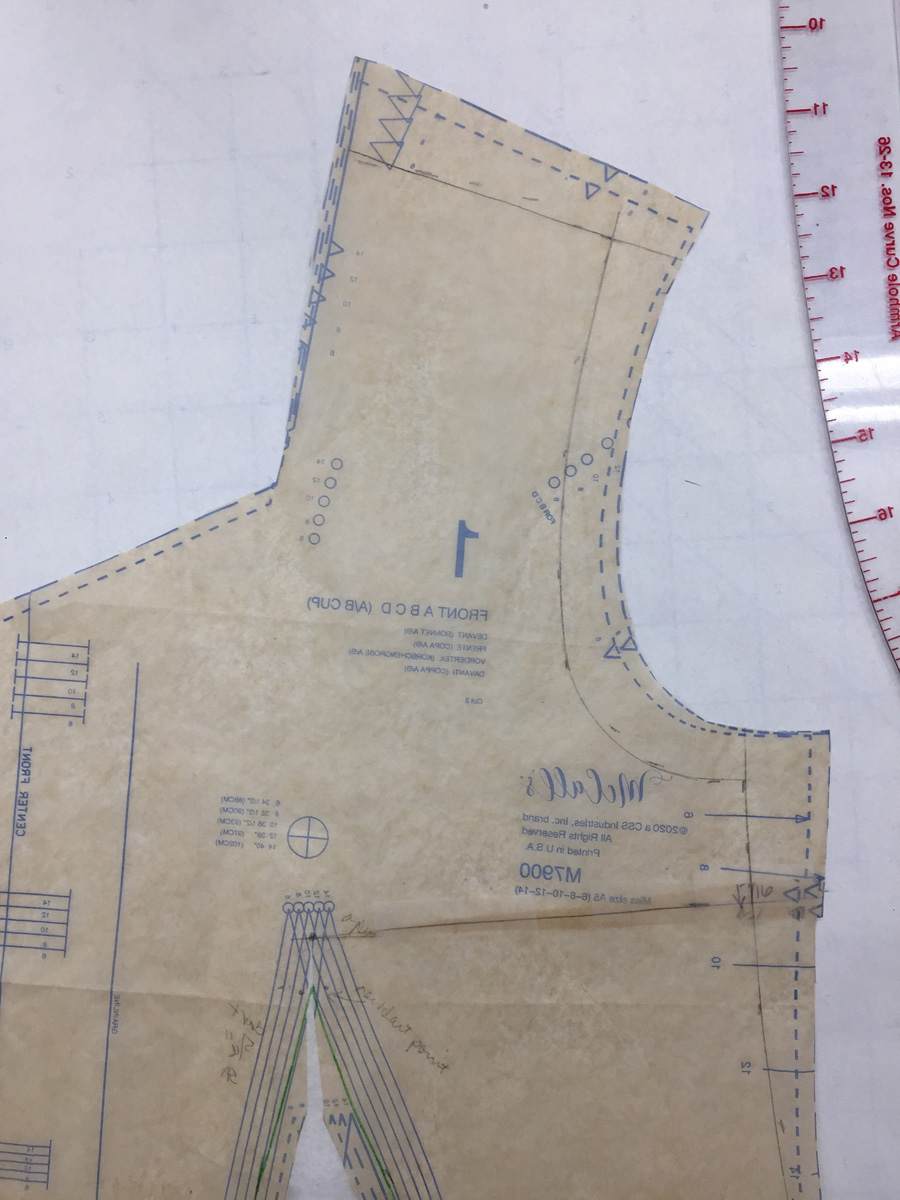
The front changes are done.
Complete the back changes
20. Draw the back neck dart: Connect the dart point to each dart leg indicated along the neck seamline.
21. Draw the shoulder seamline, connecting the shoulder seam mark at the neck edge to the shoulder seam mark at the armhole.
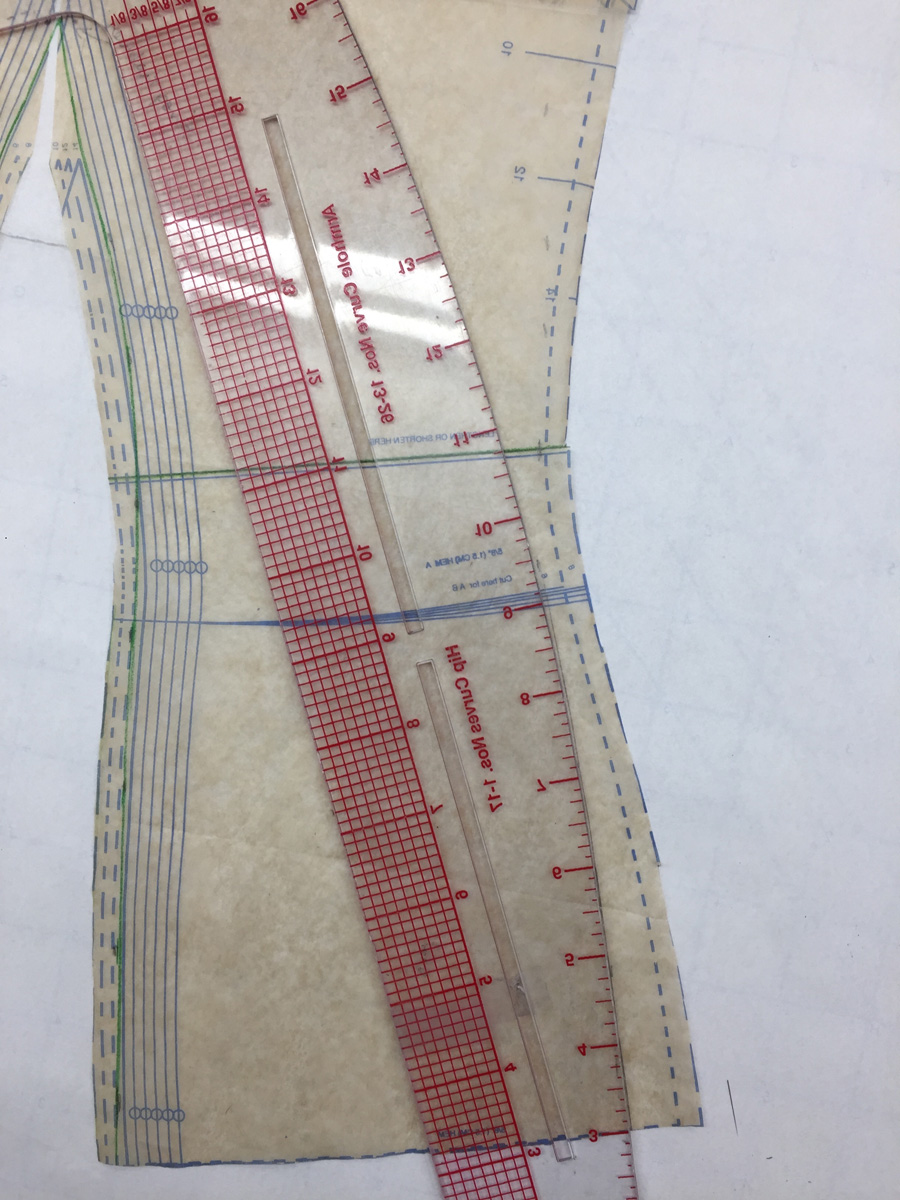
22. Draw the lower part of side seamline as you did the front side seamline, with a fashion ruler as a guide.
23. Draw the upper and middle parts of the side seamline, blending smoothly to the bottom section.
The revised side seamline is completed.
24. Draw the bottom of the armhole using the chin of the fashion ruler as a guide.
25. Draw the upper and middle armhole, blending smoothly to the bottom section.
26. Draw the back waist dart legs, using the same method as for the front waist dart, steps 11 through 14.

27. To establish the placement of the intersection of the back neck seamline and the back shoulder seam, place the back pattern on top of the front pattern with the shoulder seamlines aligned. Also align the front and back armhole seamlines. Then mark the back neck seam position. It should be fairly close to what you marked from the pattern.
28. Fold and pin the back neck dart before drawing the back neck seam (because the dart will be sewn in the garment, taking up the dart intake). Mark the neckline at the center back. It should be perpendicular to the center back fold for about 3/8 inch, so that there is not an upward or downward dip.
29. Keeping the front and back patterns stacked so you can see the transition of the neck seamline from the front to the back, draw the back neck seamline from the shoulder seam going toward the back neck dart.
30. Blend the remaining section of the back neck.
The back neck seamline is smoothly blended to the front neck seamline.
Walk and true the seamlines
31. Walk and true the side seamline from the HBL down to the hem.
32. Walk and true side the seamline from the HBL up to the armhole.

33. Make a small adjustment at the hem. If there is a difference, lengthen one seamline, shorten one seamline, or split the difference. If the difference is small (1/4 inch or less), I usually shorten the longer seamline.
34. Make a small adjustment at the armhole.
Check for all incorporated adjustments
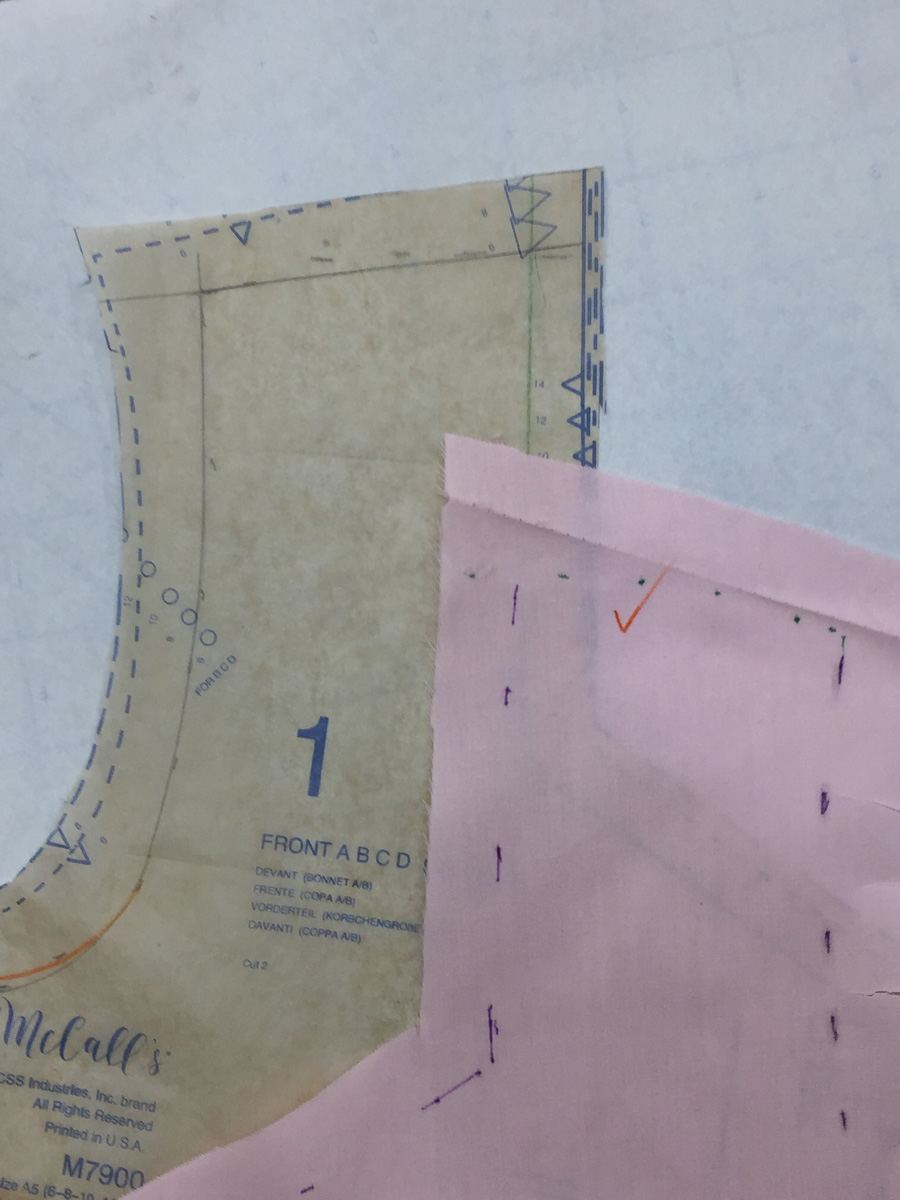
The front shoulder seam allowance has been drawn and the excess paper cut away. I put check marks on the muslin after walking and truing each seam. Then I can quickly look at the muslin and see that all adjustments have been made.
The back shoulder seam with seam allowance added and the muslin check-marked.
The back neck with seam allowance drawn and trimmed. Be sure to keep the dart folded when cutting along cut line.
The back neck with dart unpinned and perfectly trued dart legs.
After measuring and drawing all seam allowances, and cutting along cut lines, the back pattern is completed.

The completed front pattern with proper seam allowances, including at the waist dart. It’s much easier to sew a waist dart with a large intake when the dart has seam allowances.
Add notches
Notches help you sew the garment together accurately. Take control of where you have notches, placing them where they will be helpful to you when sewing.
35. With one pattern accurately aligned showing trued seamlines, draw a notch on the lower pattern.
36. Keeping the two patterns in perfect alignment and the top pattern in place, draw a notch on the upper pattern piece, copying the notch position from underneath.
Alter or develop facings
37. Since the center-front and front neckline were not altered, altering the front facing is straightforward. Accurately position the front facing and the front pattern as if to sew, and pin them together. You can see that the facing’s shoulder seamline needs to be adjusted. Cut away the excess length.

38. Because I added a back neck dart and lowered the back neck seam, the back neck facing would need to be altered substantially. I think it’s easier to develop a new facing pattern than to alter the one provided in the pattern.
39. With the back neck dart pinned, place pattern paper on top, aligning the center back. Indicate the center back fold on the facing.
40. Cut the tissue along the neck and shoulder cutting lines.

41. Remove the back facing pattern from the back pattern. In order to make the front and back neck facings the same width, align the front facing to the back facing along the shoulder seamlines, with the neck edges even. On the back facing pattern, mark where the front facing edge meets the back shoulder seam.

42. Draw in the remainder of the back neck facing’s outer edge. This can be a consistent width, or it can get wider or narrower depending on the support you want the facing to give your garment.
The completed front and back facings.
The completed back neck facing.

These are the steps for accurately transferring fitting adjustments from a test garment to the pattern pieces. Try this method to become even more comfortable with these patternmaking steps. You’ll feel confident about adjusting patterns for yourself and others.


Log in or create an account to post a comment.
Sign up Log in