
Make Giant Buttons a Garment Feature
Ways to sew the closure when using big buttons
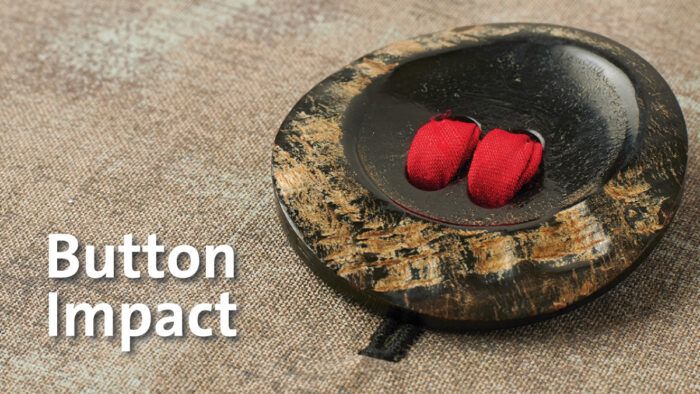
Big, decorative buttons add drama to garments. At the same time, they pose problems: How do you attach buttons with extralarge holes rather than shanks, and what is the size limit for stitched or bound buttonholes? I’ll offer creative and practical solutions to these questions, so you can feature bold buttons on your sewn clothes.
Consider the situation in which the button requires a buttonhole that’s 3 inches long. You have to cut a 3-inch hole in the front of the garment. If you have planned for a whole row of buttons, this may compromise the stability of the garment’s opening edge. One way to create a strong closure is to machine-sew the buttonholes and leave them uncut. Alternatively, make beautiful bound buttonholes, which you can also invisibly stitch closed. Add the buttons over the buttonholes and then apply hidden snaps to close the garment.
When large buttons have oversized holes, ordinary construction thread is not an ideal attachment. Learn alternatives for securing big buttons to a garment.
Attach with bias cording
A skinny bias tube is a good substitute for thread in large buttonholes. It fills the holes and provides an artistic accent.
1. Cut a bias strip. Make it about 2 inches wide and 6 inches long.
2. Sew the tube. Fold the strip lengthwise, with right sides together. Plan the stitching line parallel to the strip’s fold, so the distance from the fold is slightly wider than the desired finished cord diameter. Sew with a small zigzag stitch (A).
3. Trim the seam allowance to about 1/4 inch wide. Use pinking shears if desired. Then turn the tube right side out (B).
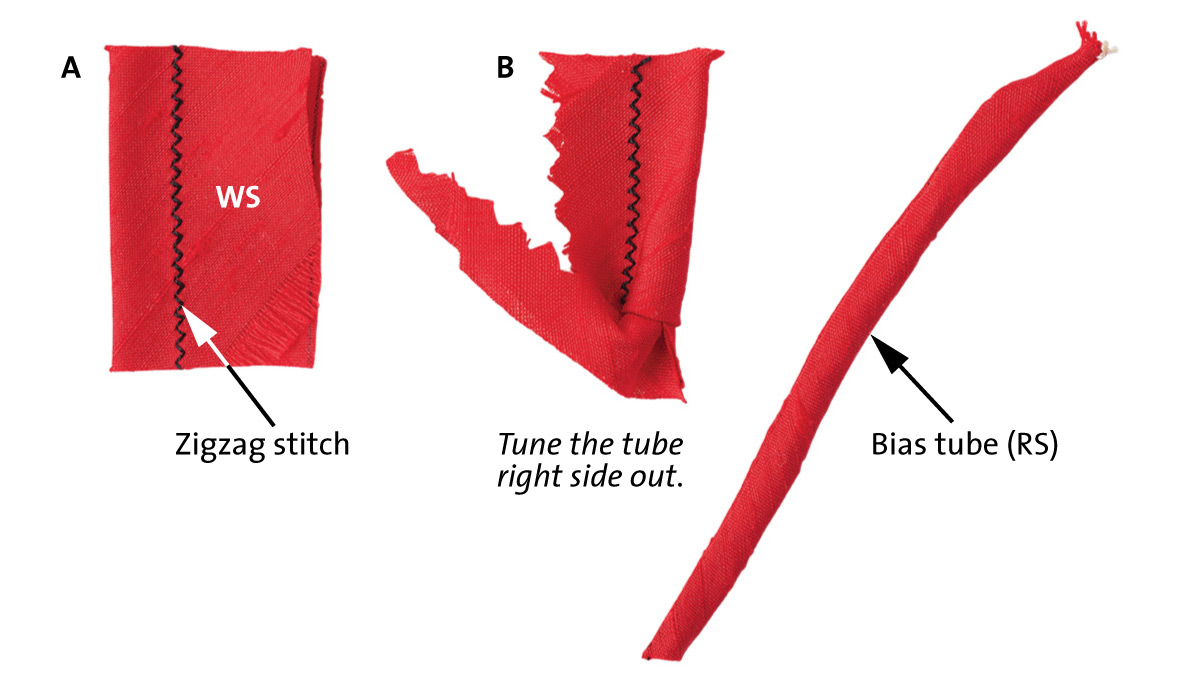
4. Attach the cord to the button. String a short length of cord through one pair of holes, pull it snug and trim it so the cord ends…
Start your 14-day FREE trial to access this story.
Start your FREE trial today and get instant access to this article plus access to all Threads Insider content.
Start Your Free TrialAlready an Insider? Log in


So when you say sew to the opposite side of the garnment as usual, you certainly speak to the placement on an open buttonhole. The fabric shank holding the button
(Mine is about one half inch wide) is best secure to the garnment how in order to not have a flopping button? My plan is to make the shank out of the lining fabric,possibly sewn like a belt loop band. How do I determine the proper lenght and have the ability and space to sew the shank without having a very loose button?
Thank you so much for your assistance.
Hello user-7449007. We spoke with Judy about your questions and she has some advice:
You’ll need the shank to be long enough to accommodate the thickness of the garment’s overlap side when the garment is buttoned. If it’s the right length, the button should sit snugly on the overlap side when the coat is closed.
To attach the button, cut the shank about 3 inches long so it is easy to handle. Sew one end to the coat’s underlap side at the desired button location. Then, thread the shank’s free end through the buttonhole, through the button itself, and back through the buttonhole to the underlap side. Pull it as snugly as desired so the button sits in its final position. Pin the shank’s end in place. Gently unbutton the button, and hand-sew the free end where it is pinned. This is a fiddly process, so prepare to work patiently. If the shank’s end is securely pinned, you may be able to sew from the underlap’s wrong side (the coat’s interior) and anchor the shank that way.
Good luck with your garment!