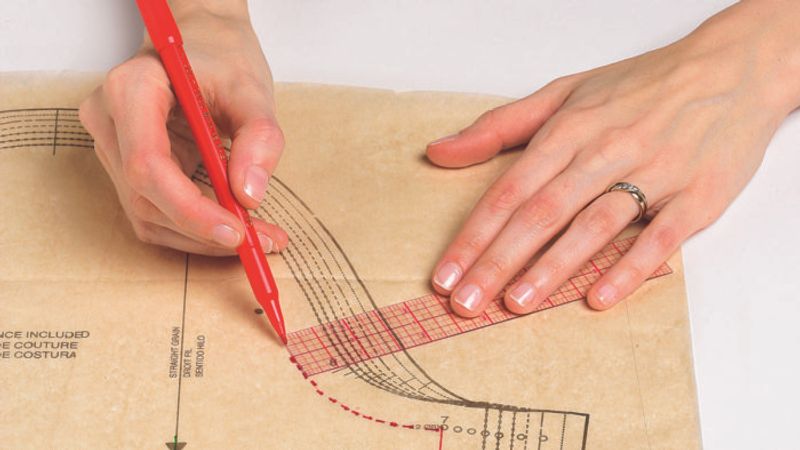
Walking all the seamlines is an essential step in patternwork. Whether you’ve drafted a pattern from scratch, made fit adjustments to a commercial pattern, or are using a purchased pattern as is, it’s a good idea to take the time to walk the seamline.
The point of this process is to check all seamlines that are to be sewn together are the correct length. If they are to be sewn one-to-one, they should be the same length. If there is intentional ease in one side—as in a sleeve cap or princess side panel—you can determine how much ease is built in. In both cases, you’ll be able to find and correct inaccuracies that occur in the pattern.
Simple seams
Begin by drawing the seamlines on the pattern tissue. Most multisize patterns don’t have seamlines marked, so you’ll need to measure in from the cutting line by the correct seam allowance width, and draw a line.

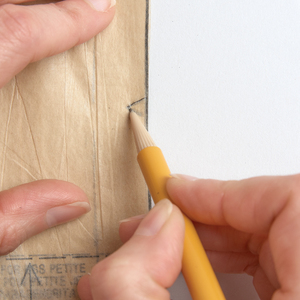
Then lay the pattern pieces one atop the other, as if you were going to sew the seam. Starting at the bottom, align the cut bottom edges and the seamlines, for a few inches. Anchor the seamlines with the point of a pencil, and pivot the upper pattern to align the next few inches of the seamline. Move the pencil a few inches and repeat. When you reach the end of the seamline, you’ll discover whether the lines are of equal length.
If they are not, correct them. If the difference is less than 1/4 inch, shorten the longer seamline and reshape the intersecting edge. For vertical seams, you usually make this correction at the seamline’s upper end. For horizontal, adjust at the outer end rather than at center front or back.
If the difference is greater than 1/4 inch, correct both pieces. Shorten the longer seamline by half the difference, and lengthen the shorter one by half the difference.
Seams with ease
If there is intentional ease in a seam, walk it in two parts. Start from one end, and make a mark when you reach the area with ease. On a sleeve cap, place the sleeve pattern on top of the armscye and walk the seamline from one end. When you reach the bodice’s shoulder seam, mark the shoulder seam location on the the sleeve seamline. Repeat from the other end of the seam.
On a princess seam, walk the seamline from the bottom to the lower notch, which indicates where to ease the seam. then walk the seamline from the top down to the upper notch. Then walk the area between the notches to find out how much ease is included. If it’s more or less than you prefer, you can adjust the pattern.
Seams with darts
Walk the seam from one end until you reach the first dart leg. Make a mark on the non-darted seamline, then shift that piece along the seam and align the mark to the second dart leg, and continue walking it.
Insiders can learn more pattern skills in these online articles:
Universal Principles for Patternmaking”
“Fix Your Patterns Before You Sew”


Log in or create an account to post a comment.
Sign up Log in