

Pressing goes hand in hand with garment construction. That’s why I always demonstrate proper pressing techniques and discuss pressing tips when I teach garment sewing. You can be the best sewing enthusiast, but if the garment isn’t pressed well, no one will notice the amount of work you’ve put into making it.
Pressing zen
Many people have told me pressing is low on the list of things they like to do. I totally get that. However, learning to press the garments you make will save you money. You can’t always depend on the dry cleaner to do a great job. Remember, the dry cleaner cannot press each area as it is being made. They have only a finished garment to work from, so many areas can’t be pressed.
Pressing is a zen-like experience for me. It gives me a chance to feel the fabric. I steam, mold, and shape each section as needed.
Pressing tips
Here are a few tips I’ve learned along the way:
Natural fibers/fabrics are easier to press than synthetics
Keep some of the leftover scraps from cutting out your garment so you can test the amount of pressure or steam needed to get a well-pressed garment. It’s easy to overpress, so testing on scraps is essential.
Invest in a few pressing tools when you are able
I don’t use a lot of sewing gadgets, but these come in handy:
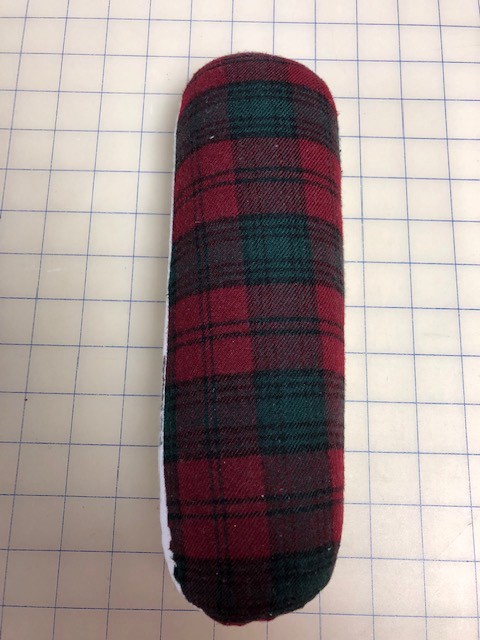
Tailor’s ham

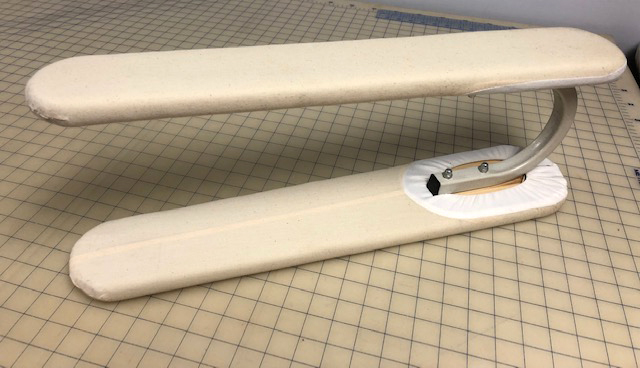
Sleeve board
Seam roll
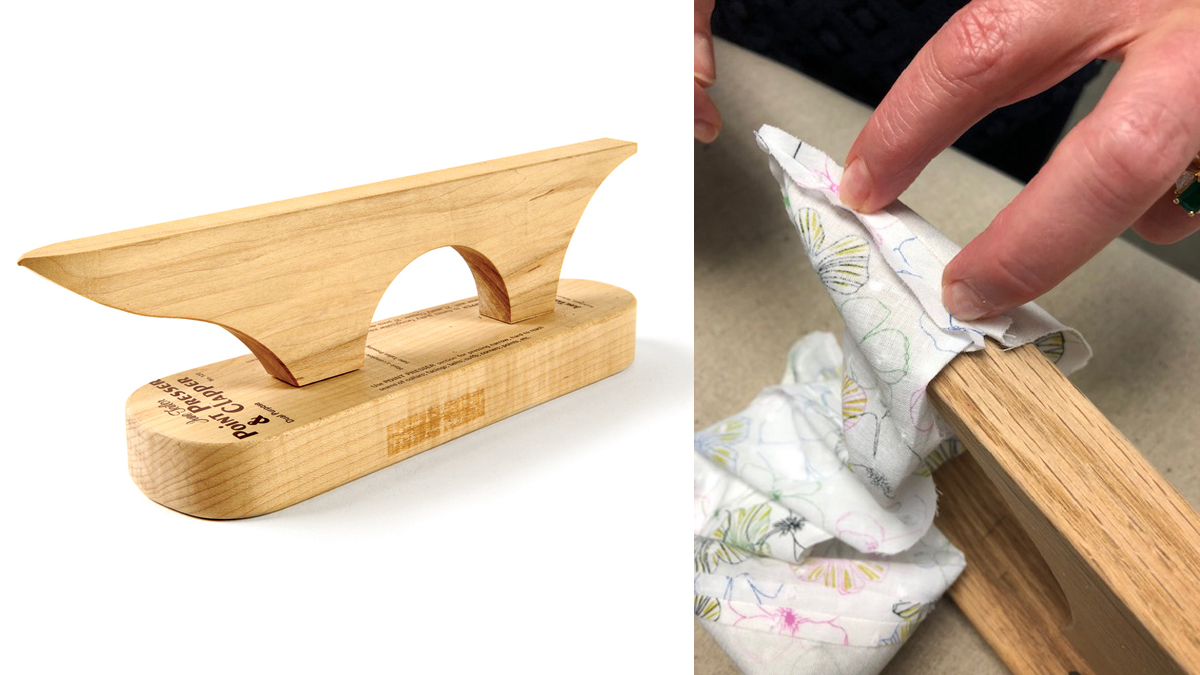
Tailor’s clapper

Point presser
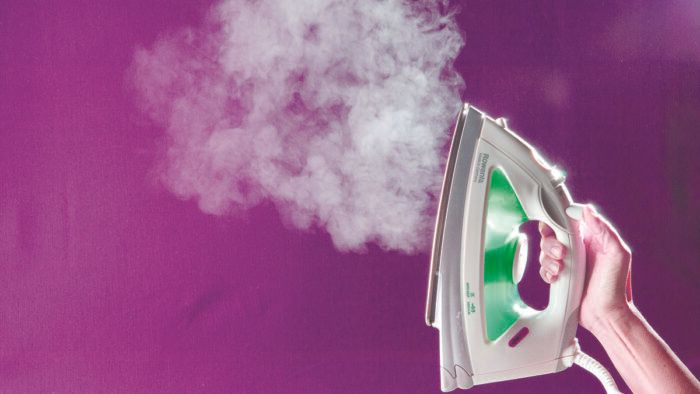
A decent steam iron
A Teflon iron shoe
This tool (available on Amazon.com and BoNash.com) saved my life more times than I can mention.
Consult pressing tool how-tos
Please refer to many of the previously published Threads videos and articles on the use of these implements. Here are a few videos:
- “Couture Pressing Techniques”
- “Pressing Pointers for Shaping and Finishing”
- “Pressing Equipment 101”
- “How to Use a Tailor’s Board”
Try pressing tools you may already own
You can always substitute with items you have on hand, until you’re able to get the real thing.
Some of the easily available items I use are: brown paper bag strips and an inexpensive point turner.
Place the paper bag strips underneath seam allowances or dart intakes while pressing to prevent them from showing through to the outside of the garment.

Use the blunt end of the point turner to coax fabrics to stay flat or to hold a crease after applying steam and pressure from the iron. The point turner, designed to create sharp collar points, easily serves this second purpose. If you hold the point turner on the warm fabric, moving it against the area you want to flatten, the fabric will be “persuaded” to stay flat.

I learned this technique from a student while teaching a class many years ago. Yes, we learn from each other.
Pressing challenges
Get rid of fabric puddling at the knee or seat
Lay the area as flat as possible and steam it well. Use the other hand to gently pat the fabric and flatten it in between steaming. After steaming the area, apply pressure with the iron to the area until it starts to smooth out. All fabrics can’t be saved, but this technique usually works.
Remove holes left in the fabric by letting out garments
It sometimes works to use your fingernail to scratch the fabric along the original seamline and then steam before pressing. Natural fabrics give better results than synthetics.
Strategies for when the original pressed line won’t go away
This generally applies to garments that are lengthened at the sleeves or hemlines.
Cover it
Consider using a narrow braid or some other type of ribbon trim to cover the line. Covering with a contrast fabric is an option, as well as adding a cuff as a design solution for sleeves.
Beware of some fabrics
Satin-faced fabrics and poplins with a high polyester content are two fabrics I’ve found difficult to press away the original line.
Satin-faced textiles will take on water spots;. If you use steam, it has to be with an iron that won’t drip.
The poplin or khaki types with a high polyester content won’t give up the original line—ever. A few years ago, I was asked to add hem cuffs to pants that were made with this type of fabric. I told my client that I could do the job as long as the original line could be pressed flat, and that the finished shorter hem length (including a cuff) was above the original lines. Luckily, his desired length was above, and a new cuff could be made. The fabric must have had a special finish applied to it to prevent the original creases from being removed.
Apply steam and pressure
Most menswear fabrics release the original hemlines, seams, and creases in pant legs with steam and pressure.
Use a silk organza press cloth to protect fabrics well. You must apply firm pressure to get great results. I find that most folks are afraid to press well fearing they’ll press too hard or burn the fabric. Use a press cloth and/or a Teflon iron shoe to ease that fear.

These pressing tips and techniques, along with others you can read about in Threads, have served me well. I hope you will find them helpful, too.
Photos: Pamela Howard, except where noted.


Log in or create an account to post a comment.
Sign up Log in