
For a Great Fit, Start with Fitting the Shoulder
Your shoulder slope affects the fit of every outfit, so alter patterns to match your body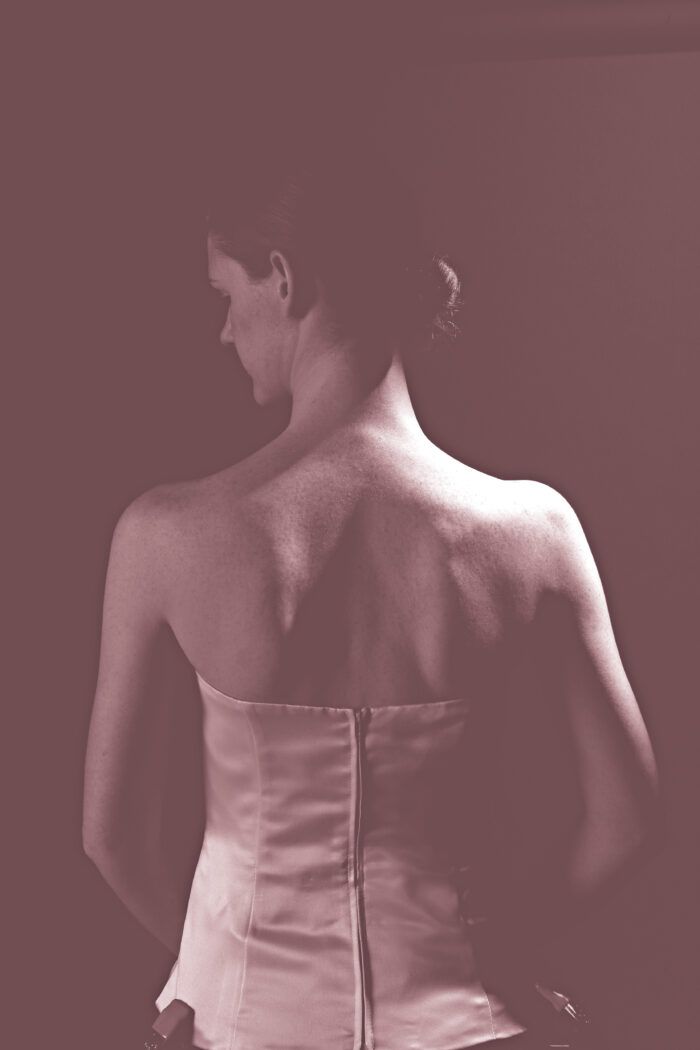
Your shoulders are like a clothes hanger: Every top, jacket, and dress you put on hangs from them. If you want your clothes to look better on you than on a hanger, you need to work on fitting the shoulder. Basically, you need to match the garment’s shoulder slope to yours.
The slope of the shoulders is the angle starting below your ear at the base of the neck to the shoulder point—in other words, from where a short necklace would fall at the side of the neck to where you’d like the seam of a set-in sleeve to lie. If your shoulders are more square or more slanted than the garment’s, you’ll see evidence everywhere, from the neckline to the upper chest, the back, the sleeves, and even the hemline.
In this article, we show you how to pinpoint your shoulder-slope problems and to trace the silhouette of your body to make a master template of the shoulder area. We then demonstrate how to use the shoulder template to alter garment patterns.
Shoulders can be square or sloped
If your garments lie flat around the neck and hang smoothly over the top of the shoulder and the upper chest and back with no wrinkles or pulling, the slope of the pattern probably matches your shoulder shape well. For many of us, though, a standard pattern droops or pulls, creating wrinkles we’d rather not see. Fitting problems are usually caused by either square or sloped shoulders. Learn how to read those wrinkles and diagnose your shoulder-slope fitting issues on p. 74. And don’t forget to make adjustments to both the back and front pieces of your pattern (pp. 76–77).
On square-shouldered figures, a garment’s neckline may stand away from the base of the neck at the back and sides. The upper torso may display horizontal wrinkles across the collarbone region and just below the back neck.
On slope-shouldered figures, you’re likely to observe vertical wrinkles and drooping from the outer end of the shoulder down the sides of the torso, or diagonal wrinkles from the neckline to the armscye. Looseness at the shoulder seam, or an armscye that stands away from the shoulder point, is another telltale sign of sloping shoulders.
Special shoulder issues
Asymmetrical wrinkles suggest uneven shoulders. Many of us have one “normal” shoulder and one that’s more sloped or square. If this is the case for you, you’ll need to fit the right and left sides of your garments independently. In most cases, we suggest fitting for the higher shoulder and padding the lower shoulder to match.
Shoulder wrinkles can be confusing—they sometimes mimic the symptoms of a fitting problem in the neck, sleeve, back, or bust. But we promise that by correcting the shoulder slope on your garments first, you’ll solve other apparent fitting issues at the same time. That’s a burden no one minds shouldering.
Diagnose shoulder-slope fitting problems
Folds, wrinkles, and drag lines in the upper bodice hint strongly that the slope in the pattern is wrong for your shoulders. Put on an existing top that’s your size, and assess the fit.
Square shoulders
A relatively high shoulder point scoots the armscye up, leaving the shoulder seam and neckline unsupported. Thus, the neckline stands away from the neck or horizontal wrinkles form across the upper torso in front or back.

Sloping shoulders
When the shoulder point is low, the armscye might droop or gape on top and be tight under the arm. Tightness under the arm may cause diagonal wrinkles to form from the neckline to the armscye.

Find your shoulder slope, then use it
Determining your shoulder slope is as easy as tracing your silhouette onto a sheet of paper—and you’ll have an
instant, custom-fitting tool. Enlist a friend to help.
Prepare the paper
Draw a line down the center of the paper, which will be perpendicular to the floor. Hang the paper on a wall so that the upper edge is a few inches above the top of your head.
Stand against a wall
Wear a tight-fitting top or underwear. Stand with your back against the paper, your feet slightly parted, and your arms hanging naturally at your sides. Align your body so that the line is centered at the top of your head and between your legs.
Trace your shape
Enlist a friend to trace your torso. To establish the outline of the figure, have her keep the pencil perpendicular to the wall (for clarity, we had our model slant her pencil in the photo) along the side of the body and draw around the body. For a shoulder-slope tracing, trace from the waist up, including the sides of the neck. Don’t worry if the pencil line looks a little wobbly. Step away from the paper and draw over the pencil line with a marker, smoothing out small bumps in the original tracing.
Use the tracing as a shoulder template
Remove the tracing from the wall, and lay it out on a table. Lay your garment pattern over the tracing, aligning the center front or center back along the vertical line and matching the neckline end of the shoulder seamline to the drawing. Compare the pattern’s shoulder slope with yours. You’ll see instantly whether you need to raise or lower the outer end of the shoulder seam. Here, the pattern’s seamline slopes at a noticeably steeper angle than the shoulder line.
For Square Shoulders, Angle Up
Square shoulders need a seam that slants less steeply from the neck to the shoulder point than it does on the pattern piece.
1. Make an L slash for set-in sleeves.

A. Cut around the armscye as shown at left, keeping the vertical cut parallel to the grainline and the horizontal cut perpendicular to it.
B. Slide the armscye section up as needed to meet the shoulder point on your shoulder template. Tape into position.
C. True the shoulder seamline by connecting the ends with a straight line.
2. Increase the shoulder shaping in cut-on sleeves. Even if a cut-on, or kimono, sleeve has enough ease to accommodate a square shoulder, it can pull uncomfortably if the shoulder shaping is too shallow.

A. To fix this, lay the bodice section of patterns with cut-on sleeves over your shoulder template, aligning center fronts.
B. Redraw the shoulder seam to follow your shoulder line.
3. Work from the center front or center back to adjust raglan sleeves.

A. Lay the garment-front pattern over your shoulder template, aligning center-front or center-back lines.
B. Lay the raglan-sleeve pattern out, aligning the upper raglan notches.
C. Redraw the shoulder seam to add room for a square shoulder.
For Sloped Shoulders, Angle Down
Sloped shoulders need a seam that slants more steeply from the neck to the shoulder point than it does on the pattern piece.
1. Make an L slash for set-in sleeves.

A. Cut around the armscye as shown at left, keeping the vertical cut parallel to the grainline and the horizontal cut perpendicular to it.
B. Slide the armscye section down as needed to meet the shoulder point on your shoulder template. Tape into position.
C. True the shoulder seamline by connecting the ends with a straight line.
2. Minimize the shoulder shaping in cut-on sleeves. With sloped shoulders, too much of a curve in the upper sleeve seam of a cut-on sleeve can lead to unattractive folds of fabric.

A. Solve the problem by laying the bodice section over your shoulder template, aligning center fronts.
B. Redraw the shoulder seam to follow your shoulder line.
3. Work from the center front or center back to adjust raglan sleeves.

A. Lay the garment-front pattern over your shoulder template, aligning center-front or center-back lines.
B. Lay out the raglan-sleeve pattern, aligning the upper raglan notches.
C. Redraw the shoulder seam to reduce the shoulder ease.


Log in or create an account to post a comment.
Sign up Log in