


Whether you’re a seasoned sewer or an occasional mender, sewing on a button is a basic skill you should know. The task deserves careful attention because most likely it’s the final touch you give your garment, and often a garment’s buttons are its only embellishment. I’ll show you how to sew on a button, by hand and by machine, so it stays firmly in place and sits smoothly on top of the buttonhole. I’ll also explain how to accurately measure a button to determine the exact length for the buttonhole, and how to place each button in exactly the right spot.
Button types

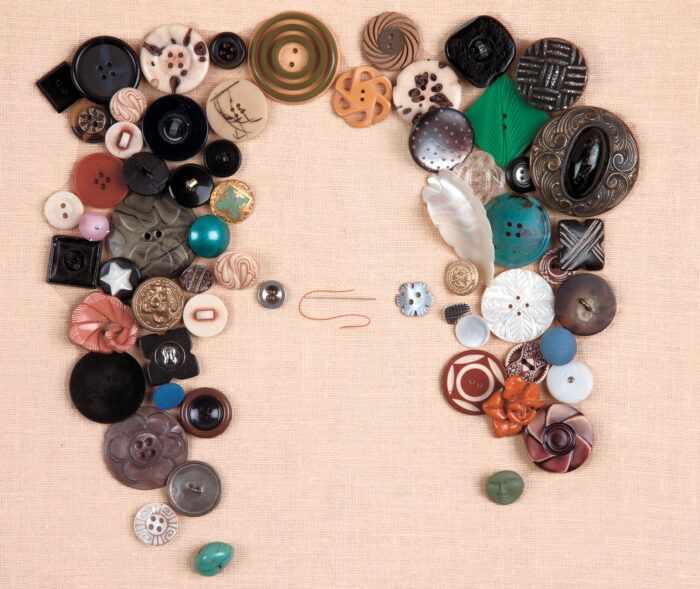
If you collect buttons as I do, you know that buttons come in many shapes, sizes, and materials. But for all their variety, there are basically two types of buttons: buttons with holes and buttons with shanks. Sew-through buttons have two, three, or four holes and are usually more casual and less expensive than shank buttons.
Sewing on a button basics
Many of the buttons I collect are one-of-a-kind, handmade, and differ in size from the standard sizes that patterns recommend. So when I start a garment, I always consider which buttons I want to use, in case I need to change the size and even the location of the buttonhole.
The buttonhole length is determined by the button’s diameter and thickness, plus room for ease. Measure a flat button’s diameter with a ruler. Measure a round or novelty button by wrapping a 1⁄4-in.-wide strip of paper around the button and pinning the ends snugly together. Remove the paper, fold it in half, and measure from fold to pin find the button’s diameter. If you’re making hand- or machine-stitched buttonholes, add 1⁄8-in. ease to this measurement. Add 1⁄4-in. ease for bound buttonholes, because they tend to get shorter when the facing is finished. If the button’s texture is rough, add 1⁄8 in. to the ease planned for regular or bound buttonholes, so the button will pass through easily.
Check the button stand, or overlap, as well. This is the amount of fabric between the garment’s center front and finished edge, which should be half of the button width plus 1⁄4 in. If you’re using buttons that are much larger or smaller than the pattern recommends, you may need to change the button stand on your pattern before cutting it out.
Always interface the area of fabric to which the button will be sewn. If the garment doesn’t have interfacing there, attach a small circle of fusible interfacing between the garment and the facing at the button area.
Pinpoint the location
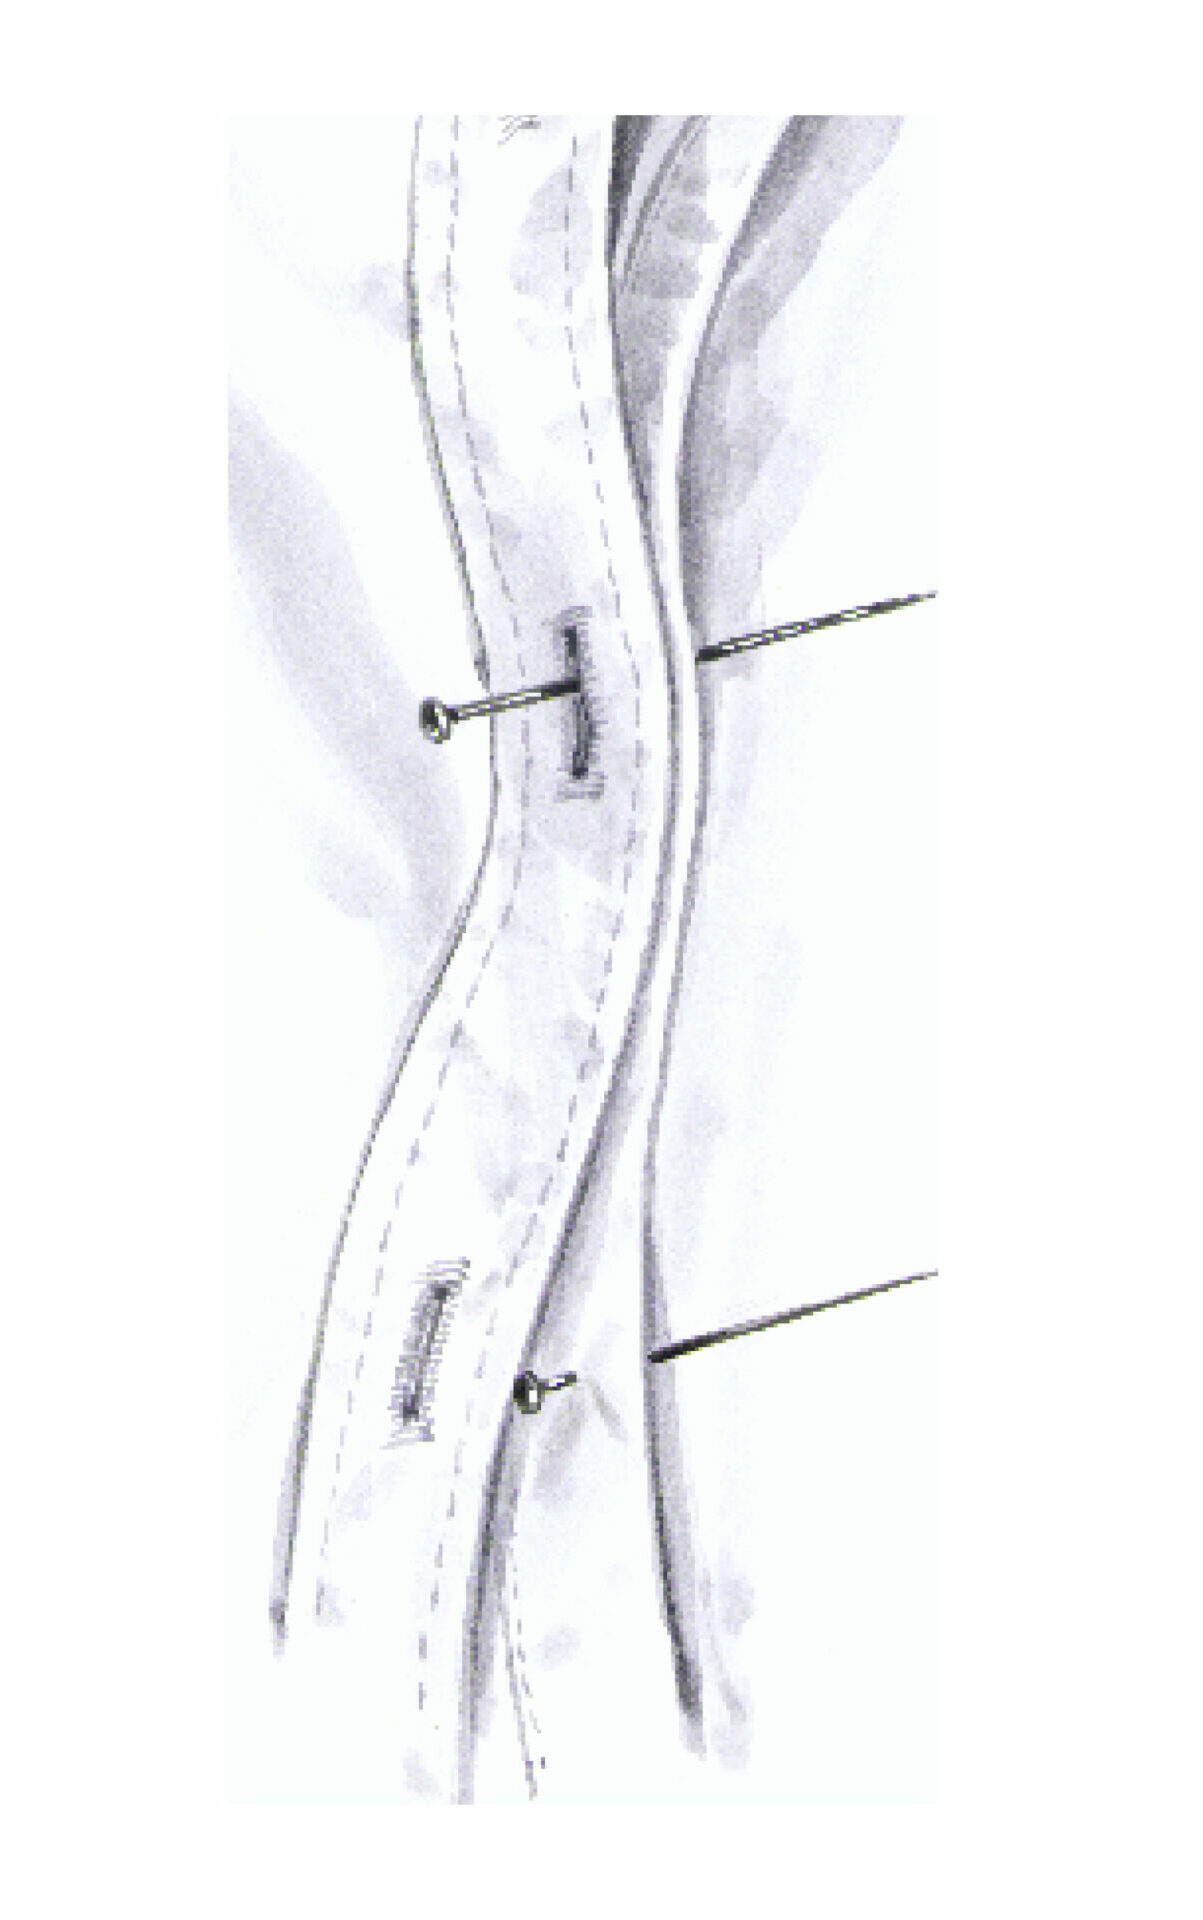
The easiest way to mark the location for a button is to transfer the markings from the paper pattern. But when this isn’t possible, use the buttonholes as a guide (see the drawing at left). Fold the garment, wrong sides together, with the finished edges aligned. Insert a pin into the buttonhole where you want to place the button. In most cases, when the buttonhole is horizontal, the button should be sewn near the end of the buttonhole, toward the garment’s edge; when the buttonhole is vertical, it’s placed at the top; and for a keyhole buttonhole, right at the keyhole. Once you’ve marked the placement on the wrong side, carefully lift the buttonhole off the pin, and transfer the mark to the garment’s right side, using another pin, thread, chalk, or a temporary marking pen.
Choosing and preparing the thread
When choosing thread, consider the garment fabric’s weight, fiber content, and, of course, color. Use fine silk thread or general sewing thread on fine to medium-weight fabrics; use polyester or silk buttonhole twist, glazed-finished quilting thread, or general sewing thread on heavier fabrics and tailored garments; and use a synthetic thread that won’t deteriorate and mildew on leather and suede and on outerwear fabrics, which may remain wet for long periods. You can even use dental floss on garments requiring extra durability.
In terms of color, match the thread to the fabric when sewing shank buttons, so the stitches will be inconspicuous. But for sew-through buttons, match the thread to either the fabric or button, or try a contrast color for decorative effect.
After choosing thread, follow these steps to prepare it for hand sewing: Cut a single strand from the spool and knot this cut end in order to sew with the twist of the thread and not against it. Rub the thread with beeswax or a white candle to reduce any further twisting and knotting that may occur and to give the thread extra strength. Then press the thread with a warm iron, so the wax will melt into the fibers and the thread will glide easily through the fabric. Slip the unknotted thread end through the needle, and you’re ready to sew.
Sewing on a button by hand
|
|
|


Whether you’re attaching a sew-through or a shank button, hold the garment face up and insert the threaded needle into the fabric about 1⁄2 in. from the button mark, bringing it back up at the exact location. Take several small stitches at this point to secure the thread, then cut off the knot. As you sew the button, stitch carefully so the stitches are invisible on the garment’s facing.
Keep in mind that functional buttons should clear the buttonhole without distorting or pulling the fabric around it when the garment is closed. To create a “shank” on a sew-through button so the button clears the buttonhole, make a thread stem under the button when stitching it to the garment (see the top left drawing). In fact, even a shank button can benefit from an added thread stem if the fabric is particularly thick (see the center left drawing). To determine how long a thread stem should be, measure the thickness of the garment at the buttonhole and add 1⁄8 in. When either type of button is used purely for decoration, however, a thread stem is unnecessary.
To attach a sew-through button, hold the button at least 1⁄8 in. away from the fabric as you sew. This will allow some slack in the thread so you can form the stem. Take several stitches through the holes (for examples of stitching patterns, see the drawings below), then wrap the thread around the stem a few times before you knot and cut it.
To attach a shank button, hold the shank parallel to the direction of the buttonhole opening and stitch in place through the shank loop. To add a thread stem, hold the button away from the fabric as you take several stitches, wrap the thread around the stitches and knot.

Machine sewing on a button
We generally think of sewing buttons on by hand, but if your garment calls for several flat, sew-through buttons, why not try sewing them on by machine? First, “baste” each button in place with a dab of washable glue or a piece of transparent tape. Use your machine’s button foot, or an open-toed embroidery foot, and center the button under the foot. With the stitch length set at 0 and the stitch width at 3mm, carefully stitch the button in place. You may need to fine-tune the stitch width, checking it by turning the hand wheel manually and adjusting the button so the needle slips into the center of its buttonholes. To create a thread stem, place a pin or toothpick over the top of the button and under the presser foot. Stitch slowly about eight times on a two-hole button; four times on the first two holes of a four-hole button, reposition and stitch four times through the remaining holes. Lock the stitch by sewing twice in the same hole, then pull the threads to the back of the garment and knot.
To attach a sew-through button by machine, center the button under the button foot, adjust the stitch width to clear the holes and stitch slowly. To make a thread stem, place a pin or toothpick on top of the button and below the presser foot.
New buttons for existing garments
Changing buttons is a wonderful way to add new life to a garment. But since you can’t change the size of the buttonholes, take the garment with you to purchase buttons. You’ll be able to check the button size without measuring the buttons, as well as audition them on your garment. Just pin or tape them in place to see how they’ll look. When you can’t take the garment with you, measure the buttonhole opening and subtract 1⁄8 in. And if you find buttons that you simply can’t live without, but are too large for your garment’s buttonholes, don’t despair. Sew each button in place on the buttonhole side and attach snaps underneath to fasten the garment.
Claire Shaeffer writes about and teaches couture sewing techniques from Palm Springs, Calif.


Log in or create an account to post a comment.
Sign up Log in