
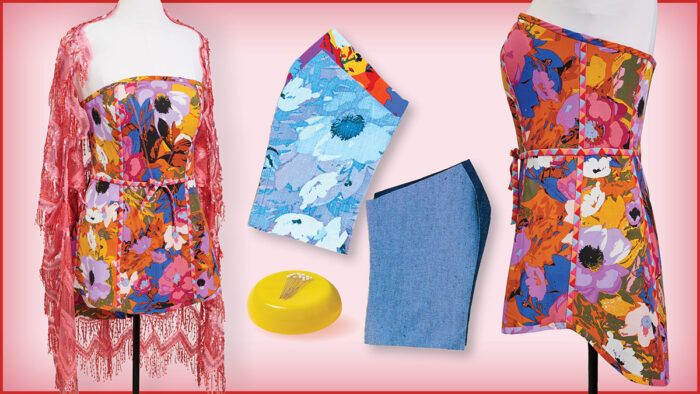
Runway Sewn Your Way Technique: Marcy Harriell’s Underlining Method
Learn how to add a layer of support before sewing the garment
Shopping for fabric online is like internet dating: You make your choice based on a picture and a bio, and hope that when you finally meet in real life, the reveal matches the image you’ve built up in your mind.
I’ve never done the online dating scene and probably wouldn’t have been good at it—the fabric suitors that arrive on my doorstep are almost always a surprise. But, unlike questionable choices in men, I can usually mold yardage into something I’d like to have a relationship with.
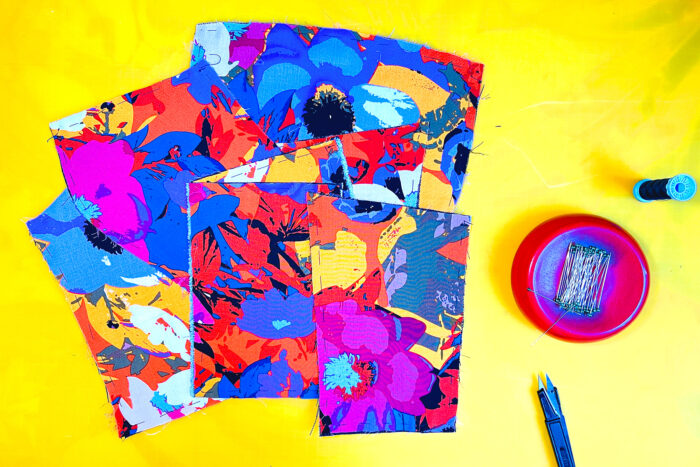
This floral viscose poplin—let’s call him Ray for short— was one of about a dozen contenders for this sewing date. He won out based on his ever-so-handsome bio pic. In real life, his technicolor tones are more subdued, but I forgive him the beauty filter. We’re all guilty of a little photo editing. His demeanor, however, was a shock. It shouldn’t have been. Ray was forthcoming in his profile, describing his “soft and lightweight” hand, his “mostly opaque” character, and a personality suited for “blouses, dresses, and skirts.” But did I really pay attention to that bio? No. I am shallow when it comes to online fabric picks. I saw that beauty shot and swiped to purchase.
Adding structure to soft fabric
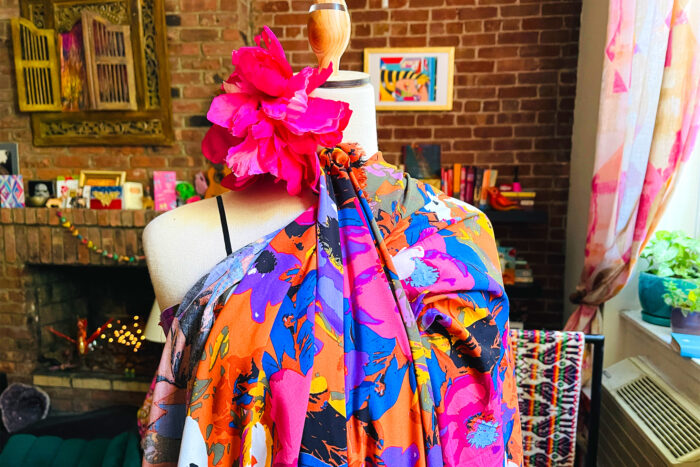
My loose plans for our first date called for some manipulation: Fringe? Ruffles? Pleating? Out came the fork and sewing machine. Ray was shocked. I don’t think he expected me to introduce tools so quickly into our relationship. He proved far too soft for my aggressive methods. I was moving too fast for Ray. If I wanted our relationship to go anywhere, I was going to have to give him a little heat from my steam iron, and a lot of caressing on my dress form.
That meant true planning was in order. For this improviser, that seems to be the personal battle of this challenge. I needed a structure to drape on, so that wherever our relationship took us, Ray’s soft demeanor would have something to cling to when I moved my finished design off the form.
I left the power tools and cutlery aside and got to work warming Ray up with some hand sewing. It was time for underlining.
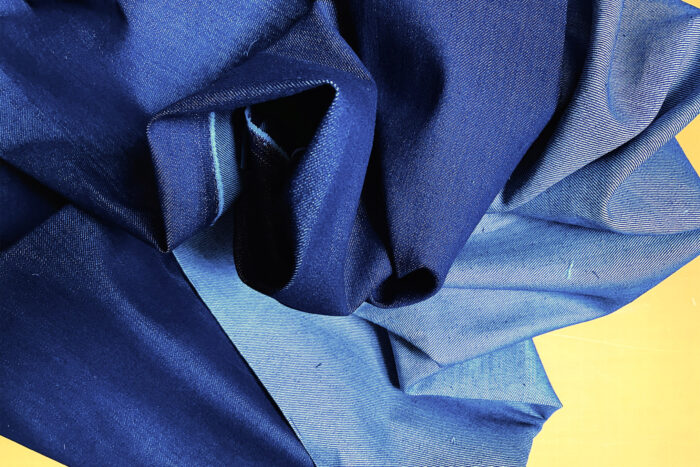
One might go for cotton broadcloth or silk organza for this technique, but there are plenty of worthy contenders out there. This midweight, nonstretch denim was a perfect match for our threesome. Sturdy and unassuming, the workhorse fabric that came home with me some time ago had languished in hopes of a second date. I love a good pair of handmade jeans, but let’s be honest, I prefer my sewing dates to be fancier.
Underlining how-to
Here’s how I coax a soft personality into something with more confidence:
1. Cut all pattern pieces out of underlining and main fashion fabric.
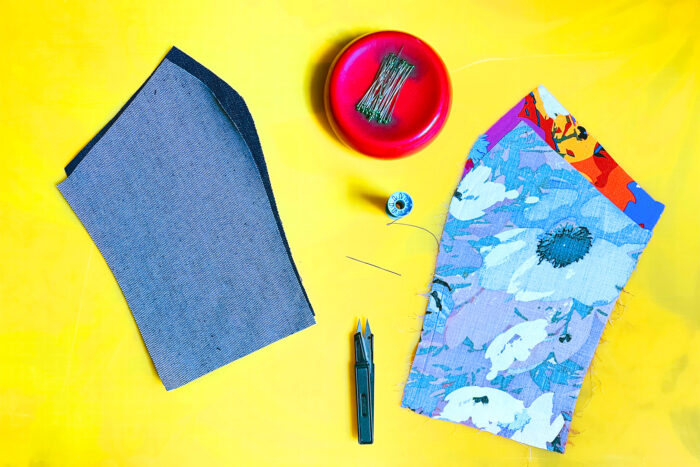
2. Lay your fashion fabric, right side up, on top of your underlining fabric. Make sure each main piece lies flat and aligned.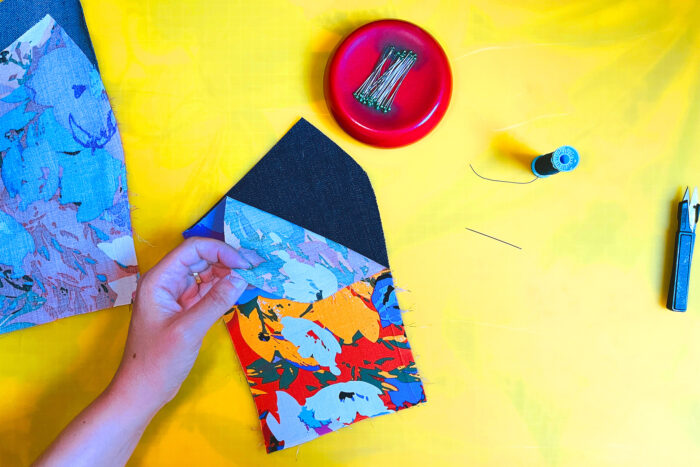
3. Secure with pins:
Pin along all the edges of the pattern pieces. I like to pin with the points facing the raw edges, as it keeps the pieces flatter. This means you’ll have pin points facing out as you hand sew, but I like a little danger in my fabric adventures. (See fork).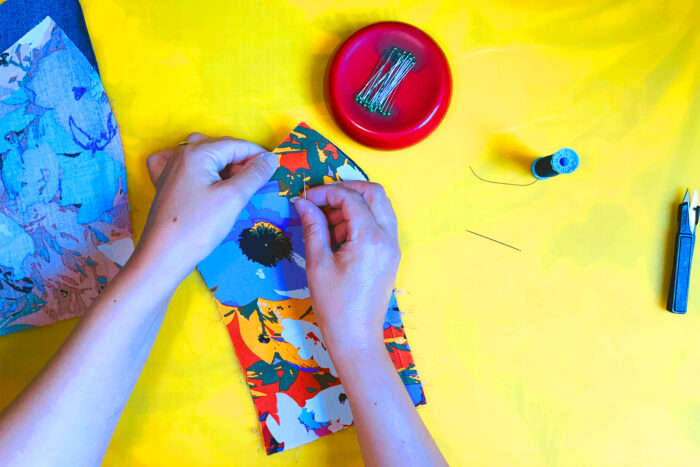
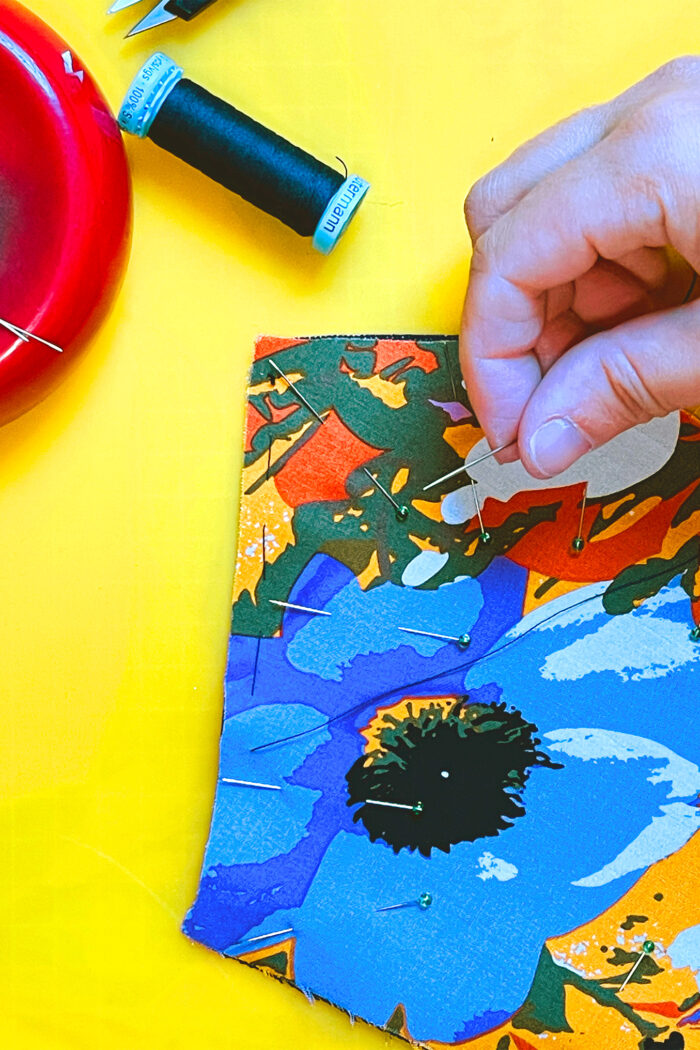
To keep things flat, pin the four corners first.
Run a few pins along the center line of larger pieces, too.
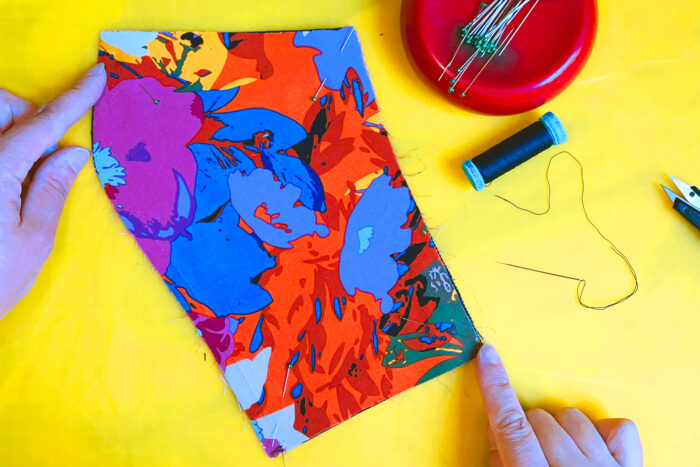
4. Once all edges are pinned and lying flat, run a long basting stitch within the seam allowance of all sides of the piece.
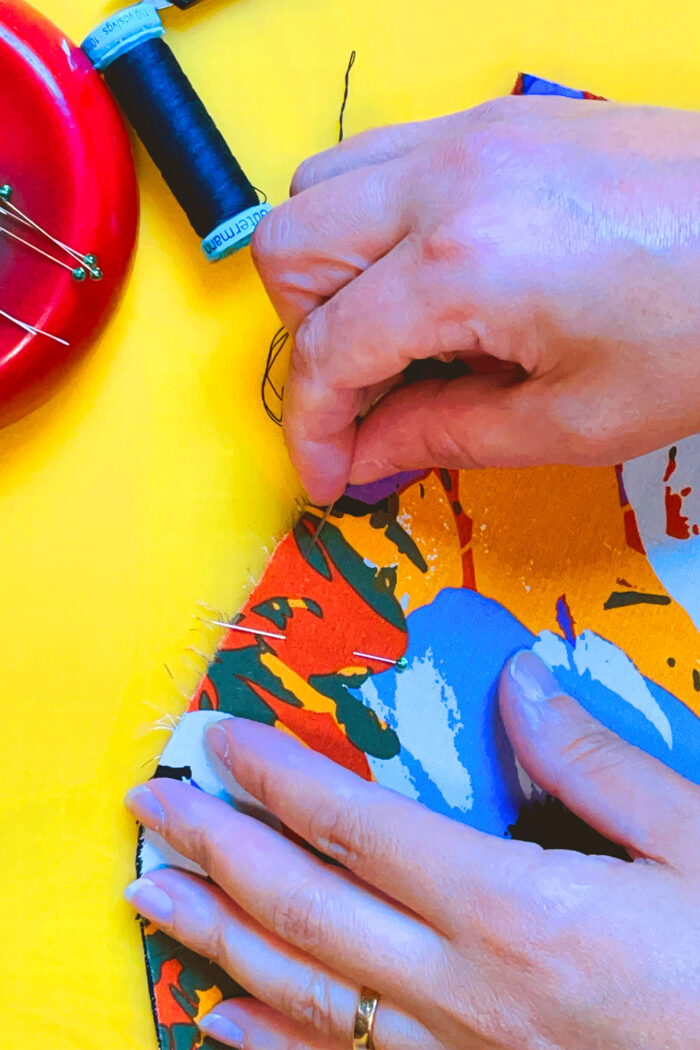
Tips: Silk thread makes this process easier, and a plastic cutting mat under the work will help keep the piece flat as you sew. I push my needle into the fabric against the mat, using it as leverage as I sew.
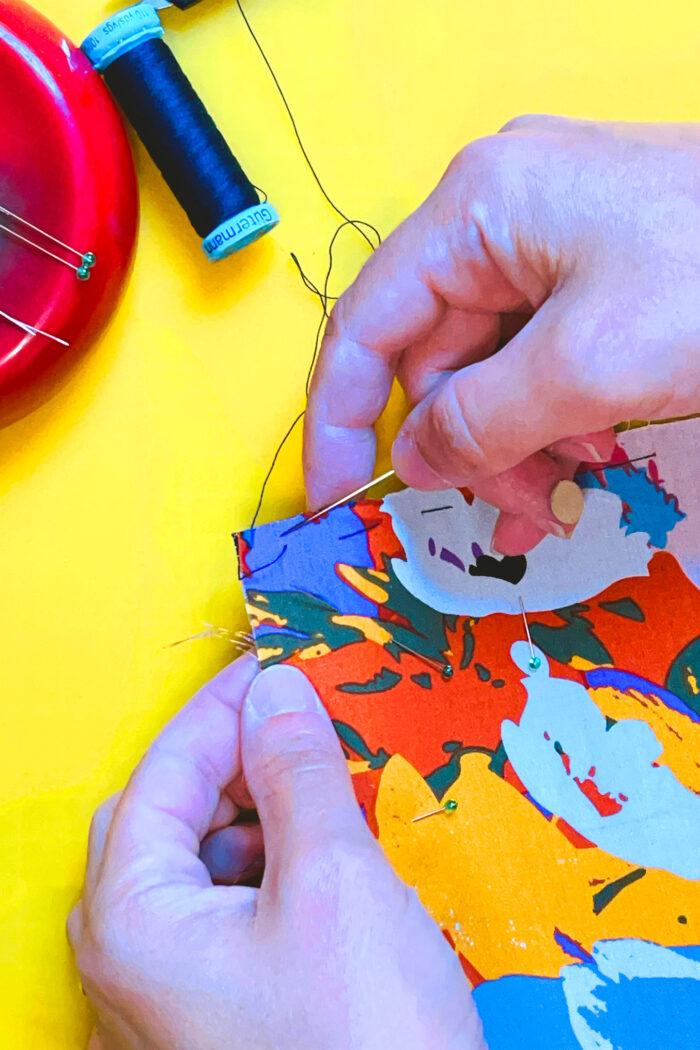
5. Backstitch or knot.
Although this technique calls for knotting the thread and starting anew for each side, I am a cheap date. I take a small backstitch at each corner . . .
. . . and then continue basting, being sure my fashion fabric doesn’t pull as I continue stitching. This works fine for smaller pieces, like the bodice. On larger pieces, you may want to knot and break the thread on each edge of the pattern, so you can remove and restitch a side if you end up with any fabric bubbles.
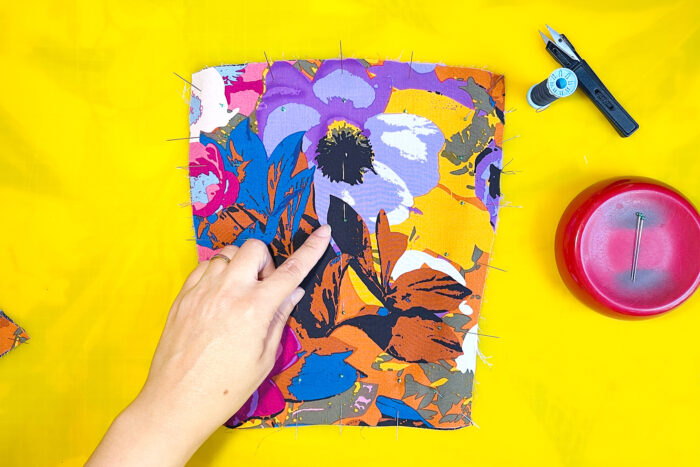
Underlining support
Ray was ready to show off his new confident personality:
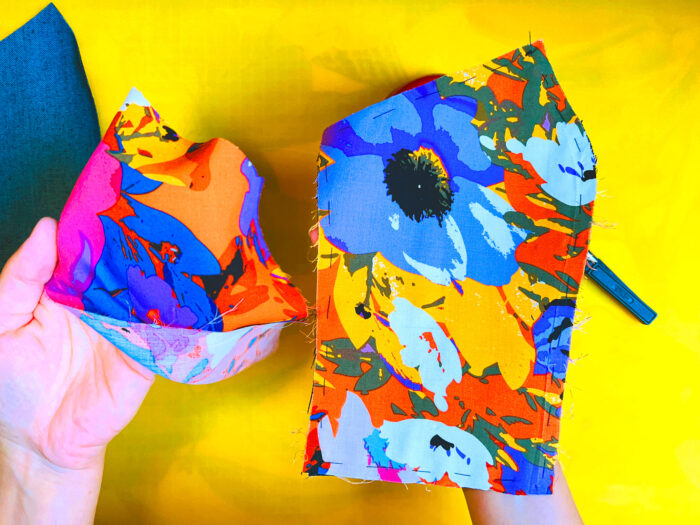
Wow, Ray. Soft no more. Suddenly our first date was looking up.
A little stitch persuasion changed the hand of this fabric completely. I have a feeling we’re going to have a good time on our second date . . . wherever that might lead.
Editor’s note: See Marcy’s Runway Sewn Your Way Challenge finished ensemble here.
Photos: Marcy Harriell.


I'm so glad that Ray worked out, with the help of "Steve" (the denim). To hilarious!! I wish she had given us a narrative on how the finished dress was to wear. The picture was gorgeous!!
What a brilliant article- truly made me laugh out loud, as well as being informative!