The Art of Kumihimo: Unique Braided Trims
Try Japanese kumihimo to make complex cording
Kumihimo, the art of Japanese braiding, is simple to learn and even easier to get hooked on. There are innumerable variations, and a change of braiding material further multiplies the options for beautiful results. Once you learn some basic techniques, you’ll find it’s impossible to make an unattractive cord.
Traditionally, kumihimo is done with weighted threads on a tall wooden stand with a ring-shaped top, called a marudai. The braiding is performed sitting cross-legged on the floor, with arm movements reminiscent of a beautiful and thoughtful dance.
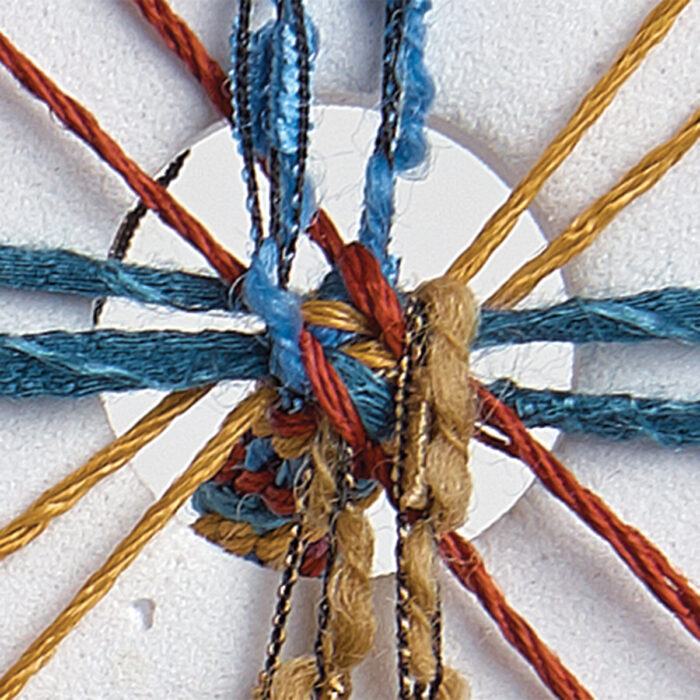
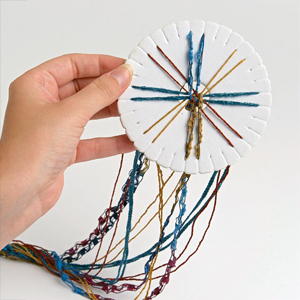
Today, foam disks with grooves cut into the perimeter to support the yarns and ribbons can stand in for the marudai. This lovely art form is portable and useful for creating cords to make frogs, loops, ball buttons, and other closures. I’ll show you how to braid 16 threads into a spiraling cord. Start here, and you’ll soon be ready to try different braiding patterns.
Equipment and supplies
Kumihimo requires little investment in tools and materials. Begin with these basics and work up to more luxurious equipment and threads as you develop your skill.
Disks and bobbins
Foam disks for kumihimo are inexpensive and available at most craft stores and online. They come in different sizes, with varying numbers of slots on the perimeter and center opening diameters. For the braid shown on the following pages, look for a disk with 32 slots; the braid isn’t very thick so any size opening will work.
The long working threads hang down from the disk’s outer edge. Prevent tangling by winding them around knitting yarn bobs from the craft store or other specialized bobbins that secure the threads.

Thread choices
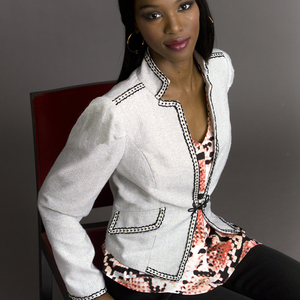
Threads for kumihimo can be as varied as metallics, ribbons, embroidery floss, rayon satin cord, needlework threads, and heavy sewing threads. Typically, silks are used in traditional Japanese braiding, but all fibers are fair game for making colorful braids to use as embellishments. To braid trim that matches a garment, consider pulling yarns from the fabric.
Much of the thread selection for braiding depends on the desired thickness of the finished braid. For more ropelike braids, consider using 16 threads, or for finer, narrower braids, use only 8 threads. Typically, each strand should be cut four times the desired finished length, then folded in half to create two working threads. Use this formula to calculate how much thread you’ll need for your project.
Make a 16-strand braid
The disk setup is quick, and once you’ve completed a round or two of the braiding, you’ll find the repetitive process calming and fulfilling.
| 1. Prepare the threads. Cut 8 thread strands, each one four times the desired finished braid length. Fold each in half, creating 16 strands. Knot the folded ends together in an overhand knot. Place the knot through the disk’s center hole so it is on the disk’s underside. 2. Arrange the threads. Fan the threads around the disk, forming eight pairs of strands. Secure the strands in the disk’s slits: Place a pair at each of the four cardinal directions, and one pair between them, as shown at right. Note that color placement affects the spiral design, so experiment with arrangements of the thread pairs to find the one you like best. |
 |
| 3. Move the first thread. From the “southern” pair, lift the left thread and move it to the slit left of the opposite, “northern” pair. |  |
| 4. Move the second thread. From the original northern pair, move the right thread down to the slit right of the original southern pair. |  |
| 5. Rotate the disk. Turn it counterclockwise, bringing the next pair to the southern position. Braid the next pair. Repeat steps 3 and 4 with this new set of north/south pairs. Rotate the disk again, and continue until the braid is the desired length. |  |
| TIP Start with a ring. It’s easy to turn your braid into a lanyard or key ring by tying the folded strands to a ring before braiding. |
 |
Resume a braid
If you stop braiding and wish to start again, here’s how to find the right strands to braid first.
| Determine which of the threads are uppermost as they emerge from the center hole |  |
| Place one of these threads at the north position |  |
| Then rotate the disk counterclockwise, shifting this pair one position to the left. Begin braiding with the threads now at north/south. |  |
| ADDITIONAL KUMIHIMO USES Flexible, durable, and handmade, the cords you braid replace purchased cord. Experiment with the applications shown or any others you dream up. |
|
|
|
|
Daryl Lancaster weaves on full-scale floor looms, small disks, and just about anything in between. DarylLancaster.com


Log in or create an account to post a comment.
Sign up Log in