How to Fix Print Motif Mishaps
How to camouflage unflattering motif placements after assembly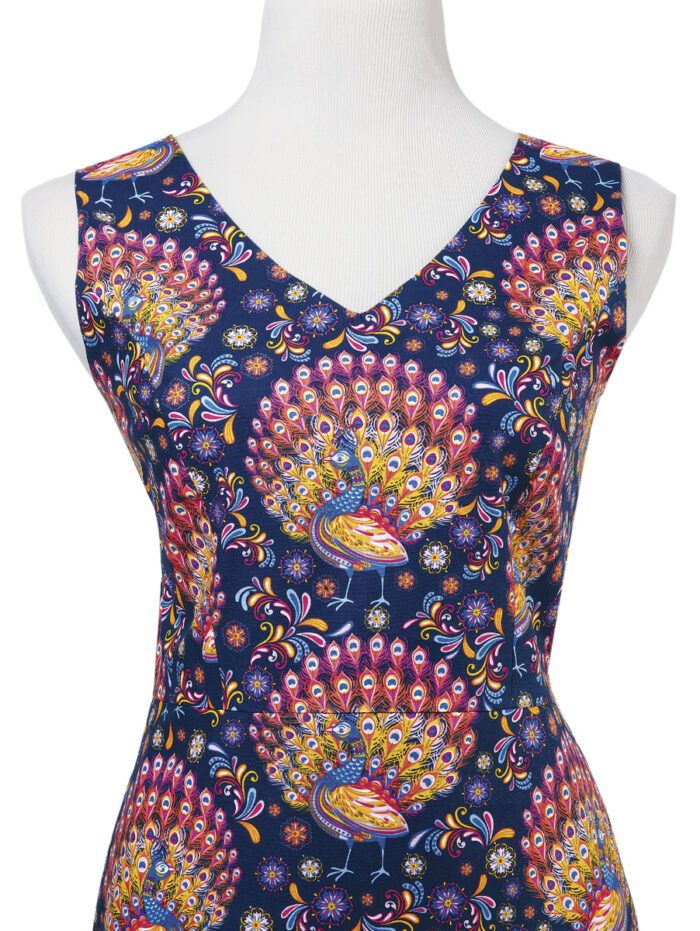
Despite your best efforts, a fabric print occasionally can end up in undesirable arrangements on a garment. Perhaps the main print motif is cut off at a seam in a prominent place or is positioned atop an area that requires no emphasis or creates an unfortunate visual effect. When print motifs are spaced far apart, you also may get an unintended blank space, where the pattern cutting creates a gap in the print.
Luckily, poor print placement is an easy cutting mistake to mitigate, because there is nothing to repair; the fix is more like applying a Band-Aid on a boo-boo. As long as you have enough fabric leftover to provide a few full print motifs, you can fix this problem. The solution is appliqué.
1. Identify the problem motif or motifs. Cut out the necessary motif from fabric scraps. Cut just outside the printed edges. Test the motif placement on the garment.
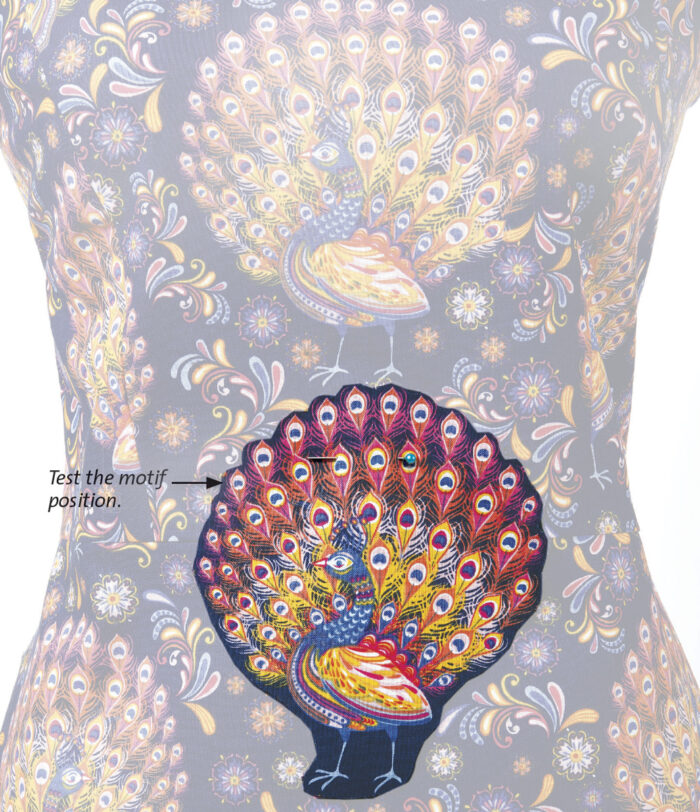
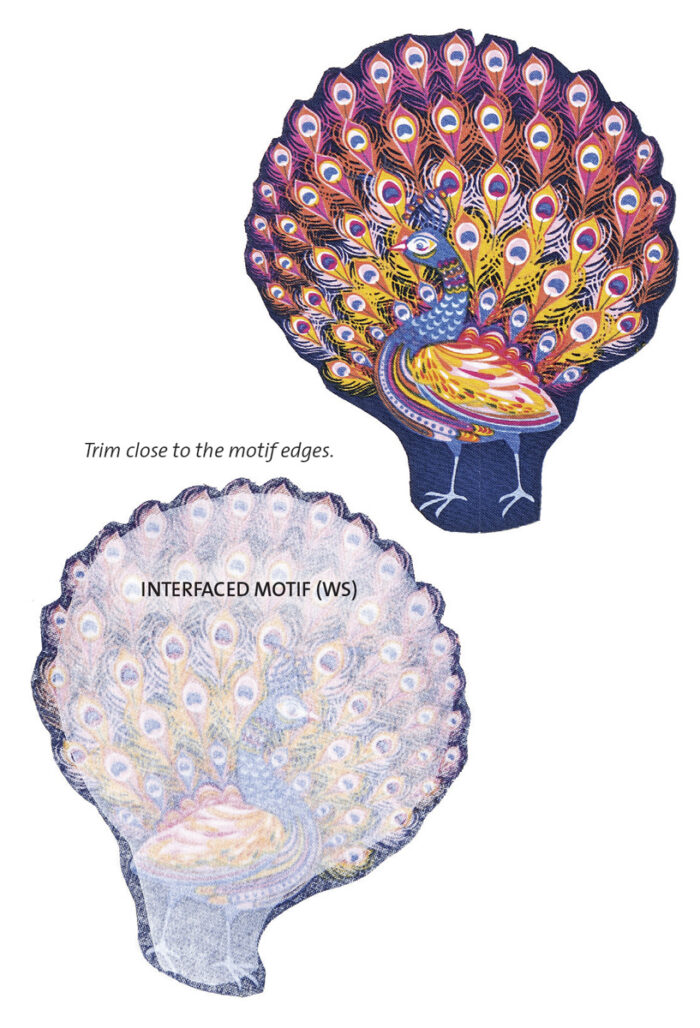
2. Reinforce the motif. If the fabric is lightweight, limp, or unstable, apply a lightweight fusible interfacing to the cut-out motif back. Be sure to cut away all the interfacing from the motif edges.
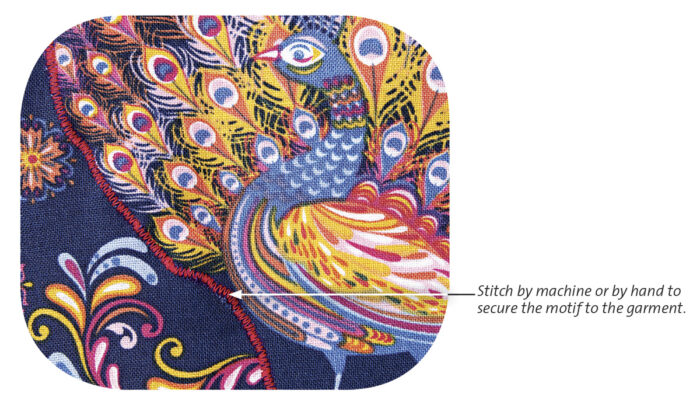
3. Pin the motif on the garment. Hand-sew tiny fell stitches, or free-motion- or satin-stitch by machine around the motif edges to secure it to the garment. If desired, use embroidery or decorative stitches to affix the motifs instead. It’s best to apply the extra motifs before adding facings or linings.
Stephani L. Miller is special projects editor.




Log in or create an account to post a comment.
Sign up Log in