
Make a Statement with Oversized Appliqués
Go bold or take a subtler approach with large motifs

This spring, enjoy the contemporary trend for coats with extra-large embellishments by trying large appliqué. The effect can look like a custom printed fabric or elaborate embroidery, and the method is simple: Cut, fuse, and stitch pieces of print fabric to a self-made or purchased garment. Choose a bold, contrasting motif to enliven a classic neutral, or select a subtle print that closely matches the base fabric for a more subdued effect.
Print selection
Examine home décor prints, as they may feature motifs larger than those found on fashion fabrics. Look for a print that has standalone and easily trimmable elements. Many floral designs, for example, have blossoms and leaves that entwine and overlap, a treatment that adds dimension to the print, but diminishes its suitability for appliqués. And some motifs have elaborate edges, which are difficult to stitch along.

Note the print’s repeat and location of the details you want to cut out for appliqués. Consider how many times you might want a motif to appear on your garment, and purchase enough yardage to include the necessary repeats.
For a better idea of the finished look and to create an overall effect with more freedom of placement and final visual impact, plan the appliqué placement on a whole garment. Consider too, layering motifs to create larger appliqués.
Stitching tips
If you are making a garment from scratch, as shown, construct the garment as usual, but pause and add the appliqués before inserting the lining or stitching the hems. On a lined ready-to-wear garment, you may need to open the lining seams to stitch on the appliqués.
It is more challenging to place motifs over curved garment areas, but it is possible if you create small, lapped darts in the appliqué to conform to the garment’s shape. Be sure to support the shaped garment areas with a dress form or pressing ham while fusing the appliqués.
During stitching, keep the garment as flat as possible, opening seams where necessary to get at tight areas, and pressing seam allowances open and flat where appliqués cross seams. Before stitching around the appliqués, test your stitching on a sample. Adjust the zigzag stitch to your preference for width and length. While stitching, check the needle frequently for adhesive buildup from the fusible web beneath the appliqués. If there are any areas on the garment impossible to reach by sewing machine, use hand stitching to secure the appliqué edges.
1. Select fashion fabric or a garment. Make or choose a garment in a nonstretch fabric. Note the care requirements, as you must select appliqué fabric with care requirements that are compatible.

2. Choose an appliqué motif or motifs, and test placement. Make photocopies to pin on the garment. Once you are pleased with the results, take photos to record the placement and mark where the motifs go on the garment.

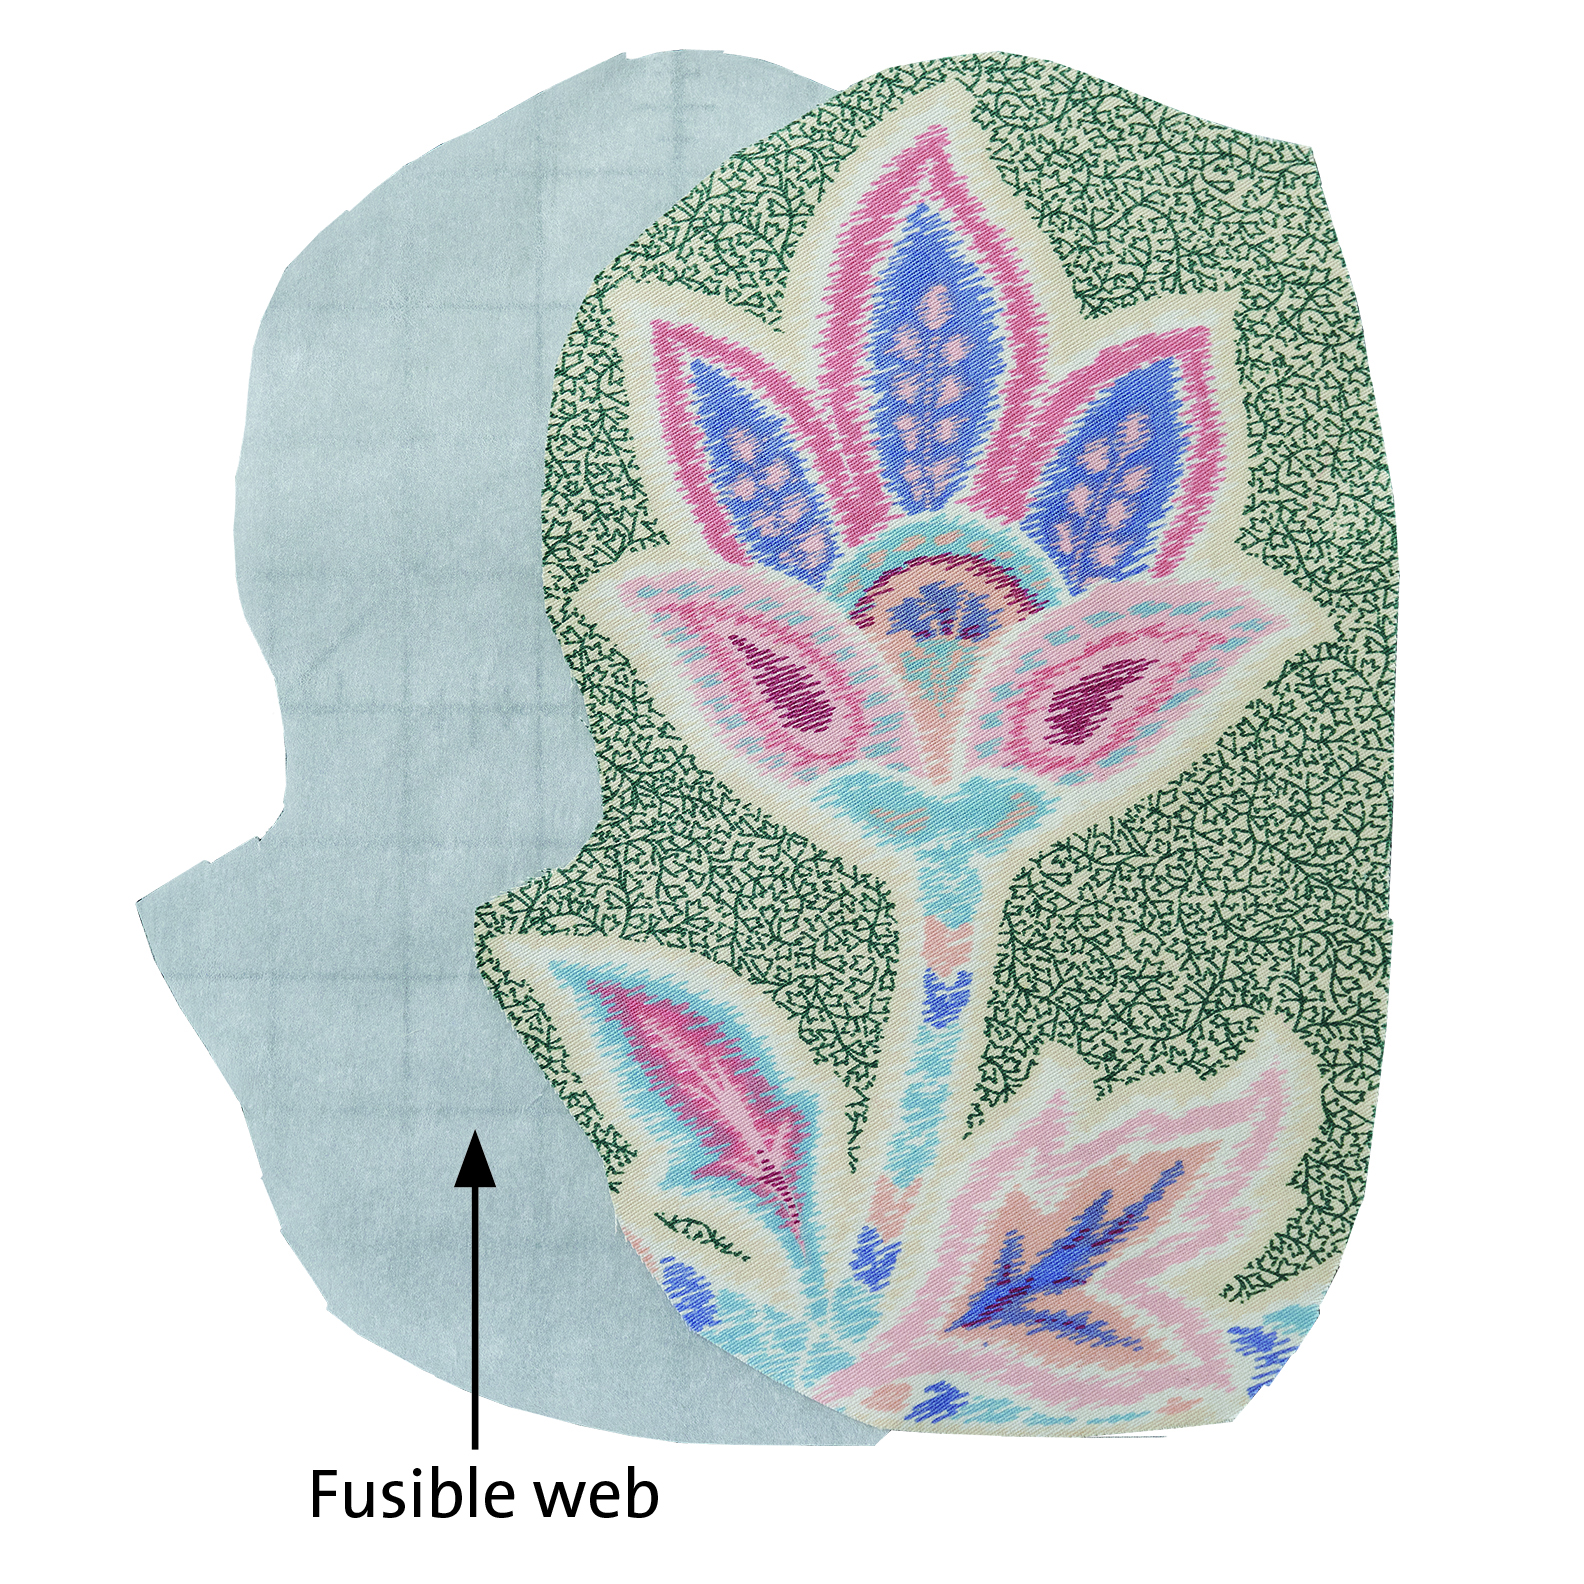
3. Create an appliqué. Cut a motif from the fabric, about an inch outside its edges. Cut fusible web to match, and follow the manufacturer’s instructions to fuse it to the appliqué’s wrong side with an iron. Do not remove the fusible web’s paper backing yet.
 |
 |
4. Trim the appliqué. Be sure to cut through the paper backing. The appliqué’s raw edges are not turned under, so trim the motif closely. You may wish to leave a tiny margin of about 2.0 mm, where zigzag stitching will cover the raw edge. It’s also a good idea to round tight inside corners as you cut them, to make it easier to follow the edge while stitching.

5. Apply the appliqué to the garment. Peel off the paper backing and place the appliqué right side up where desired on the garment. Following the fusible web’s instructions, fuse the appliqué in place with a hot iron.

6. Secure the appliqué with stitching. Test the stitching and determine the preferred thread color on a sample appliqué. Set the sewing machine for a zigzag stitch, 2.0 mm to 3.0 mm wide and 1.0 mm to 2.0 mm long. Stitch slowly around the appliqué’s edges, pivoting at points and inside corners, to secure it to the garment. Resew any opened seams, install the lining or otherwise complete the garment as necessary.

Sarah McFarland is Threads editorial director.


Log in or create an account to post a comment.
Sign up Log in