

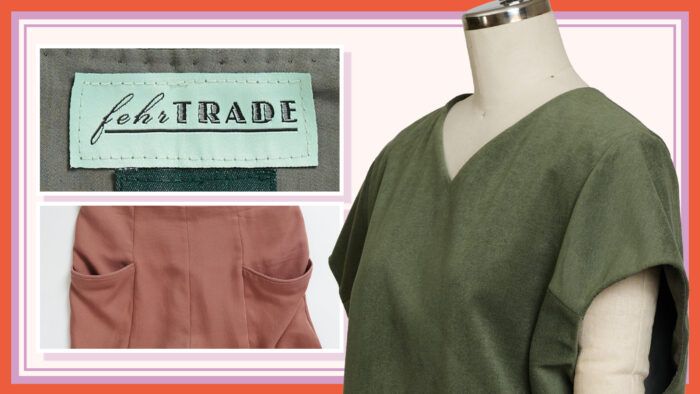
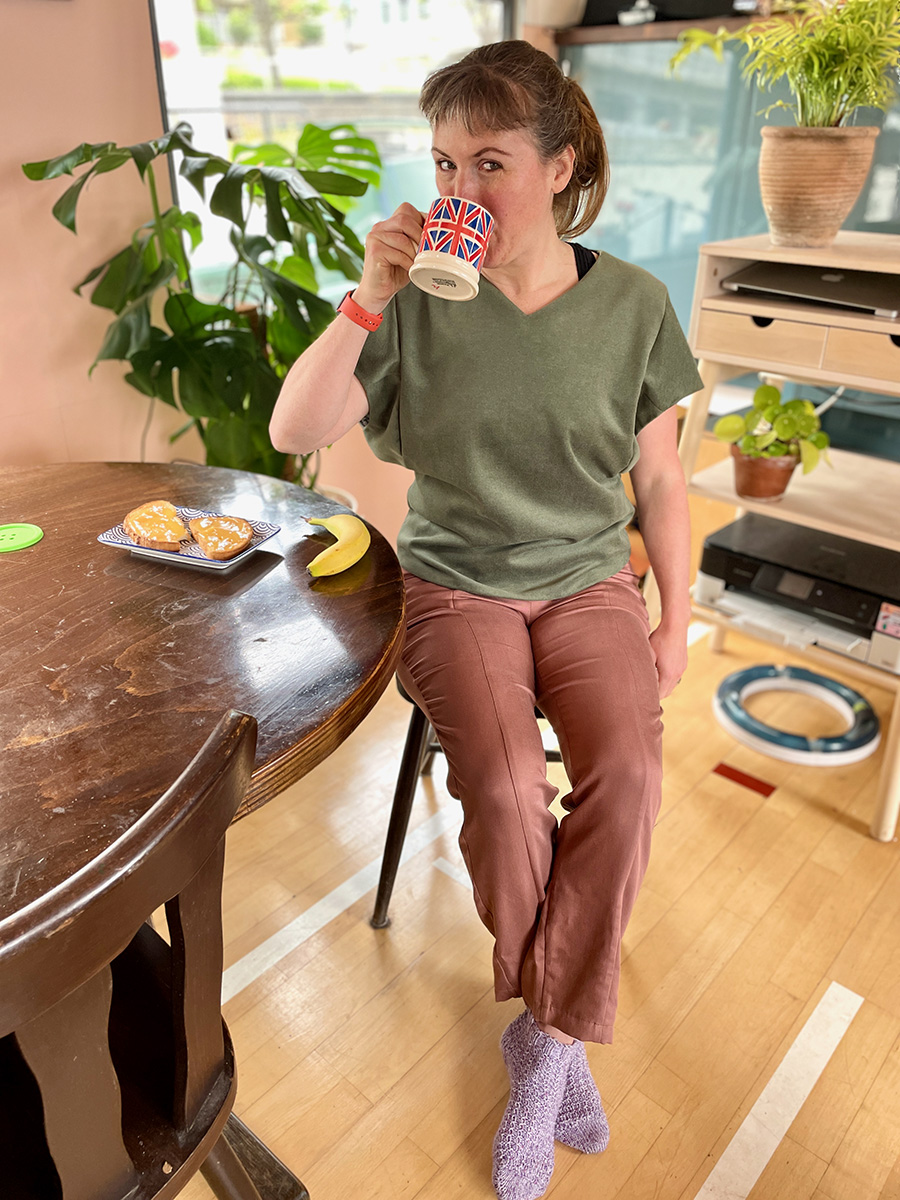
As you recall from my first post about the 2022 Threads Digital Ambassadors’ Luxury Loungewear Challenge, I opted to sew my couture loungewear as separates. They consist of a Sweat Luxe top made from sage green corn velour and lined with gray bamboo silk, and Pietra Pants made of blush lyocell twill.
Lining the top
I started with the velour Sweat Luxe top first. The original pattern is unlined with facings at all the opening edges, but I decided to skip the facings in order to line the top to the edge, for a more couture finish. I figured I would essentially be sewing two tops—one in velour and one in bamboo silk. I’d leave an unstitched section in a lining seam to join the edges right sides together and bag it out.
However, I realized that I made a miscalculation in the construction steps. You see, I had sewn all the opening edges together, but when I went to flip it right side out, I couldn’t. It’s essentially a T-shirt shape, so even with leaving a side seam open, it proved impossible. As I unpicked the machine stitching at the neck and armhole edges, I remembered a rule that “if the opening is C-shaped it’ll flip, but if it’s O-shaped, it won’t.”
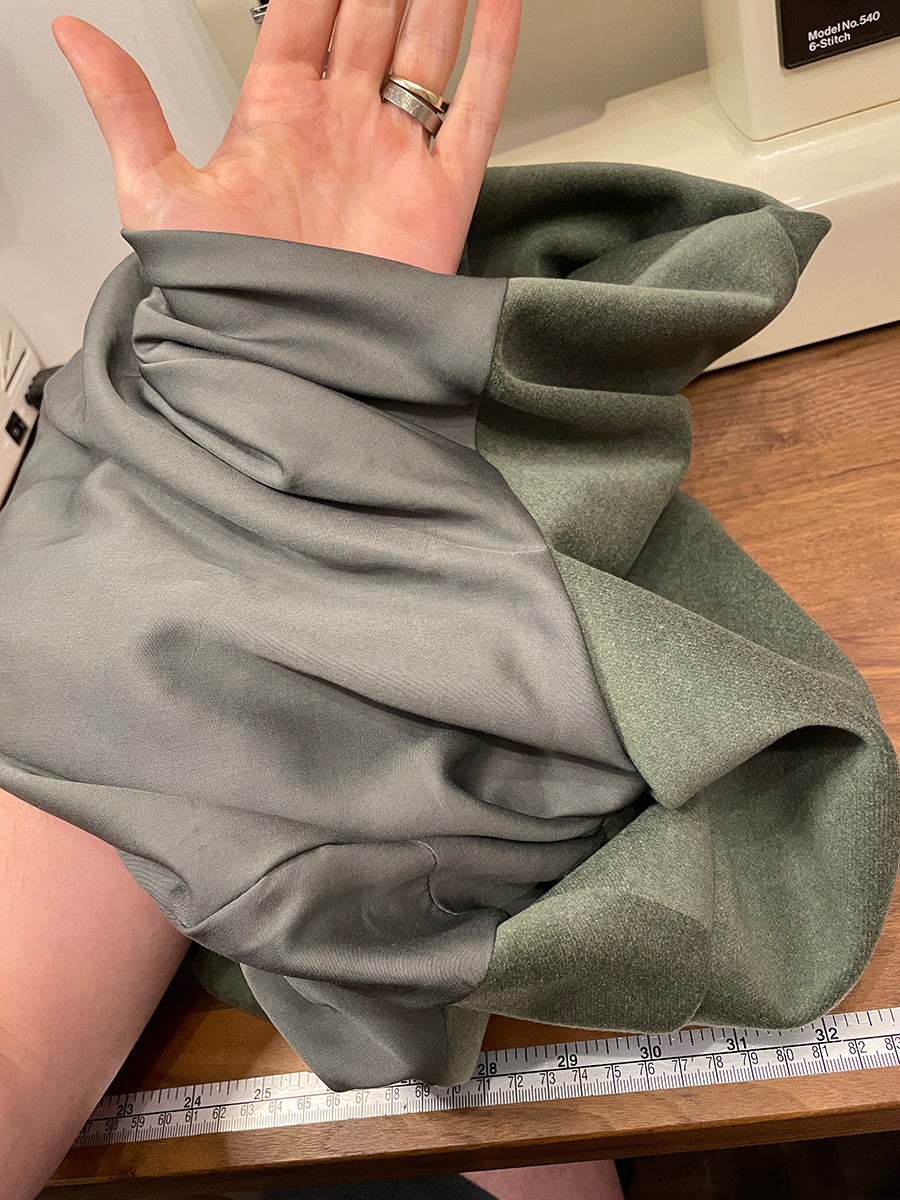
All my openings were O-shaped, so it was never going to work. As it turns out, it wasn’t a disaster as it meant I could still faintly see the needle holes in the bamboo silk which made it easier to align the seamlines by hand around the openings.
Pickstitching detail
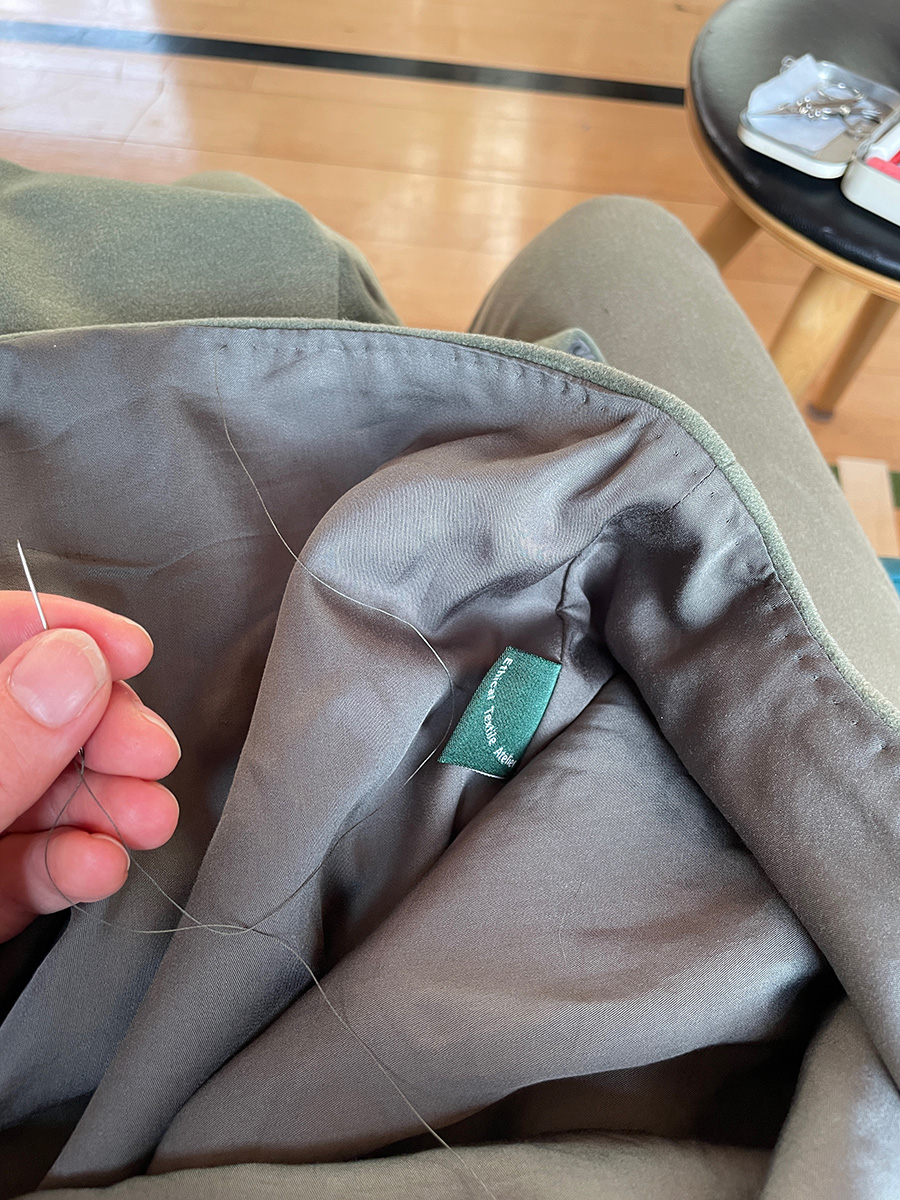
I kept the machine-stitched hem since it would be the longest to do by hand, and I flipped the rest of the garment right side out and then hand-stitched the neck and armhole edges together invisibly using tiny, invisible fell stitches. See Claire Shaeffer’s book Couture Sewing Techniques (The Taunton Press, 1994) to learn how. I hadn’t planned this but it actually didn’t take as long as I’d feared, and since I’d remembered to apply beeswax and press the thread, it didn’t tangle at all.
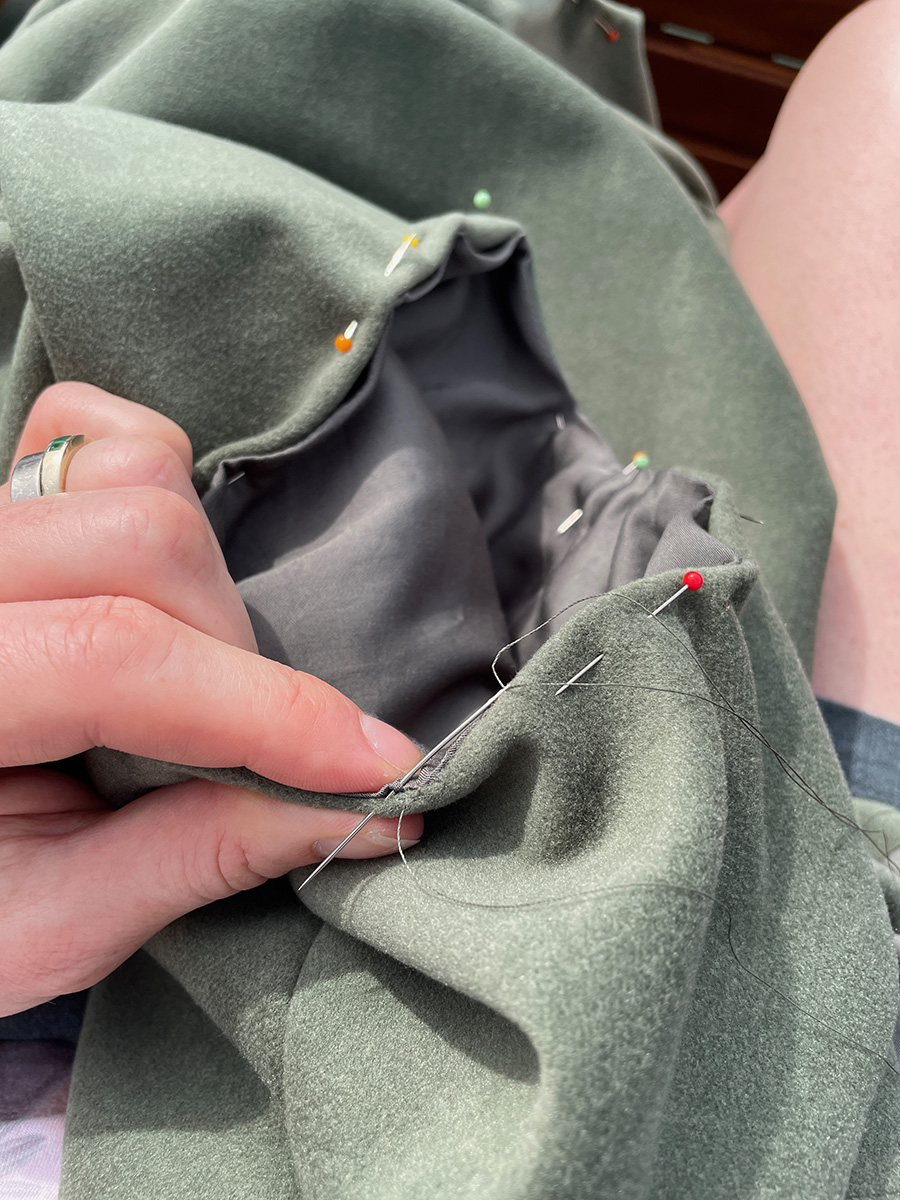
I then pickstitched around all the opening edges—neck, armholes, and hem. This secured the lining to the seam allowances. I’m not a fan of hand stitching, but I love pickstitching and I adore wearing a garment that has a pickstitched lining. The tiny bumps feel wonderful to touch, and it add a couture detail, I will appreciate every time I wear the top.
French seams and ribbed piping for the trousers
Then I moved on to the trousers. The lyocell twill is soft, beautiful, and drapey but frayed like crazy. I knew I’d need to finish the seam allowances somehow. Since the fabric was lightweight and flowy, I opted for French seams throughout rather than flat-felled or overlocked (the latter being what I tend to do when not part of a luxury sewing challenge). I’d already made this pattern five to six times, so I was confident of the fit and construction. But I’d forgotten how much longer everything takes with French seams, not just sewing everything twice but also trimming and four times the pressing.
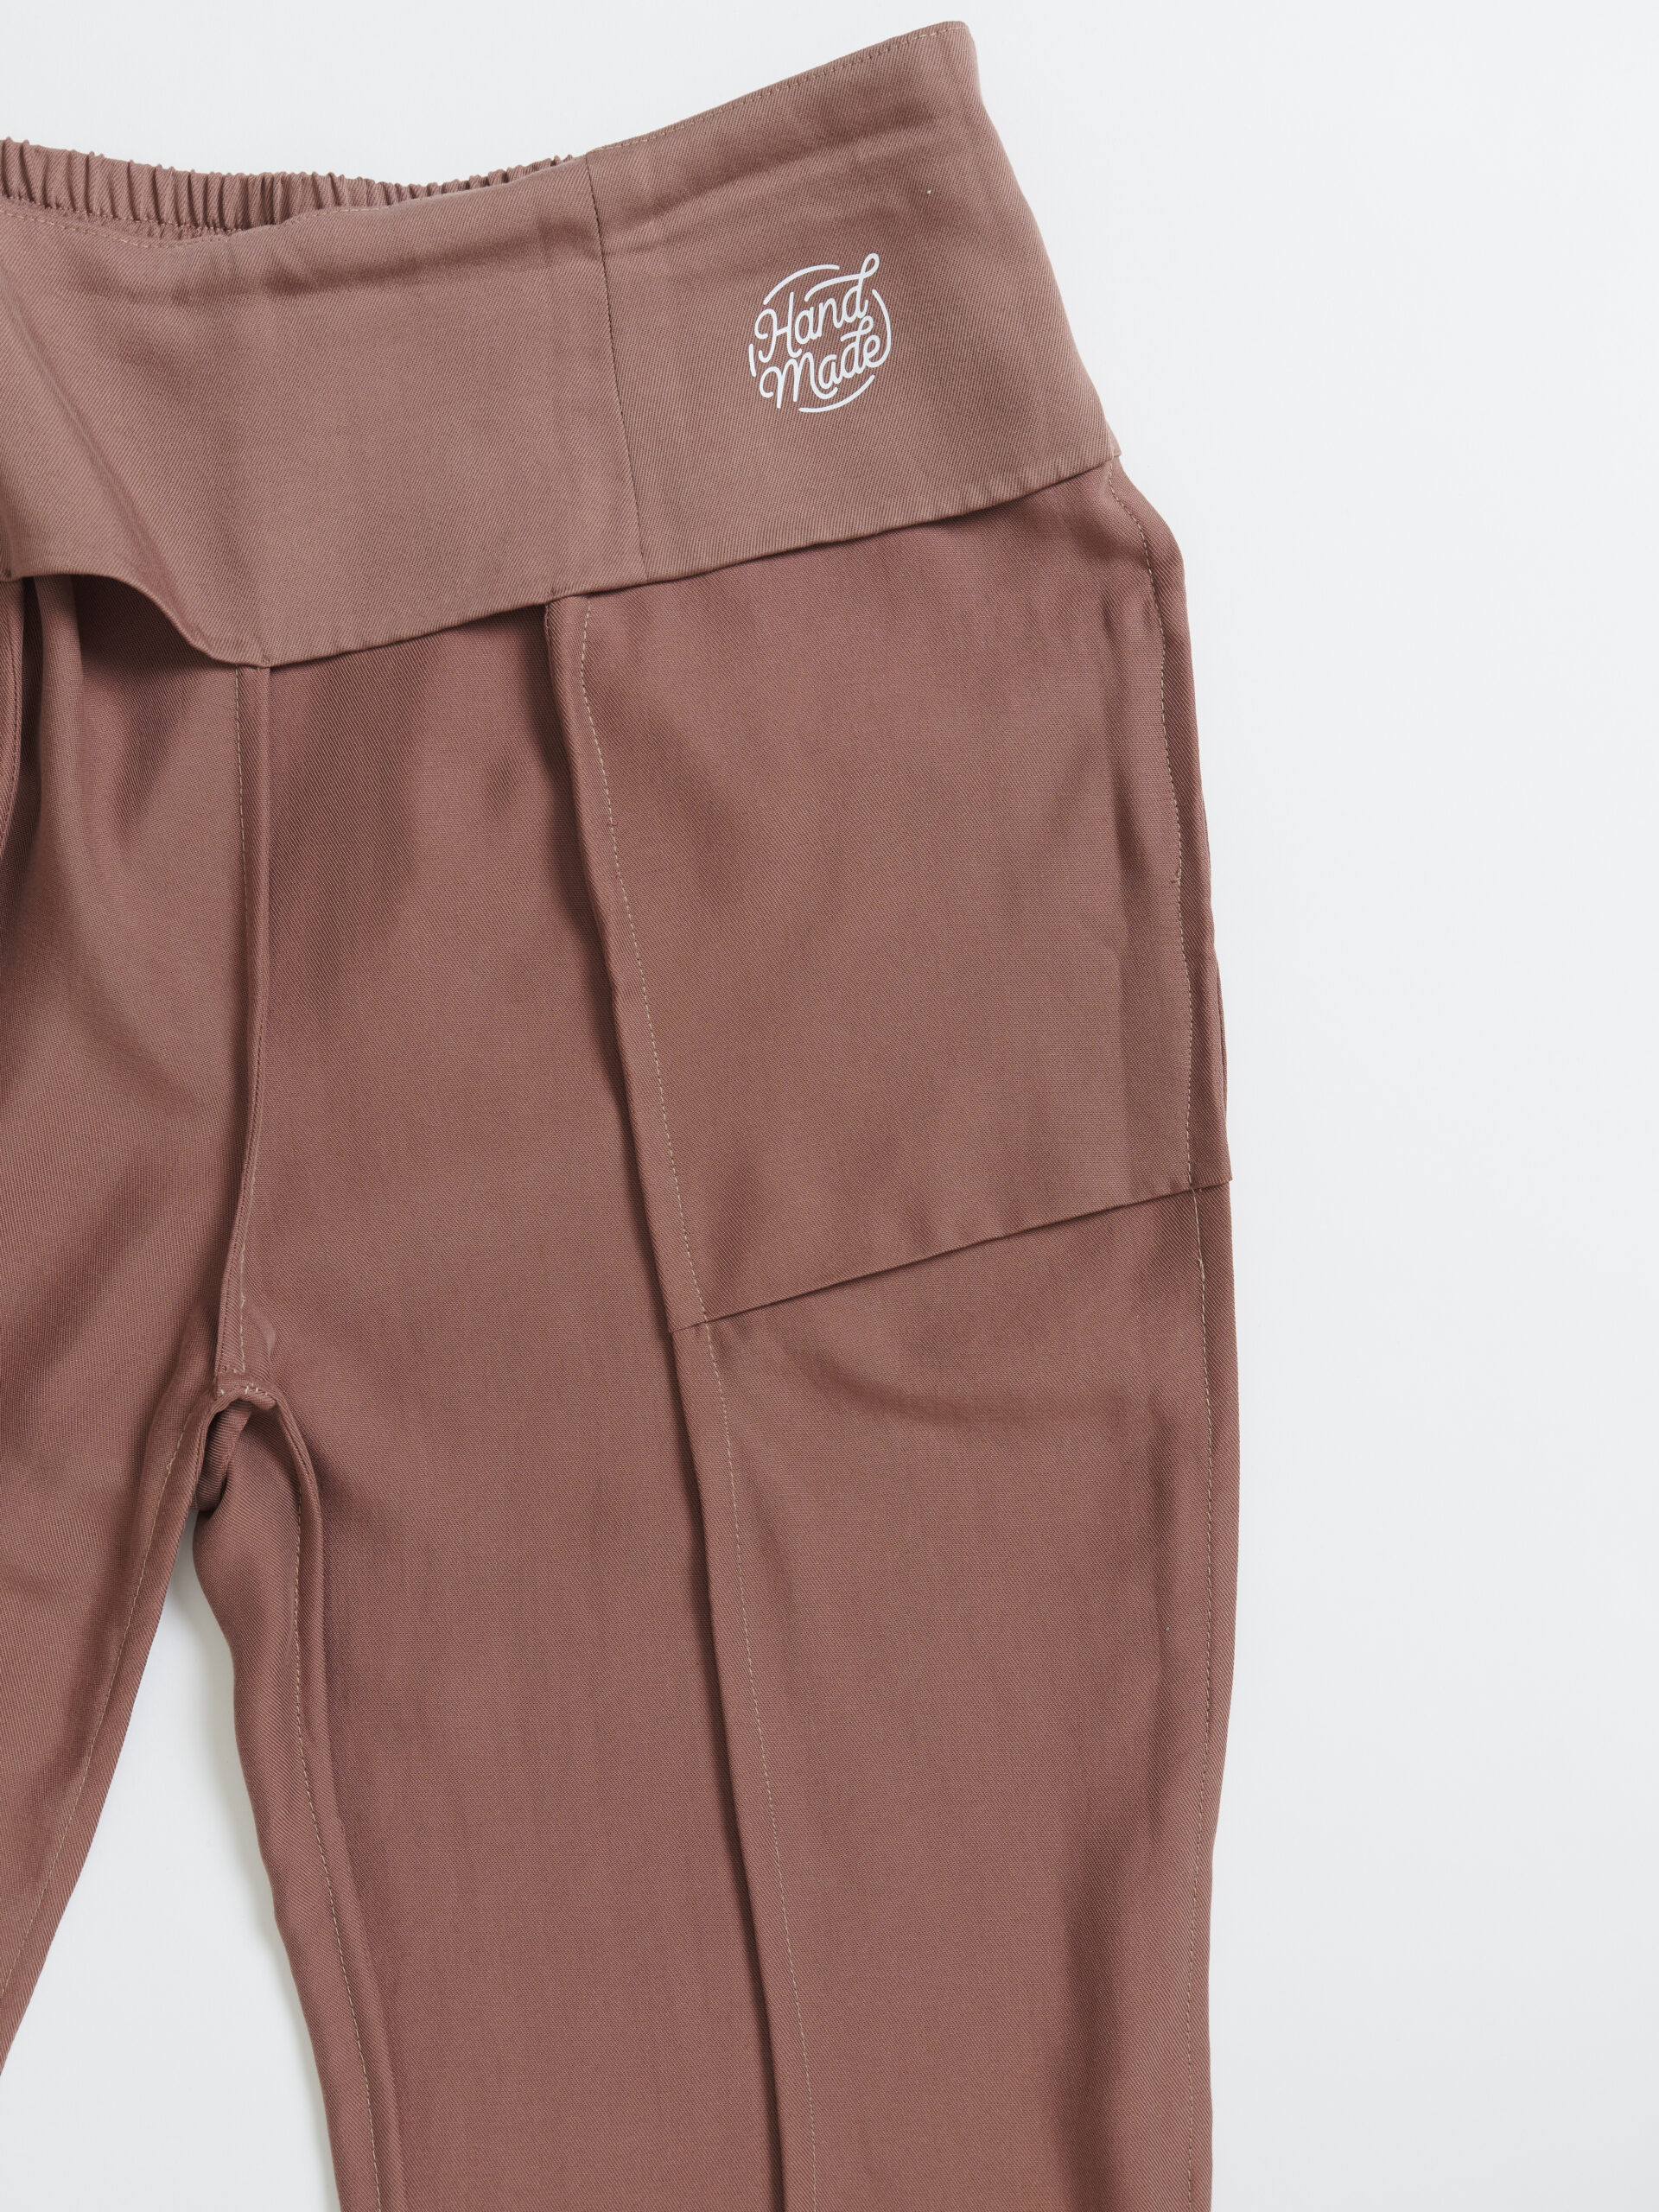
I’d recently bought some ribbing from another shop for a different project and I was astounded to see it was an exact color match for this blush twill. I had to use it somehow, even as an accent. I cut a length and used it as flat piping at the top of the pocket openings to add textural interest to an otherwise plain trouser. I like that the ribbing echoes the texture of the twill on a different scale.

Otherwise, I kept the construction as in the instructions apart from the French seams and the treatment of the front facing. The Pietra waist is only faced along the front (with an elasticated, sewn-on waistband at the back) and I knew I wanted the inside to be finished cleanly. Normally when I sew this pattern I’d fuse each of the three front facing pieces with interfacing, then sew them together, and then overlock the bottom edge. This time around, however, I basically treated my fusible interfacing like a mini lining layer. First, I sewed the facing seams on the exterior fabric, and on the interfacing so I had two complete facing layers. Then I sewed these together along the bottom edge, right sides together (and for good measure, I understitched the bottom edge seam allowances to the interfacing. Finally, I turned the interfacing back against the wrong side of the facing pieces and fused it in place. The result is a neat edge to the facing, and even though it’s something only I’ll see, it makes a difference in the experience of dressing to see such careful details.
I’m thrilled with the final garments. They are wonderful to touch and wear, made with beautiful and ecologically friendly alternative fabrics from small independent suppliers, and made using two independent pattern companies, as well.
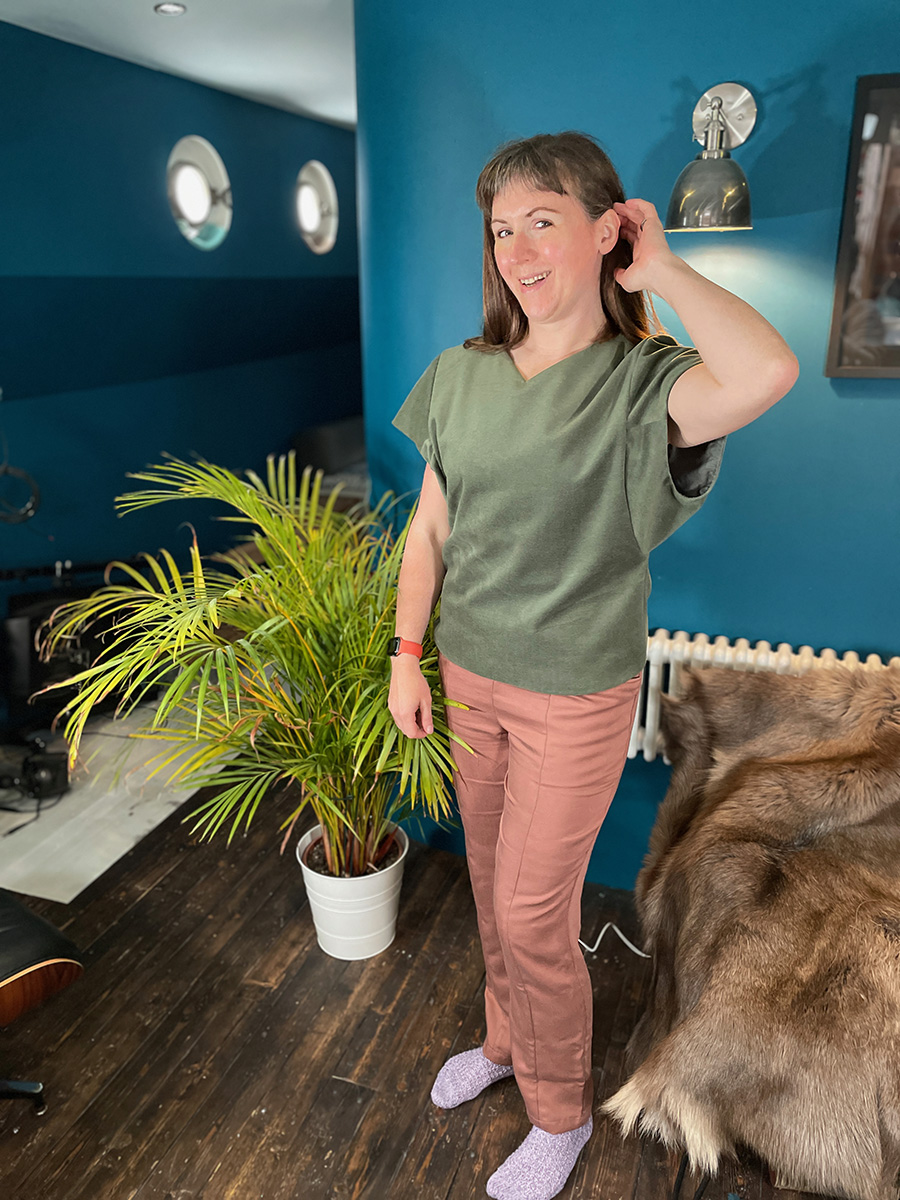
I feel relaxed and at ease but also elevated when wearing them. They are precisely my interpretation of luxury loungewear. I hope you agree. Who’s up for some brunch?
Editor’s note: To find out more about the ensemble Melissa created for the 2022 Threads Digital Ambassadors’ Luxury Loungewear Challenge, read her first installment here. You can also see what her three challengers created and who was voted the favorite here.
Photos: courtesy of Melissa Fehr, except where noted.


Log in or create an account to post a comment.
Sign up Log in