


The 2022 Digital Ambassadors’ Luxury Loungewear Challenge offered lots of garment construction challenges. Let’s look more closely at two I tackled: lining a sweater knit jacket; and applying a binding to a mitered V-neck.
Lining a sweater knit jacket
The lining was cut from the San Diego jacket pattern using a lining called Travel Knit. The sleeves and body of the jacket lining were cut about 3/8 inch to 1/2 inch longer to make sure the jacket would lie smoothly and not pucker. Any excess length was removed before hemming. The collar of the lining was used to extend it underneath the fabric collar as a sew-in interfacing. This would give the collar the body needed for it to stand up or lie open.
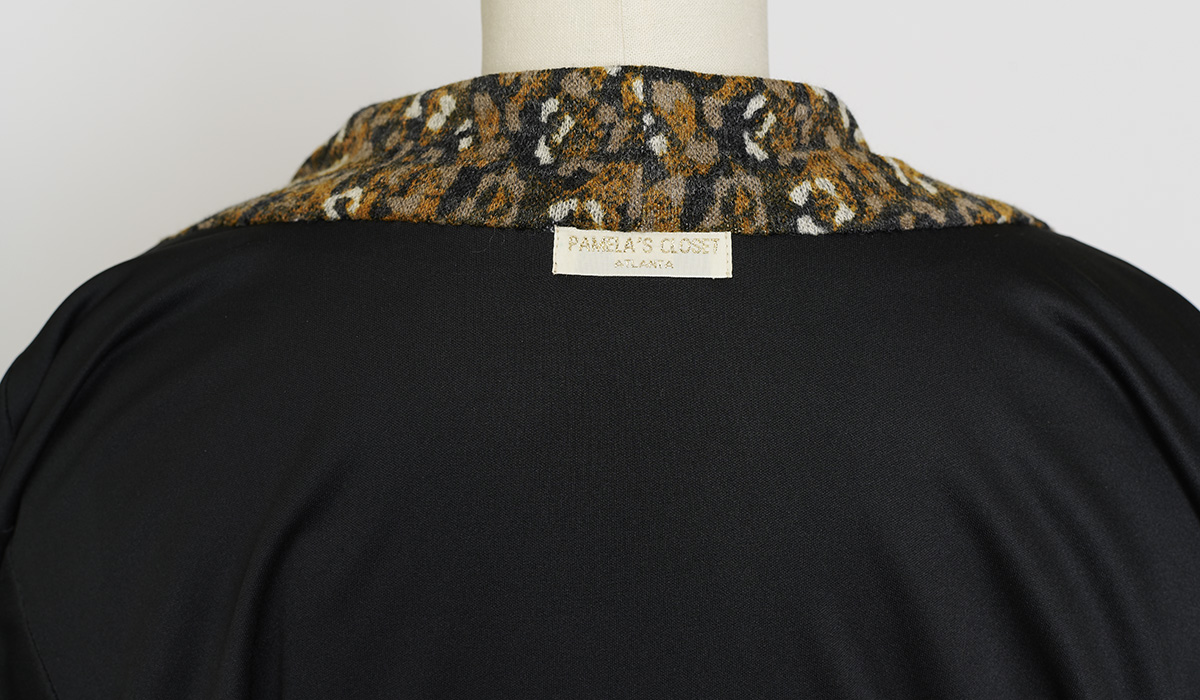
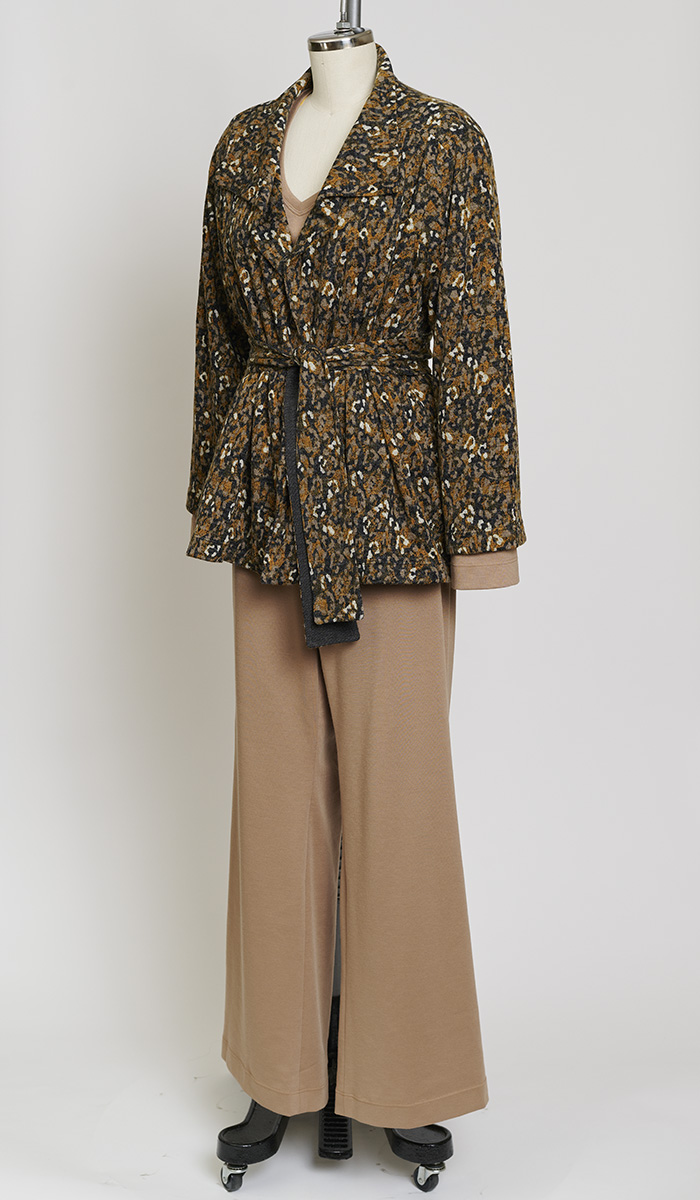
I laid the lining onto the sweater jacket, with wrong sides together. I pressed the seam allowances of the jacket and lining in opposite directions to eliminate bulk, and I hand-tacked in place wherever possible. I wanted the fashion fabric and lining to move as one and not separate when putting the jacket on or taking it off. The jacket was finished, and hemmed with a double needle (which looks similar to the cover stitch). The finished jacket is softly tailored and feels like a sweater. It works well with the matching shell top and the other coordinating wardrobe pieces.
V-neck top with applied binding
The inspiration neckline for this top is from a Dri-fit T-shirt. It has an applied binding. That means it was made separately before pinning it onto the neck of the top, then sewn in place.
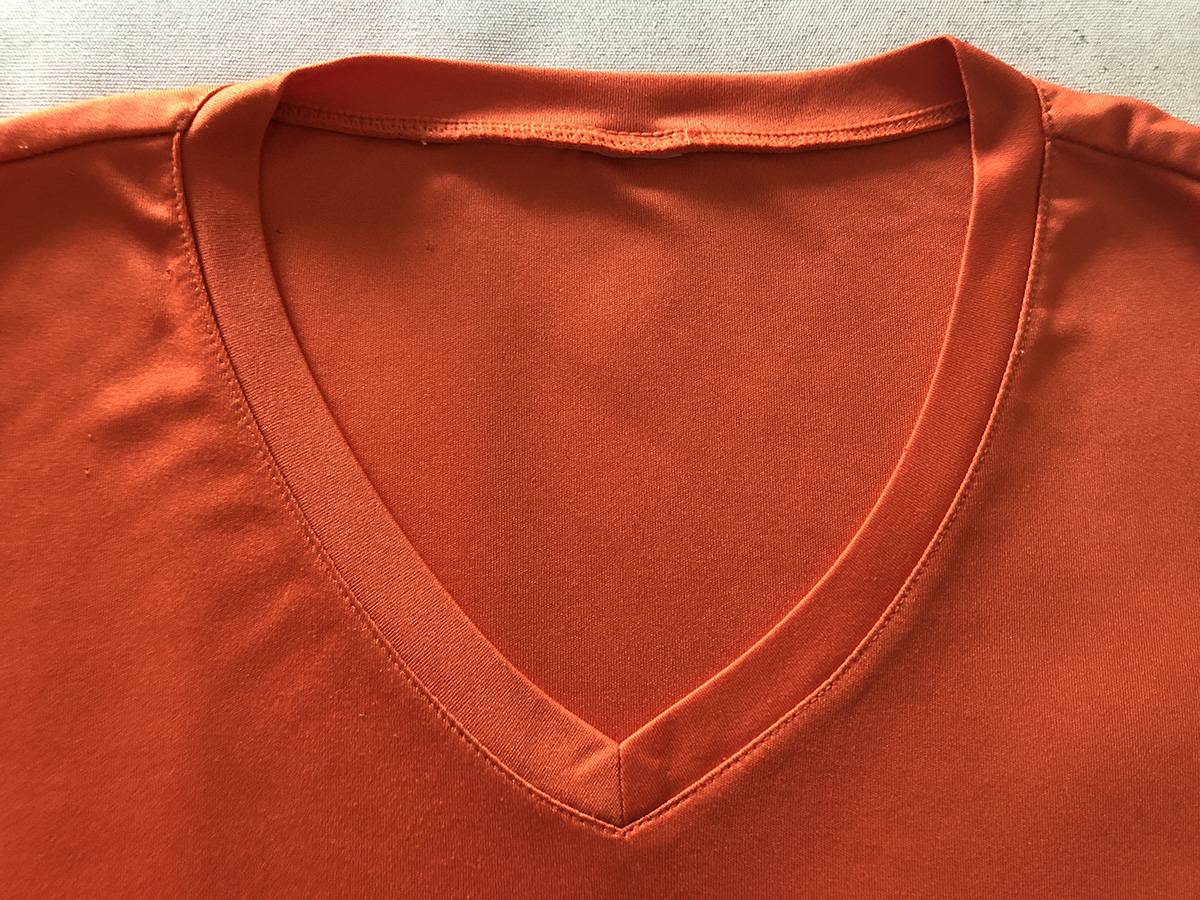
The key is that the binding is cut slightly smaller than the neck of the top, so you will gently stretch it as you pin, to add tension. This tension enables the neckline to snug around your neck and not gape open.
Stabilize the neck edge
The top’s neckline was stabilized with a fusible knit tape from Emma Seabrooke. I prefer the 1-inch tapes, since they can be cut down the center if you want a narrower piece.
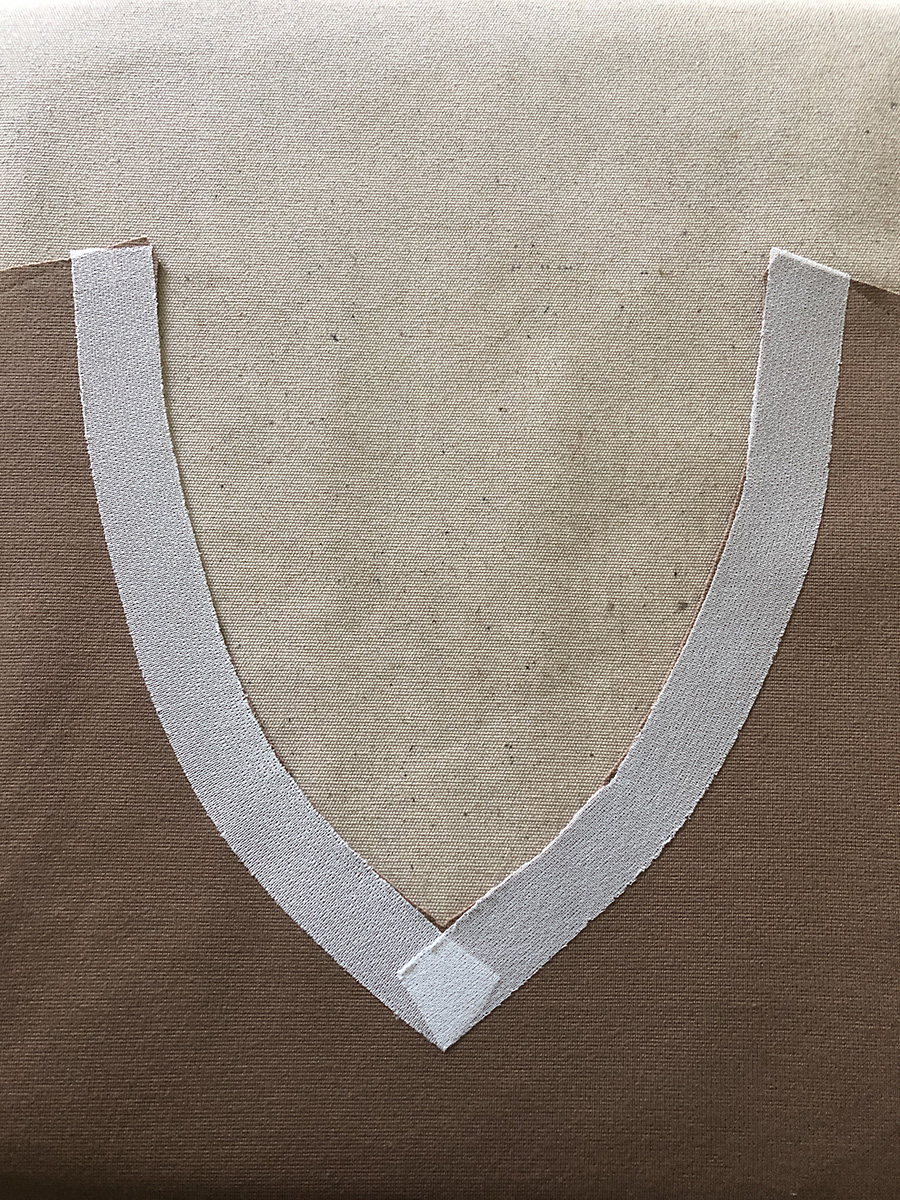
It’s not as smooth around the back neck, but it works. Stabilize the back shoulder seams as well.
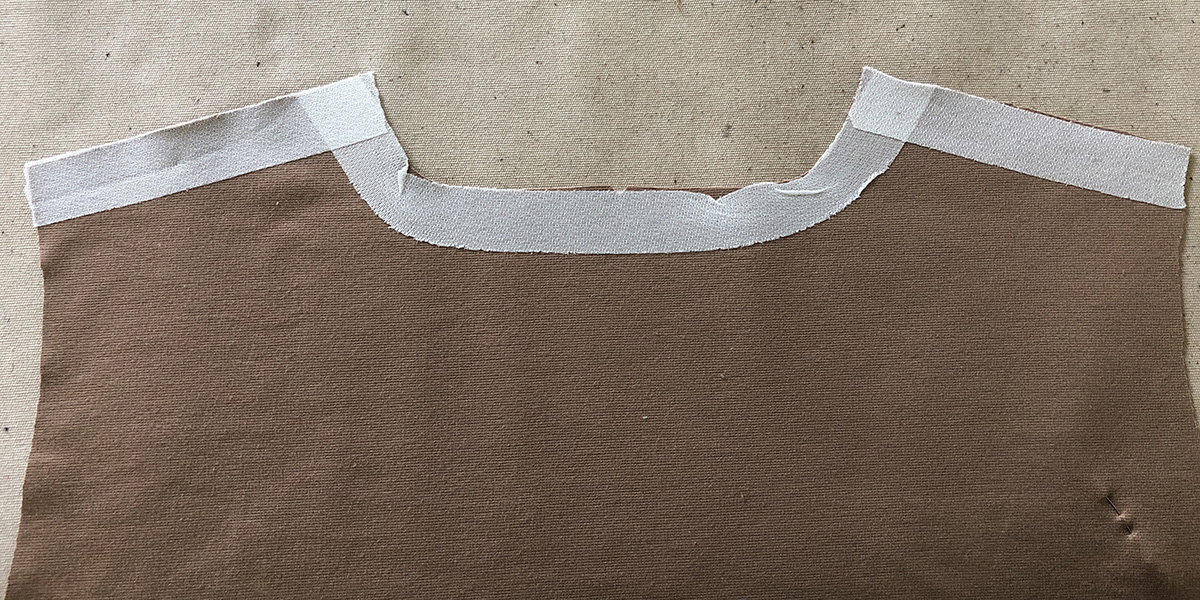
Staystitch at the V to further stabilize it there. Then cut the center of the V to the stitching line (but not through).
Turn the neckline toward the wrong side (about 3/8 inch), and hand baste in place, making sure NOT to stretch the neck.
Miter the center front
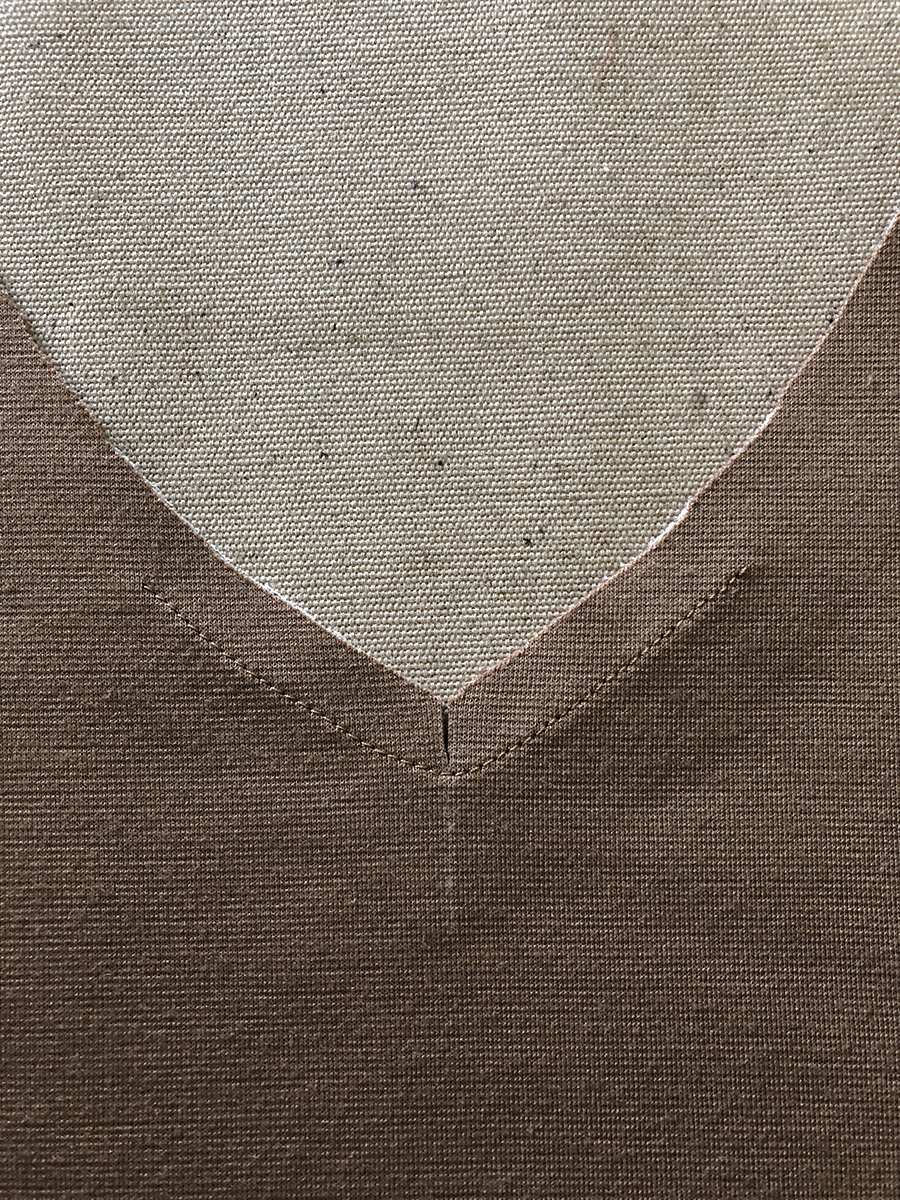
After making my test sample, this is the mitered shape that worked. Sew a 3/8-inch-wide seam to hold the two binding pieces together, and clip the center.
Press the seam allowances open from the cut edge to the center on both sides.
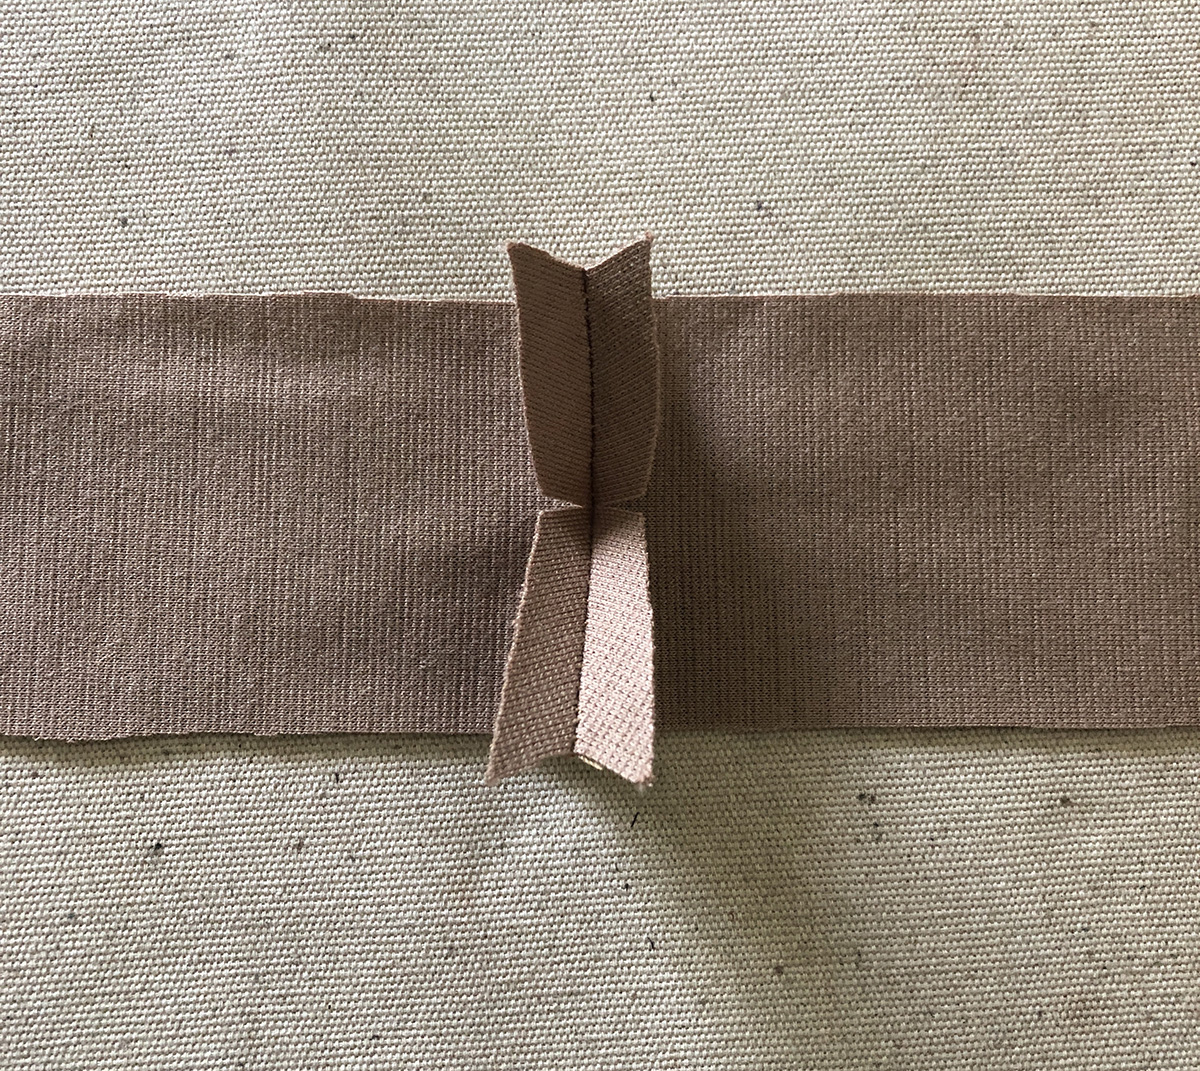
Lay the binding wrong sides together and press.
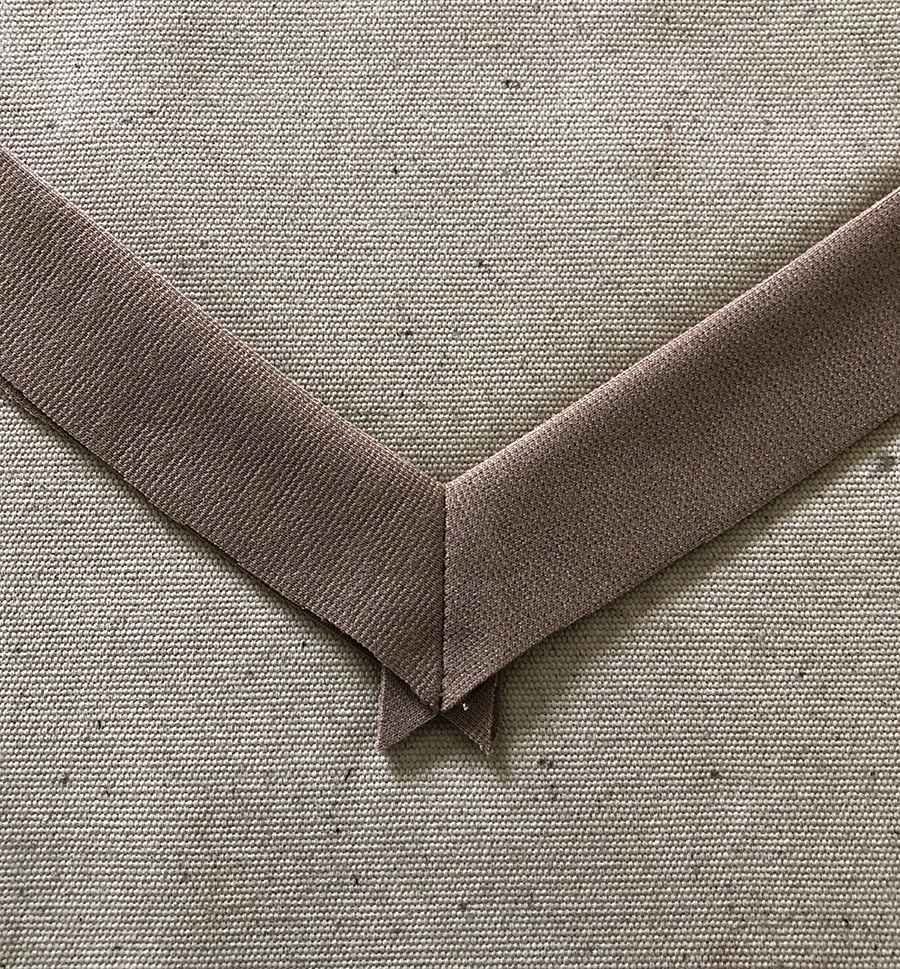
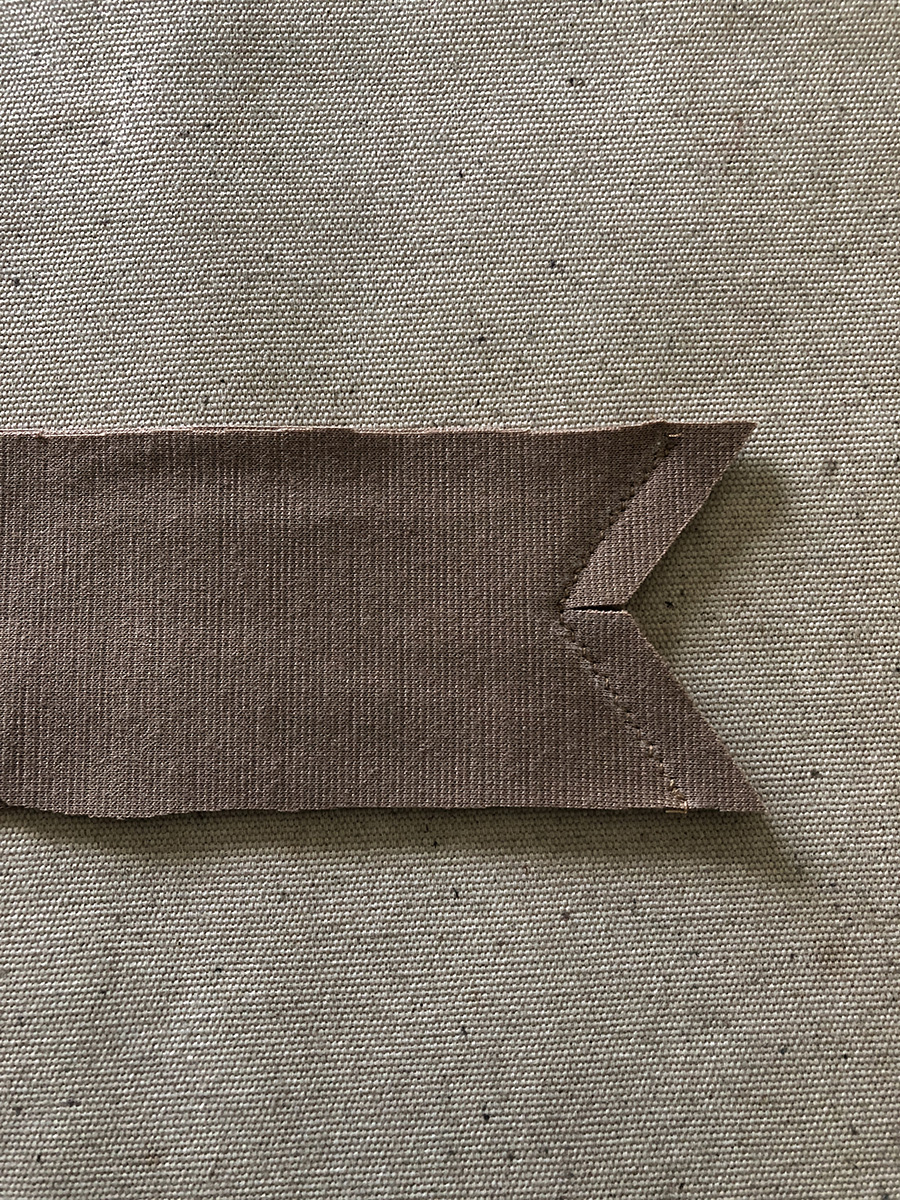
The result is a mitered V-neck binding. Many of you may already know this method, but it was new to me.
Finish the outer edge with a serger or use a wide zigzag on your regular sewing machine.
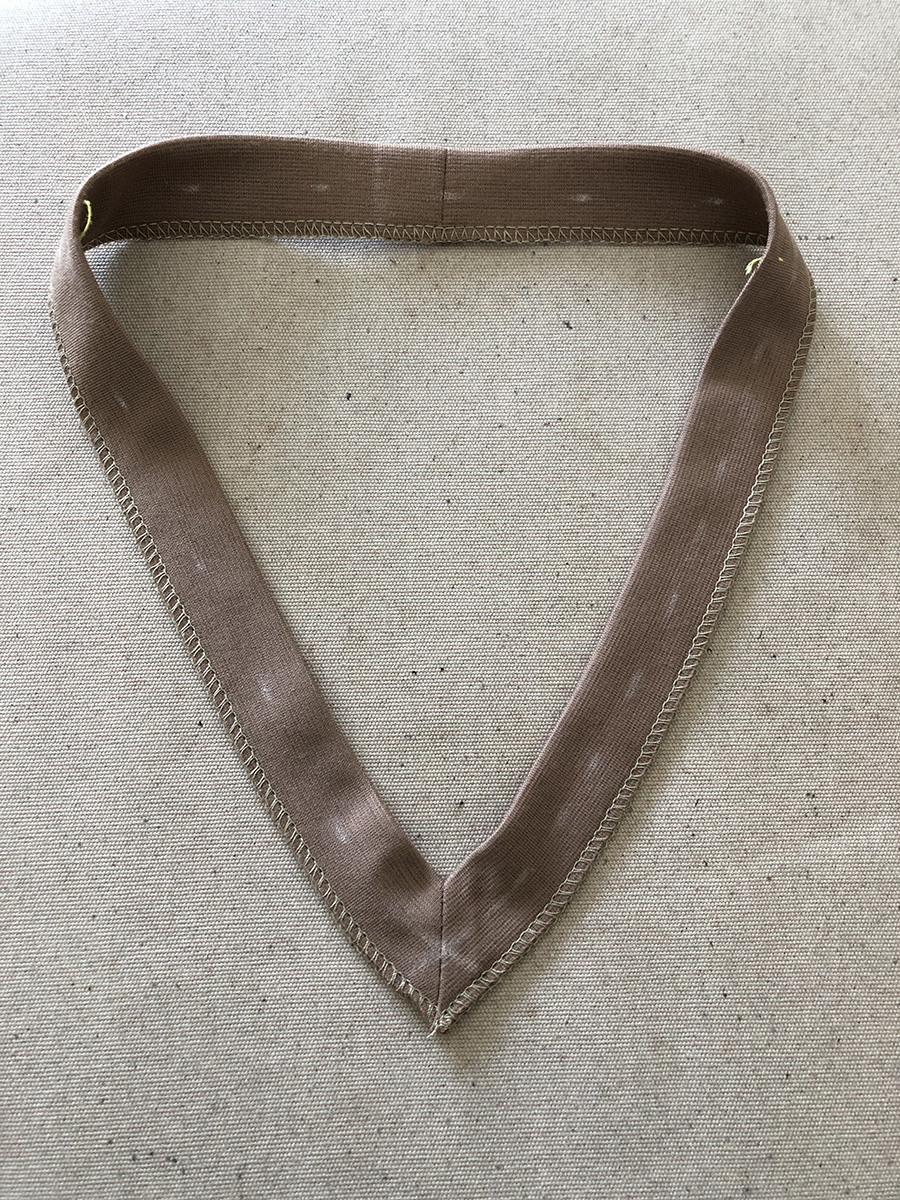
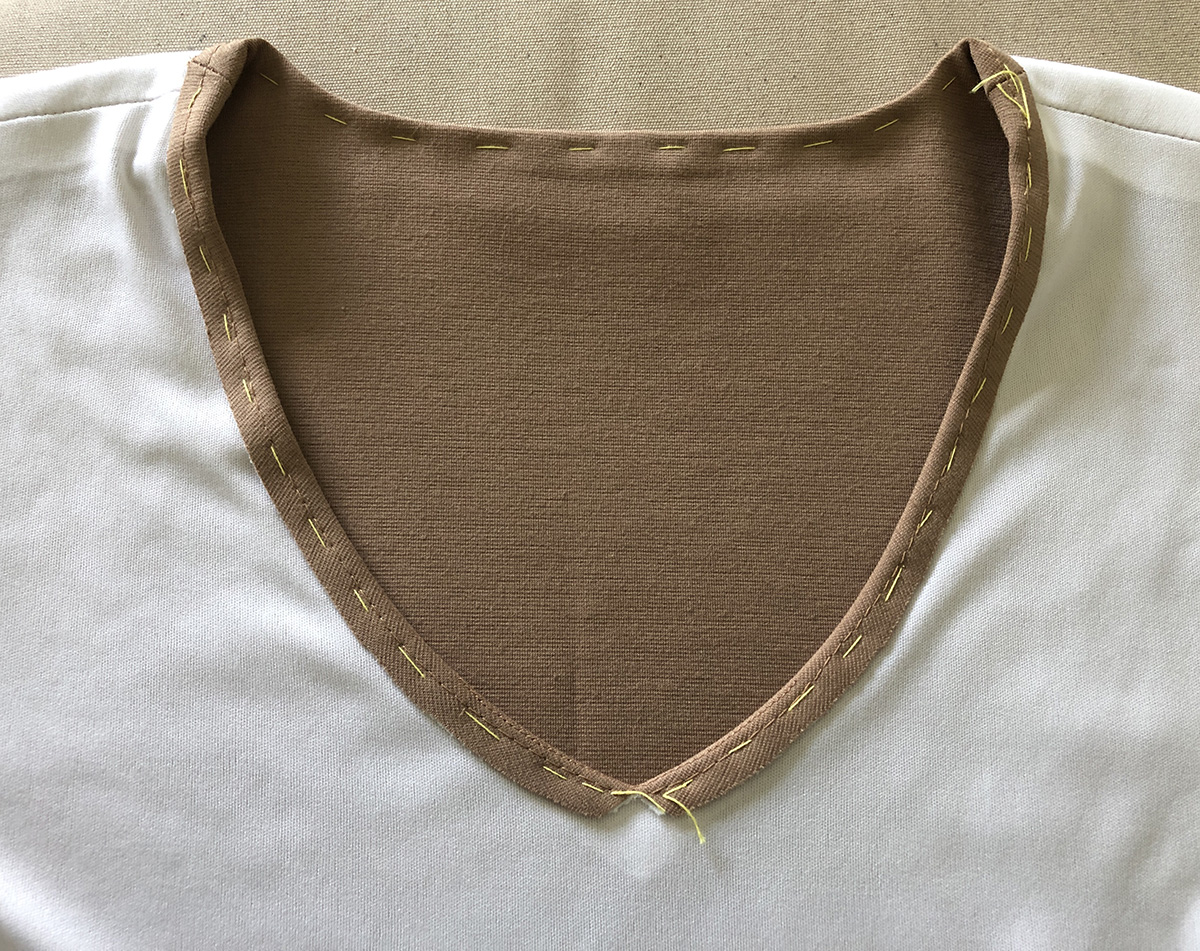
I sewed the binding pieces together at the center back and tailor-tacked where I wanted the binding to match the shoulder seams. The chalk marks were made at 1/2 inch from the folded edge of the binding to indicate where to place the neckline of the top.
I pinned the binding to the wrong side of the neck, matching the center front, the neckline to the chalk marks and the tailor’s tacks to match the shoulder seams. Note the tension created to keep the neckline snug.
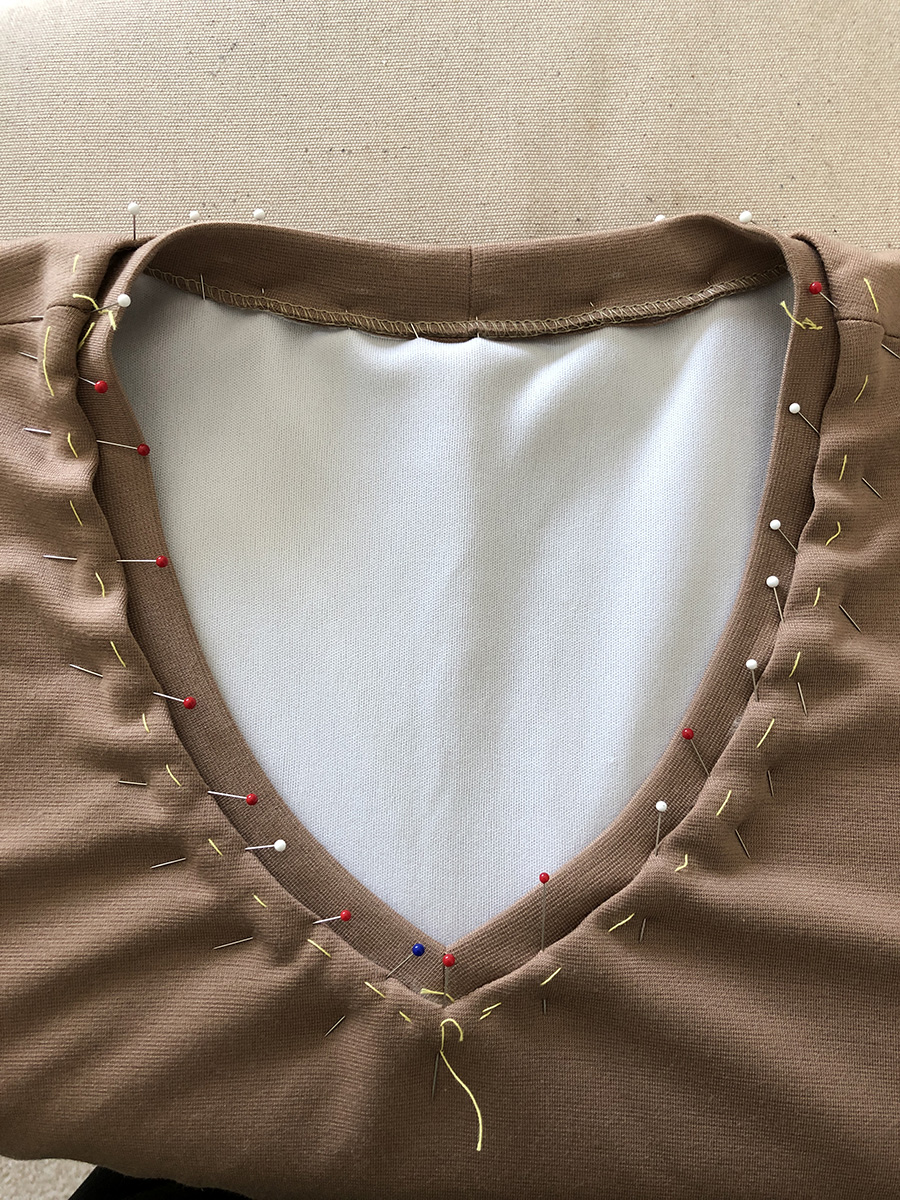
I used a double needle to apply the binding to the neck, stretching slightly as I sewed.
The neckline did smooth out once it was steam-pressed.
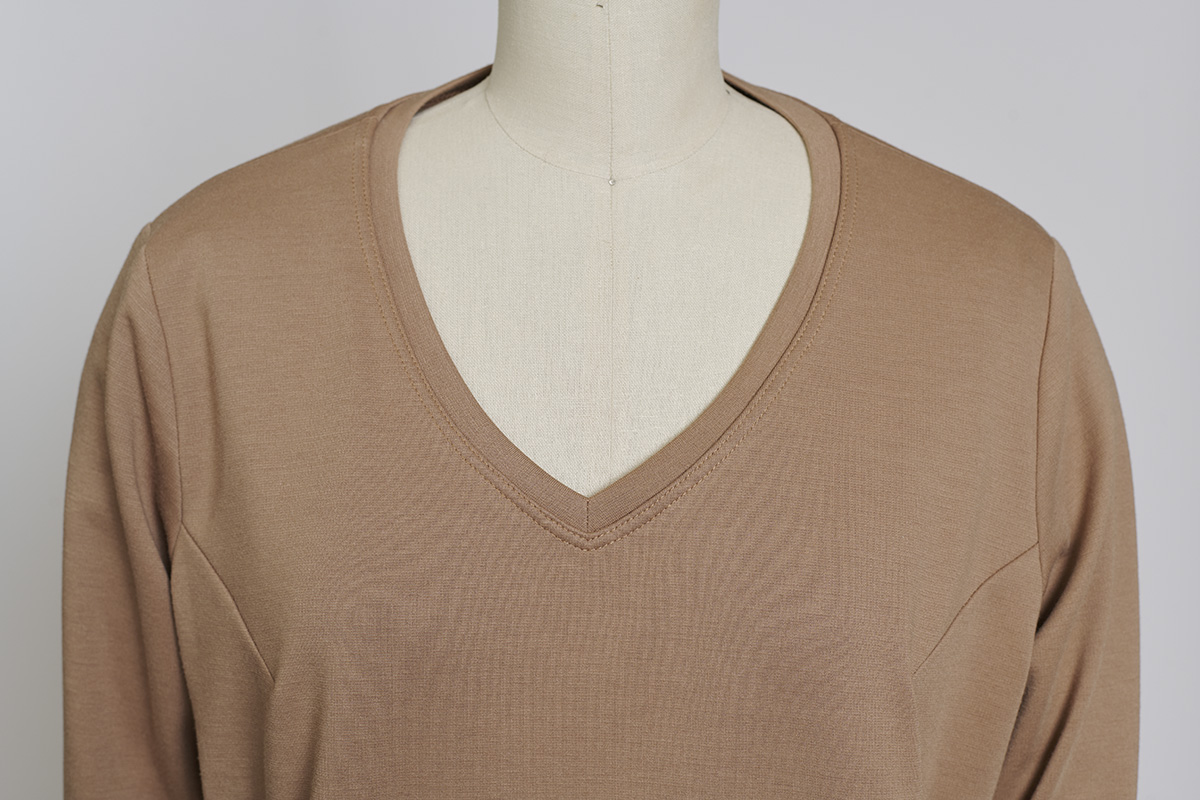
I’m sure that I will use this technique again, and really like the way it looks.
Editor’s note: To find out more about the winning ensemble Pamela created for the 2022 Threads Digital Ambassadors’ Luxury Loungewear Challenge, read her first installment here. You can also see what her three challengers created here.
Photos: courtesy of Pamela Howard, except where noted.


Log in or create an account to post a comment.
Sign up Log in