
Decorative Stitch Guide
Learn, or review, 5 basic embroidery stitches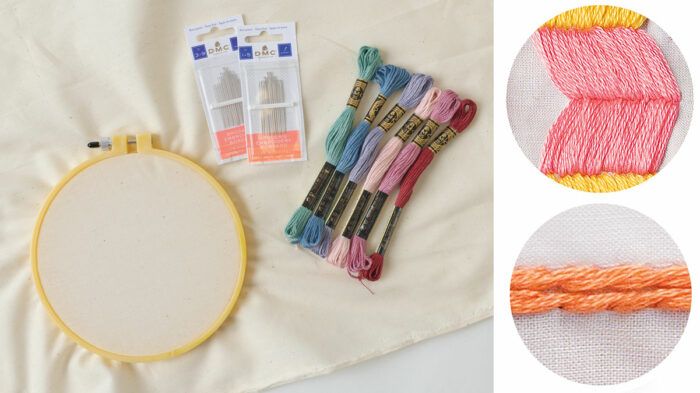
Hand-worked embroidery is viewed as decorative, but it can be much more. It can mend, shape, and provide identification to your garments, quilts, or other projects. Just a few stitches are all you need to create lovely original pieces. Focus on mastering an outline stitch, one or more fill stitches, and any other stitch you like that adds texture or pattern. We’ve chosen a few basic stitches. They’re good for embroidering predesigned motifs or for improvising designs as you stitch.
 Outline Stitch
Use this stitch to create linear contours, whether straight or curved. Work the outline stitch from left to right and keep the thread to the right of the needle. Reverse these directions if you are left-handed. The stitch’s wrong side resembles a backstitch.
1. Bring the needle to the fabric’s right side at A. Take the needle a short distance to the right, and insert it at B. Bring the needle to the right side a half stitch behind B, between A and B, at C. 
2. Take the needle one whole stitch length to the right of C. Insert the needle at D. Bring it up a half stitch to the left at E; E is the same location as B. Continue stitching in the same sequence.
Satin Stitch

This stitch creates a solid area of color, with even coverage and a smooth texture. It can be challenging to create a straight edge where the stitches’ ends align. Do your best, and consider finishing by placing an outline stitch around the area to cover the edges.
1. Start at one end of the outlined shape or the design’s edge. Bring the needle to the fabric’s right side at A. Travel across the shape to the opposite design line. Insert the needle at B, on the opposite side of the outlined shape.

2. Bring the needle back up at C, next to the first thread. There should be no space between the first and second threads. Travel across the shape to the opposite edge and insert the needle at D, opposite C.

3. Continue stitching densely packed, parallel stitches in this manner until the shape is filled. No fabric should be visible between the stitches. After filling the area, pass the thread tail under the stitches on the wrong side.


Chainstitch
A chainstitch can be used as an outline or, when many rows are closely packed together, as a fill stitch with a looped or braided look.
1. Bring the needle up at A. Insert it in the same hole, pulling the thread through to leave a small loop.

2. Bring the needle back up at B. Pull the thread gently to tighten the loop.

3. Insert the needle at B for another loop, and bring it up at C to repeat the stitch as for the first stitch.

4. Finish the chain. When you’ve completed the desired number of loops, take a small stitch over the final loop and fasten the thread on the wrong side.
 Raised Knot Stitch
The raised knot stitch is an isolated stitch you can use in various sizes to accent an embroidery design. Work a basic cross-stitch, then backstitch over each spoke to create a firm, raised knot.
1. Bring the thread to the fabric’s right side at A. This is the lower left corner of a square. Make a diagonal stitch to the upper right corner, inserting the needle at B. Bring the needle back up at C, in the lower right corner. Then, sew another short, diagonal stitch to the upper left corner, crossing the first thread, and insert the needle at D.

2. Sew the backstitches. Bring the needle up between A and C, close to the center of the cross, at a. Carry the thread across the C spoke and insert the needle at b.

3. Bring the needle back to the right side between A and D at c. Carry the thread across the A spoke and insert it at a.

4. Bring the needle back to the right side between D and B at d. Carry the thread across the D spoke and insert it at c (not shown).
5. Bring the needle to the right side between the C and B spokes at b. Carry the thread across the B spoke and insert it to the wrong side between spokes B and D at d. After completing the raised knot, tie the thread on the wrong side.

 French Knot
These beadlike accent stitches are often closely clustered to create a dense fill.
1. Bring the needle up at A. Wrap the floss around the needle two or three times. The more times you wrap the floss, the larger the knot.
2. Holding the strand taut, reinsert the needle into the fabric at B. Place it close to A. Pull the floss through, holding the wrapped thread in place with your thumb as you do so.
3. Repeat the stitch. For consistently sized knots, count the floss wraps carefully and maintain an even tension in each knot.

TipWork with a milliner’s needle, which has an eye the same width as the needle’s shaft. It slides more easily through the wrapped floss. |


I would really appreciate having ability to print out this article. Where is the PDF button?