

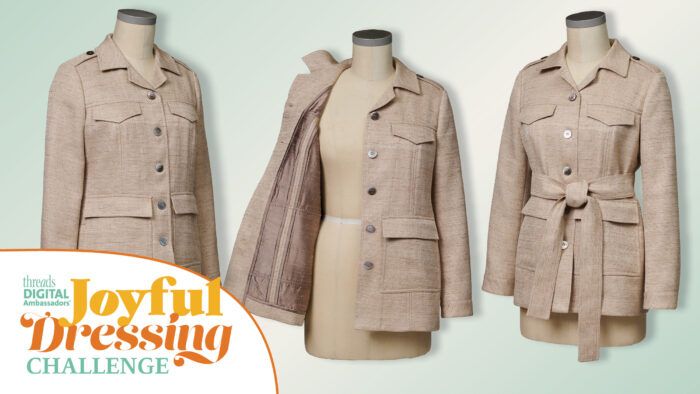
Let’s take a look at some of the construction techniques I used when sewing my Yves Saint Laurent-inspired safari jacket for the Joyful Dressing Challenge. We’ll focus on the lining, stitching, and clean-finishing.
Hong Kong lining
To finish the seams and edges, I applied the Hong Kong lining technique on all the jacket sections with vertical seams—fronts, side fronts, side backs, centers back, as well as the upper and undersleeves.

All the horizontal sections of the jacket—yoke fronts and yoke back—had to be treated differently. I explain how here.
Opting for less bulk
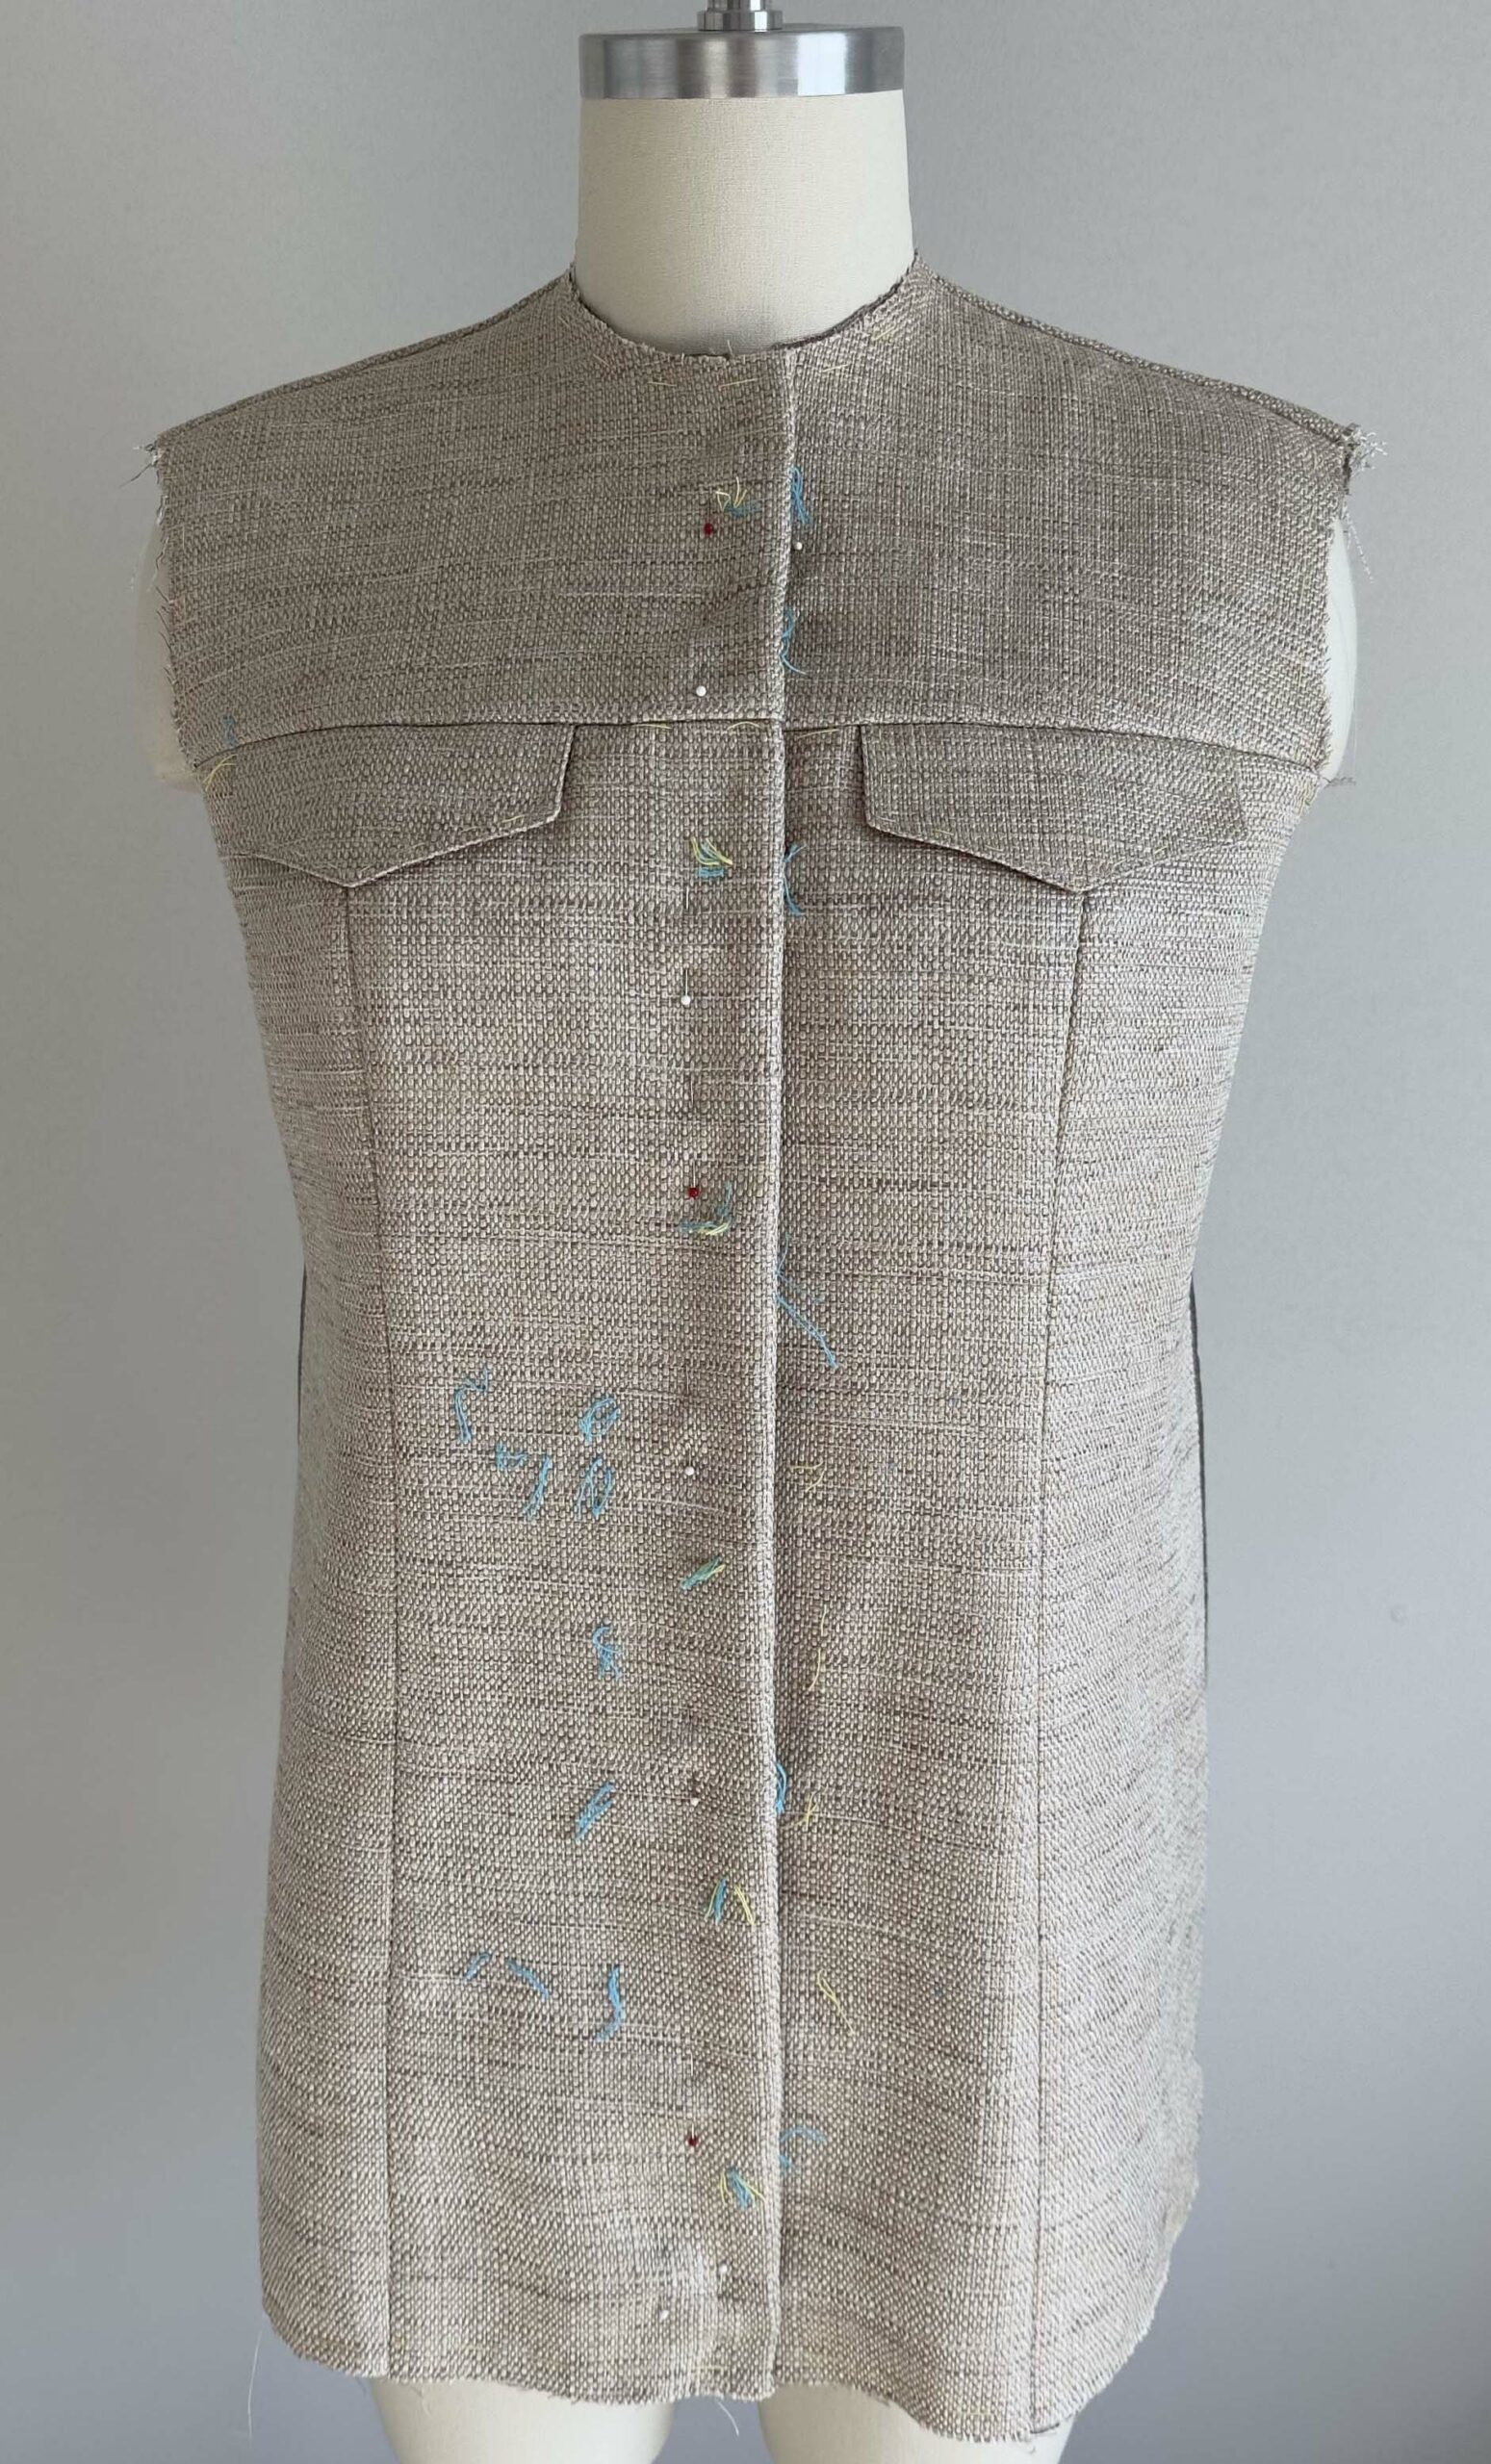
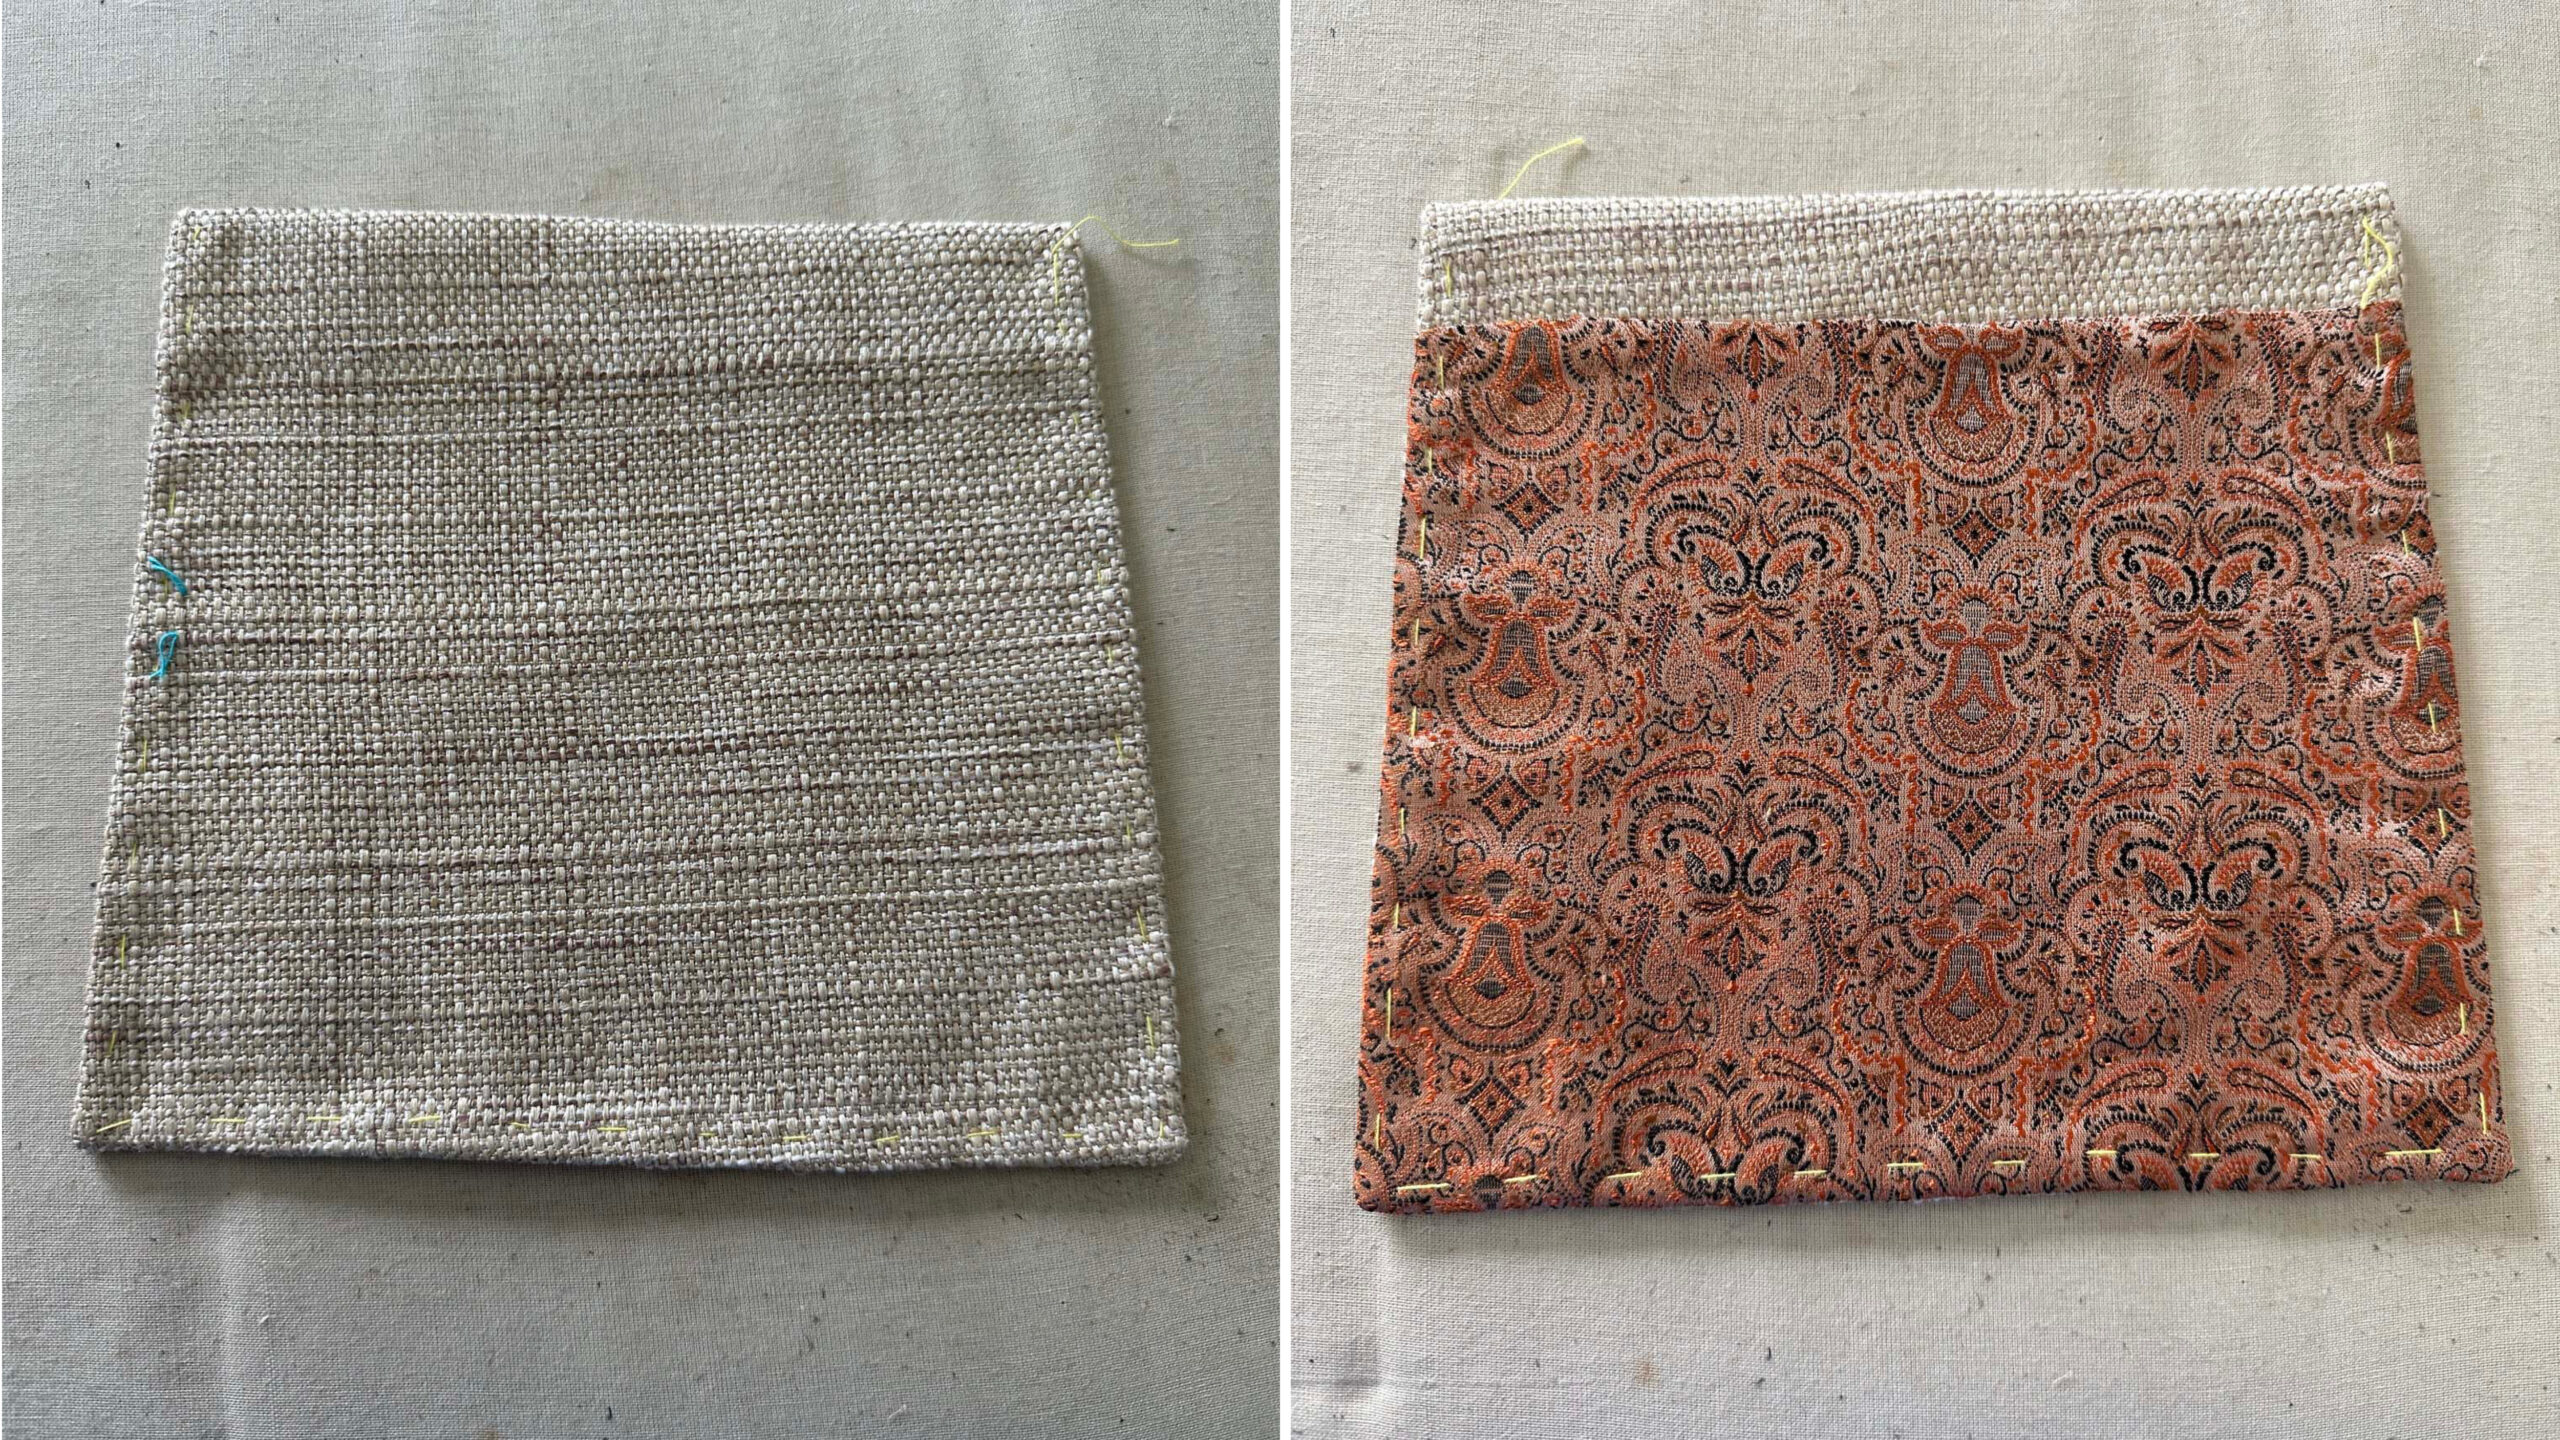
I cut silk dupioni pieces to line the back and front pieces using a flat lining method. This process calls for laying the inner and outer fabrics wrong sides together and hand- basting near the seamlines to hold them together, as shown below.

I cut away the front lining piece at the center front and catchstitched it in place. Flat lining eliminates bulk at the front, where the cut-on facing must be folded back. The hand-basting threads are removed after the garment pieces are assembled.

I sewed the jacket body pieces together with 5/8-inch-wide seam allowances. However, I made 1-inch-wide seam allowances along the side seams, in case any fitting adjustment was needed.
Tailor’s tacks mark the front foldlines, center front, pocket/flap placement, etc.
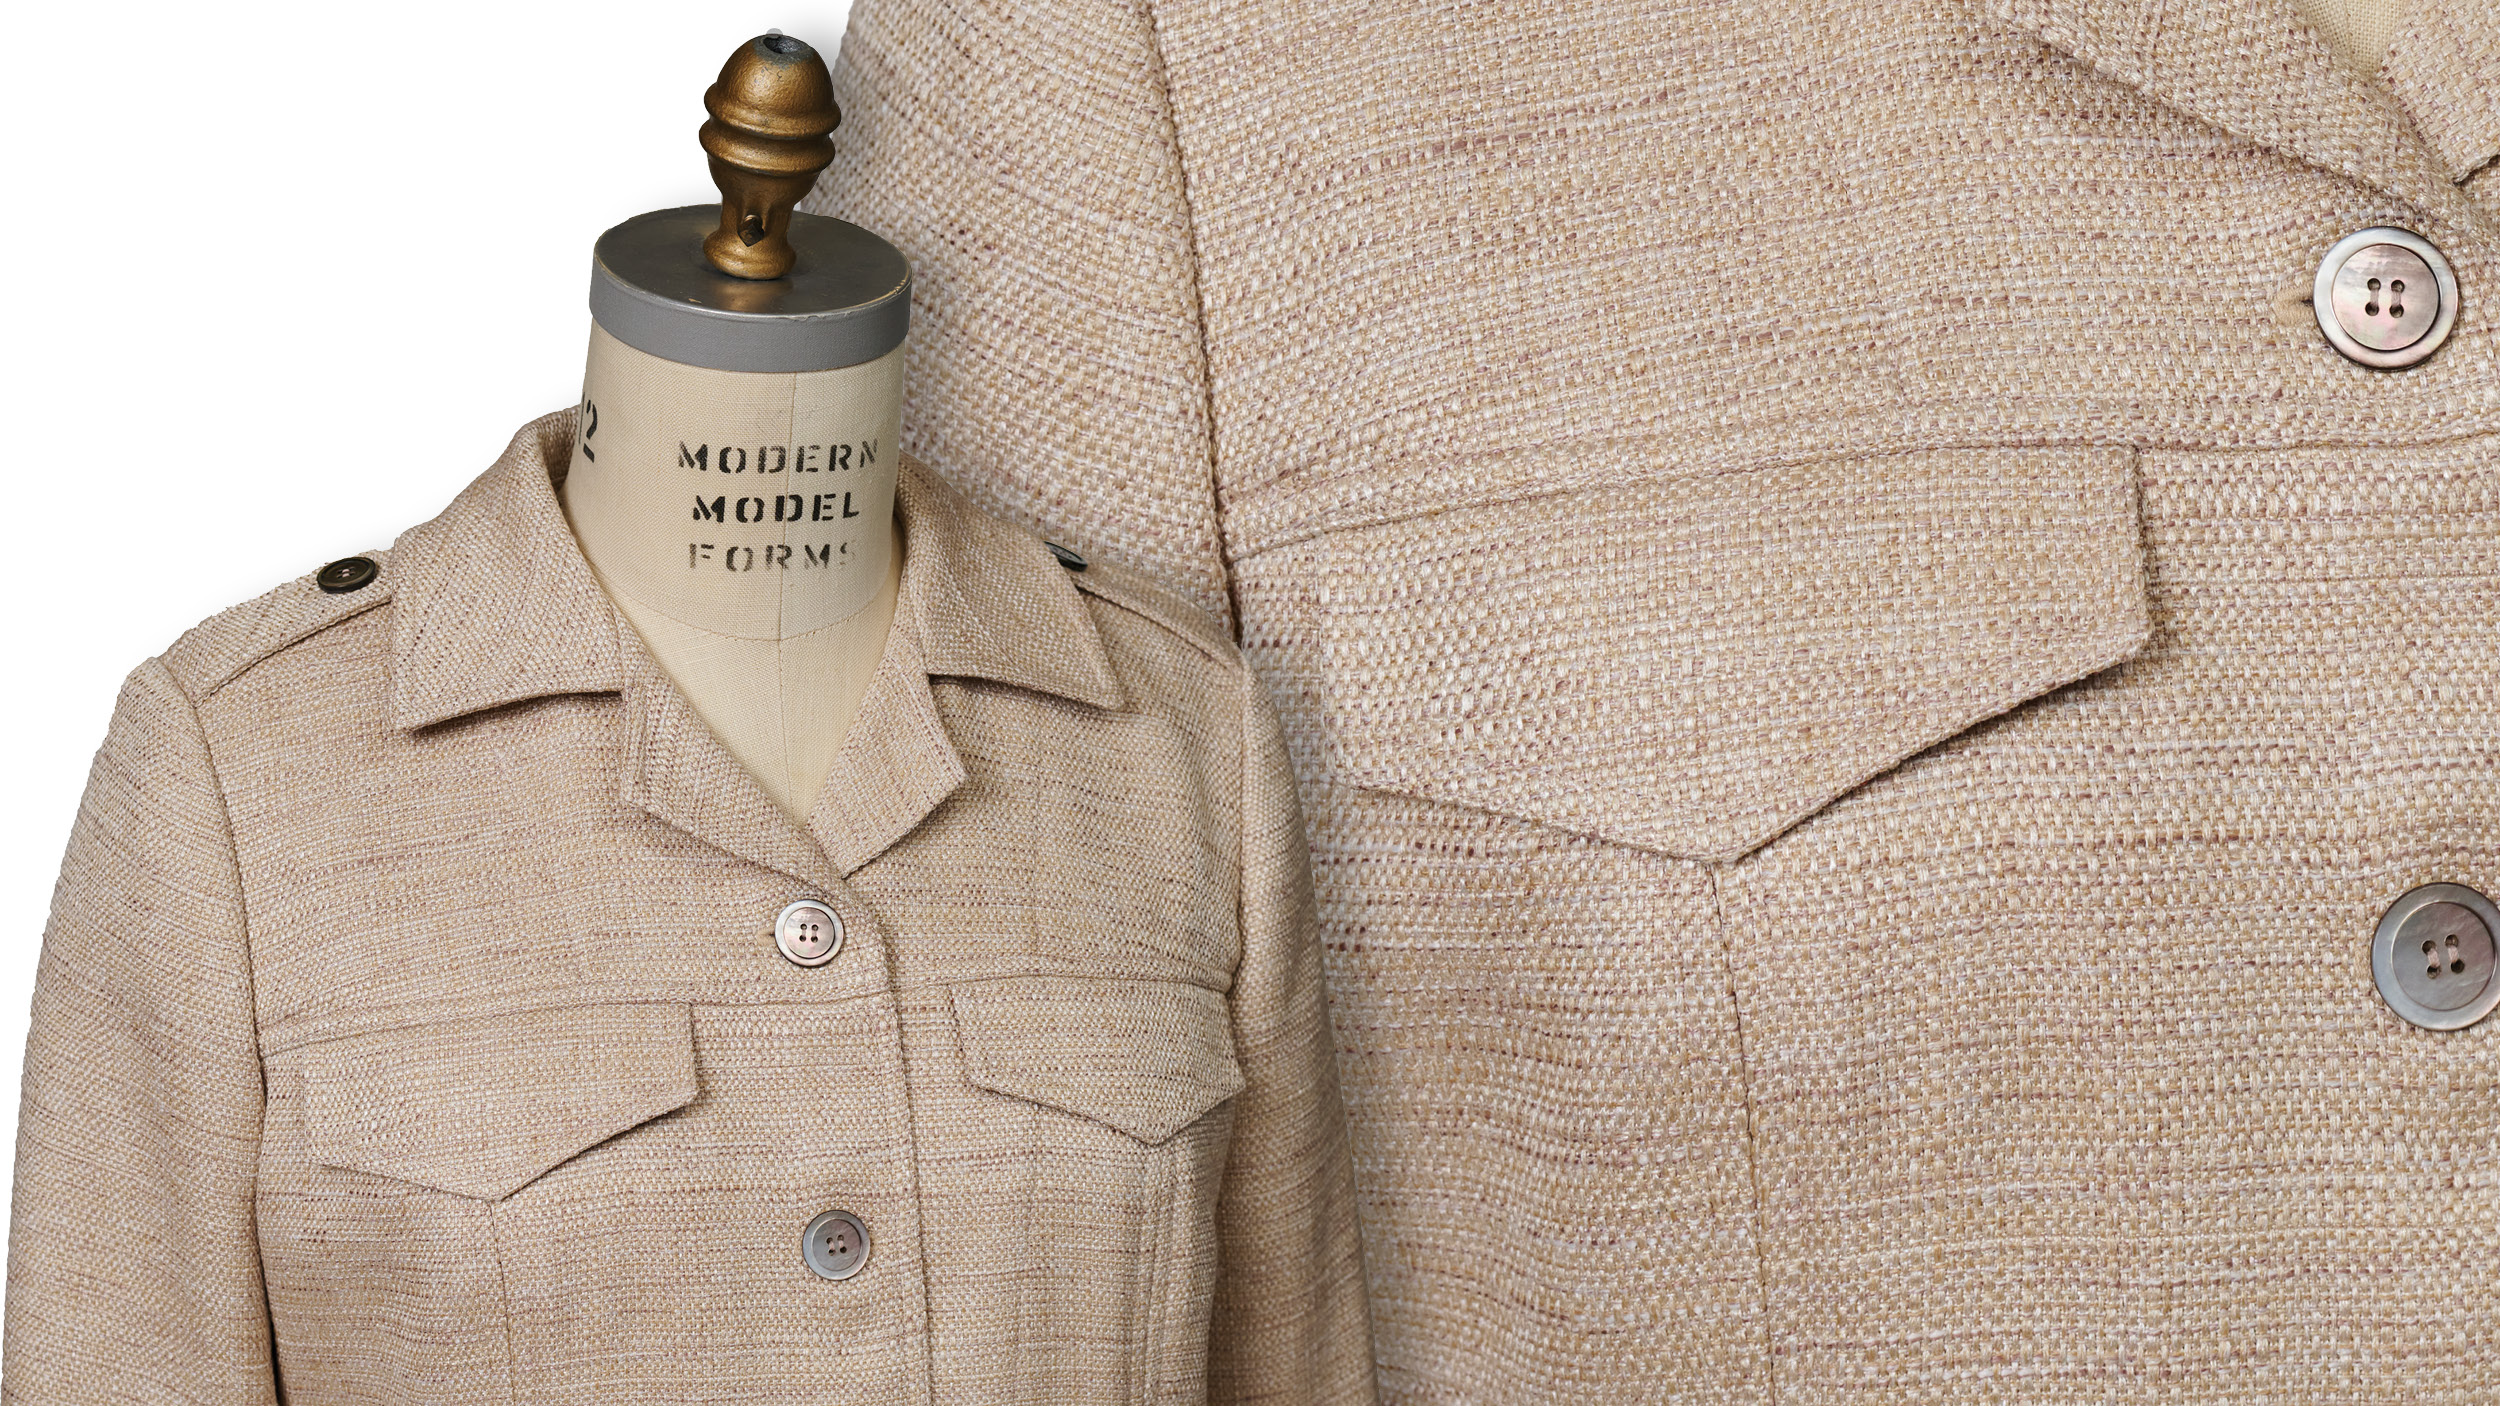
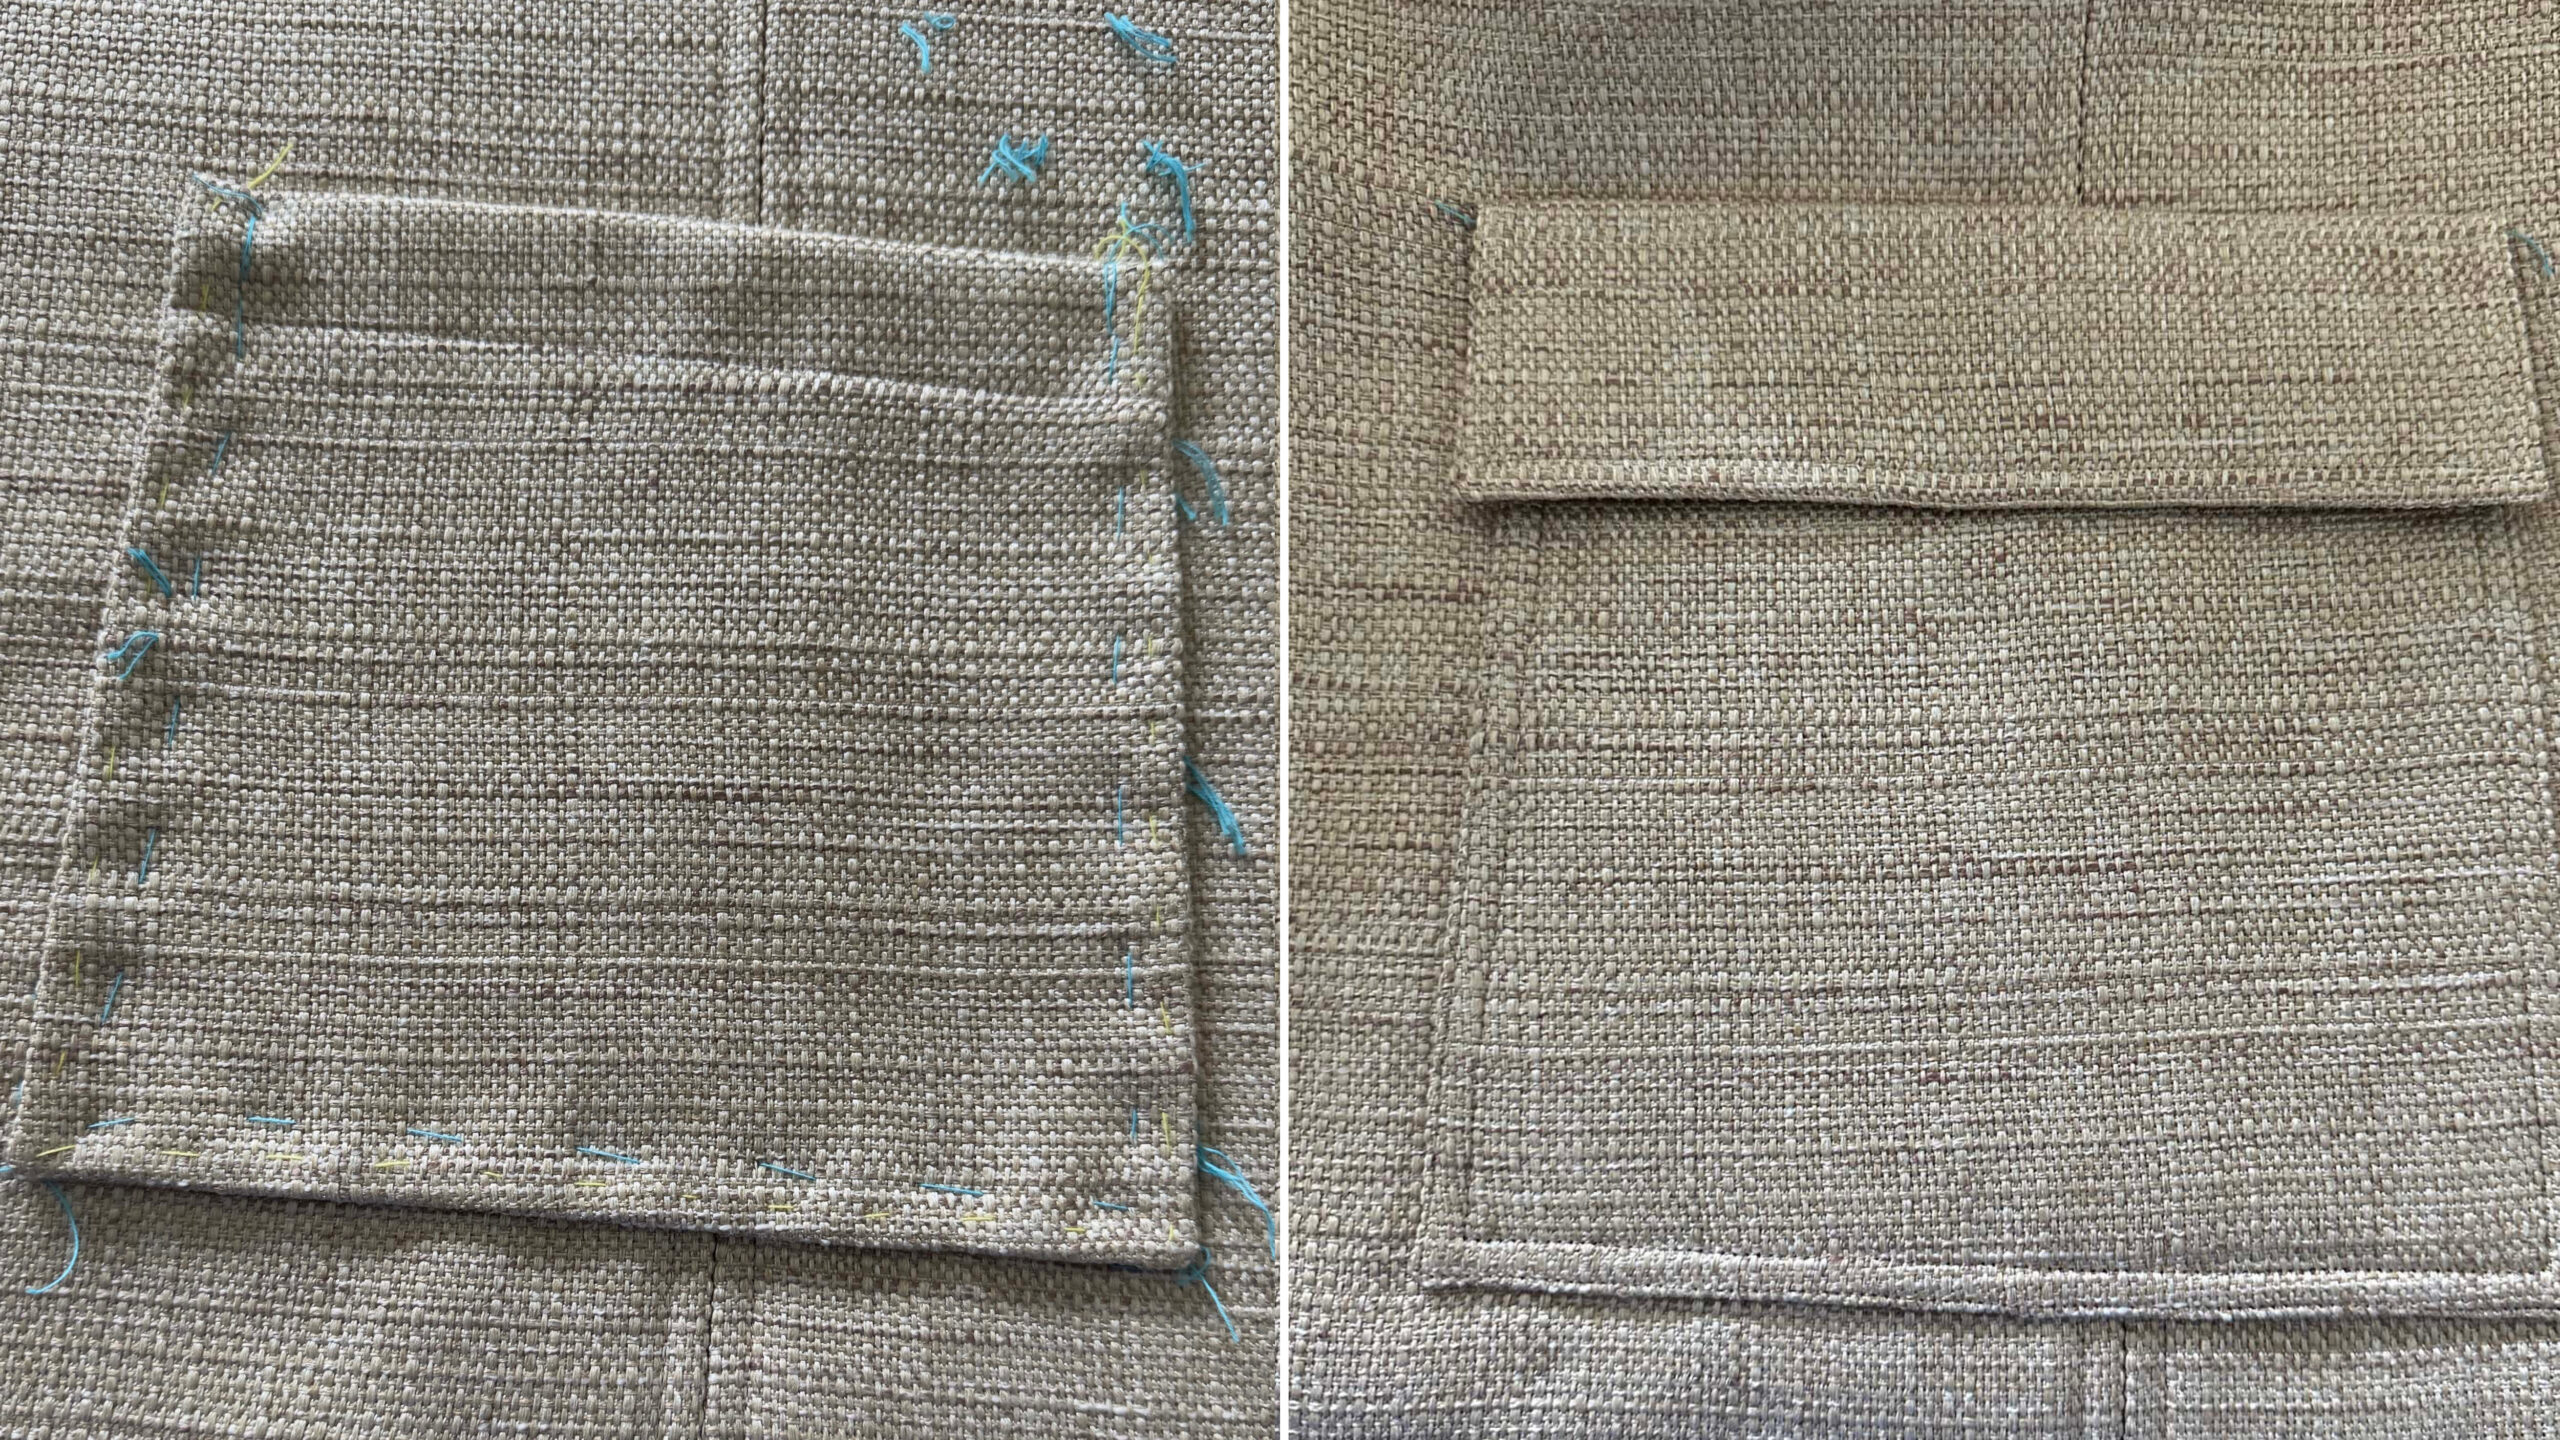
The top flaps were lined, pressed, and hand-basted to keep the edges together before they were edgestitched. I inserted them into the correct location between the front yokes and front/side-front pieces.

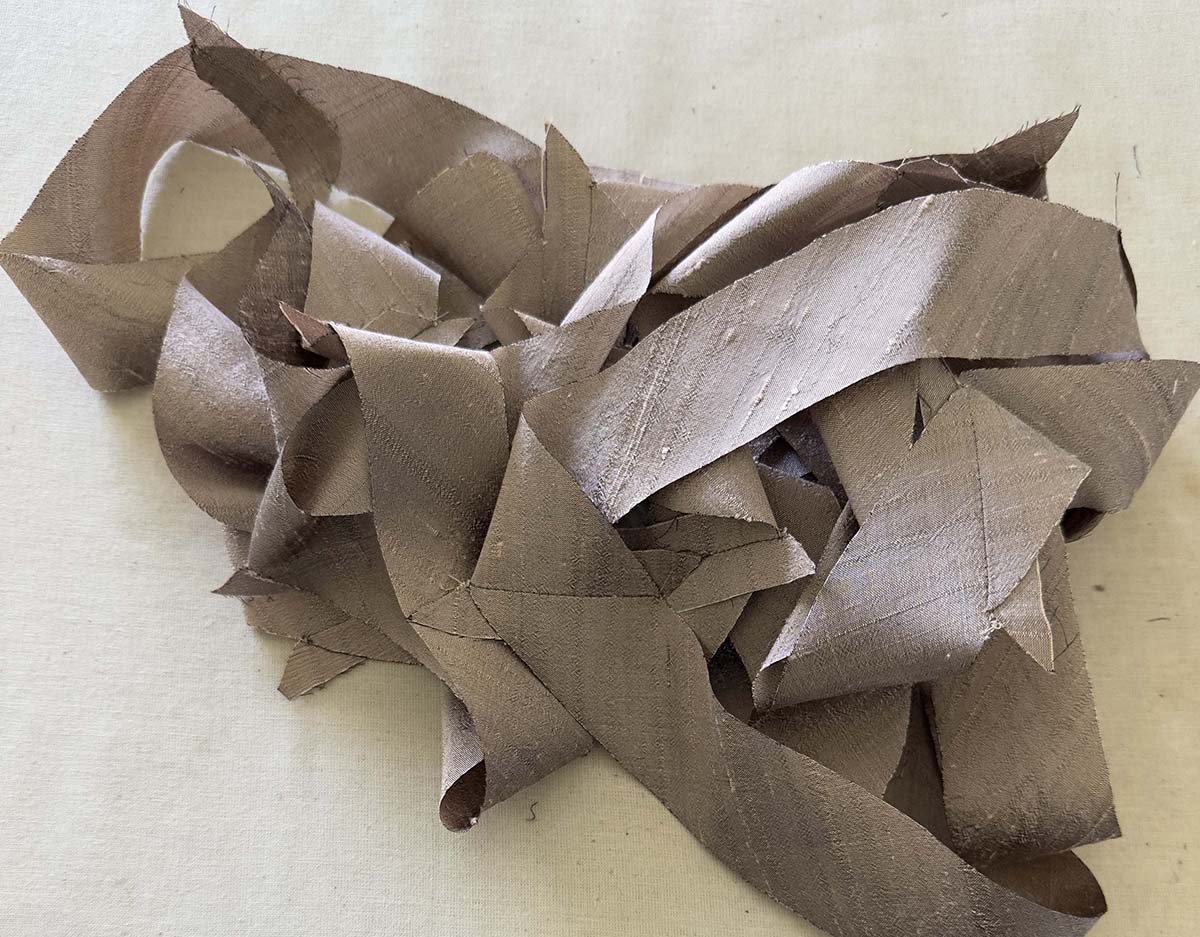
Bias-cut safari jacket sections and strips
Next, I assembled the upper and undercollars, as well as the epaulettes. I played with the texture of the fabric and cut the epaulettes on the bias.

I also added a 5/8-inch-wide seam allowance to the center back of the undercollar pattern piece, and changed the pattern grainline to cut two on the bias. This replaced the one-piece undercollar in the pattern. In my opinion, undercollars lie better around the neck when cut on the bias. Those sections were edgestitched and topstitched.

The horizontal seams needed to be finished with a Hong Kong finish, so I cut bias strips from some of the extra dupioni silk. I made them 1-1/2 inches wide by the length available in the remnant. The bias pieces were sewn together so that I could have a continuous, long bias strip.

I cut the length needed for each section and pinned it in place, and sewed it with a 1/4-inch-wide seam allowance. Then I could give the seam a Hong Kong seam.

After sewing, I folded the strip back snugly over the seam allowance and pinned in place.

It was then stitched in the ditch to permanently attach it to the seam.
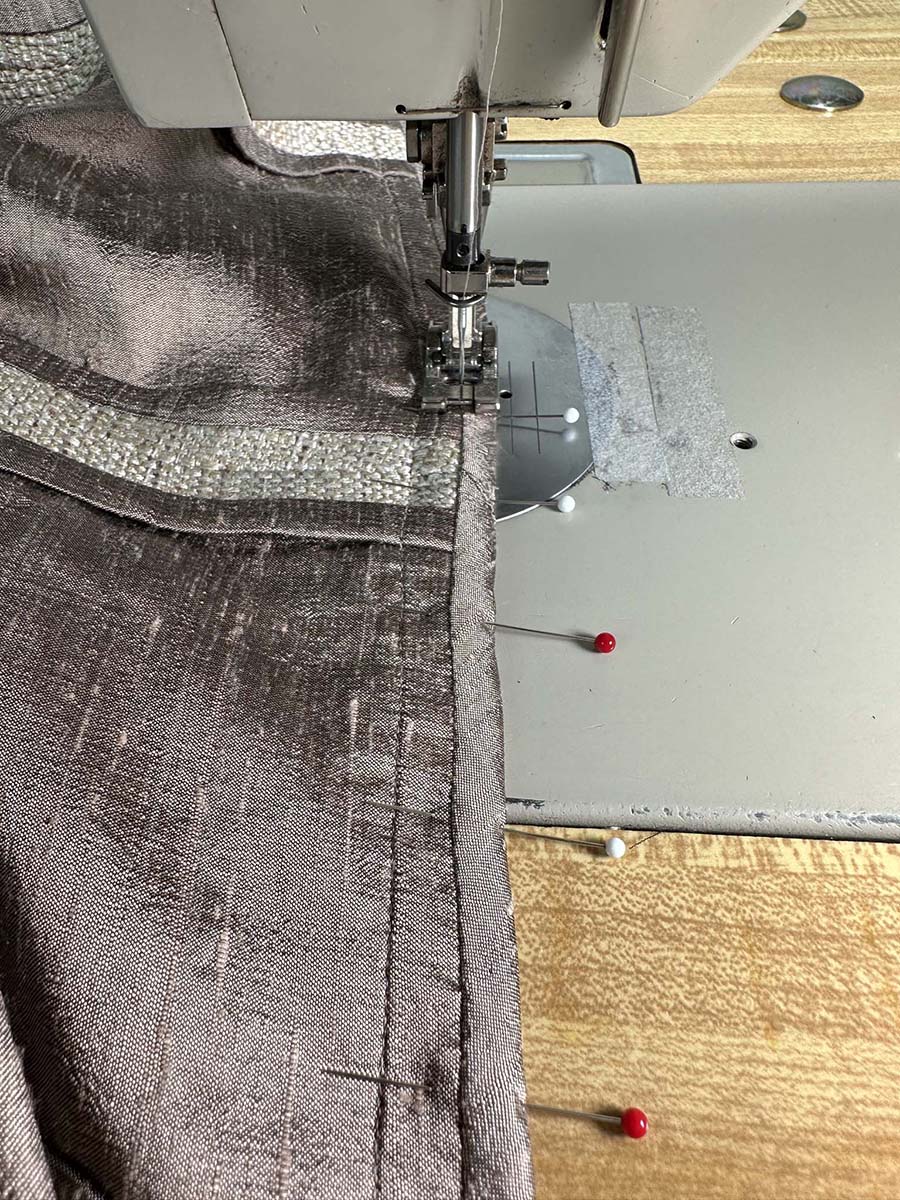
The excess bias fabric behind the seam was cut away, leaving a scant 1/4 inch. I applied the same seam finish to the opposite front yoke and back yoke.

Topstitching
I decided to topstitch the vertical seams about 3/8 inch away from the center on each side.
The yokes were topstitched and edgestitched, too.

I also decided to go back and topstitch the top flaps. Note: It would have been easier if I had done that before I inserted them between the jacket and yokes!
Shoulders and sleeves
I pinned the epaulettes at the shoulder seams and then assembled and attached the two-piece sleeves to the jacket.

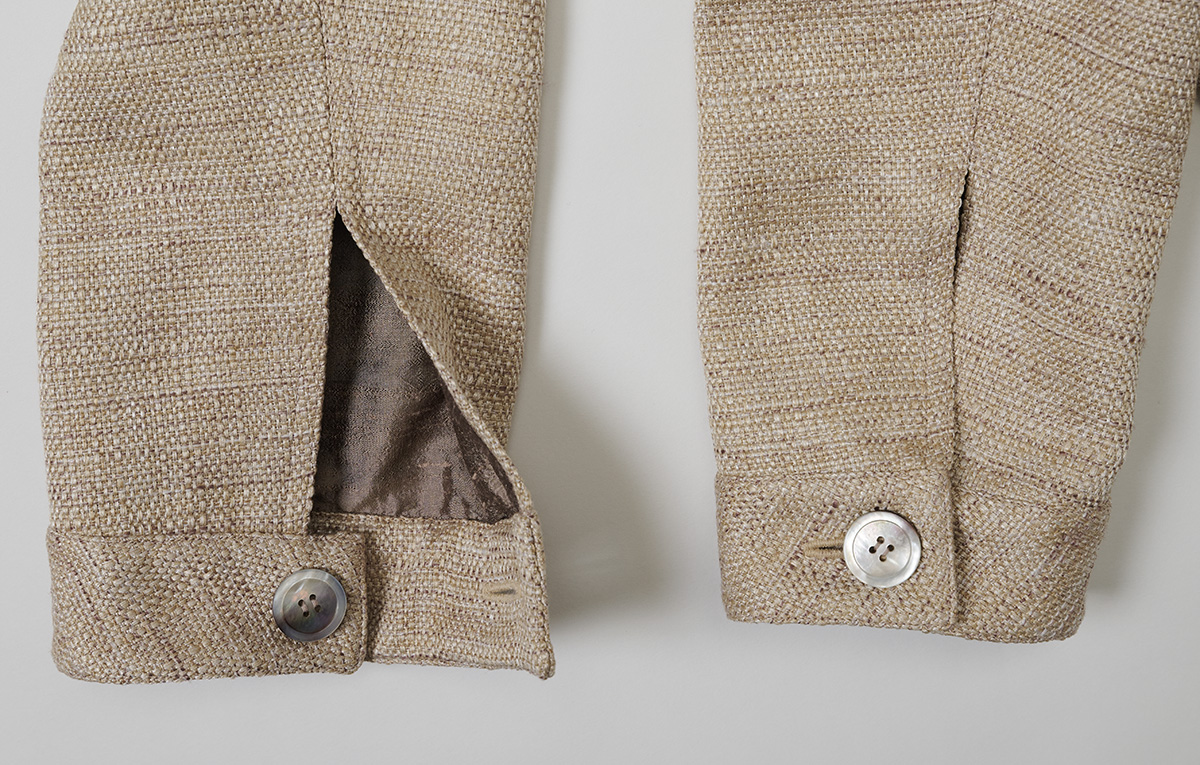
The interfaced cuffs were sewn onto the sleeves. I also changed the grain direction on the outer (public side) of the cuffs to be cut on the bias.
Pockets
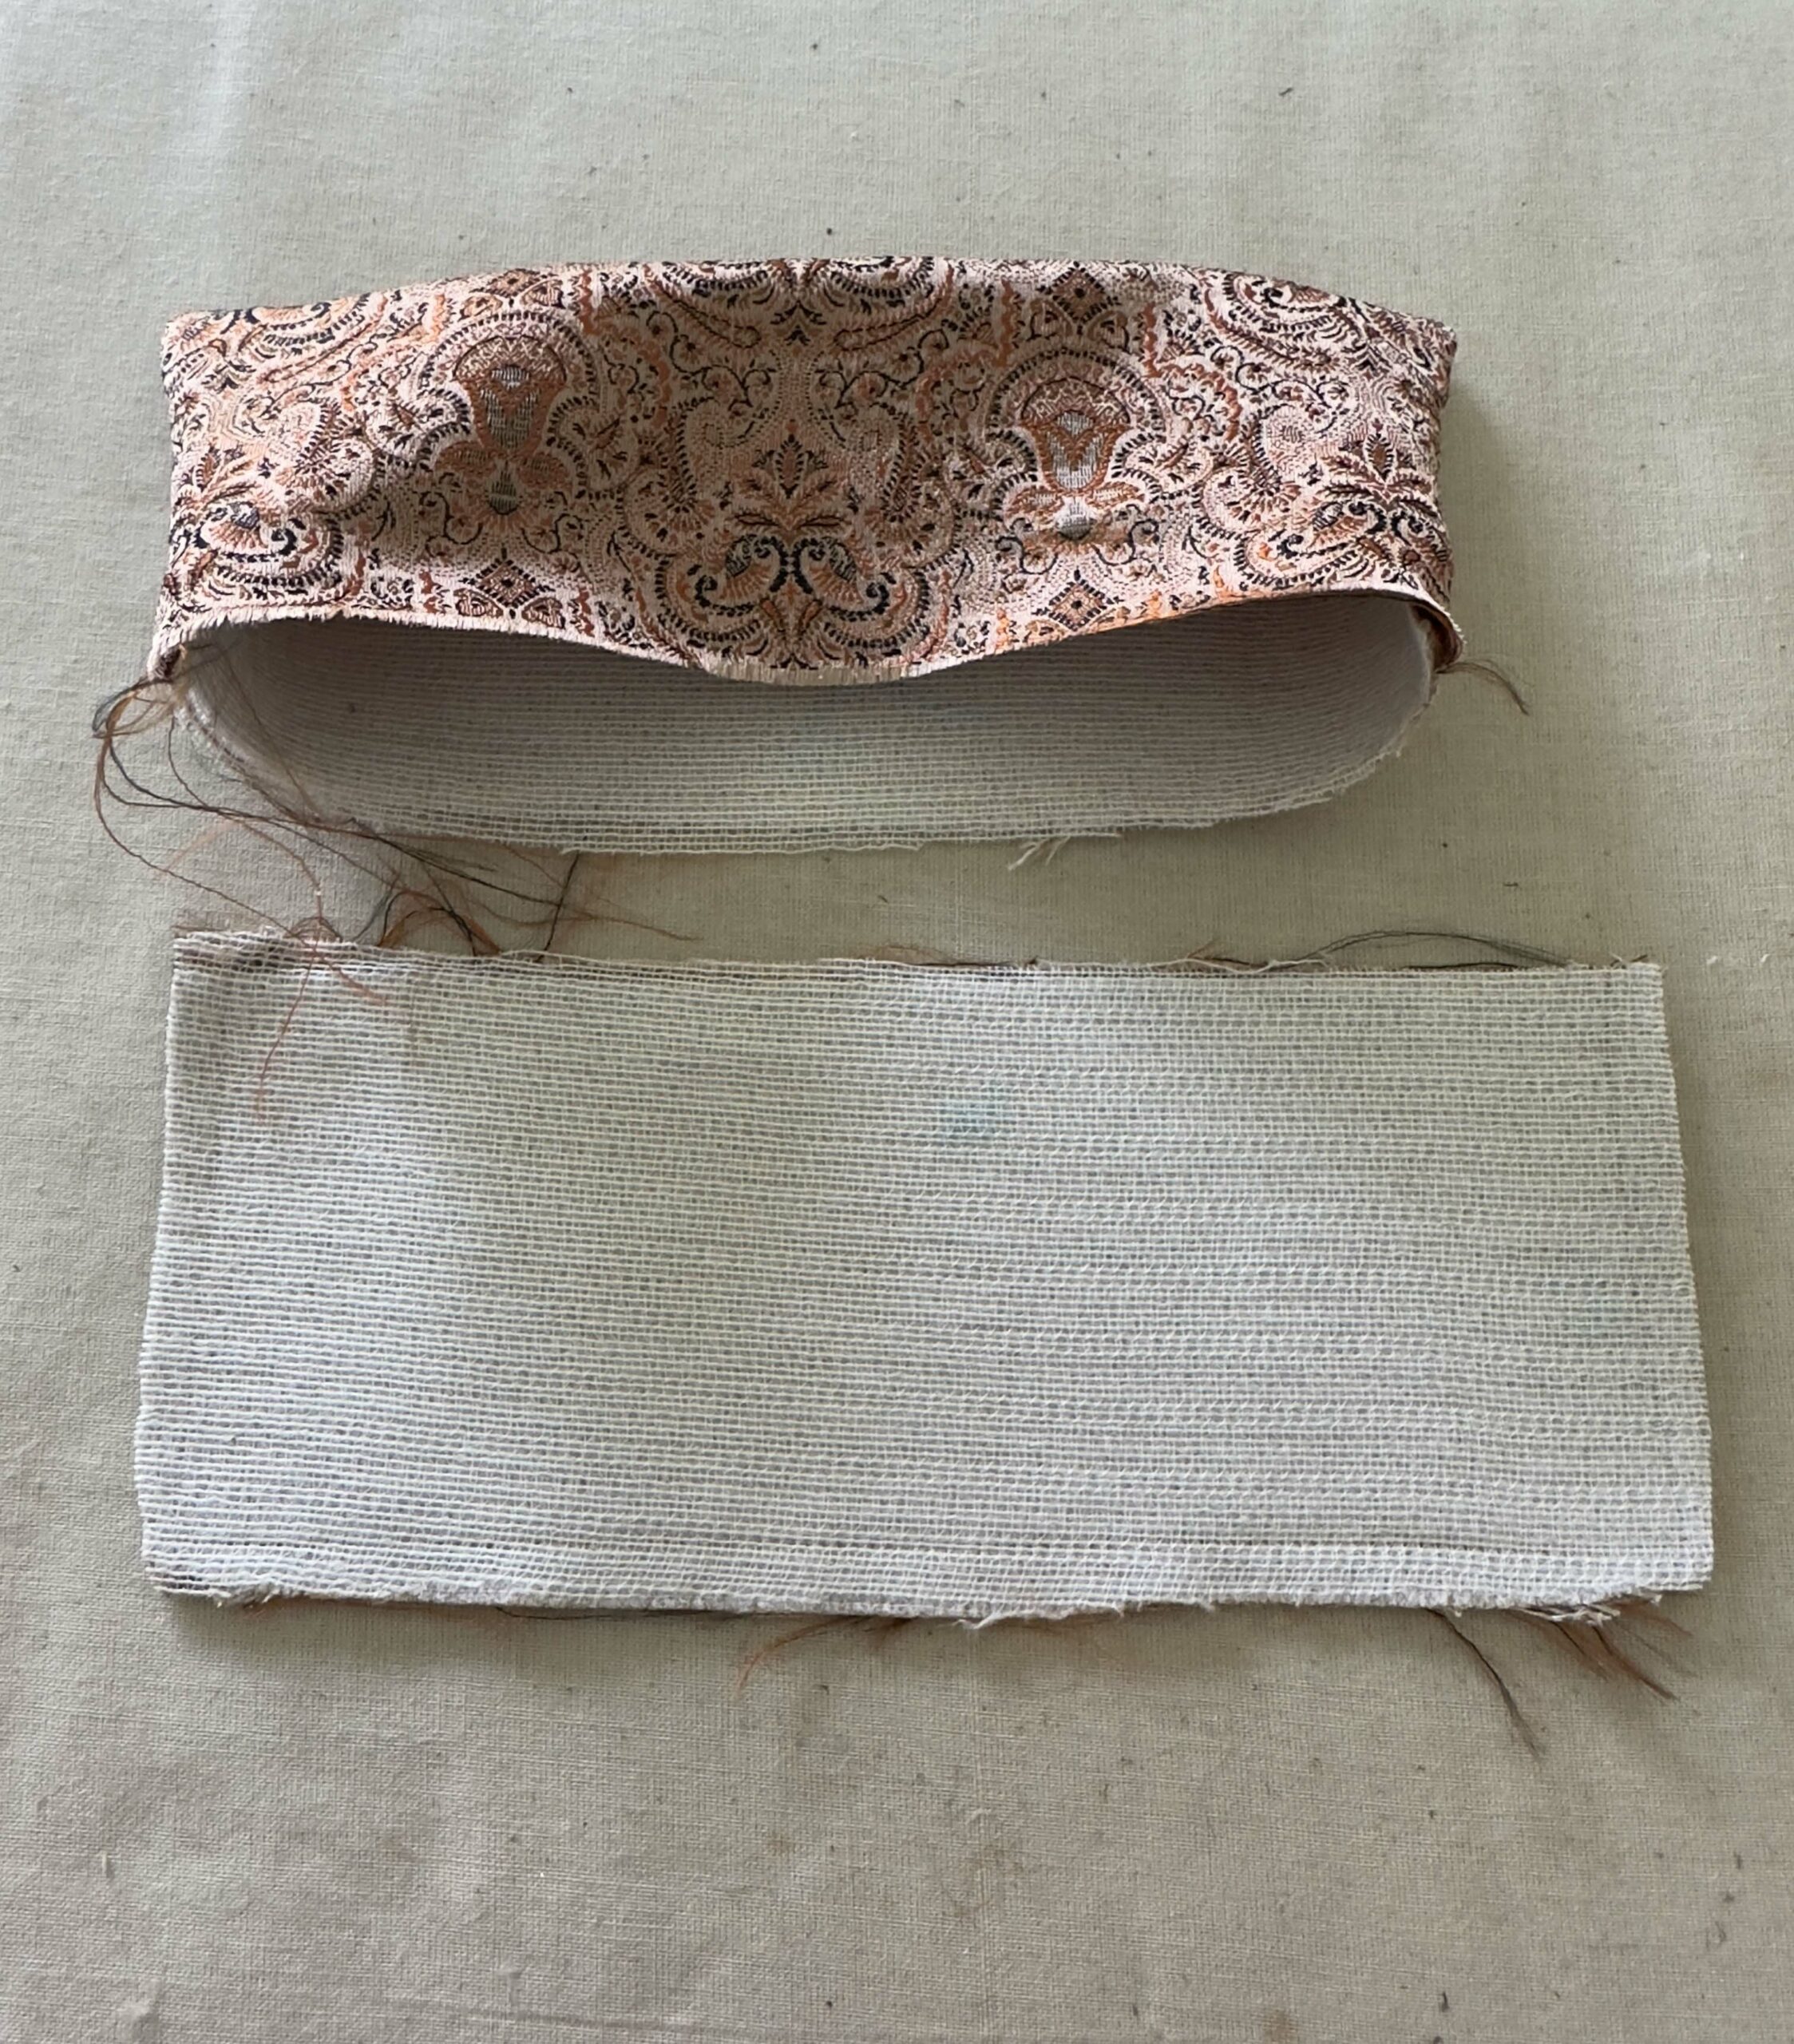
The lower pockets and flaps were interfaced and lined with the silk brocade. I used weft insertion fusible interfacing from www.fashionsewingsupply.com on the pockets and flaps to give them more structure and body. I added an additional layer of fusible weft to the lower pocket flaps. They didn’t feel substantial enough with just one layer, so I cut out and fused a second layer to give me the results I needed.
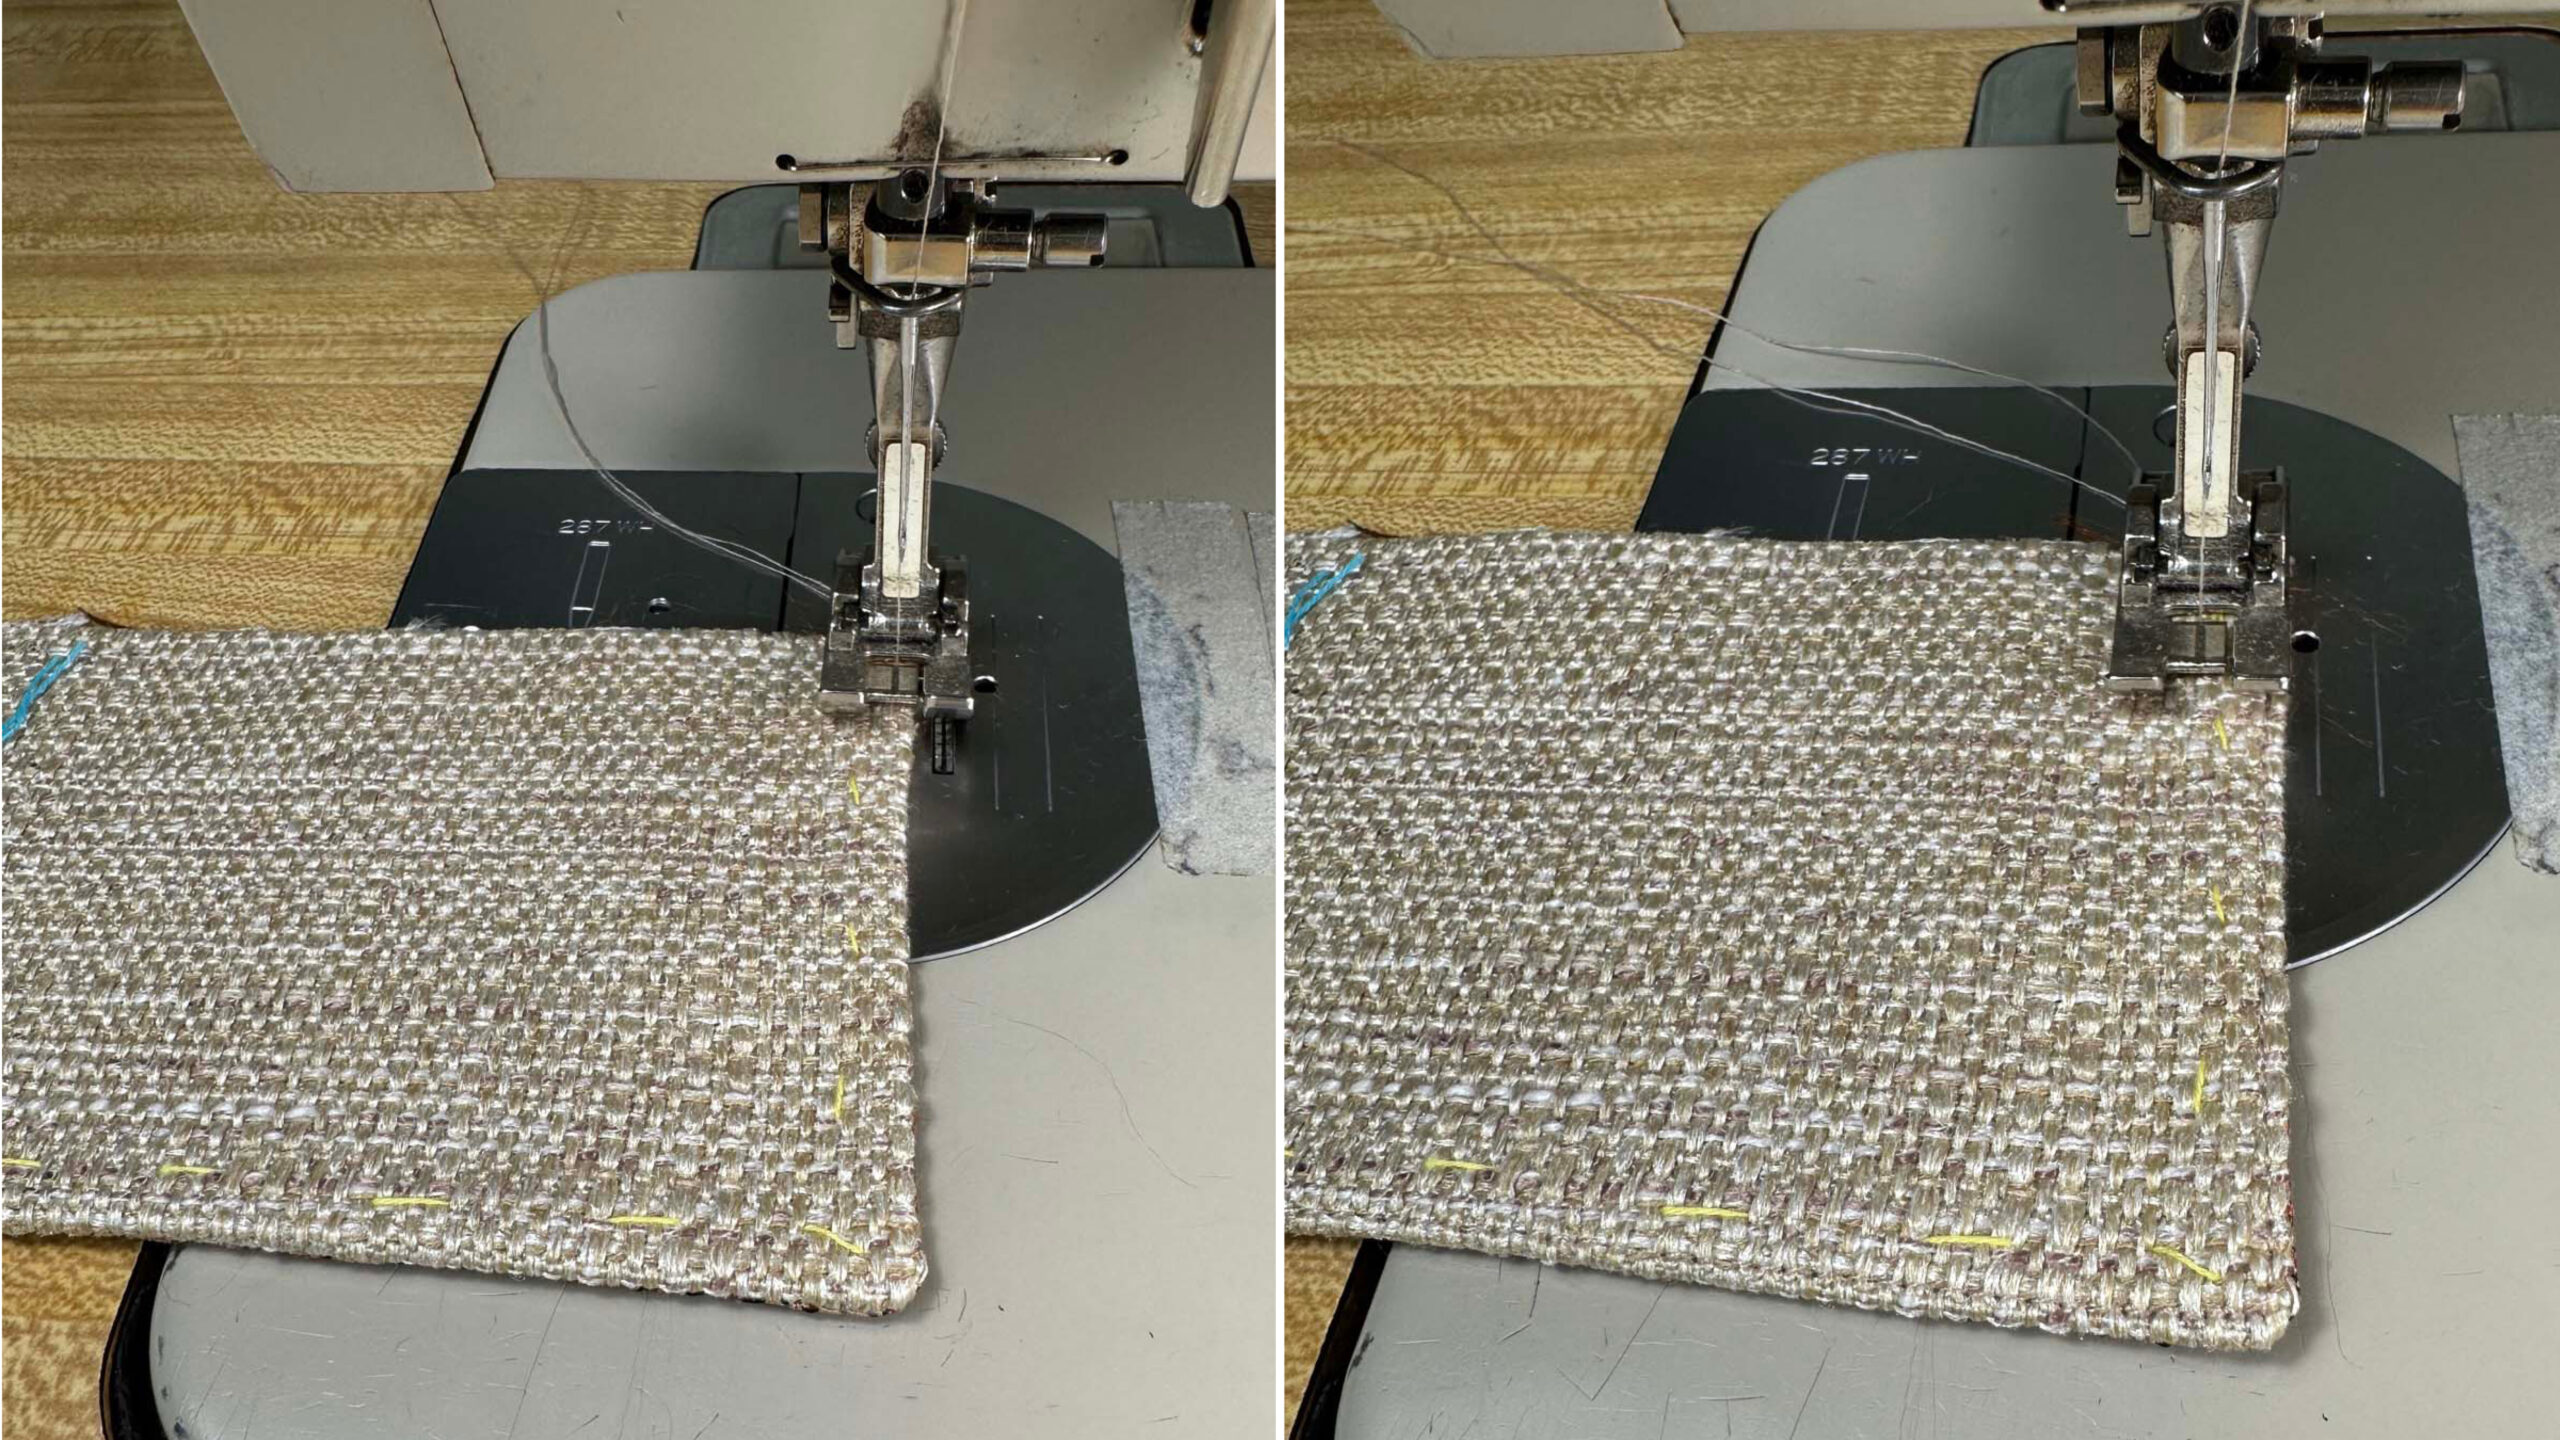
They were also hand-basted and pressed flat, then topstitched and edgestitched.
The pockets were interfaced, lined, and pressed.
I pinned them onto the jacket to test out the placement. One change I made to the original pattern was to add 3 inches to the jacket length, so I moved the pockets lower than indicated on the pattern. Measurements were taken at the pockets to make sure they would be placed symmetrically on each side of the jacket front.
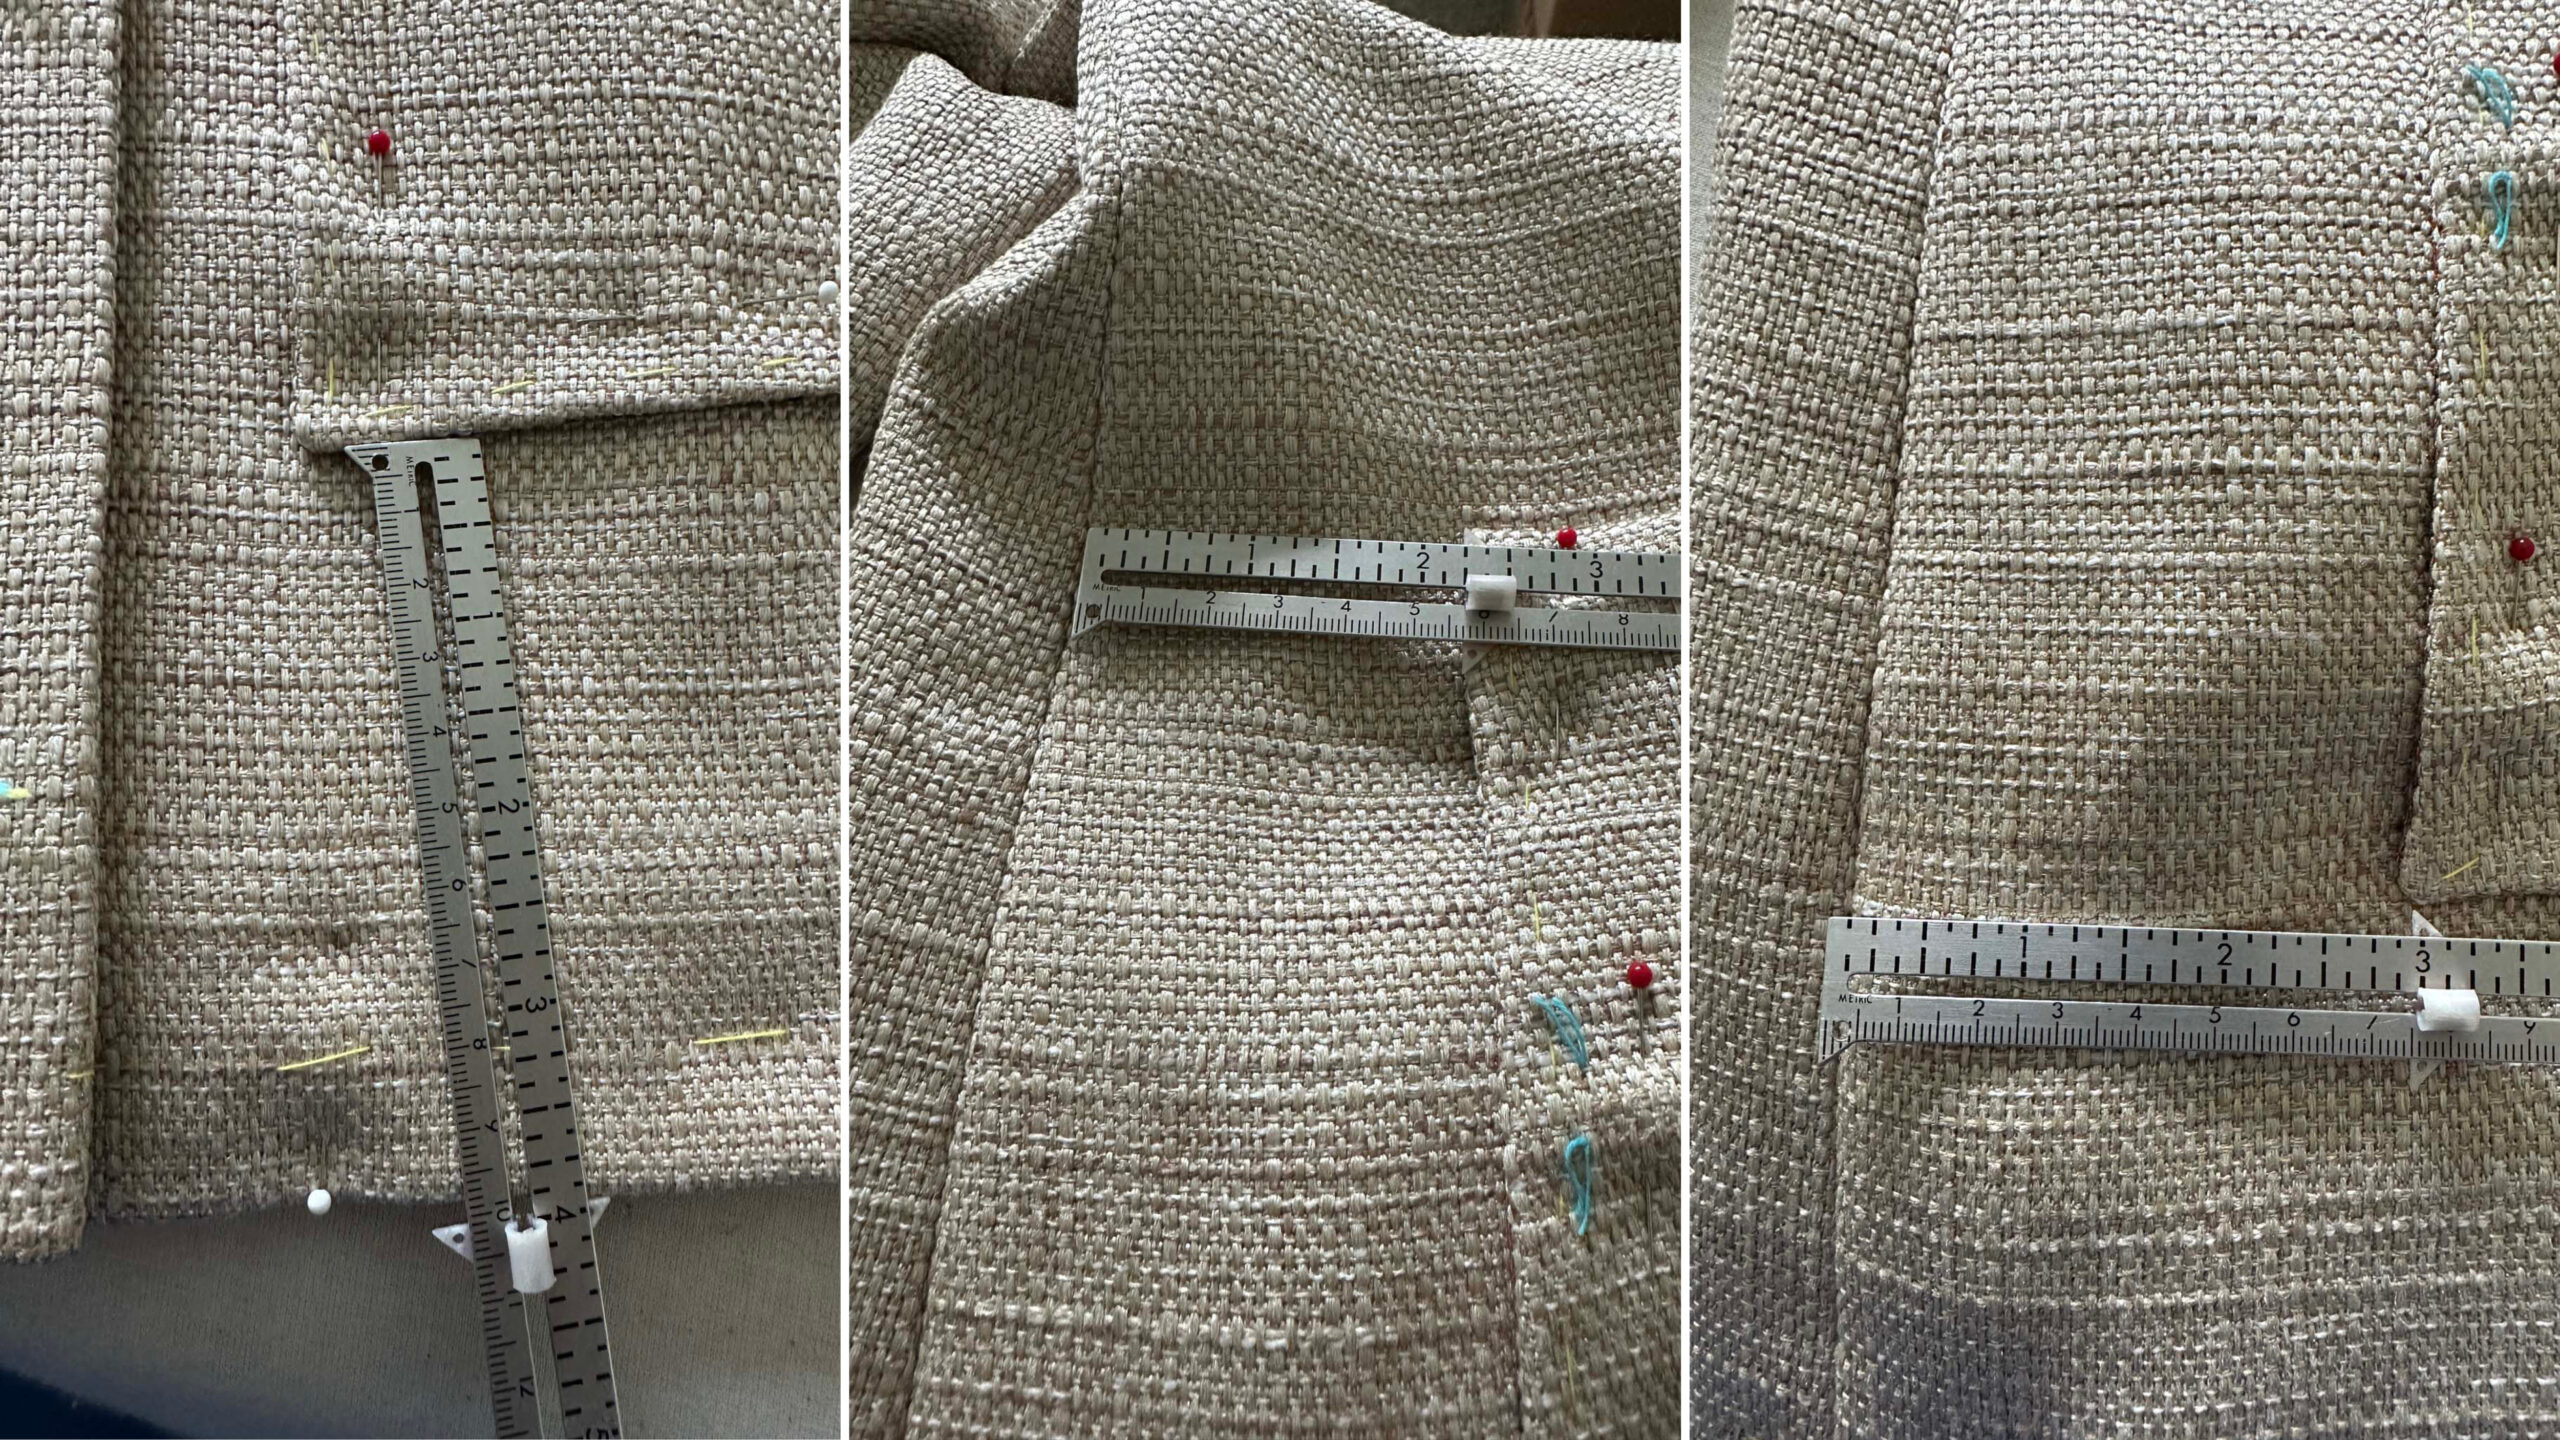
The lower lined pockets were topstitched 1-1/4 inches from the top before I pinned them to the new location on the jacket. Once I was happy with the final placement, I hand-basted them in place before machine-sewing them on. The pockets and flaps then were topstitched and edgestitched in place.

Cuffs and front facing
Next, the cuff facings were sewn to the bias cuffs. I cut the cuff facings on the straight grain to stabilize the outer cuffs.
I wanted the jacket front and back neck facings to be stable. To prevent them from flapping around during wear, I hand-basted them in place. They were then machine-edgestitched.

To keep from sewing them through the pockets, I slipstitched them by hand in those areas. The hem was also hand-stitched.
Front closure
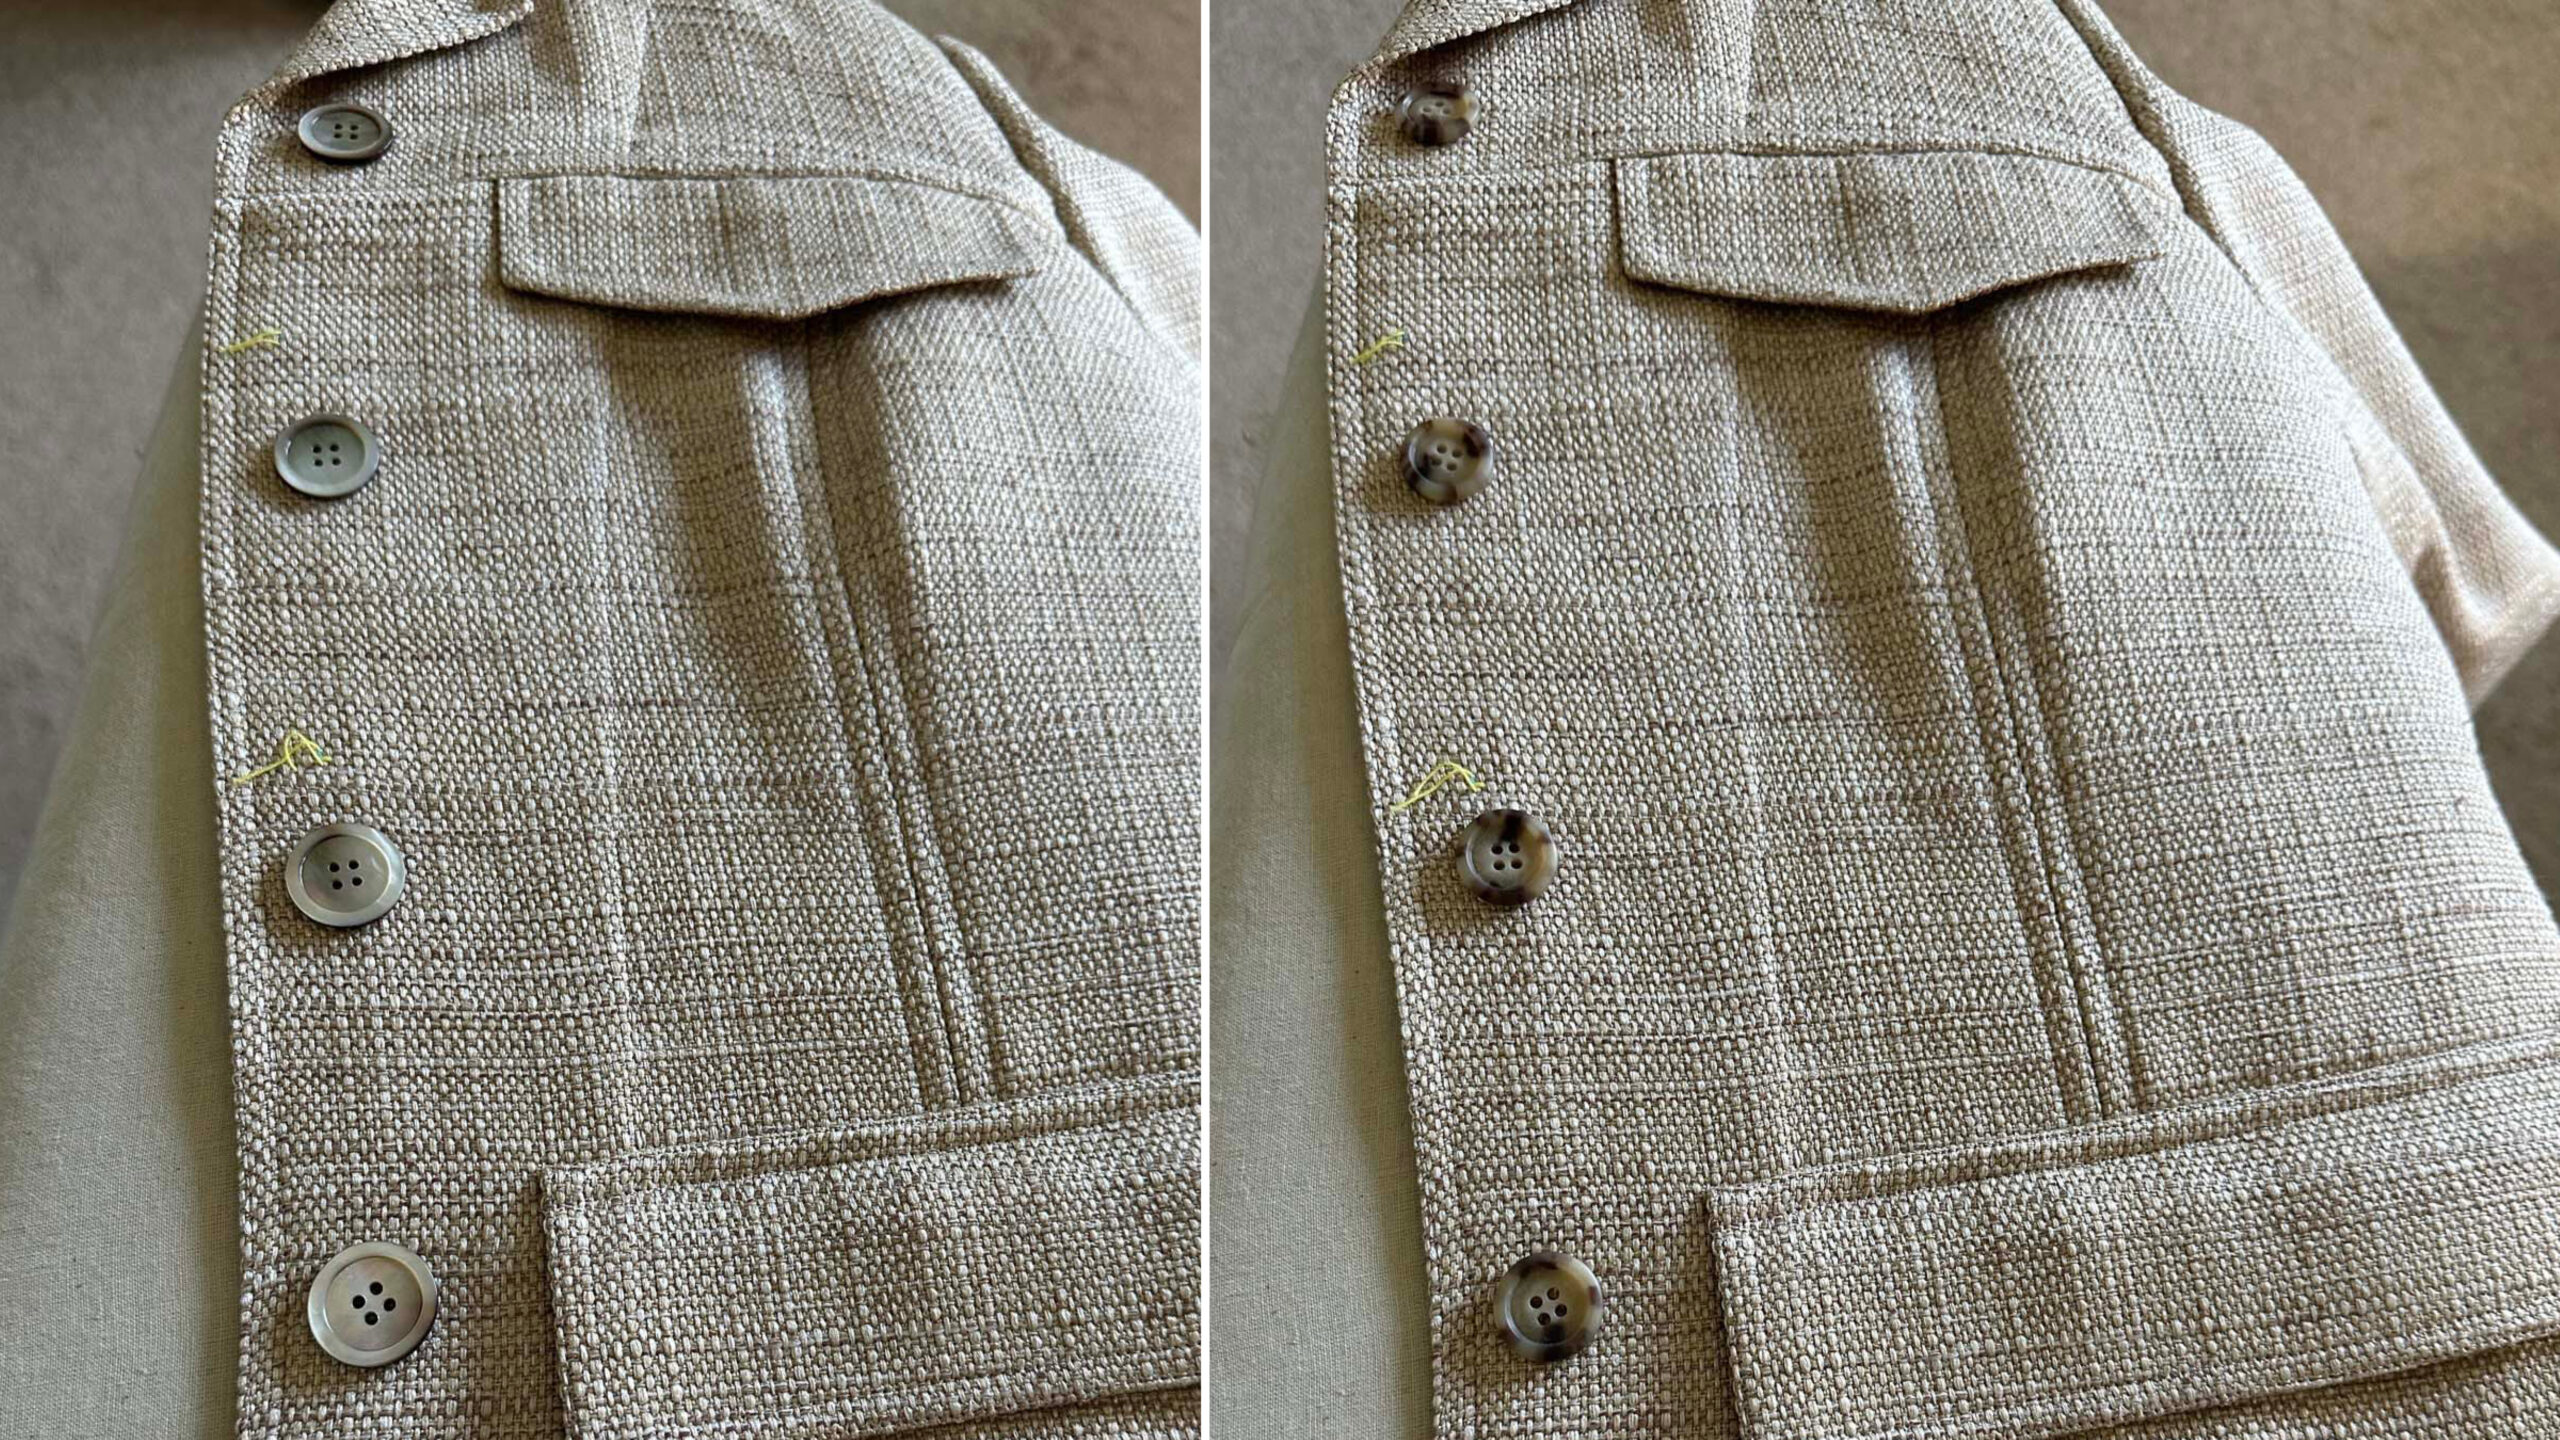
It was time to audition buttons, so I checked my stash and found enough of two types of buttons. One set had a pearl/shell look, and the other set had a horn button look. Since the fabric had shades of rose and blush, I went with the pearl/shell buttons, shown on the left. They were also the size I wanted. I also decided to respace the buttons so the top front would fold back near the neckline.
Safari jacket construction addition
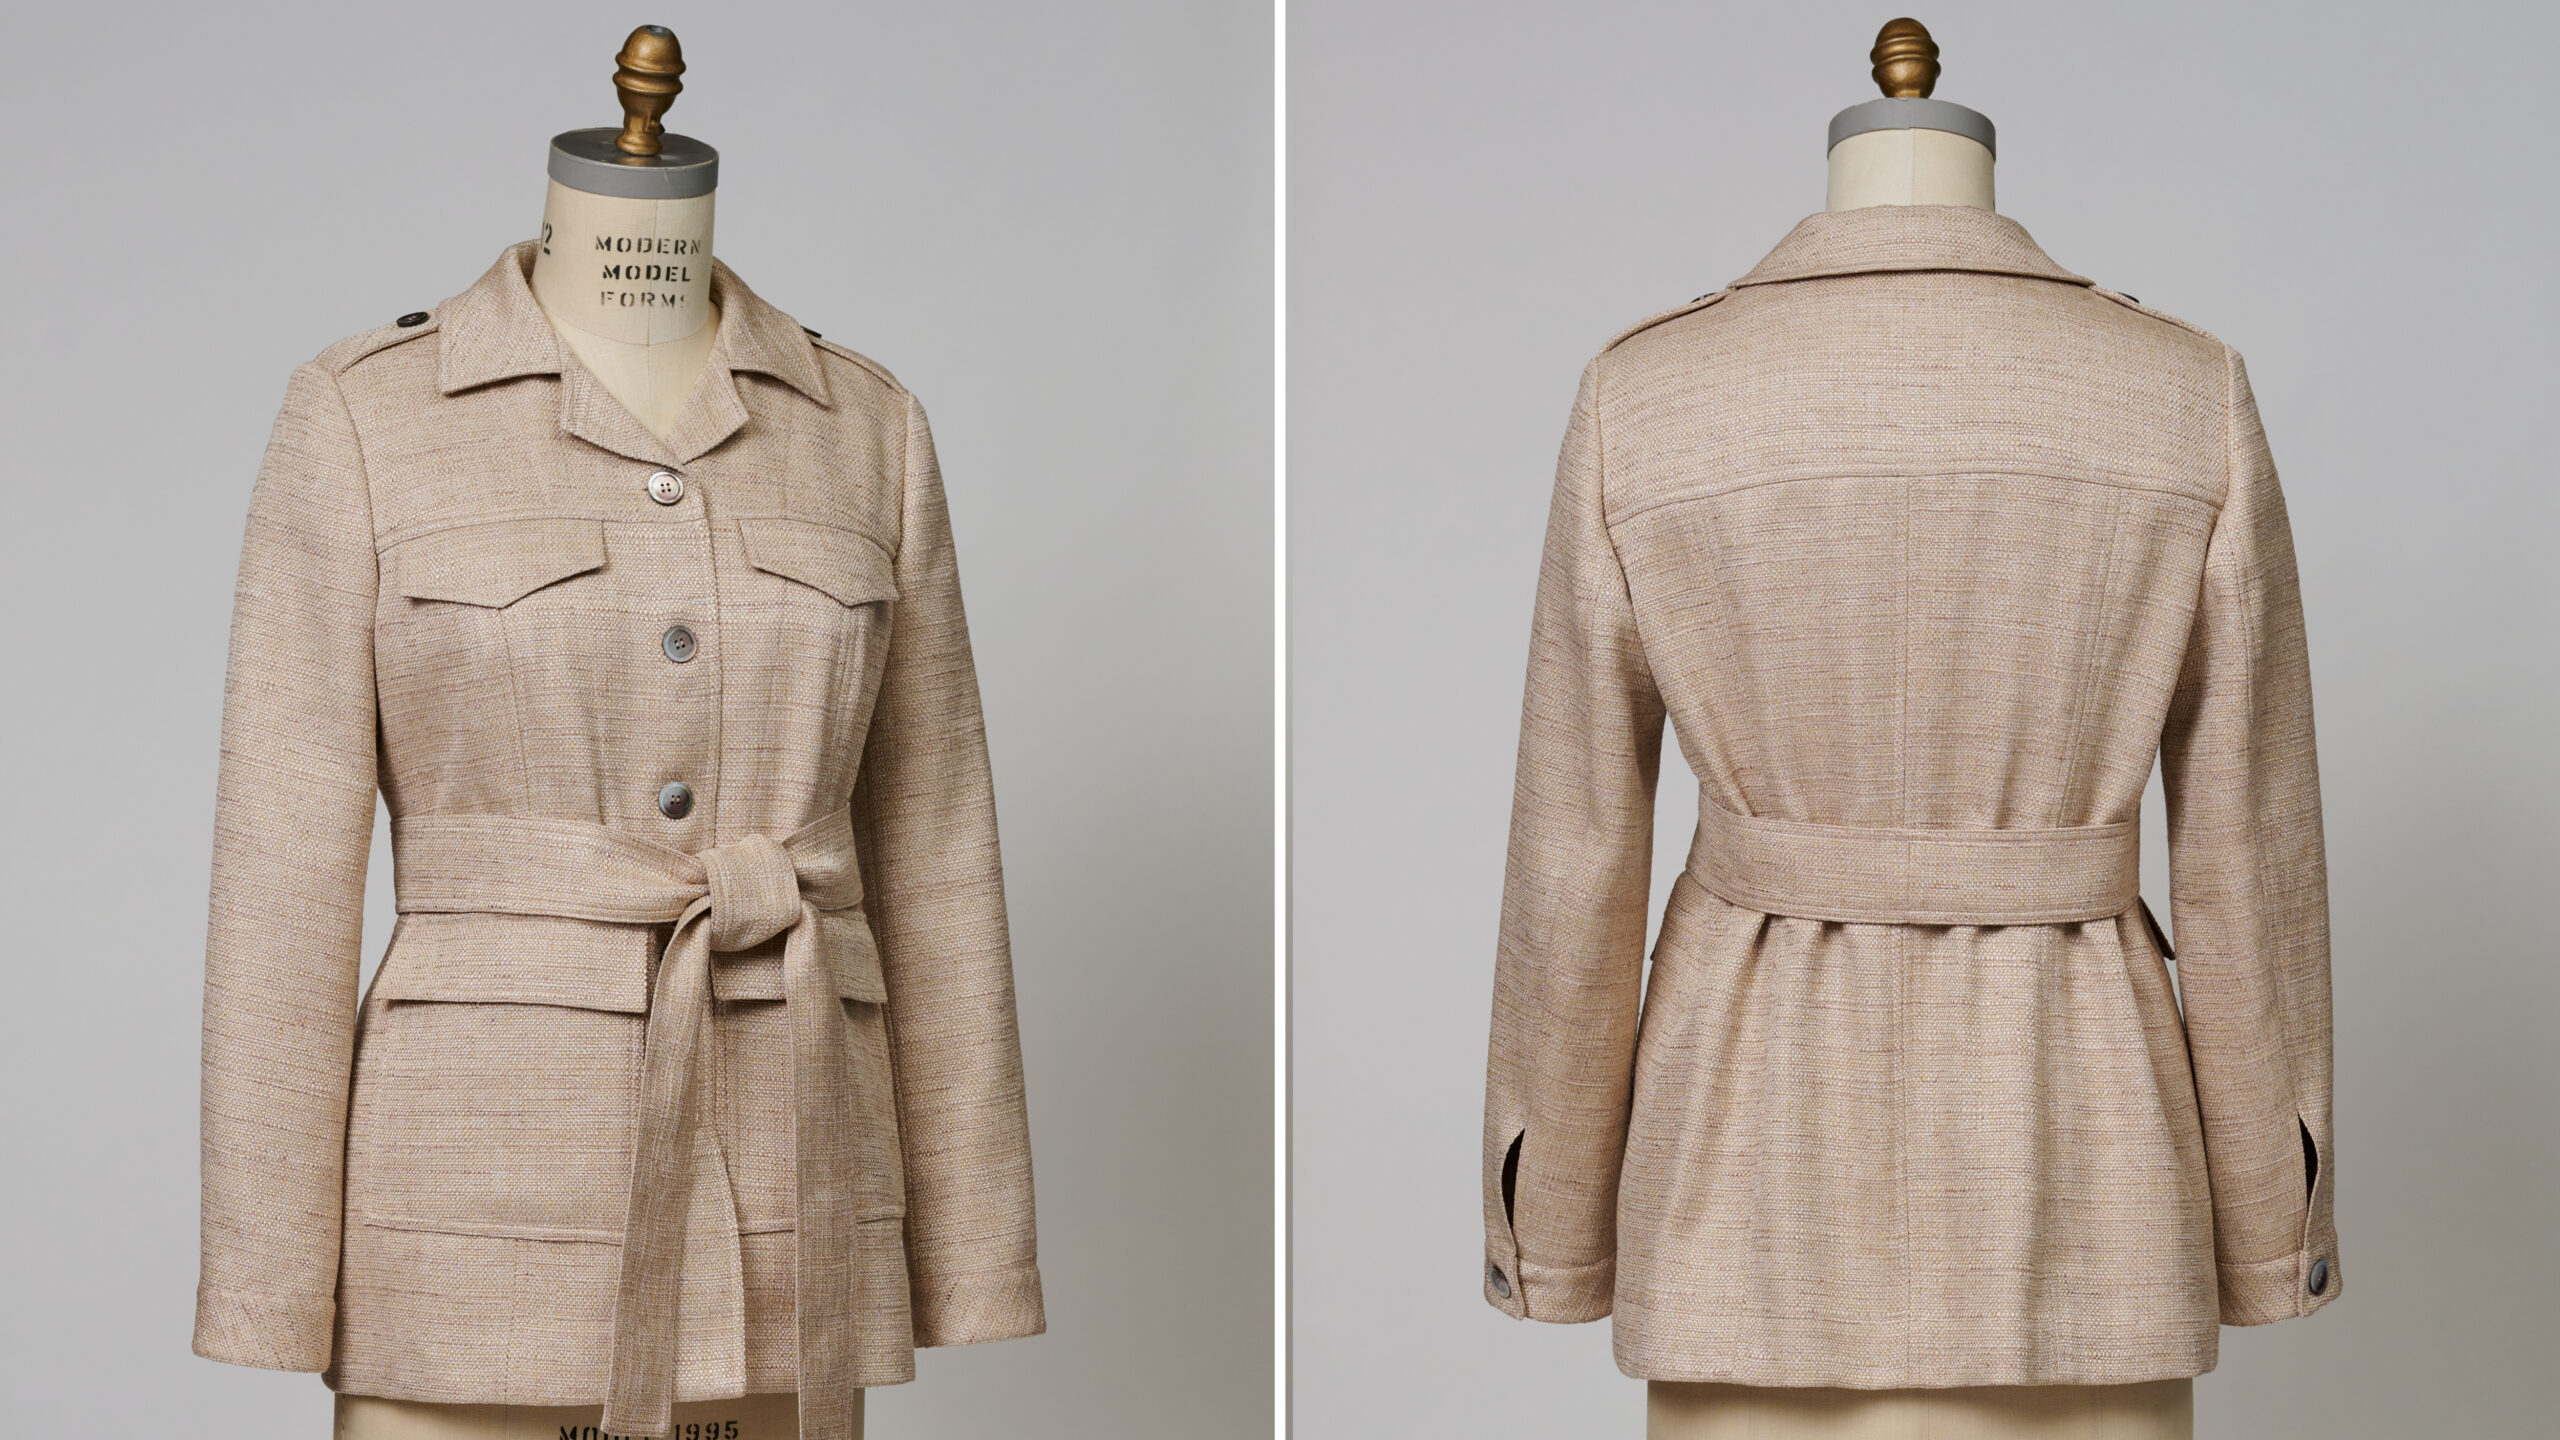
Since there was leftover fabric, I made a matching belt for my safari coat/jacket.
Because I had fitted the jacket with extra room to accommodate wearing different tops under it, the belt was a welcome addition. It pulls the jacket in at the waist as needed.
I enjoyed every minute of making this jacket, and hope you like it.
Editor’s note: Find out more about Pamela’s inspiration and fabric choice for her safari jacket for the 2023 Threads Digital Ambassadors’ Joyful Dressing Challenge. You can also see what his three challengers created.
Photos: Pamela Howard, except where noted.


Log in or create an account to post a comment.
Sign up Log in