
My Favorite Trouser-Making Details, Part 1: Overview

Tailored trousers have been my absolute favorite garment to make since the day I started sewing. I have a soft spot for high-waisted, pleated trousers. In fact, I’ve made more than 40 pairs for myself and my partner over the last three years. I experiment with a different technique each time I make a new pair. This strategy enables me to try out construction techniques, aesthetic details, and functional solutions. I’ll go over some of my favorite tailored trouser-making details and, over the next few months, I’ll be doing deep dives and tutorials on each detail.
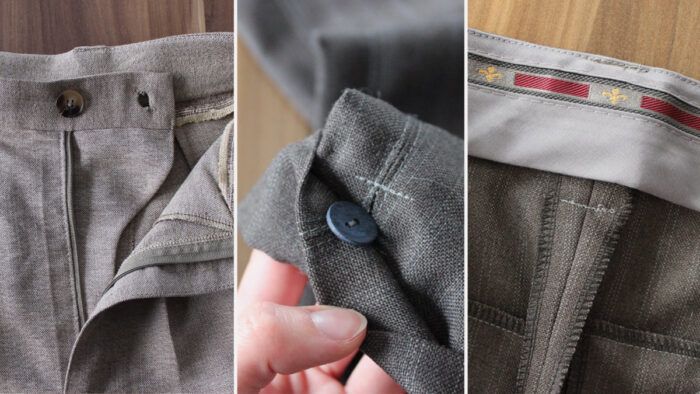
Adding internal buttons for a flat front
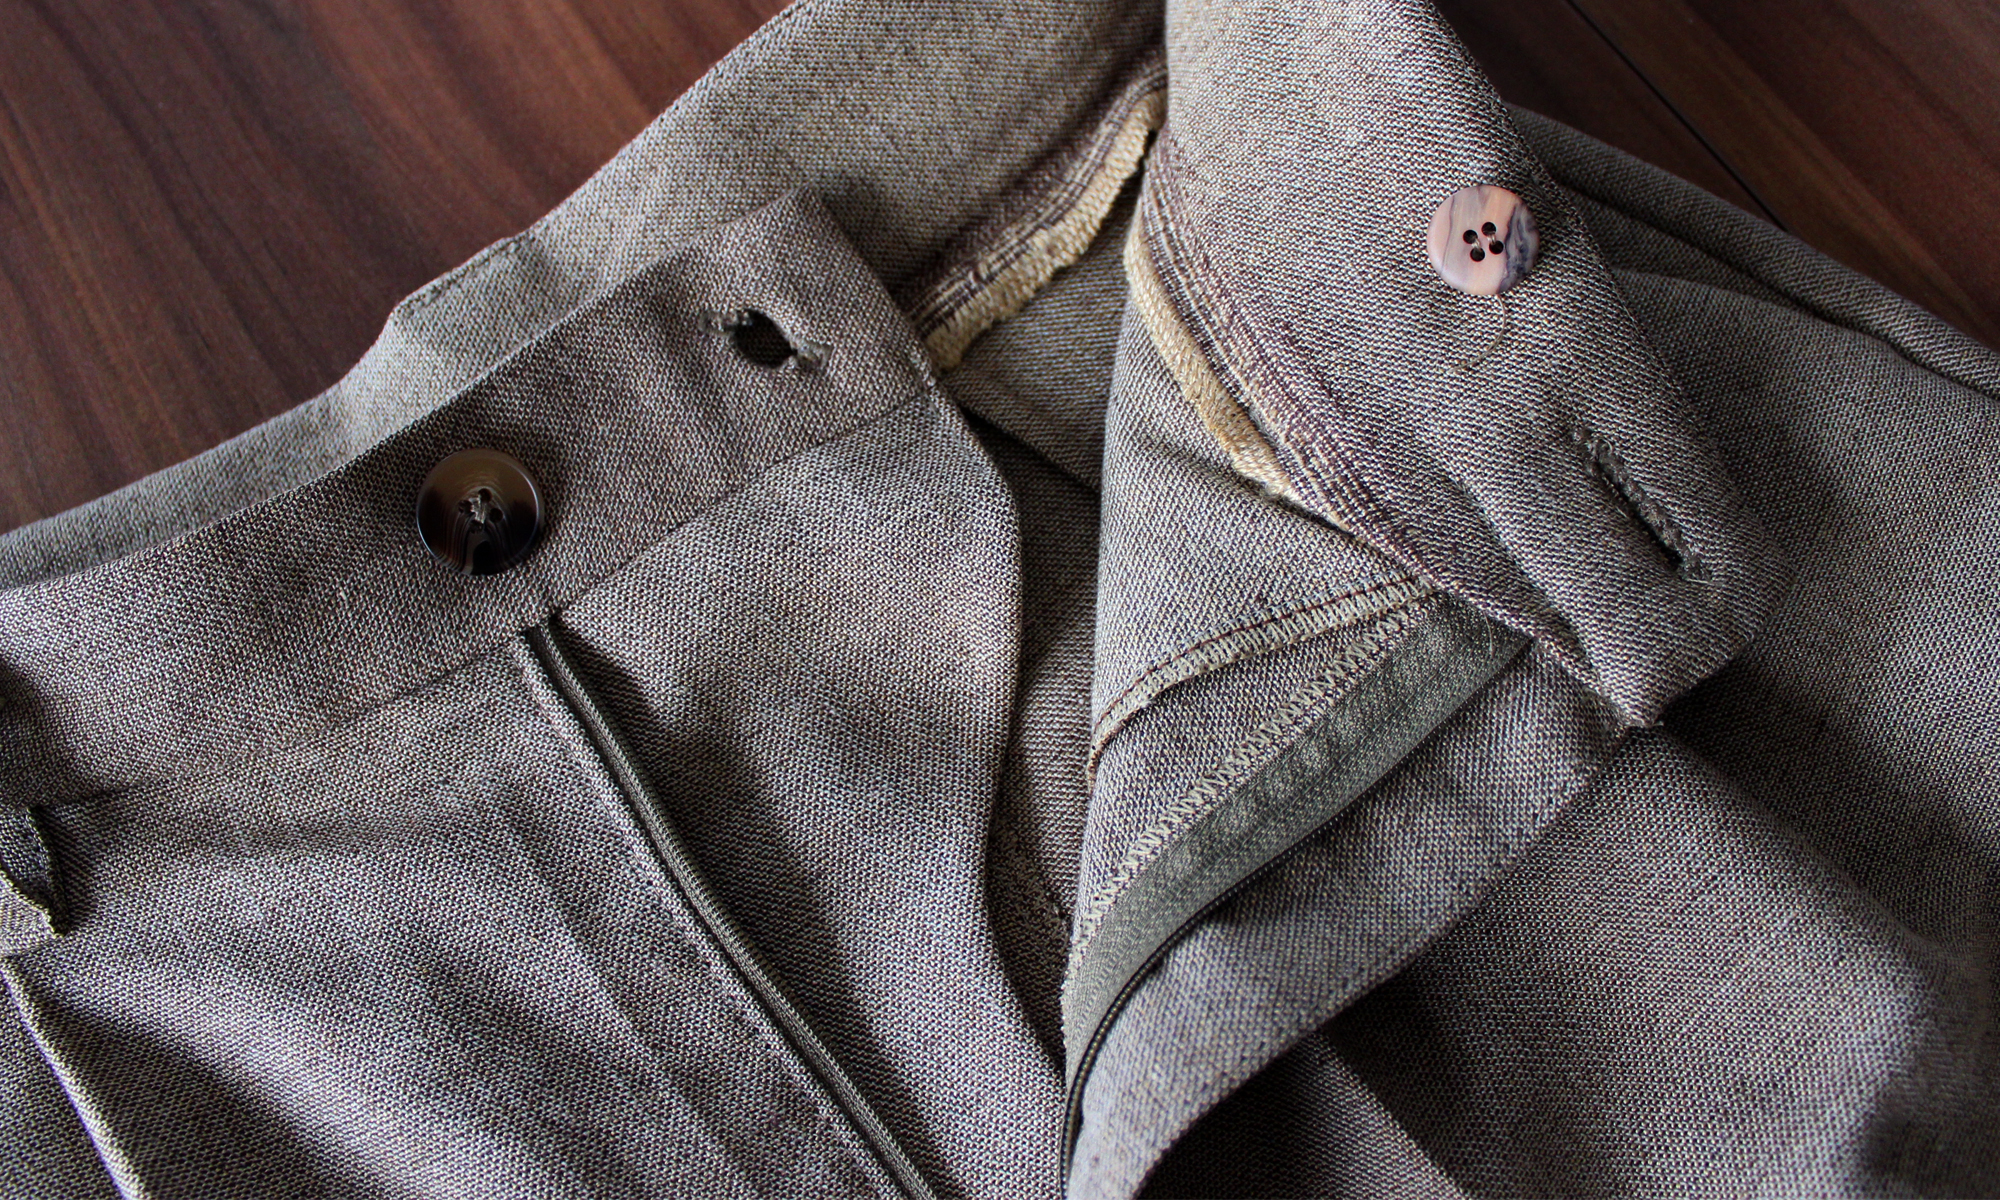
I find that adding an internal button can be effective in keeping a trouser’s front flat and secure. Another common method to achieve a flat front is to sew pocket stays. I’ve experimented with the pocket stay alternative. Stays have their advantages, but I ran into two issues that pushed me into replacing them with another method:
• Pocket stays add bulk at the fly area, and it can be noticeable, especially if the pockets are French seamed.
• If you don’t add enough ease to the pocket stays in pleated trousers, they may end up pulling the outer fabric and creating unwanted tension. The worst part is that by the time you try on your trousers to check the fit, you’re far enough into the sewing process that you’ll have to rip the pockets out to replace them with bigger pocket stays. That can really kill your sewing joy.
Enter the internal button. It’s super easy to sew, there are ways to add one even after your trousers are completed, and I think they do a comparable job at helping distribute the tension across the front, especially at the waistband.
…
Start your 14-day FREE trial to access this story.
Start your FREE trial today and get instant access to this article plus access to all Threads Insider content.
Start Your Free TrialAlready an Insider? Log in


What about using 2 inch wide ribbon (5 cm) to finish the waist band? Then use the same ribbon for your belt loops and possibly the welt pocket facing's (the part you see from the outside). It could really cute or really tacky depending on your choices.
I use the One Seam Pants pattern (Cutting Line) as the base for most of pants. It calls for patch pockets or pockets put in where the side seam would be. Because there is no side seam the pocket opening is just interfaced and cut. Because the pants are on line, the cut is along the grainline. I don't carry a purse so I use my pants pockets. The pockets openings always seems to wear badly. I've experimented a little with diagonal welt pockets. I'm wondering if anyone has a good solution to creating a strong, roomy pants pocket that isn't a cargo or other patch pocket.
Thanks!