
Tailoring with Felted Wool, Part 3: How to Add Facings

Now that the body of the felted wool “bark” coat has been constructed and welt pocket has been installed, the collar and facings need to be attached.
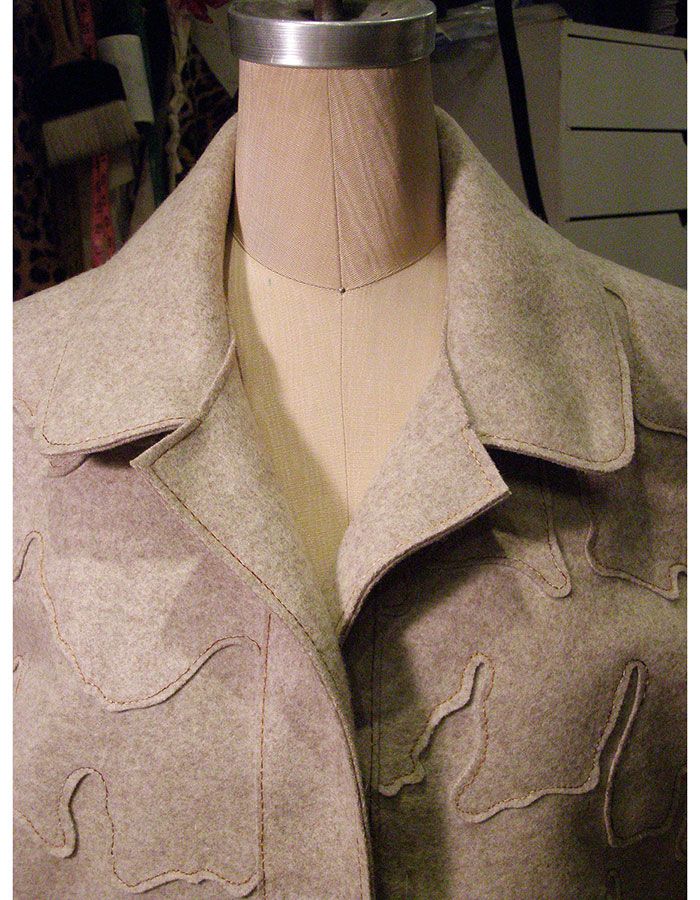
The collar installation on the bark coat is different from the installation of a traditional notched lapel on a tailored jacket. The reason is, in part, because I wanted to camouflage the neck seam so that it doesn’t contrast harshly with the coat body’s seams when the collar is turned up. This technique makes the neck seam appear to be another curvilinear seam.
I’ve made a pounce pattern of the undercollar, marking the finished stitching line, the curvilinear lines, the neck seam, and the center back.
1. Mark the collar onto the fabric with the pounce pad, hand-baste the center-back line, and machine-baste the finished stitching lines of the collar edge and neck seam.

2. After cutting the curvilinear seam below the neck seam, match the the collar’s center backs and neck seams to the coat body. Pin in place, and hand-baste the neck seams of the collar and coat body together.

3. Pin the curvilinear parts of the collar down, fanning the pieces out to follow the coat body’s shape.

4. Stitch the collar down with free-motion stitching, stopping short of the collar’s ends.

5. Trim the seam allowance from the neck seam on the coat body, along the machine basting.

6. Next, cut the front bands, upper collar, and front facing pieces from the pattern. These also will be made into pounce patterns, and the stitching lines will be machine-basted to mark them.

7. Install the front bands to the coat body fronts.

8. Finish sewing the collar ends by overlapping them onto the front bands.

9. To prepare the coat body facing, pin the coat body facing to the upper collar along…
Start your 14-day FREE trial to access this story.
Start your FREE trial today and get instant access to this article plus access to all Threads Insider content.
Start Your Free TrialAlready an Insider? Log in


Log in or become a member to post a comment.
Sign up Log in