


I’ve always been a doodler, and I’ve been making my own patterned textiles for as long as I can remember. So it was only a matter of time before I wanted to make my doodles into custom prints on fabric. I’ve used all sorts of media to do so, from hand embroidery to paints, dyes, and custom fabric printing. You can do the same, making one-of-a-kind, garment-specific patterned textiles that fully express your artistic flair.
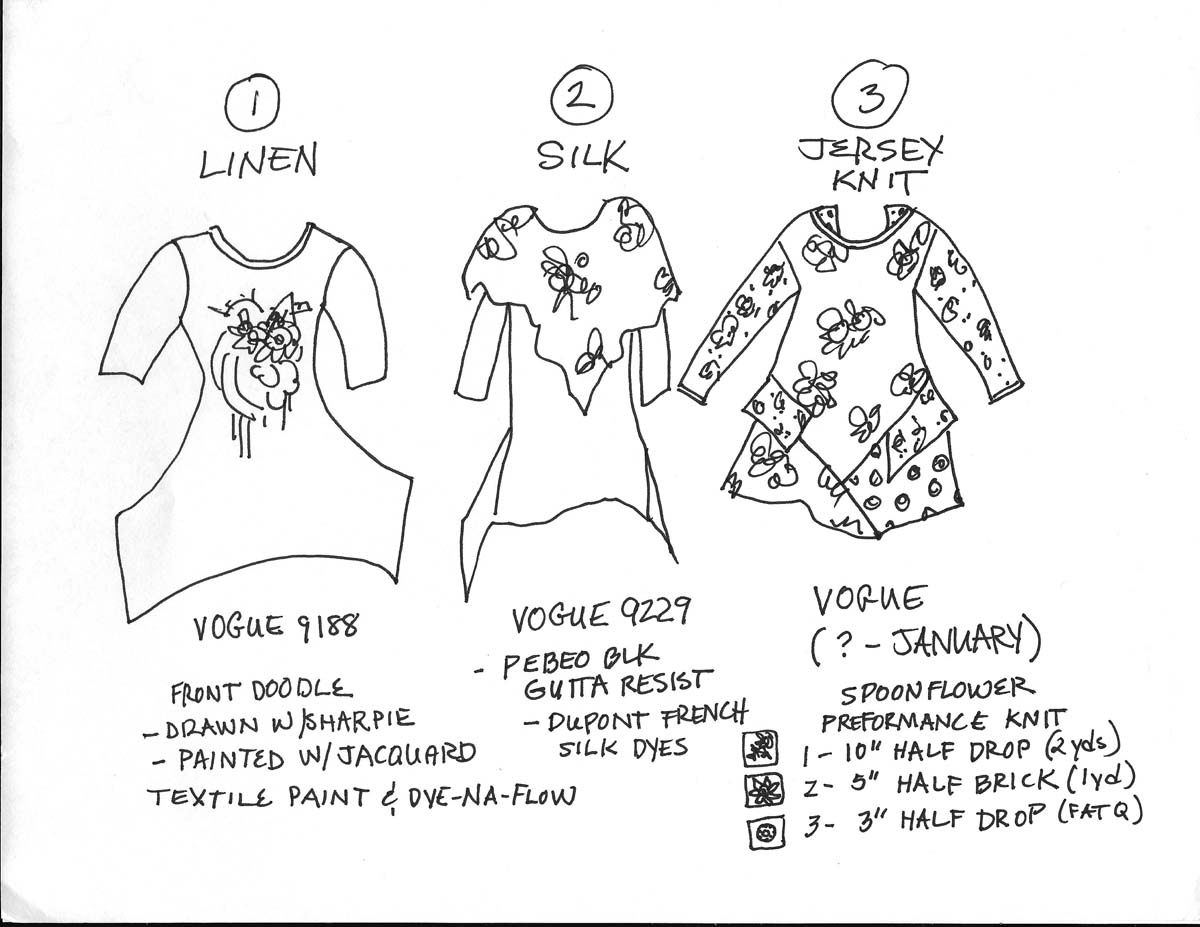
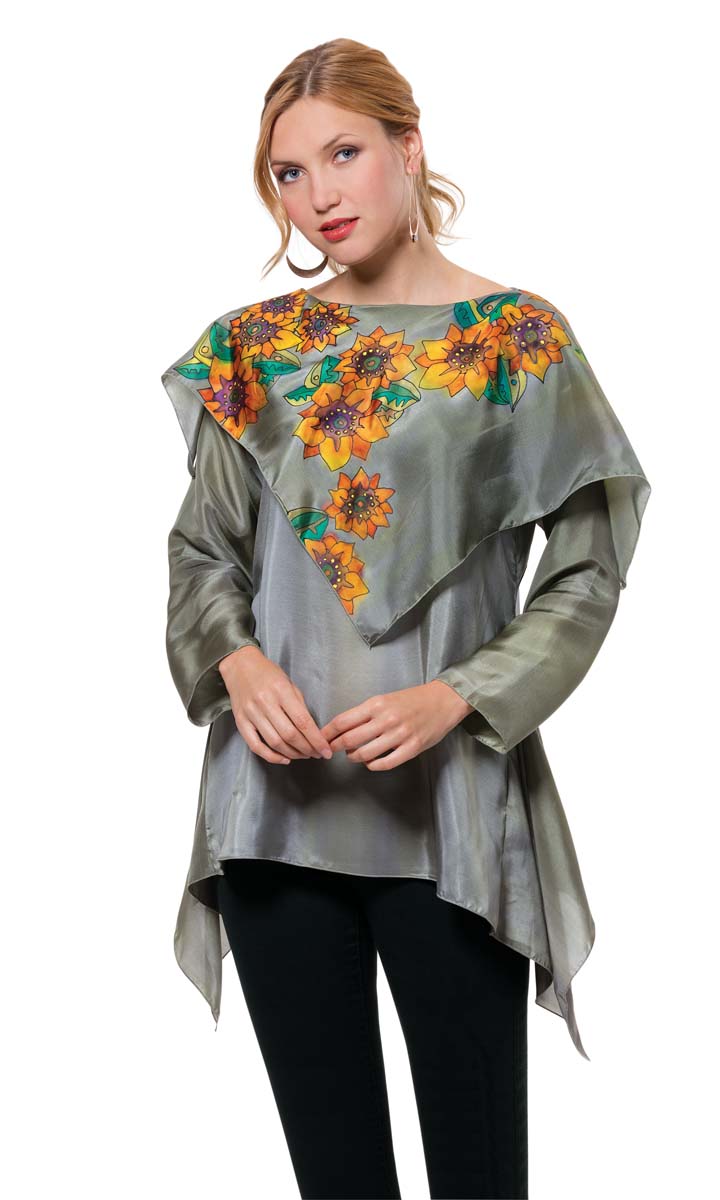
You’ll see in my garments that I’ve doodled in different ways: For the tunic shown, I used fabric with motifs scattered all over the garment. On the other tops, the motifs are placed to emphasize a design feature or to balance an overall silhouette. There are no rules for doodling on fabric or garments, but there are ways to enhance your creativity and make the process efficient and effective. I’ll explain some of my favorite techniques—the rest is up to you.
Develop a concept for your patterned textiles
You need two elements for a successful design: a motif or set of motifs, and a plan for how to place them on the garment.
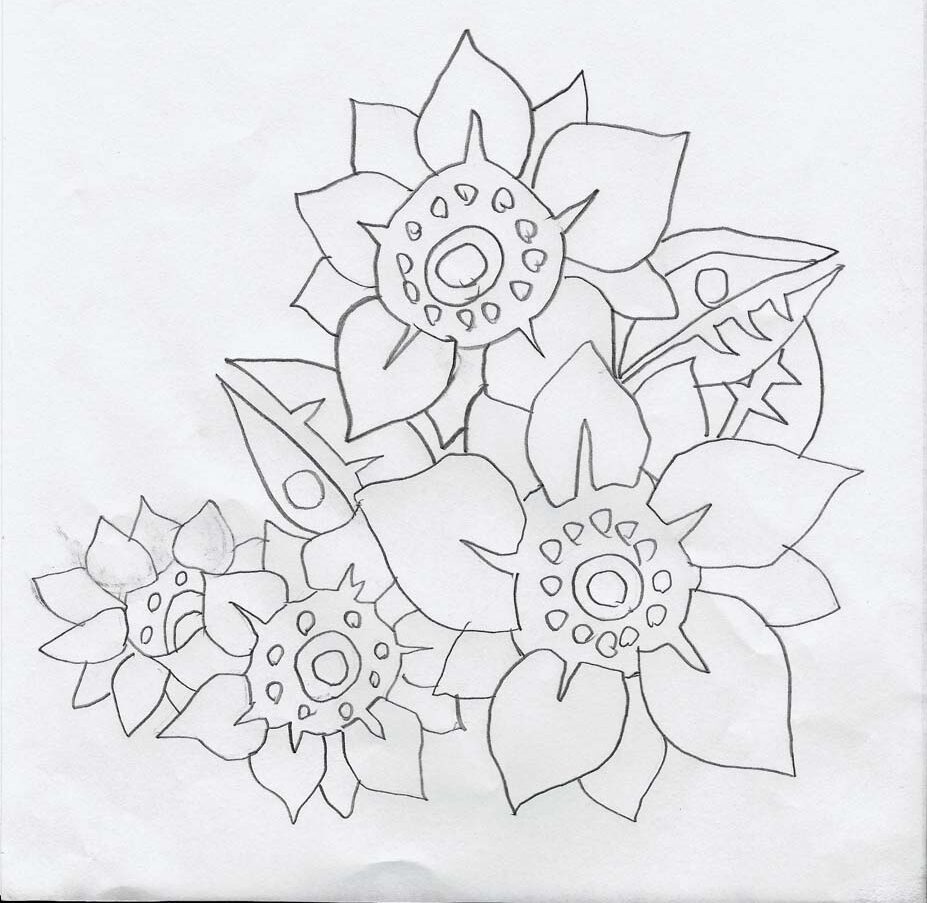
Make up a motif
Your “doodle” can come from anywhere—from your imagination, a piece of art, or a coloring book. Try it at different scales and subtract or add linear details. You can trace, photocopy, or draw free-hand as you refine the motifs.
Plan the garment
Once you’ve developed the motifs, have fun deciding where to place them on the garment. Highlight them in one location or scatter them; consider how best to complement the garment’s silhouette.
 Sketch and transfer motifs
There are several ways to transfer doodles to the fabric. Lay the fabric flat and, if necessary, pin it to a sheet of foam core board so it won’t shift. Trace the garment’s pattern pieces with chalk or marker that can be removed. Then add your designs.
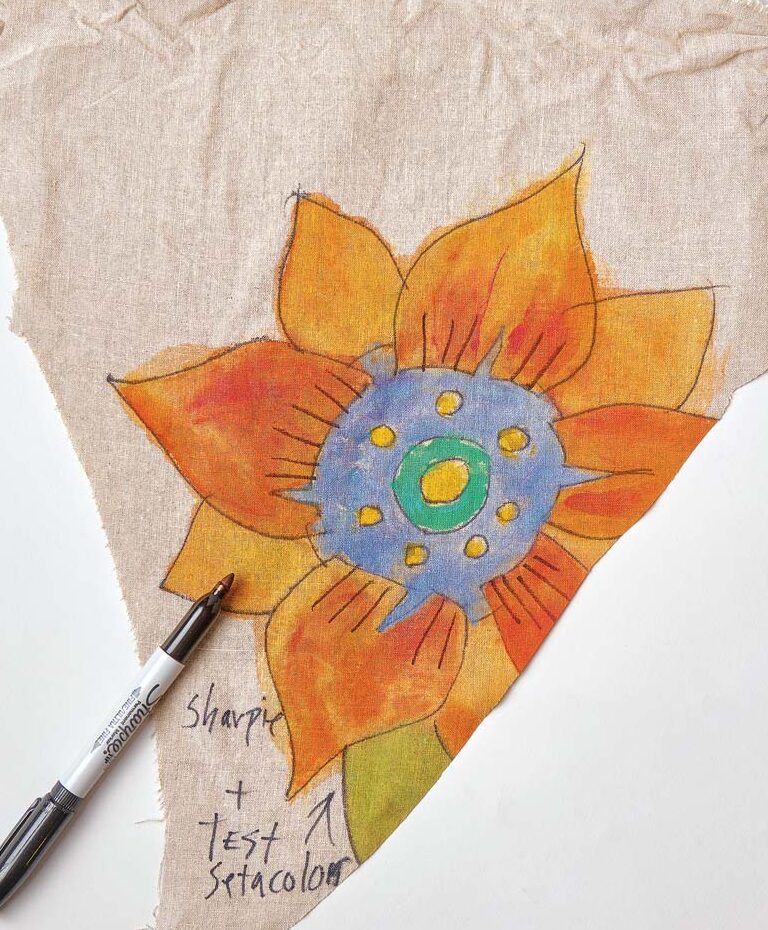
Doodle directly
Test markers on a fabric scrap to determine the line weight, absorption into the fiber, and any other characteristics you need to know before drawing. Once you feel comfortable with the marker, draw freely. Note: A pen with heat-removable ink, such as a FriXion marker, is a good tool for sketching a design. Draw your design, “erase” any goofs by ironing them, and then go over the lines with permanent ink.
Trace the design
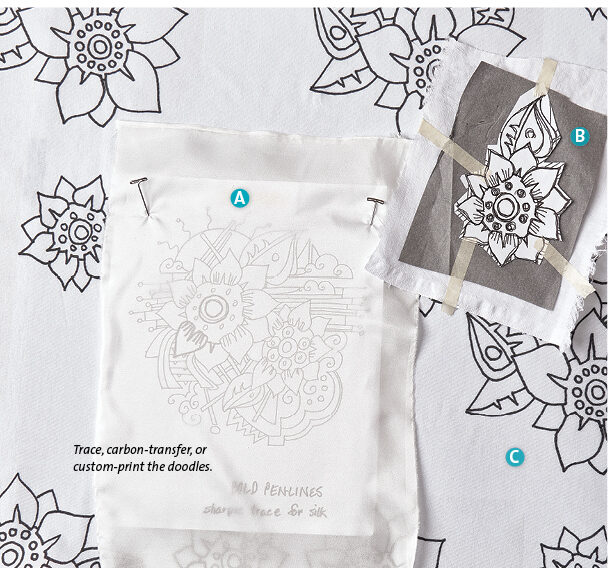
If your fabric is sheer, stretch it smoothly over the drawing and trace the design with a permanent ink pen, such as a Sharpie (A). If desired, work over a light box or at a window for better visibility.
 Transfer with carbon
Lay a sheet of carbon transfer paper (I like graphite-based paper such as Saral, OfficeDepot.com), carbon side down, on the fabric’s right side. Place the design on top, and with a stylus or other blunt-point tool, trace the design lines (B).
Custom-print the fabric
Use a custom fabric-printing service, such as Spoonflower.com, to print your designs permanently on fabric. You can choose the fabric substrate as well as the size and distribution of the motifs (C). Have the doodles printed in black on white, then enjoy coloring them to suit
Use gutta resist
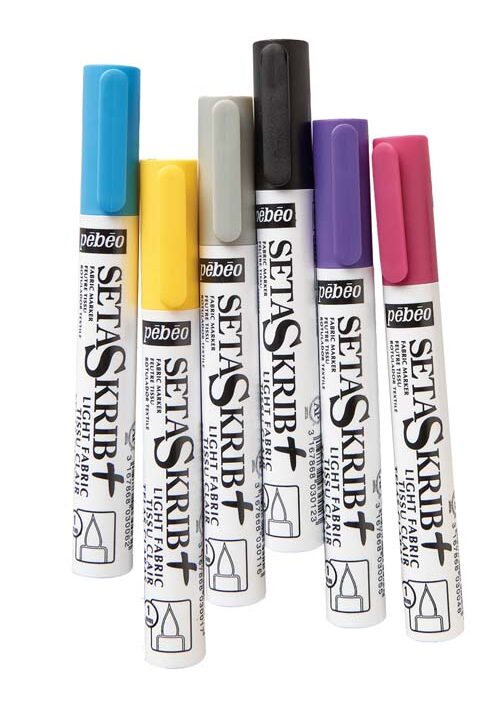
If you plan to paint with liquid dyes, outline the motifs with a resist, such as Pebeo (at near right on the facing page) or Dupont water-based gutta. They come in a nice color range and leave a permanent line on the fabric. The resist keeps the dye within the motif area, for clear, defined designs.
Color inside—or outside—the lines
For greater impact, color in your line drawings. Choose your preferred medium, and follow the manufacturer’s instructions to set the color for lasting results.
|
Color with markers Working with permanent markers is like coloring in a coloring book. They offer easy control, and you can layer the colors to create tonal variations. |
 |
|
Fill in with paint Fabric paints give a rich, opaque finish. You can blend them on a palette to an infinite number of hues. Paints also offer the option of metallic effects. |
 |
|
Brush with silk dyes Silk dyes have a more liquid consistency than fabric paints and yield a luminous watercolor effect and supple hand on fine silks. Stretch the fabric on a frame to stabilize it as you paint, outline each element to be painted with gutta resist, then apply the dye. |
 |


Log in or create an account to post a comment.
Sign up Log in