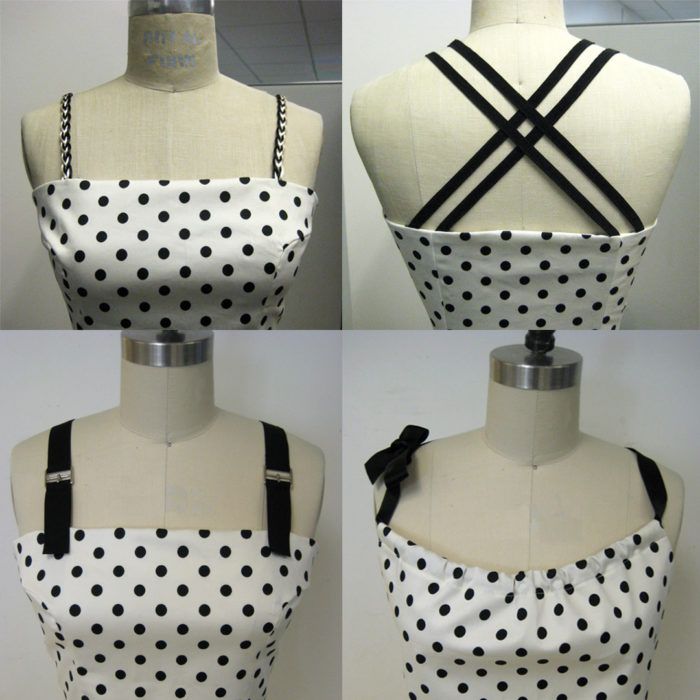
Try one of these fun and fabulous strap techniques to top off your next garment.
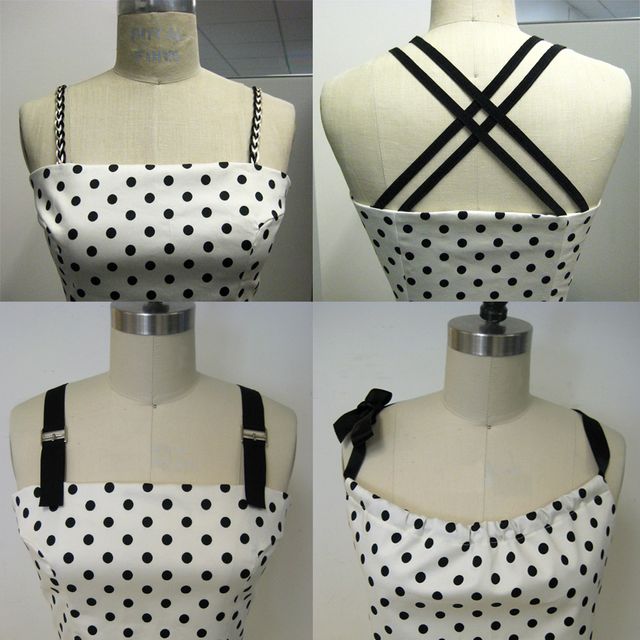
Straps are found on all sorts of garments, including tank tops, dresses, cover-ups, and more. But why top off your outfit with basic spaghetti straps when there are so many fun options to explore? Below, I’ll share four strap variations that can easily be incorporated into your wardrobe with just a few materials. Let’s get started.
Note: Before you begin, make sure to prepare the bodice by sewing the side seams and any other preliminary seams. In addition, unless the garment you are working with is made of a stretchy fabric, you’ll need to insert a zipper (or other closure type) when creating one of the first three options below. These same three techniques also require a garment facing or lining.

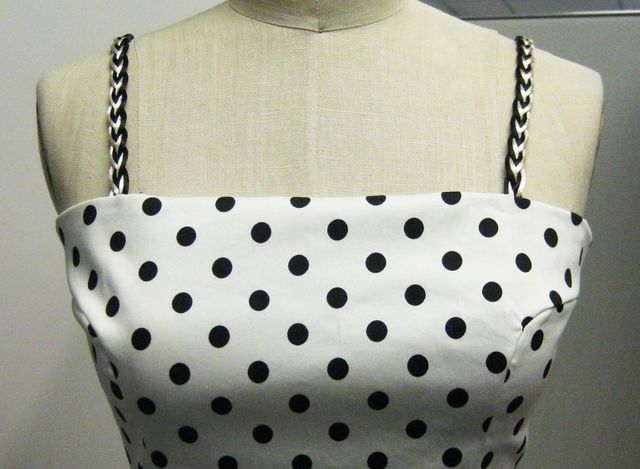
I. Braided straps
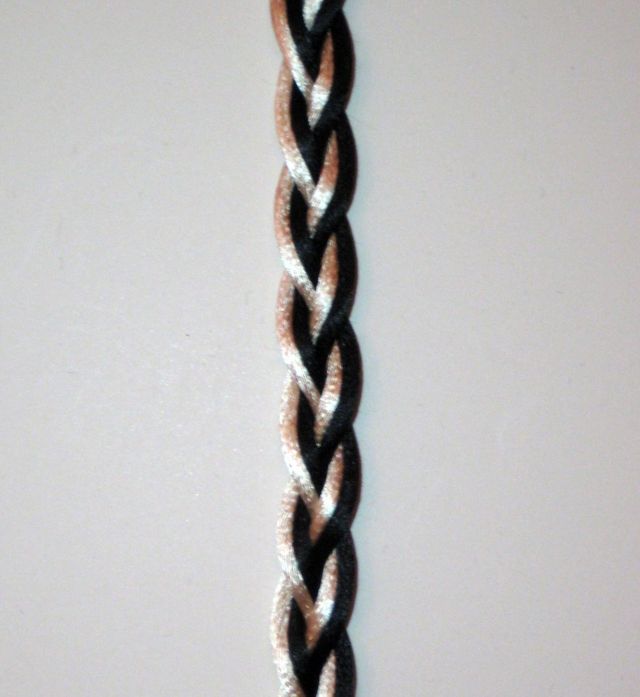
This design is basic and eye-catching. While I used six pieces of 2-mm rattail cord in two colors for each strap, you can personalize this look however you desire. For instance, consider using only one color or six different colors to complement the body fabric.

1. Determine the strap length.
Measure the distance from the front bodice’s top right edge (in the location you plan to insert the strap) to the back bodice’s top right edge. Repeat for the left side. Add at least 7 inches to the larger measurement. Multiply this number by 2 to determine the total yardage needed for each cord piece. You will need six thin cord pieces in up to six colors to create the look above.
2. Prepare the pieces.
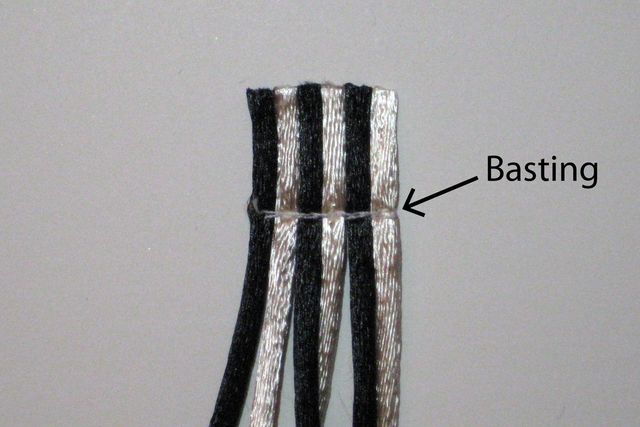
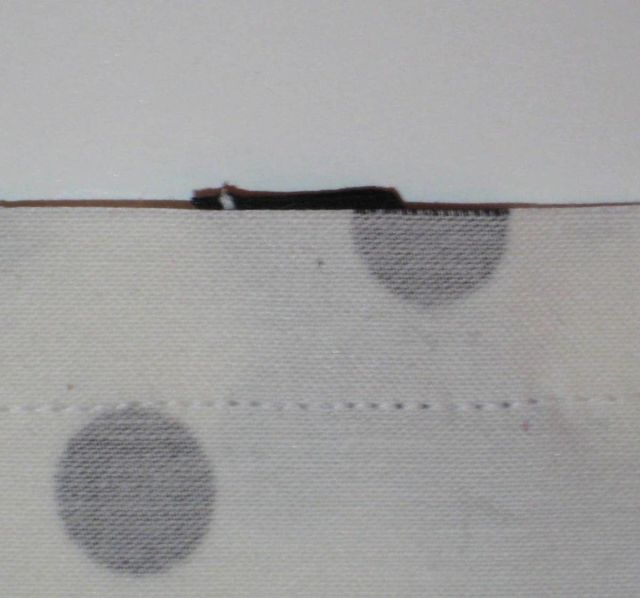
Cut all six cords in half. Take one pile and orient the cords in the desired order from left to right. Baste them together about 1 inch from the top edge, as shown below. Repeat with the second pile.

3. Braid the cord.
Begin braiding, using two strands at a time. Be sure to take your time so the strands remain neat and untangled. When you get to the end, pinch the remaining cord pieces together and baste across this portion, about 1 inch away from the edge. Repeat with the second group, reversing the order of the cord colors to make the second braid symmetrical to the first one.

4. Sandwich the strap.
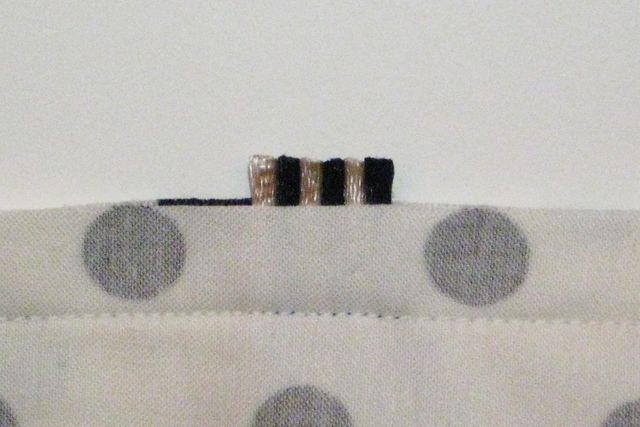
With the garment’s back bodice and facing (or lining) pieces with right sides together, place one braid end in the desired strap location between the two fabrics. The basting stitch should align with the garment’s seamline. Make sure the braid’s right side is against the garment right side, so that when the strap opens out, the braid is not upside down. Sew the strap in place. Repeat for the second strap, checking that it is arranged symmetrically to the first strap.

5. Secure the other end.
Try on the garment, pull the unsewn strap ends to the front, and place a pin in the strap at the desired length. Stitch the straps between the bodice front and facing (or lining) pieces, as described in step 4. Trim any excess braided strap, and finish the garment as instructed.
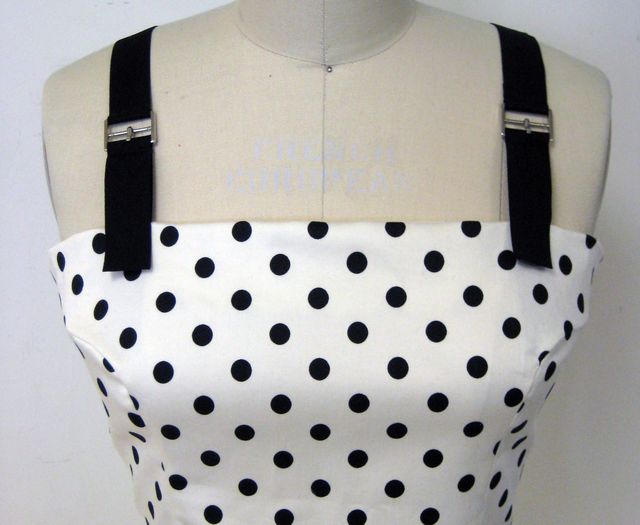
II. Buckle insertion
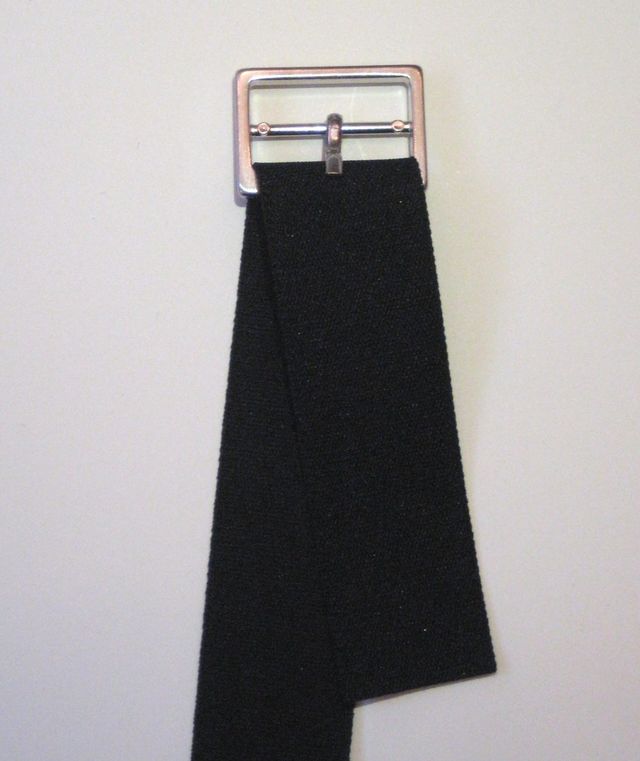
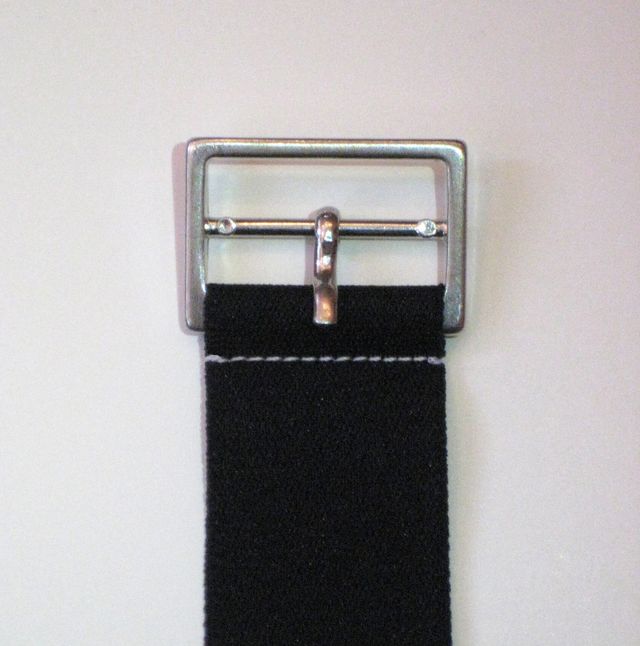
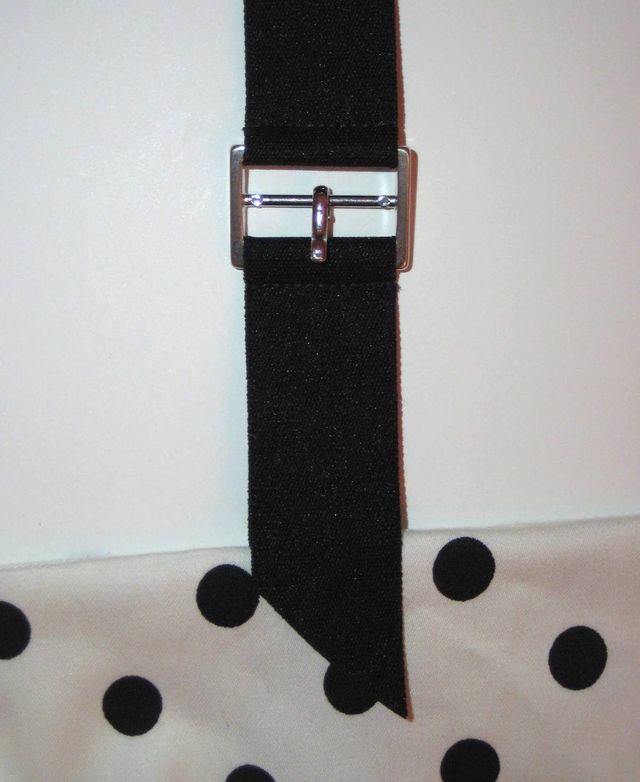
Add some hardware to your straps with a simple, decorative buckle. While these 1/2-inch-long by 1-inch-wide rectangular buckles are not functional in this design, they certainly add an interesting touch to tops and dresses alike.

1. Determine the strap length.
Measure the distance from the front bodice’s top right edge (in the location you plan to insert the strap) to the back bodice’s top right edge. Repeat for the left side. Add at least 10 inches to the larger measurement. Multiply this number by 2 to determine how much elastic yardage is necessary.
2. Prepare the pieces.
Cut the elastic in half to make a left and a right strap. Determine the material’s right side if the front and back differ. To make a strap, wrap one elastic end around the bottom buckle bar, with wrong sides together, so about 3-1/2 inches sit on the buckle’s front side and the remaining length is situated on the back side. Cut the back elastic piece 2-3/4 inches below the buckle’s bottom bar. (Note that this length may be adjusted as desired, as long as there is enough elastic to spare.) Repeat with the second strap half.

3. Stitch the lower section.
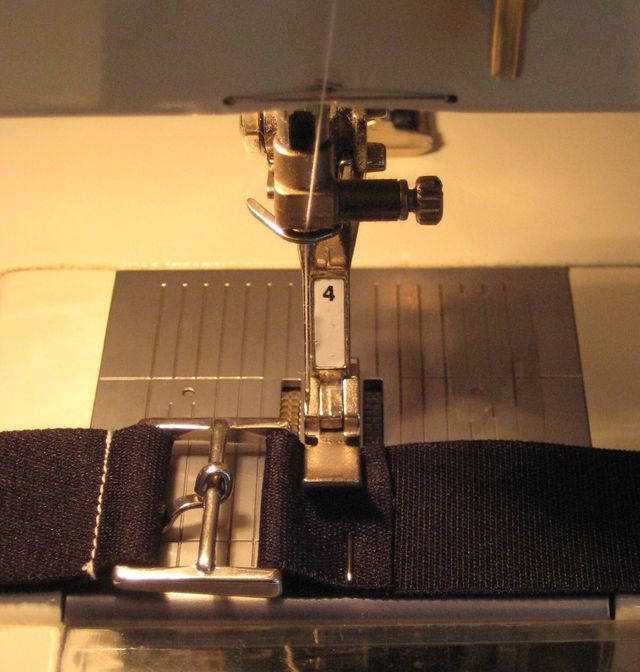
Using a zipper foot, stitch the elastic layers together as close to the buckle as possible. Repeat for the second piece.

4. Attach the top elastic.
Thread the remaining elastic through the top buckle bar, with wrong sides together, so the pieces overlap by 1/2 inch. Stitch as close to the buckle bar as possible.

5. Attach the straps to the garment front.
With right sides together, place one buckle strap end in the desired front strap location. Align its end with the fabric cut edge, then pin or baste in place. Repeat for the second strap. Lay the front facing or lining over the strap, with its right side against the garment right side. Sew the facing seam with a 5/8-inch-wide seam allowance, catching the strap ends in the seam.

6. Secure the other end.
Try on the garment, pull the unsewn strap ends to the back, and place a pin in the straps at the desired length. Trim any excess elastic 5/8 inch below this measurement to allow for the seam allowance. Stitch the straps between the bodice back and facing (or lining) pieces, as described in step 5. Finish the rest of the garment as instructed.
7. Finish the edge.
Depending on the strap elastic you choose, it might be necessary to cut the front raw edges at an angle to prevent it from raveling in the future.

III. Criss-cross back
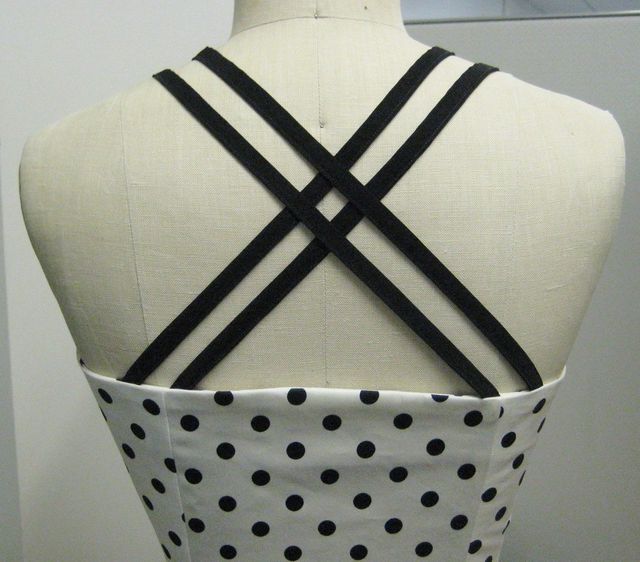
Shift the interest to the back with this bold criss-cross strap technique. All you need is a few fabric strips to create this stunning design.

1. Determine the strap length.
Measure the distance from the front of one shoulder to the back of the opposite shoulder where you plan to place the straps. Add at least 3 inches to this measurement and multiply the final number by 2. Repeat on the opposite side.
2. Prepare the strips.
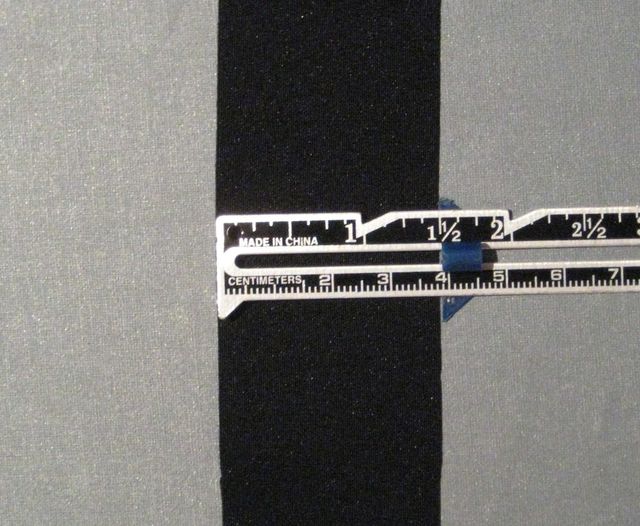
To create the ½-inch-wide straps, cut two 1-1/2-inch-wide fabric strips the length of the numbers you determined in step 1.

3. Fold and press.
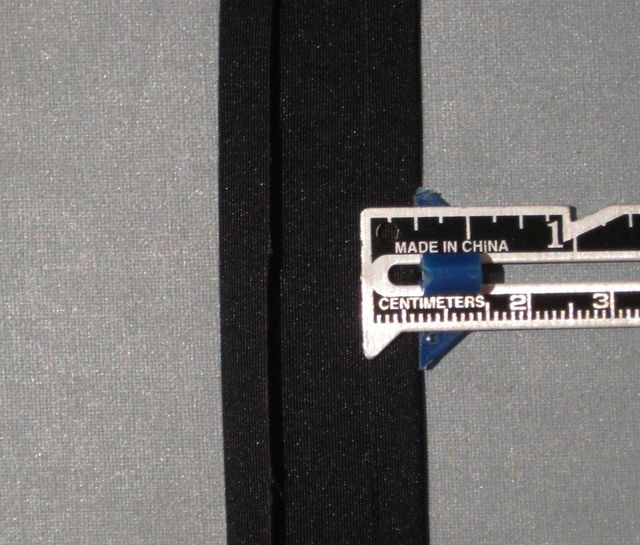
For each fabric strip, fold one long edge to the wrong side, 1/4 inch, and press. Repeat with the opposite edge.

4. Stitch in place.
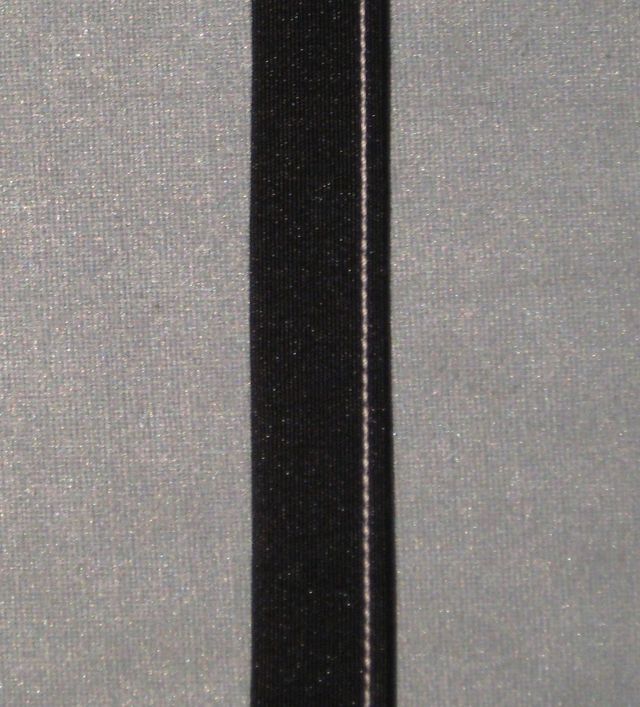
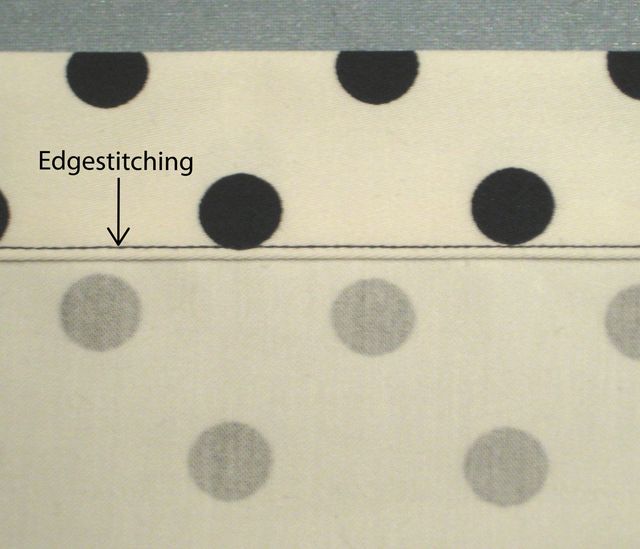
Fold each strip lengthwise, with wrong sides together, aligning the folded edges. Press, then edgestitch the two folds together. Cut each of the two long strips in half, creating four straps.

5. Position the straps in back.
Try on the bodice and mark the desired strap placement with tailor’s chalk. (Note that the straps shown above are spaced 3/4 inch apart.) Next, orient the garment’s back bodice and facing (or lining) pieces with right sides together and place the strap ends in the desired locations between the two fabrics. The strap ends should extend slightly beyond the fabric edges at an angle. Be sure the strap seams are oriented on the desired sides. Sew around the entire back bodice with a 5/8-inch-wide seam allowance, catching the strap ends in the seam.

6. Secure the other end.
Try on the garment, pull the unsewn strap ends to the front, and place a pin in the straps at the desired length. Trim any excess strap fabric 5/8 inch below this measurement to allow for the seam allowance. Stitch the straps between the bodice front and facing (or lining) pieces, as described in step 5. Finish the rest of the garment as instructed.
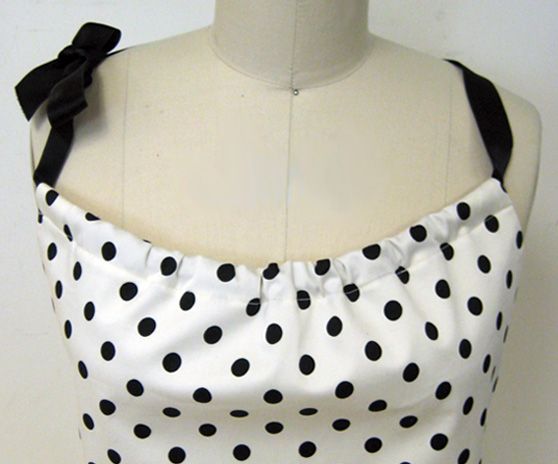
IV. Ribbon casing
This strap technique is a cute way to finish a basic garment. Just add an armhole curve to a rectangular pattern piece and create the casing.

Tip: If you’re using a solid body fabric color, consider finding a printed ribbon to really make the garment pop.
1. Create the pattern.
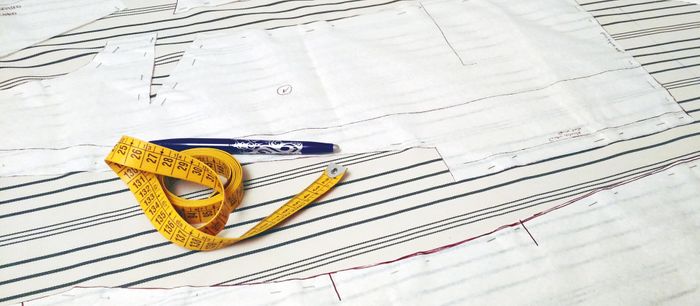
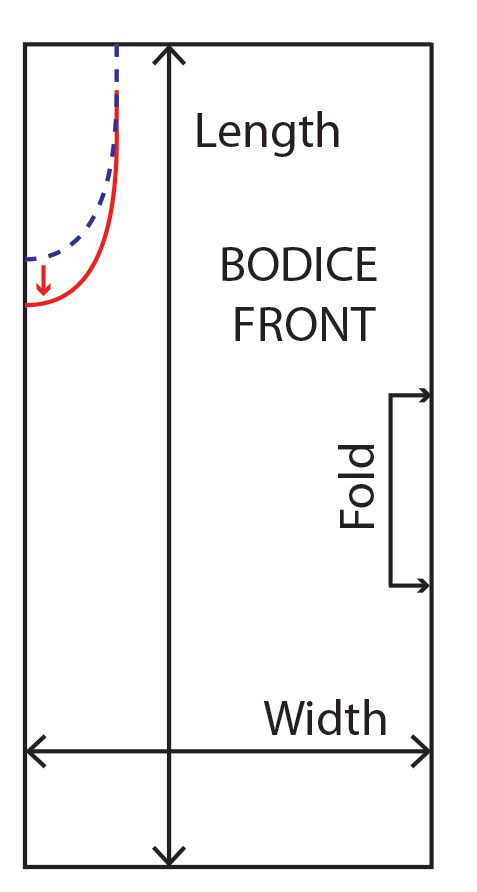
Begin with a rectangular pattern piece. The length is determined by how long you want the garment to be plus the ribbon’s width and at least 1-3/8 inches for the neckline casing and hem allowance. For the width, measure the body’s front circumference and add as much ease as desired. Then, since the pattern is cut on the fold, determine what is half this measurement. Next, place a bodice front armhole curve from an existing pattern that fits along the rectangle’s top left corner as shown below. Slide the armhole pattern down from the top edge the following distance: the ribbon’s width + 1/8 inch + 1/4 inch. Trace the curve onto the rectangular pattern and extend the curve’s topmost point straight up to meet the rectangle’s top edge. Add the desired seam allowance along the curve. Repeat for the bodice back.

2. Prepare the pieces.
Use the front and back bodice patterns to cut the fabric. Sew the side seams. Then finish the armholes with a preferred method before continuing with the following steps.
3. Determine the strap length.
Wrap a tape measure around your body at chest level. Add 30 inches to this measurement to determine the total ribbon yardage needed.
4. Create a casing.
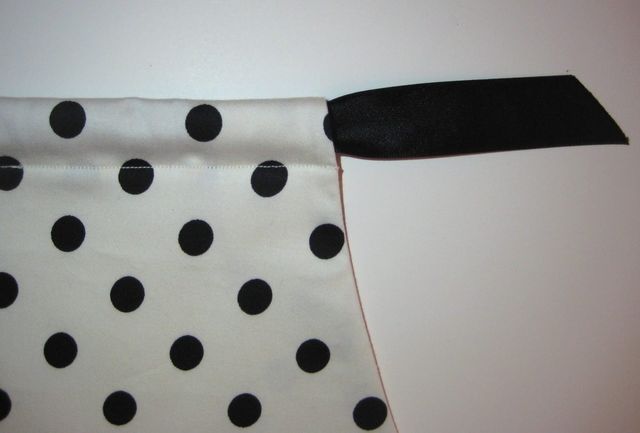
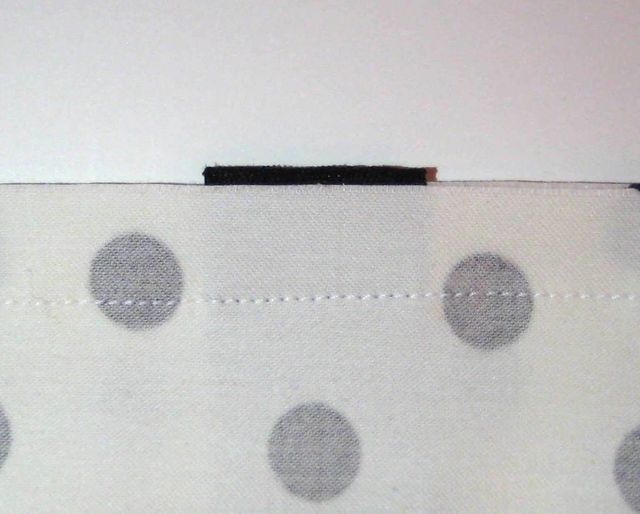
Turn the top bodice edge under 1/4 inch to the wrong side and press. Turn the same edge under again the width of your ribbon plus 1/8 inch. Press. Edgestitch along the bottom fold. Repeat with the bodice back.

5. Insert the ribbon.
Use a safety pin or a bodkin to thread the ribbon through the casing. Start at the front bodice’s right side and continue around to the back bodice’s right side. Try on the garment and scrunch the casing along the front and back to create a gathered look as you tie the bow. Trim any excess ribbon at a 45-degree angle to prevent fraying. Finally, hem the garment.

Which strap technique are you most interested in trying? Are there any other special strap designs you enjoy adding to your garments? Please share your thoughts below.




Congratulations for your post. It is very interesting and practical.
Wow, incredibile.
Congratulations for your post. It is a nice topic.
Very original post, I love the way you make typical things unusual!
The first proposition fits me the most :)
Such an informative post. I would love to do something creative with these design ideas.
Interesting is this solution
I really gonna use these ideas while design dresses!!! very much practical...
My granddaughter will love tops and dresses made with some of these fun ideas! Thanks for the article.