A Guide for Sewing Professional Shirt Cuffs
Use a few simple techniques to create beautiful cuffs every time.
Whether you’re sewing a men’s or women’s shirt, it’s easy to overlook the cuffs. Unlike the collar or the front button placket, cuffs aren’t the first detail to get noticed. Still, it’s nice to know you’ve created the nicest cuffs you can.
I’ve learned from experience, including an excellent menswear sewing class at the Fashion Institute of Technology in New York, that by using a few simple techniques, it’s possible to create beautiful cuffs every time.
Shirt cuff corners are most commonly made squared, rounded, or notched (cut diagonally). I’m going to demonstrate rounded and notched cuffs.
Materials and fabric preparation
Each shirt cuff consists of two pieces: the inner cuff (or cuff facing) and the outer cuff.
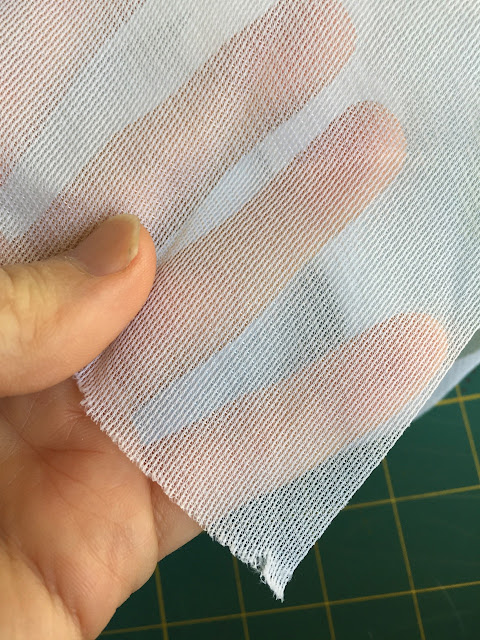
Interfacing, generally fusible, gives the cuff extra body. I like to use a lightweight knit fusible, as I’m not a fan of stiff cuffs, and I interface only the outer cuff. Is it wrong to interface the inner and outer cuffs, or to use a stiff interfacing? Absolutely not. The crispness of the finished cuff is up to you.

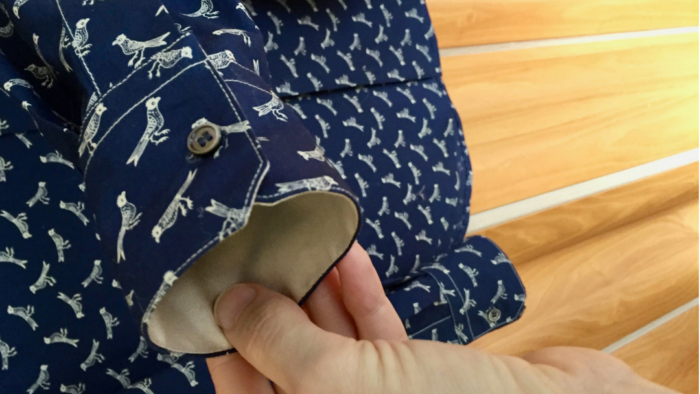
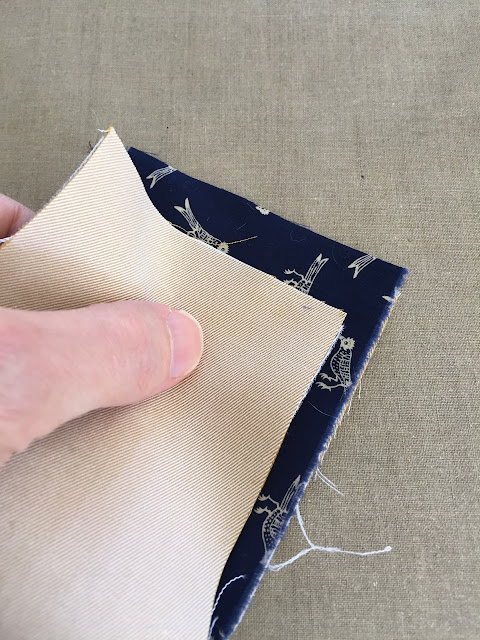
My shirt will be made of a navy cotton bird print purchased in New York City’s Garment District. I’ll use this fabric solely on the outer cuff. The inner cuff will be made from a solid tan twill shirting that picks up the tan in the bird print. I love a contrasting inner cuff.

Though I am making shaped cuffs, I cut the cuff pieces initially as simple rectangles and shape them only after interfacing the outer cuff. This helps to guarantee the inner and outer cuffs are identical in size and shape.
Note: Add…
Start your 14-day FREE trial to access this story.
Start your FREE trial today and get instant access to this article plus access to all Threads Insider content.
Start Your Free TrialAlready an Insider? Log in


This is wonderful step-by-step instruction, which I will bookmark! I also love the ingenuity of using a quarter to round corners. I'm hoping Peter will be a frequent contributor in this space.
Nicely done tutorial Peter. I make dress shirts for hubby, yes those with stiffer cuffs and collars. I usually attach the outer cuff to the shirt and then top-stitch from the outside, catching the folded down inner cuff. Will have to try your method. How about collars next? I'm still trying to perfect them, with a lot of guidance and help from David PC.
Classy! I will try this method for the cuffs next time I make a shirt. So clear.
Very well written, I will definitely use this the next time I make a shirt. Love that bird fabric, and I really like that contrasting inner cuff.
Yeah for old Singer machines. I have a 201 that I love.
Thank you for the tutorial. Like your blog, it is well written with loads of pictures.
Love that you are using an old Singer. I too have one and use it sometimes. Does a beautiful job. And your instructions are wonderful. I will be sure to use them on my next shirt! Thank you.
Oh my, very nice. Excellent clear visual and verbal instructions. Thank you very much. Hope my practice cuff turns out as nice as yours.
A very clear tutorial. Thank you.
Excellent lesson! I make many of my husband's shirts, and he loves to wear them -- gets many comments. I second the suggestion that you do a lesson on collars! And how about sleeve plackets??
Beautifully done! Thank you for the clarity and photos showing the details. You are a wonderful instructor! I haven't seen such beautiful cuffs in ages! Yes, please do more!
After 60 years of sewing, and I did not know this technique! So easy, I will use it from now on. Thank you for the very clear tutorial. I have learned so much from your tutorials. Yes, collars next, please.
Thanks so much for sharing your expertise here! Wish I had seen this BEFORE making my last western shirt. Can't wait to try it. How about sharing what you know about making collar bands - those are sometimes challenging. Keep up your good work and great pics and explanations!
I am so grateful for your clear instructions and helpful images. Your having the inner and outer cuffs constructed from different fabrics has made the process much easier to follow.
Thank you, thank you, thank you for using a textile pattern that has an up and a down, enabling me to keep the little rabbits on my cuffs from standing on their heads. Genius, Peter.