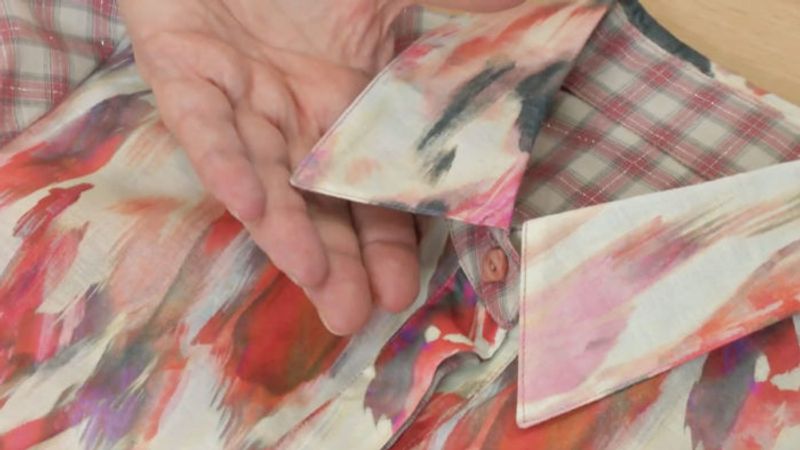
Make your garments look custom-made, not homemade, by paying attention to the fine details in areas that matter. Sharp corners on collars and openings give your sewn pieces a professional look that you’ll be proud of.
In this video, Threads staff seamstress Norma Bucko demonstrates her method for turning a collar point so the corner is as sharp as it can be. Note that your choice of fabric influences the final shape of any corner. Thin, crisp fabrics, such as cotton shirting, can yield a fine point. Thick, lofty fabrics will always have a softer, more rounded corner. Nonetheless, with this technique, you’ll be able to control the seam allowance bulk within the corner for the best possible result.
Trim the sharp corner carefully
First, trim the seam allowances to 1/4 inch or 3/8 inch wide, after sewing the seam. If the corner is a right angle, leave it as is. If the corner is an acute angle, clip across the point, just outside the seam’s angle. Then trim the seam allowances further near the corner, so they taper to the point.
Fold and turn
Next, fold one seam allowance under exactly on the seamline. Fold the adjacent allowance under along its seamline, to overlap or abut the first allowance. Hold the allowances in place with your thumb, grasping firmly.
Turn the collar right side out over your thumb. The folded seam allowances provide a foundation against which you can shape the collar as you turn it.
Finally, adjust the point gently with a point turner as needed. Push the seam allowances into place, and ensure they are not folded or crumpled within the corner. Press the corner to set it.
Learn a tip for sewing collar points that can be turned for a perfect acute angle, in “Reader Tip: Stitch Sharp Corners.”


Log in or create an account to post a comment.
Sign up Log in