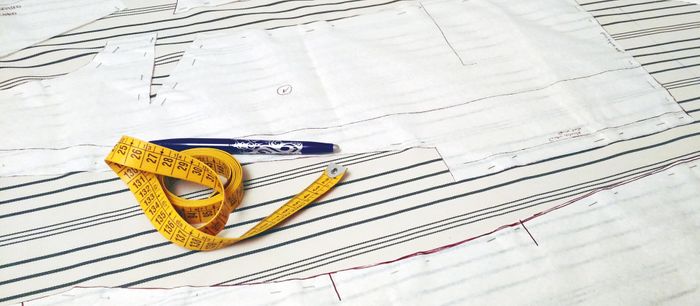
It’s Sew Easy, a television program developed just for sewers with instructions and projects presented by sewing experts, is now in its third season. In this season’s second episode, Threads former Editor Deana Tierney May shows how to create the beautiful and simple lace top seen in “Lady Lace” from Quick Stuff to Sew, Winter 2011. Watch as she demonstrates how to draft the top, cut it out, and sew it. This beautiful lace top will make a great addition to any wardrobe.

Threads Project Guides
Fit & Sew Tops
Fit & Sew Tops
Fit & Sew Tops
Sew beautiful tops with tips from the experts
Become a member and get unlimited site access, including the Fit & Sew Tops Project Guide.


Loved the up-beat instruction...I am sure this will interest younger girls and they will then go on to customise other garments for themselves!
I'm not a "younger girl", but I think I'll make one for myself. Great video. Thanks
How did you finish the neckline??? That's the bit that could spoil all the care taken elsewhere.
I'm a younger girl at 61, and I will love one of these. As my name suggests, I am a lacemaker and this will keep right up with my image. Off to Tweet about it now.
I have checked the web site and I cannot find the instructions for drafting the lace top. Would love to make it, it will be nice to take on holiday.
Lovely top. Any similar pattern would work well. I prefer to use a tiny zig-zag stitch to join the motif/seams. I am surprised that the neckline finish was omitted as well since this is likely to be one of the most visible pieces of the garment. There are a few finishes that could be used. A tiny edging could be applied just like the hem and sleeve finishes, a small bias silk or satin strip could be used as a binding. One of my favorite techniques is to underline the bodice section with a sheer silk organza. (or nylon or a sheer polyester) (check the bridal section of your fabric store) You would cut the organza the same size as the bodice front and back, join the two pieces at the neckline right sides together, clip the neck edge to ease the curves, turn (through the neck hole opening) and press well. A tiny top stitch could be sewn to the neck edge to secure the layers. With a cut on sleeve, baste the layers together along the stitching line before applying the hem and sleeve edging. If your are using a pattern with a cap sleeve, prepare the armscye edges with basting before adding the sleeve.
I love this top and have the perfect piece for it but cannot locate the pattern...where do i find it? you say to download it from the website. And how did you finish the collar. Thanks I love this magazine
Wow what happened to the neckline? I think this video is incomplete.
Celkalee, your comments make a great addition to this topic. Thanks for those tips.
Thanks for all your comments. The neckline edge can be finished 2 ways. I mention in the video that you can apply the scallop edging at the neckline the same way you do for the bottom or sleeve hem edges. Alternatively, you can apply a fine trim. The trim technique is detailed in the accompanying article, which we are in the process of posting on our site. We'll be adding a link to the post above as soon as it is ready. You can also find the full lace top article, after logging in, on the It's Sew Easy website at http://www.itsseweasytv.com. Thanks again and let us know if you have any further questions!
I was wondering how to handle this for a sleeve? To hand sew it would be fine, but how would you anchor the ends?
Can you tell me what kind of stabilizer you used on the sleeve to help sew the scalloped edge on and then what kind you used on the side seams (which looks like a bigger stabilizer).
Thank you!
Julie