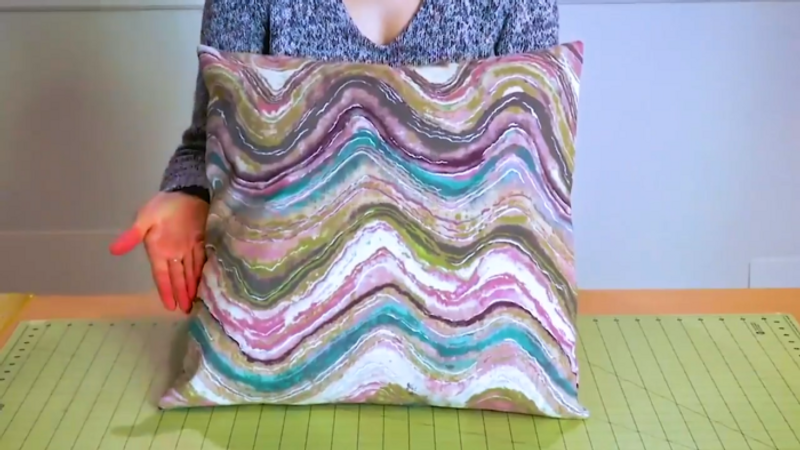
One of the easiest ways to add comfort and personality to your living space is with one—or several—decorative pillows. Threads Assistant Editor Erica Redfern shows you how to create custom pillow covers with just a few cuts and seams. This lapped-back pillow cover doesn’t have a zipper, yet it closes nicely over a pillow form. You can remove these type of covers easily for cleaning, too.
Erica explains two methods: the basic technique for making a pillow cover, and a slightly revised version for pillow covers with faux-fur fronts.
Basic method
1. Cut the pillow front. Cut a fabric square 1/2 inch larger on each side than the pillow form.
2. Cut the pillow back fabric. Cut a rectangle 1 inch longer than the form, and 9 inches wider.
3. Hem the back edges. Press and sew a double-fold hem on the short edges of the pillow back’s rectangle.
4. Cut the back apart. Cut it in half, parallel to the hemmed edges.
5. Arrange the layers. Lay the pillow front on a worksurface, right side up. Place the back pieces, right side down, atop the front, with the hemmed edges overlapping in the center, and the remaining edges aligned with the pillow front’s edges. Pin around the edges.
6. Stitch the seams. With a 1/2-inch-wide seam allowance, sew around the edges. There’s no need to leave an opening for turning the cover right side out; this will be done through the lapped back edges.
7. Clip and turn. Trim the corners as needed to create a nice angle, then turn the cover right side out. Insert the pillow and fluff.
Faux-fur method
This technique is nearly the same as the basic method, with a couple of adjustments.
Adjust the measurements. Cut the front and backs with 1-inch seam allowances on each edge. This creates a slightly less snug cover, which is softer and more pliable.
Comb the seams. One the pillow cover is complete, insert the pillow and fluff. Then run the tine of a clean fork along the outer seamlines to pull the fur’s pile from the stitching.


To match the video, Step 4 in the written directions should say cut parallel to hemmed edges.
You're right--thanks for catching that! It's been fixed.
Carol F.
Thanks for sharing this post!