Zip Through the Waistband
Extend the closure all the way up for a clean finish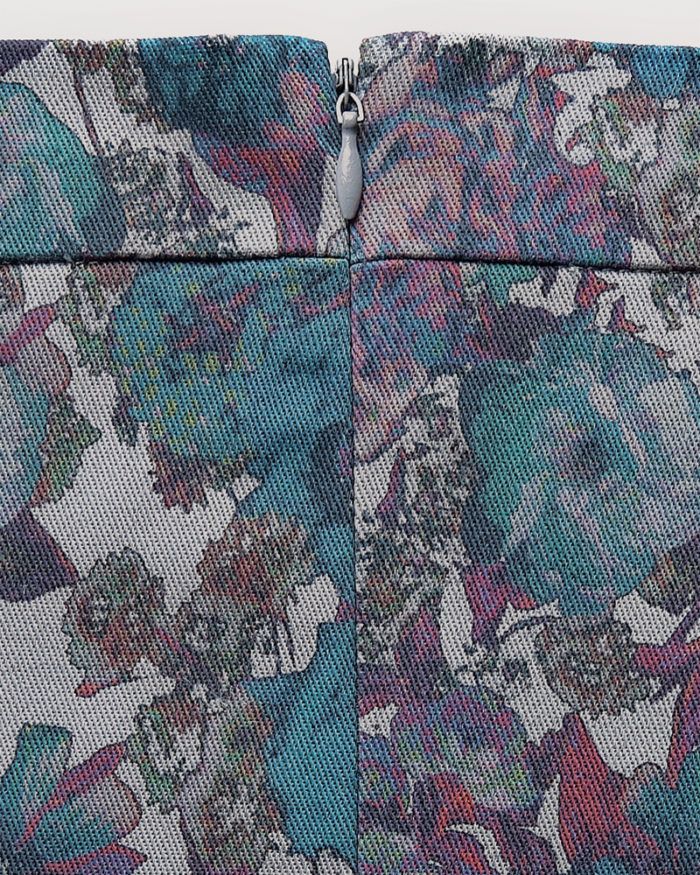
I used to alter ladies’ designer suits and, from examining some nice examples by Valentino and Dior, learned a great way to create a smooth zippered closure for the backs of skirts and trousers. Rather than zipping up to the waistband and closing the waist with a button or hook, this method continues the zipper through the waistband, stopping at the top. There’s no need to find a flat button or to stitch a buttonhole through many fabric layers, or add a hook and bar.
This streamlined closure is slightly different from typical zipper installation. It finishes the waistband ends at the same time that the lining is attached at the waistline, saving you a few steps. I encourage you to give this technique a try in your next skirt or trouser project.
Install the zipper
Attach the waistband and set the zipper. Be sure to use an invisible zipper with a supple cloth tape rather than a stiff nylon mesh tape.
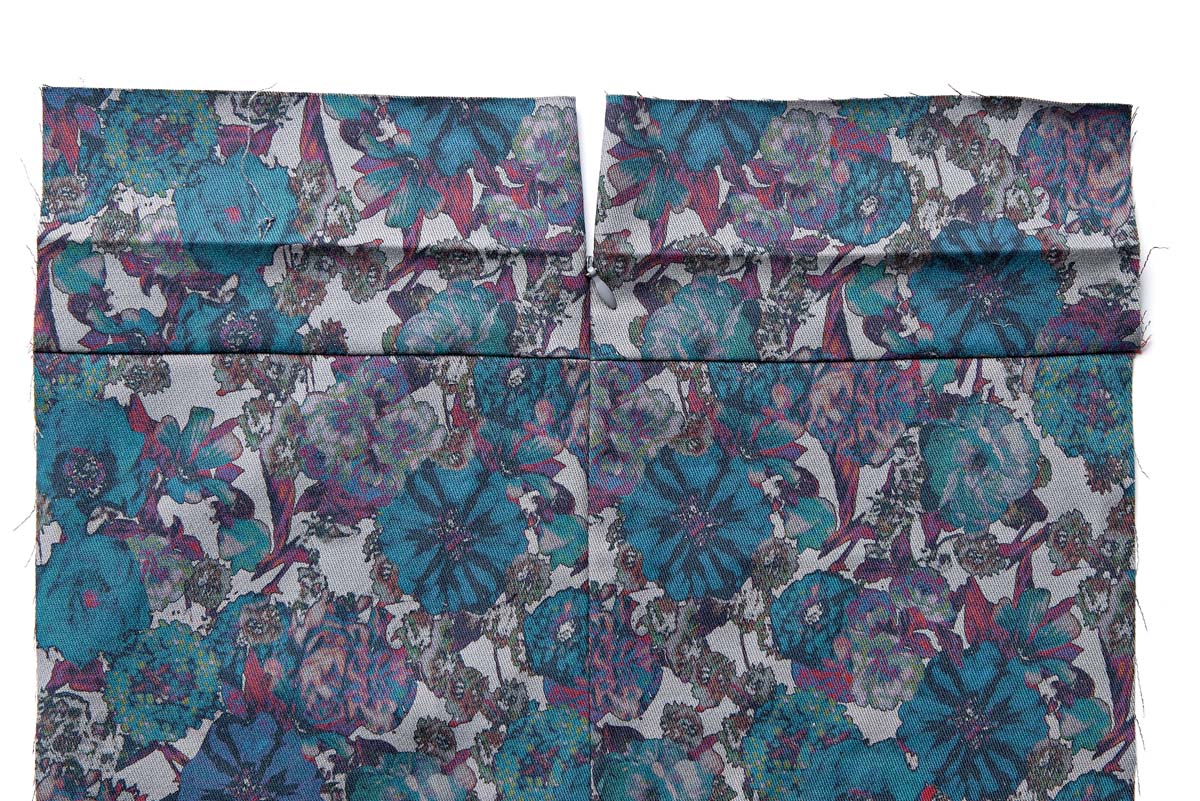
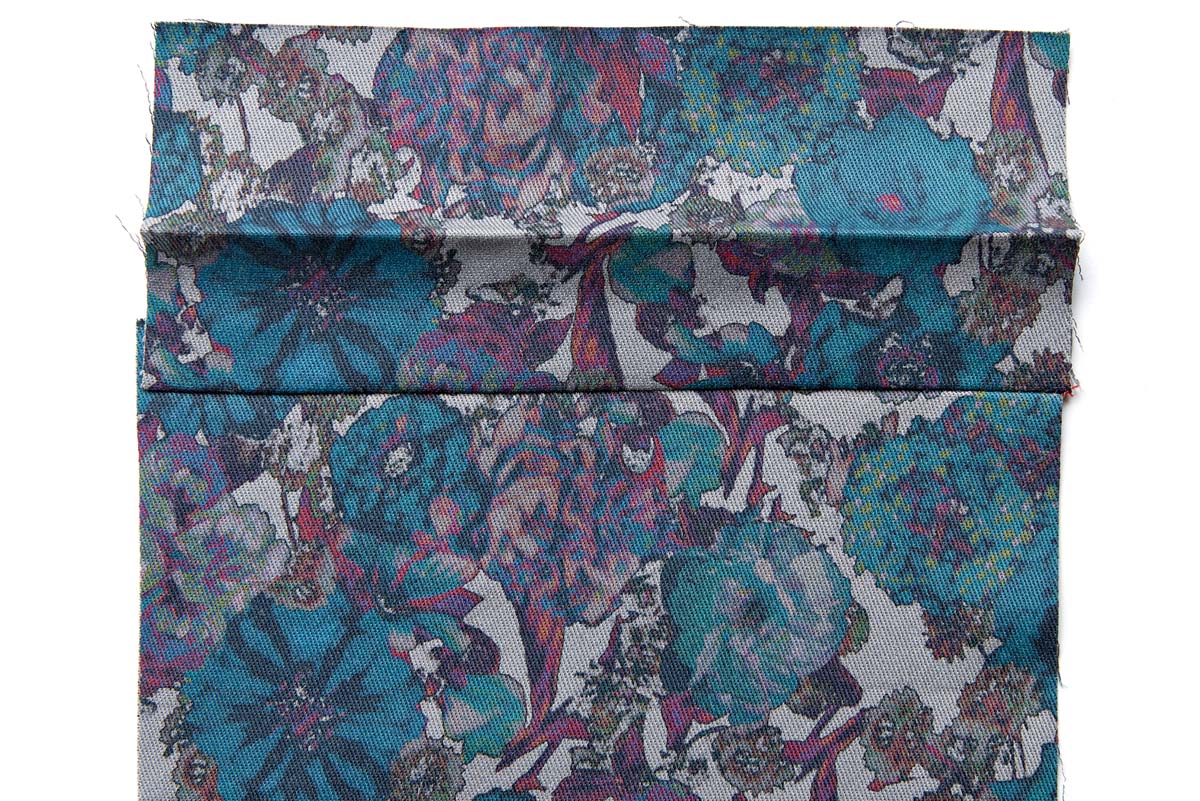
1. Attach the waistband. Cut the waistband the desired length, with a seam allowance at each end; omit any underlap. Press the band lengthwise along its finished foldline. Sew the band to the garment waist edge.
2. Clip and press the seam allowances. Clip the seam allowances 1 inch from the zipper opening. Press this inch-long section open; press the remaining seam allowances toward the waistband.
3. Insert the zipper. Using your favorite invisible zipper-installation method, sew the zipper to the garment. Position it so the top stop is close to but slightly below the waistband’s fold. Baste if necessary to ensure that the waist seamline intersection is nicely matched across the zipper opening. If the seam is open below the zipper, complete it now.
Complete the waistband
Finish…
Start your 14-day FREE trial to access this story.
Start your FREE trial today and get instant access to this article plus access to all Threads Insider content.
Start Your Free TrialAlready an Insider? Log in




Log in or become a member to post a comment.
Sign up Log in