

Fine Details for Knits – Shoulder Pads and Smooth Hems
Learn how to prevent shoulder pad show-through and how to stitch smooth hems
Sometimes knits present a special challenge. Shoulder pads tend to show through on knits, and soft knits often resist smooth hemming. I’ll share some tips I use to solve these problems.
A perfect shoulder pad
I’ve found a petal-shaped, molded shoulder pad that’s perfect for everything from T-shirts to a softly tailored, Armani-style jacket and that looks invisible when worn. You can sew the pads into a garment or use hook-and-loop tape.
The key to the pad’s smooth shape is a covering of fusible tricot like Sof-Shape by Pellon or Fusi-Knit by HTC, molded and fused into a permanent shape that lasts through washing and dry cleaning. Use this quick process for any raglan shoulder pad. I prefer the petal pads available from The Sewing Workshop.
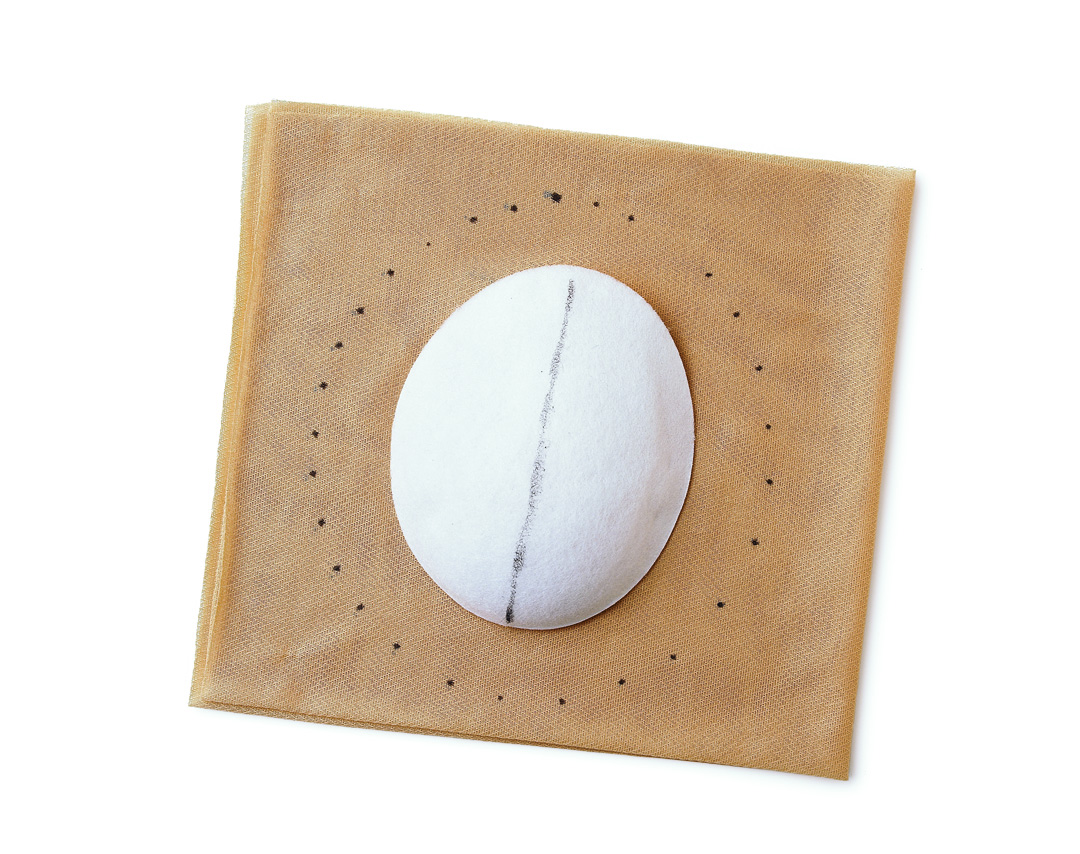
1. Place four layers of interfacing with the stretch lying the same way. Place a pad on the interfacing with the stretch going across the pad, and cut around it 1 inch from its edge. Fold each piece in half lengthwise and mark with clips at the center. With an air-erasable pen, draw a centerline on each piece from top to bottom.
2. Shape a dart on each pad’s top cover piece. Place a pad on a tailor’s ham, center a cover piece on top, adhesive side up, and fold and pin a dart along the center. Serge or sew the dart, curving it to fit; trim to 1/4 inch.
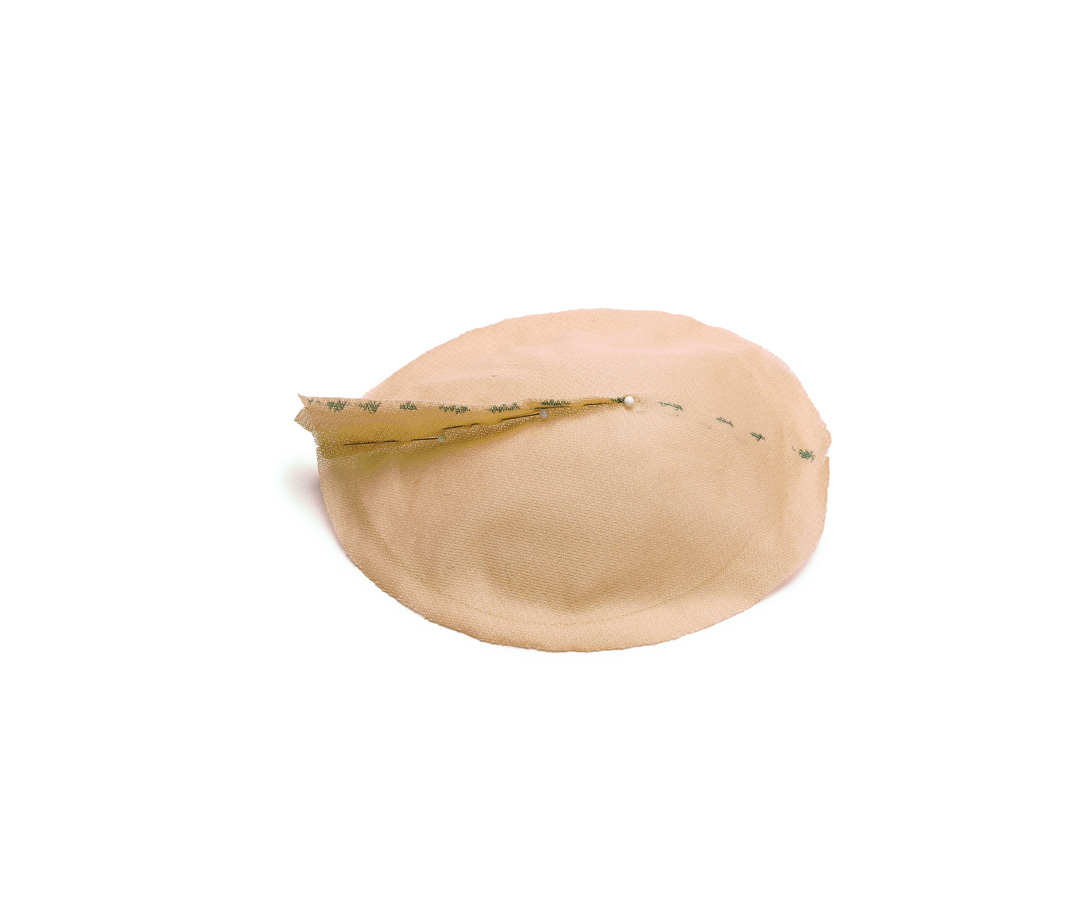
3. Fuse the top interfacing piece to the pad, sculpting the shape while fusing. Add the updarted bottom piece, smoothing and pressing to retain the pad’s curve.
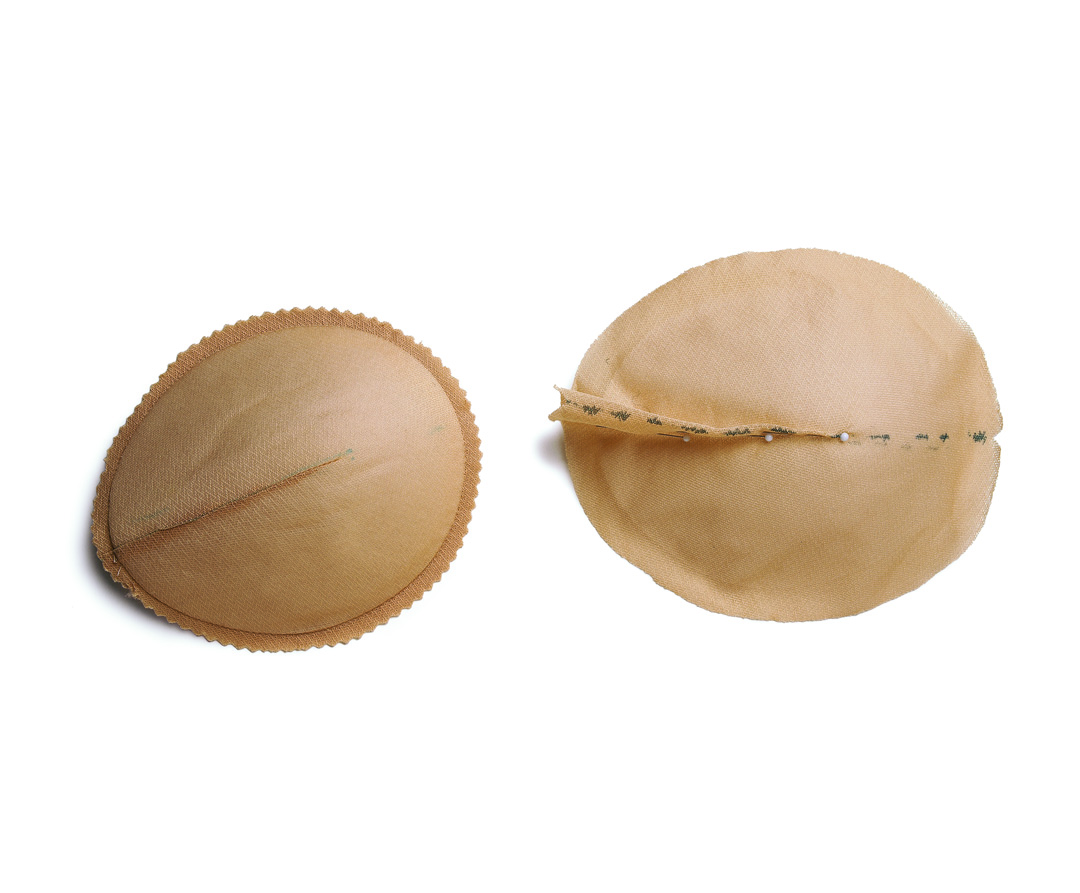
4. With the pad upside down, finish the edge by serging, or sew along the edge with a straight stitch and pink 1/4 inch away. Steam the pad to shape and let it dry.
Hem a soft, crushable knit
If you’re sewing a soft knit without much body, topstitching the hem, especially with a twin needle, may result in tunneling and rippled edges, since knits stretch more on the cross-grain. My solution is to stabilize the hem with strips of fusible interfacing, which also anchor the hem during stitching. I prefer the results I get with two rows of topstitching rather than twin-needle stitching.
It’s easiest to stabilize the hems before assembling the garment.
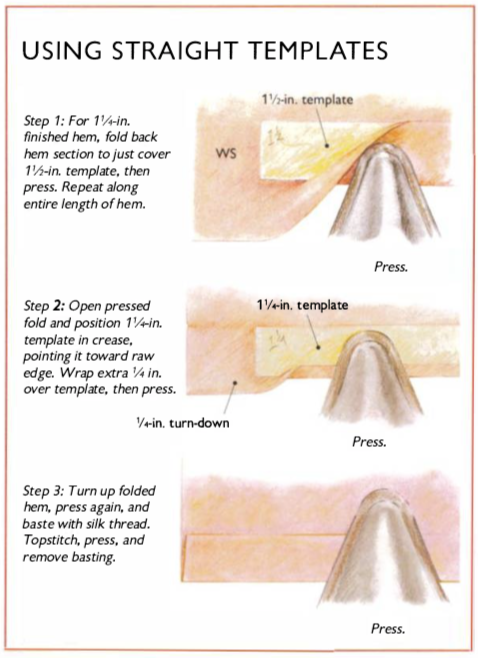
1. Prepare the hems by pressing them into place (I use an oak-tag template).
2. Cut 1/2-inch-wide strips of soft, all-bias knit fusible interfacing like Sof-Knit by HTC.
3. Sew or serge the right side of a strip to the wrong side of the hem edge, adhesive side is up.
4. After constructing the garment, fold the hem up, fuse it in place, and topstitch from the right side.
This article by Marcy Tilton was first published in Threads #73, Oct./Nov. 1997. It provided supplemental information to “A Primer on Sewing Knits” by Ann Person. Find out more about Marcy at MarcyTilton.com.


Log in or create an account to post a comment.
Sign up Log in