

Use Stay Tape to Stabilize a Foldover Neckline Finish

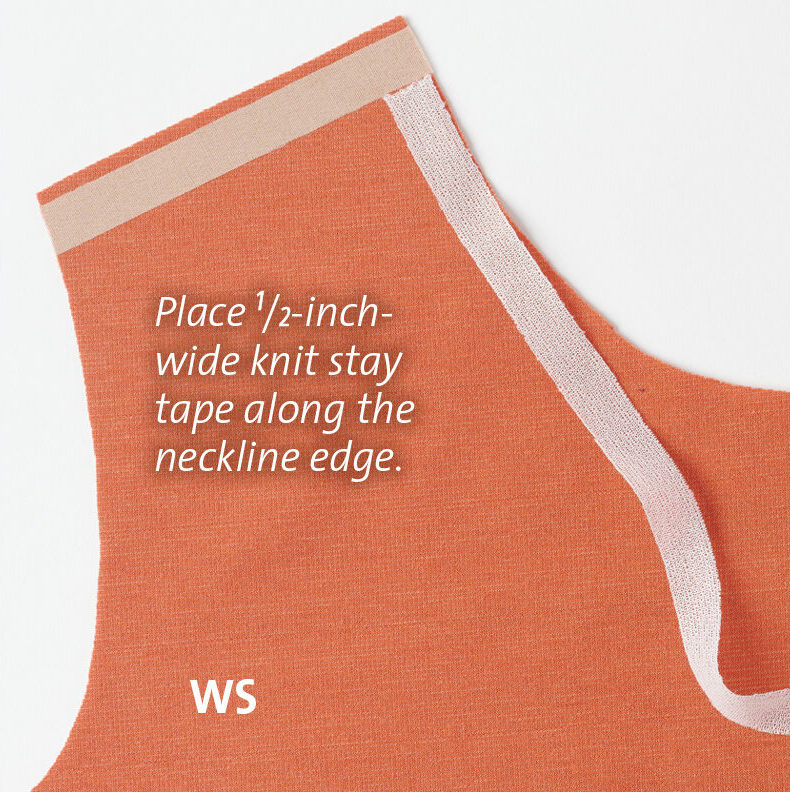
Stay tape adds stability to necklines, ensuring they do not ripple or gape. The 1/2-inch-wide fusible knit stay tape shown is lightweight and conforms to curves. It also has thermal memory, meaning that applying heat causes it to shrink back to shape after stitching.
French trim finish
1. Cut a trim strip. Make it 2-1/2 inches wide and 1-1/2 inches shorter than the neckline circumference. The French trim finish should not be more than 1/2-inch wide when complete. The strip is sufficient for that finished width or a narrower trim if you prefer.
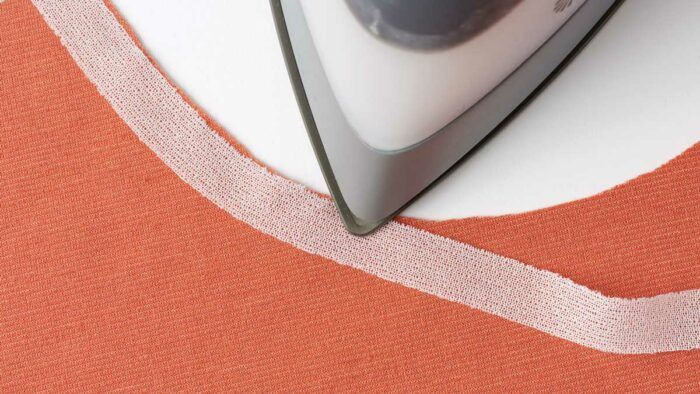
2. Place the garment wrong side up. Align 1/2-inch-wide knit stay tape, fusible side down, along the neckline edge. Use the iron tip to “baste” the stay tape in place.
|
|
|

Tap the hot iron tip along the fusible stay tape to affix it along the neckline.
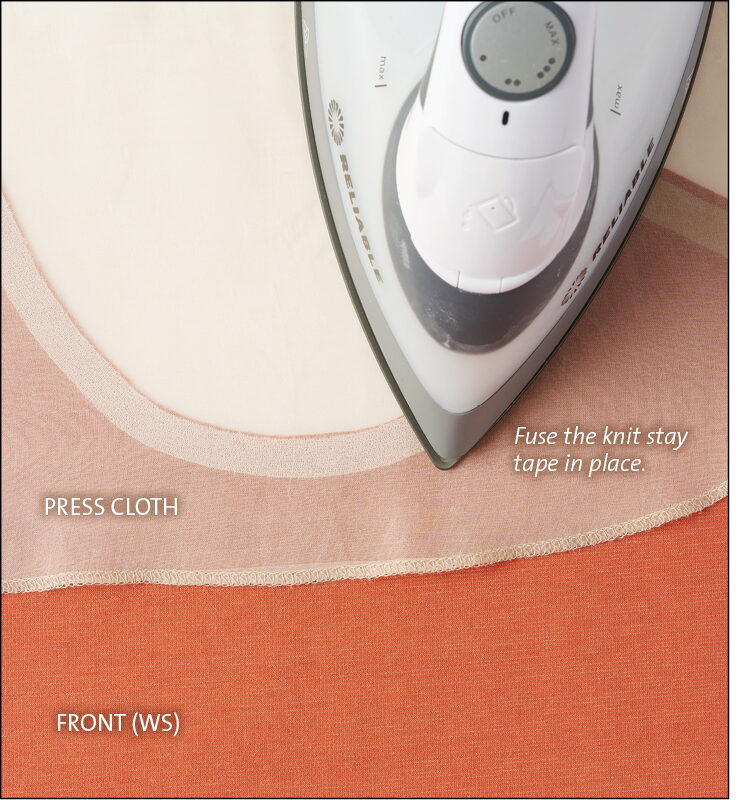
3. Cover the stay tape with a press cloth. Fuse it thoroughly in place along the neckline. Trim any excess stay tape after it has cooled.
4. Align the strip to the neckline edge, right sides together. Stitch the strip to the neckline with a seam allowance slightly greater than the stay-tape width, in this case 1/2 inch.

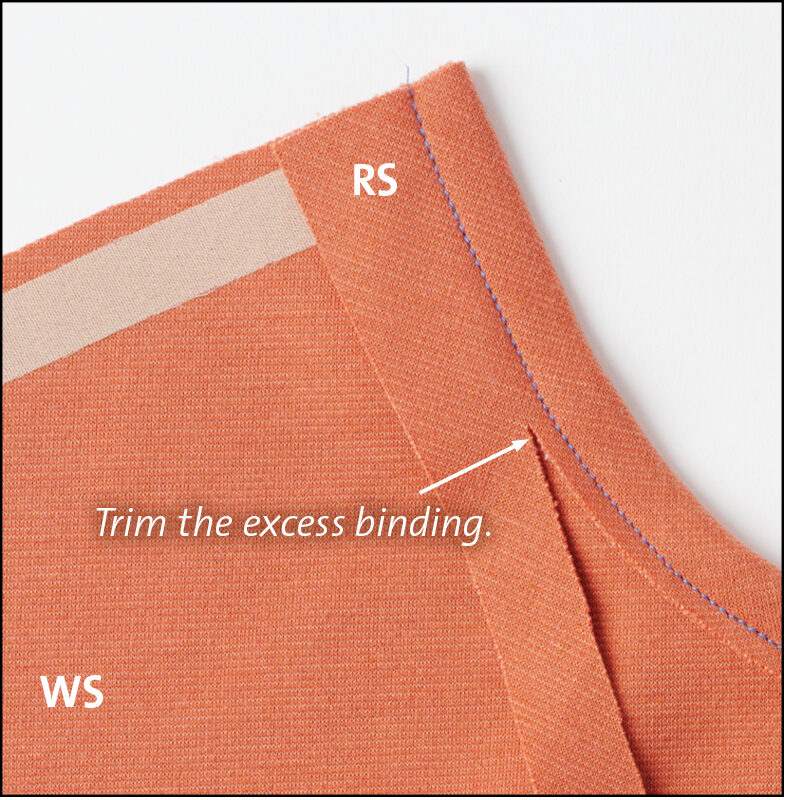
5. Wrap the trim over the neckline seam allowance to the wrong side. From the right side, stitch in the ditch with a straight stitch that is 3.0 mm or 3.5 mm long. Be sure to fold the strip evenly and catch it in the stitching on the wrong side. After stitching, trim the strip.
6. Block the neckline back…
Start your 14-day FREE trial to access this story.
Start your FREE trial today and get instant access to this article plus access to all Threads Insider content.
Start Your Free TrialAlready an Insider? Log in


Log in or become a member to post a comment.
Sign up Log in