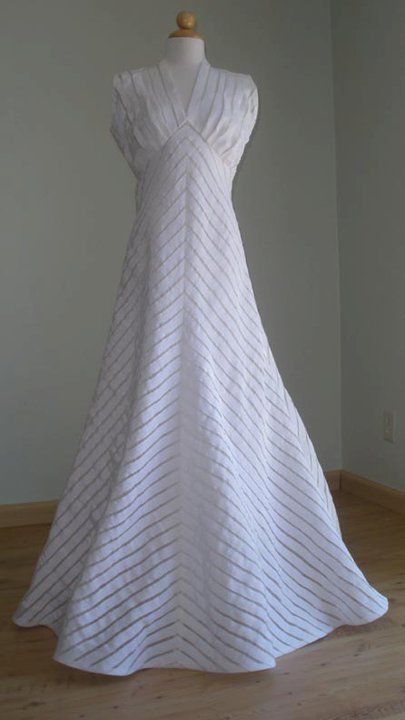
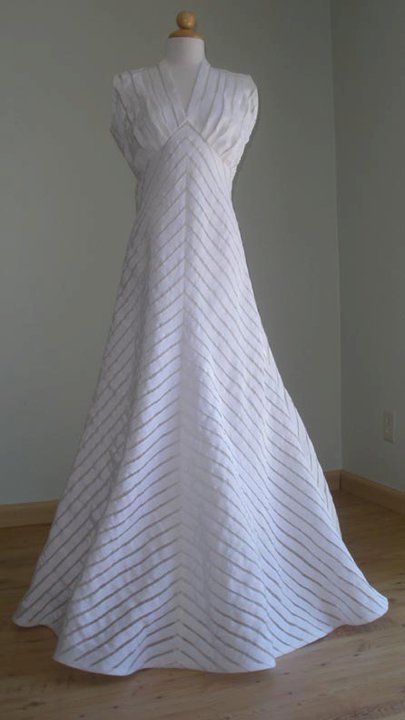
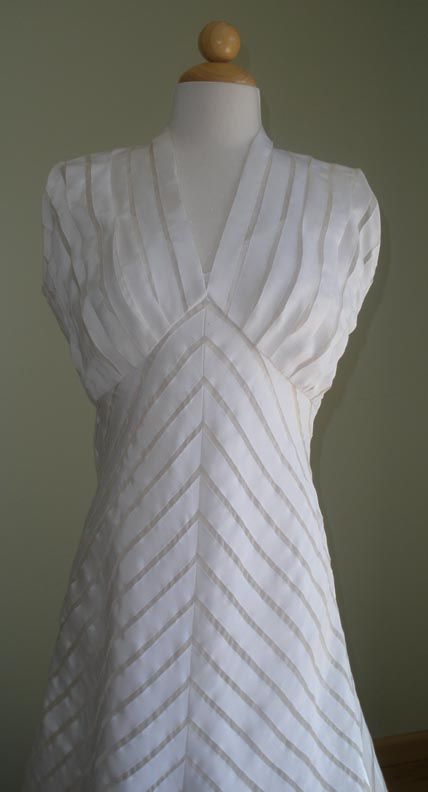
Front view of finished gown before a drycleaning was done to remove sizing in the petersham ribbon.
I finished the skirt hem with white 2" horsehair braid.
My focus this year of 2011 has been to tackle projects that I thought about or started sewing YEARS ago.
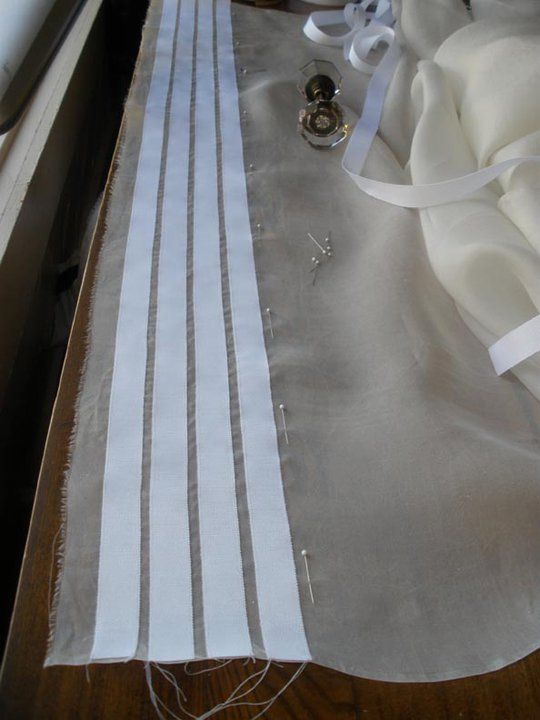
This project involved a personal interest in ‘making my own fabric’. In this case, I did so by stitching 7/8″ millinery petersham in rows spaced 1/4″ apart upon 45″ silk organza which I had pre-dyed with ‘Sparkling White’ Jacquard Lumiere paint diluted with water.
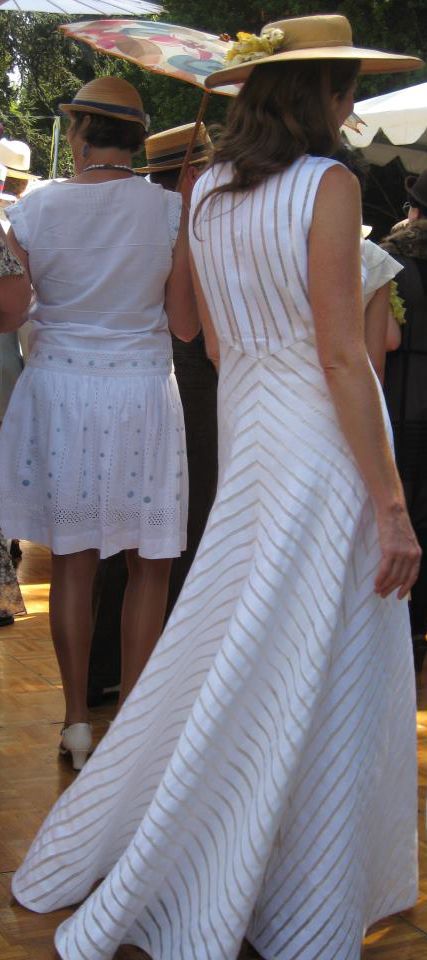
I modified a 1938 McCall frock pattern (link provided) to create the gown so that the skirt was in two pieces each front and back cut on a true bias, thus creating the chevron effect down the centers front and back.
I have dreamt of doing this project for 11 years and finally executed it so I could participate in the 2011 Art Deco Society of California’s Gatsby Summer Afternoon. I am so thrilled with the results!
All are welcome to see more detail and construction documentation on my Facebook album:



Beautiful work. How long did this take you to execute?
Thank you for the compliment eMMb, I did not 'clock' the entire project as it were, but I can tell you that placing and sewing each strip of ribbon on the organza took 10 minutes.
I used almost 250 yards of 7/8" rayon/cotton millinery petersham from JudithM.com and 5-1/2 yards of 45" net organza from ThaiSilks.com.
This is quite lovely. I adore the visual texture that the petersham provides against the silk. Well done!
This is exquisite! What a wonderful concept, beautifully stitched.
OUTSTANDING !!
karen trott
oh my lord, it looks fantastic!
could you help me by answering a very quick questionnaire? it's just so i gather some information for my school project, and i would really love to hear the opinions from you experienced artists! you can find it on readers closet, titled "questionnaire".
Thank you so much!
Wow! Quite impressive!
WOW!! Beautifully sewn, a true work of art.
Stunning! What a beautiful dress so wonderfully executed. You have to be proud! Well done!!
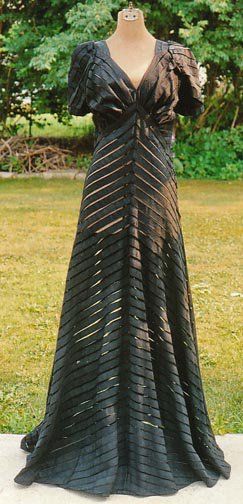
Can you tell if the black dress fabric came that way or was the ribbon added to the bobbinet in the same way you stitched your fabric? It's a lovely garment. Your patience in creating your dress is admirable. You must have the most exquisite wardrobe. Everything you make is gorgeous.
moushka,
The original gown was sewn in the same manner-ribbon stitched upon fabric first, then cut out. The difference is that a few strips of ribbon were applied after all construction stitching was complete, such as along the joining of the bodice/skirt and the strips over the shoulders. Thank you for your comments!
Wow! The work that went into this ... but you made your dream come true! The dress is stunning!!
eMMB,
Thank you for your compliment. I started sewing the ribbon across the cut of organza the end of April, 2011. I didn't clock how many hours total, but I spent May and into June bit-by-bit covering enough of the fabric until I had the amount needed to cut the dress. I then assembled the bodice pieces.
After returning from travel all of July, I cut and joined the skirt pieces, carefully matching the convergence at center front to get the perfect alignment between the right and left sides. I assembled and finished the dress over a couple weeks' time in August.