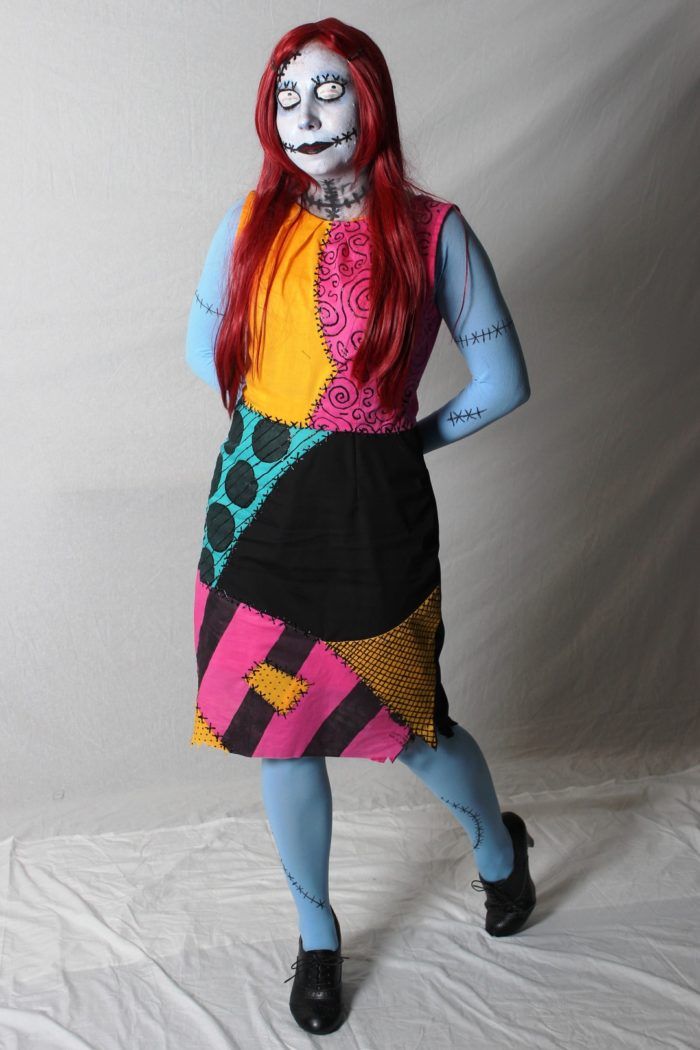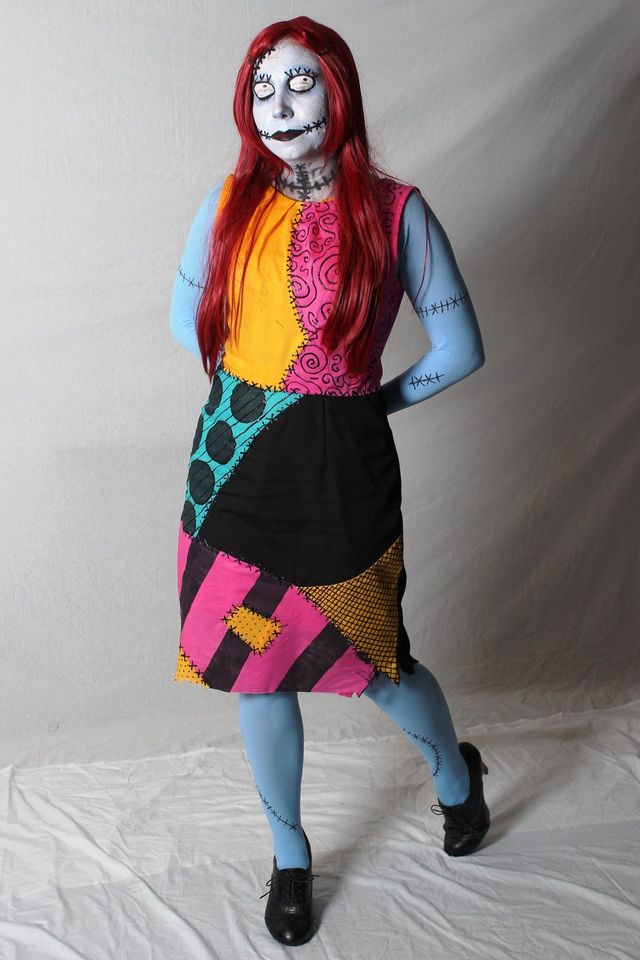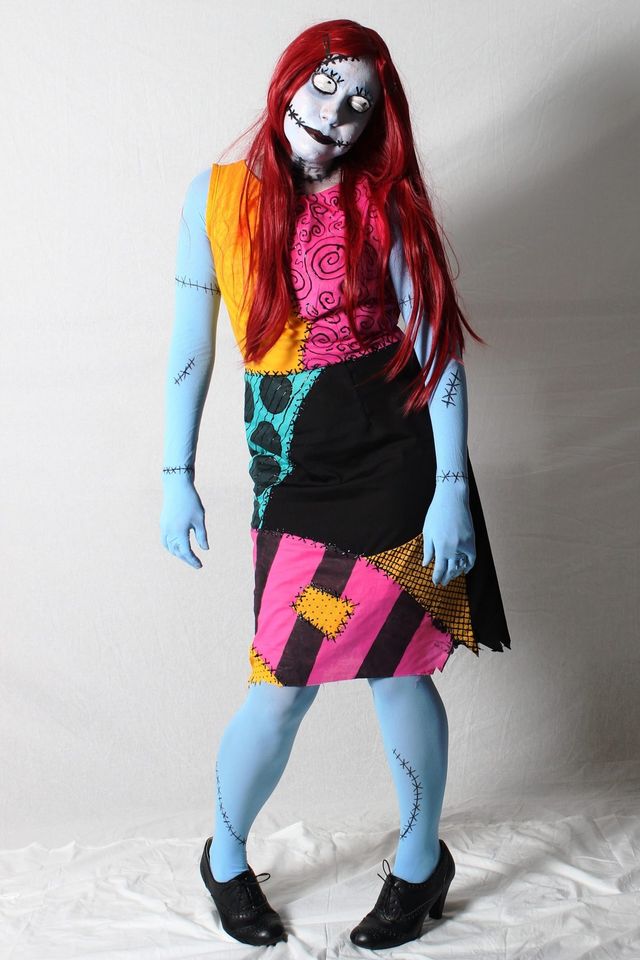
Ragdoll Sally from Tim Burton's The Nightmare Before Christmas - Classic Pose
We love the holidays at my job especially Halloween. So when we came up with an undead theme, I knew I had to make a Sally costume. Here’s what I did:
To create the patchwork dress:
I used 4 yards (1 each) of colored lightweight cotton fabric in neon pink, bright yellow, sea green, and black. Using large white butcher paper, I outlined a dress and broke it up into Sally’s patches which I then used to create my patchwork template. Using the template, I cut and stitched together all of the different colored patches into large patchwork swatches to be used with my dress pattern.
For my pattern, I chose to use a simple sleeveless dress pattern (New Look 6184) that I already had on hand. It was easy to cut and sew, and most importantly complied with corporate dress code, while still allowing me to easily incorporate my patchwork. I followed the pattern directions for cutting and sewing the dress with the only exception being that I used my patchwork swatches instead of a solid piece of fabric.
To Finish the Look:
Sally has a very distinct light blue skintone with stitches that I felt was entirely necessary for the overall look of the costume. To achieve the look, I used cream body paint (white, blue, and black) as well as 2 pairs of Sky Blue Nylon Tights that I found online (1 medium pair for my legs and 1 small pair for my arms).
To create Sally’s blue arms, I traced my hand on a piece of cardboard, cut it out, and after cutting the toe seam, stuck it inside the foot of a pair of inside-out tights. Using the cardboard as a guide, I did a very small zig zag stitch (think button holes) with a zipper foot around all of the fingers from the tip of the pinkie to the tip of the thumb. After removing the cardboard, while the tights were still inside out, I tried on the gloves, sealed the seams with clear nail polish, and cut the extra fabric off and repeated with the other side.
Next, I cut a 4 inch hole in the crotch of the tights, large enough to squeeze my head through when stretched. I stitched the seam of the hole using the same small zig zag stitch for the fingers and again sealed the seams with clear nail polish. Once complete, I was able to stick my head and arms through and had light blue skin from shoulder to fingertips!
To get the most accurate costume, I chose to use solid colored fabric and tights and paint the pattern detail on using black fabric paint (which I did by freehand using a reference picture).
I finished the costume with an 18″ long apple red wig, black oxford heels, and a painted on grin.
While the whole costume took much longer than expected (specifically the detailed swirls, stripes, and spots) I received many compliments for it and am quite proud of how it all turned out. I’ll be keeping this one in my closet in case I have another chance to wear it!


Log in or create an account to post a comment.
Sign up Log in