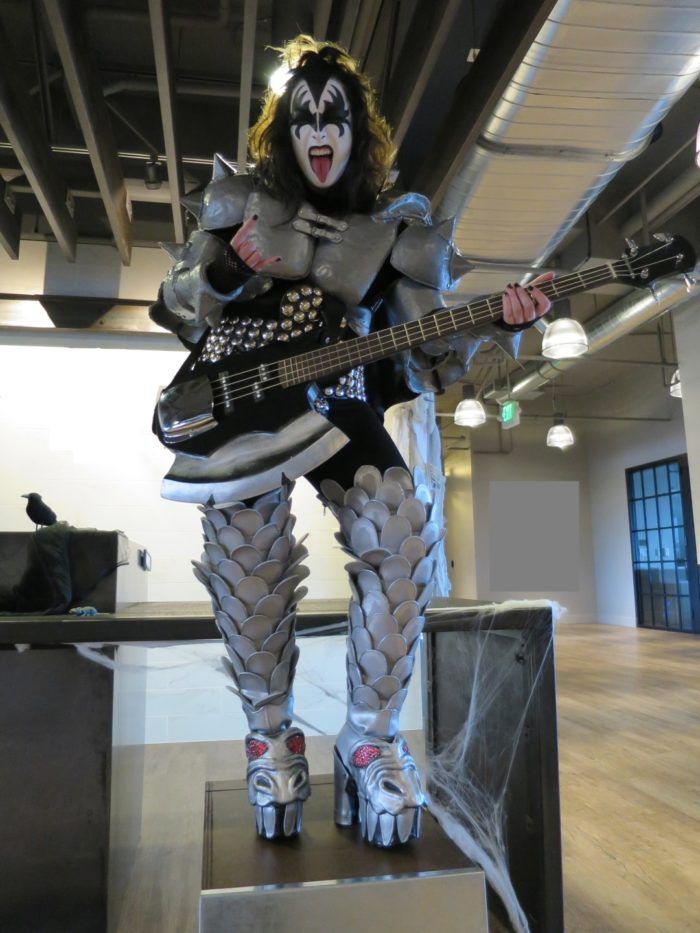
This costume was requested by my boss who is an extreme Halloween enuthsiast!
After thoroughly studying Gene Simmons’s 1976 Demon Costume, the very first thing I did was draw and cut some patterns for every piece of armor the boots and codpiece and try them on my boss.
The leg Portion of the boots
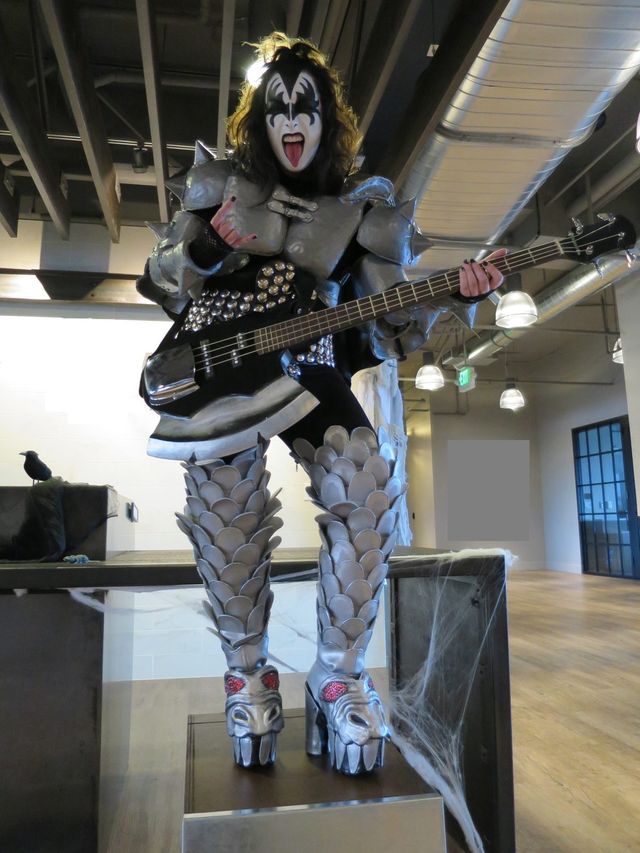
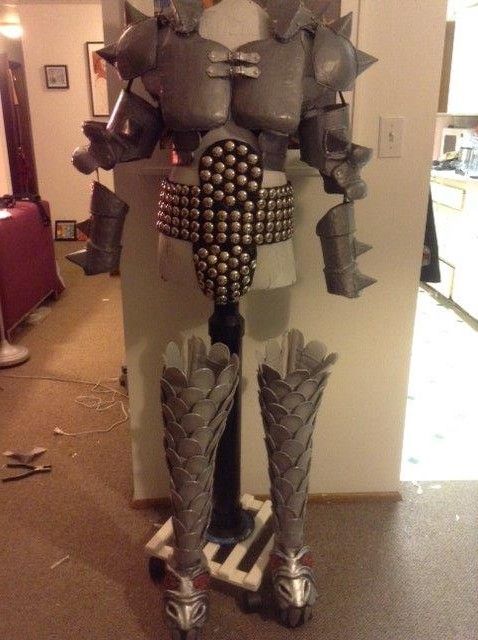
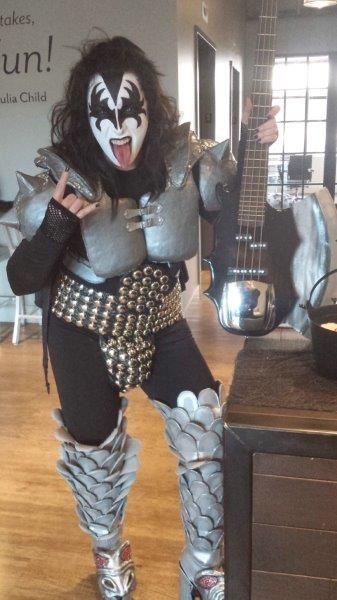
-The Boots are made from grey upholstery vinyl. For the boots I individually cut 180 scale then stitched on a felt backing, I then painted the edges with silver acrylic paint and added an outline of Metallic puff paint. With some extra encouragement I was able to push the scales through my machine as I sewed them all together. (The part of the boot that goes up to mid-thigh is a separate piece from the shoes) I enclosed the end with Grey bias which I also painted sliver. I then added a 22 inch separating zipper and they were done!
The Waistband and Codpiece
-The codpiece/waistband is black vinyl lined with heavy interfacing. In order to keep the Circular part up top stand up straight, I cut up some thin plastic that was part of binder I had. I put that into the turned fabric before I closed the end. It is COVERED in nearly 200 1″ Dome studs I punched through and secured with some pliers. I added grommets to the back so the piece laces closed. Finally I hand stitched some black felt on the back so it looks clean and finished.
The Armor
Making the armor was a lengthy process.
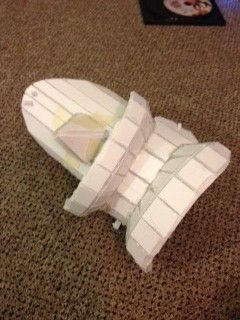
1) Using the patterns I made I first cut them out of foam core board. Then I cut lines through most of the board (While not cutting clean through) 1 inch apart. I used lots masking tape to attach the ends together, then filled every crevice with hot glue. The spikes are also made of foam core I glued together in a pyramid shape. The sections that are not geometric, like the ridges that go over the shoulders, are shaped from an air drying clay.
2) Once dry I covered each part in paper Mache. Then I used fast Mache clay to build them up. After they dry completely. I sanded them as smooth as I could get them.
3)There are lots of little holes here and there. So next I covered the whole thing in spackle smoothing it with a flexible palate knife. Again, I waited for it to dry and sanded some more.
4)As primer I painted each piece with black gesso. And because Gene has rough edges (looks a little like soldering) on his armor. I outlined each piece with my glue gun.
5)Then used a hammered metallic spray paint.
6)I lined the pieces with foam or craft foam depending on the how they needed to fit with lot and lots of glue.
7)I had to keep in mind from the beginning how all the sections would come together. so I made sure to punch holes in the appropriate places and put chopsticks in the holes to make sure they didn’t get filled with Fast Mache/spackle etc.
8) The scariest part was attaching them all together. I used left over black Vinyl cut into strips and brads (aka Paper fasteners). I punched holes in the vinyl and put the brad through first the armor piece then the vinyl. Then I spread the wings of the brad. I completely secure it (and make sure the metal doesn’t scratch her) I put hot glue in the hole of the armor and covered the brad wings with felt (attached with glue) on the inside of the armor.
The back piece of the armor is made of vinyl. (primed and painted with the same gesso and spray paint used on the other pieces) I attached some D rings to top and sides that lined up with strapping from the breast plate section of armor. Also from the back piece are straps and buckles that attach the arms armor.
The shoes/dragon faces
-She bought some ankle length platform boots. After I drafted a pattern that would encase the whole shoe I made two separate pieces for each shoe. One covered the whole platform with Vinyl. To that I added the teeth (again cut from vinyl selvages) and painted them and the heel with the sliver acrylic. They were very fitted so I eased them onto the shoe and hand stitched elastic across the sole to so they would wrap around the bottom.
– Next I cut a spat-like part and added snaps at the back so she could put this part on after she tied her shoes. I painted this part silver as well and added some puff paint to the top so it would transition well with the upper booth portion
– The dragon faces are probably my favorite bit. I used the same technique as with the armor. I cut and slashed the foam core then shaped it appropriately. They I used air drying clay to shape the face. I covered it in paper Mache (This time I was made sure each paper strip was torn and not cut so it contoured better to the shape without make those little peaks) After several layers of gesso. I finally painted it all with the sliver acrylic. I individually glued on the red rhinestones for the eyes. With some left over foam in between I glued the faces onto the spats.
That’s it!
(the beautiful axe guitar was made by her talented father who make guitars for a living)



Holy Cow, this is amazing! Seriously, how has no one commented on this yet? Start to finish how long would you say this took? This level of detail is insane. Do you have a blog? Or maybe you could start a seasonal mini blog within Threads for costume-making?