

Basics of Measuring, Sewing, and Altering Pants Patterns
Everything you need to know to select, custom-fit, and finish a pants pattern you’ll love

Start with a good pattern
Over the many years I’ve been teaching women’s pants-fitting workshops, two features have proven themselves keys to success when choosing patterns, no matter what the style: You need a pattern with a properly shaped crotch curve, and you need that pattern to be available in a wide enough size range to easily accommodate realistic hip and tummy measurements, without the legs becoming too wide. It’s a big help if the pattern is multisized, too, for easy blending between sizes. For years, the only patterns I knew of with a crotch curve consistently appropriate for the female figure were those produced by Burda; and to this day, all Burda pants patterns include this curve (shown here in red) compared to standard U.S. patterns (shown in purple). Recently, I joined forces with Vogue Patterns to create Today’s Fit patterns, which include pants patterns in all of the styles shown here, with hip measurements from 341⁄2 in. to 57 in., extra room at the tummy, a multisized range from A through J, and an excellent crotch curve. You can, of course, achieve similar results by altering existing patterns if you’ve got the time and patience.
Measuring for pants
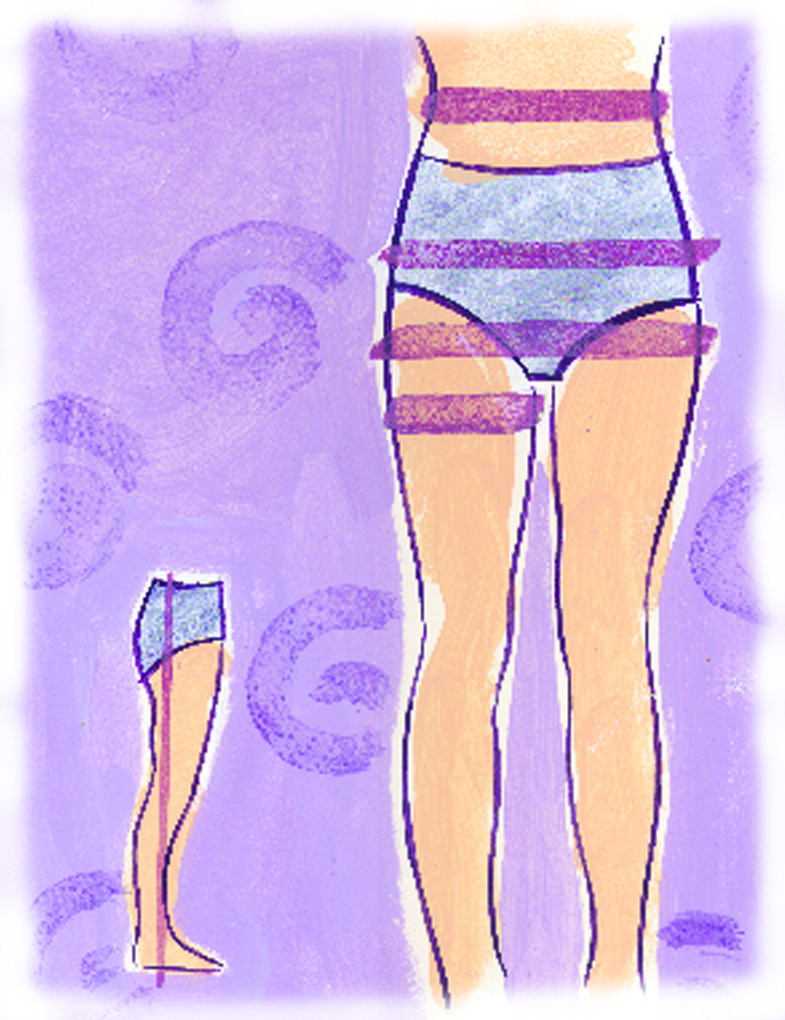
Circumferences: Wearing only underwear, measure waist, high hip, full hip, and upper leg around its fullest part (shown at right).
Crotch lengths: Place narrow belt or elastic around your waist. Tie small weight (key ring works well) in center of 30-in.-long piece of string. Place string between legs and slide ends under belt or elastic at center front and center back. Adjust ends so that weight is at center of body between legs, but shifted about 1⁄2 in. toward front of body; and pull down on weight to position it about 1⁄2 in. away from body.…
Start your 14-day FREE trial to access this story.
Start your FREE trial today and get instant access to this article plus access to all Threads Insider content.
Start Your Free TrialAlready an Insider? Log in


Log in or become a member to post a comment.
Sign up Log in