

Utility Stitch Guide | Essential Techniques
Rely on this core selection for garment construction
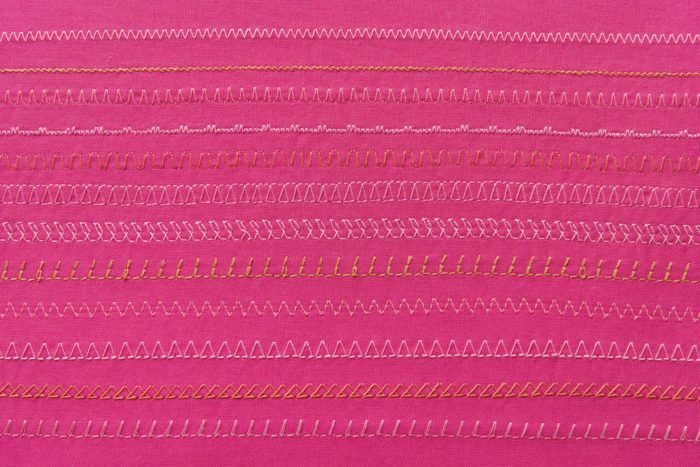
When I set out to write about utility stitches, I fell down the proverbial rabbit hole. There are two fundamental utility stitches: the straight stitch and the zigzag stitch. Those two stitches pair up to present wonderful possibilities by stepping forward, backward, and sideways at different lengths, widths, and angles to offer you hundreds of options to improve your sewing.
The icon used to identify a stitch on the machine or in its manual is not consistent among sewing machine manufacturers. Some stitches don’t resemble their icon, so you’ll need to test stitches to find out how they really look when sewn. Machines have a default setting for each utility stitch that determines the tension, stitch length, and width. The default setting may not be your favorite version. Experiment to find your preferences. The needle and presser foot used, as well as the thread fiber and weight, make a huge difference in how a stitch performs. Stitch out samples with default and adjusted settings and keep a record of your work so it is easy to repeat. There are straight stitch types, zigzag variations, and edge finishing options.
You may need to provide support to the stitches in the form of fusible or wash-away stabilizer. This will help prevent fabric tunneling, especially when making wide stitches.
For a pdf of the full article by Judith Neukam, as published in Threads #203, click the link below.
Start your 14-day FREE trial to access this story.
Start your FREE trial today and get instant access to this article plus access to all Threads Insider content.
Start Your Free TrialAlready an Insider? Log in


Log in or become a member to post a comment.
Sign up Log in