How to Hem Knits Faster with Stay Tape

The essential stay tape for hemming knits is a lightweight, double-sided fusible adhesive product with a paper backing. Do not use it on stretch lace or fabrics with open areas because the adhesive could seep through. It is available in different widths; the 1-inch-wide variety is a good choice to hem most knit garments.

Topstitched hem
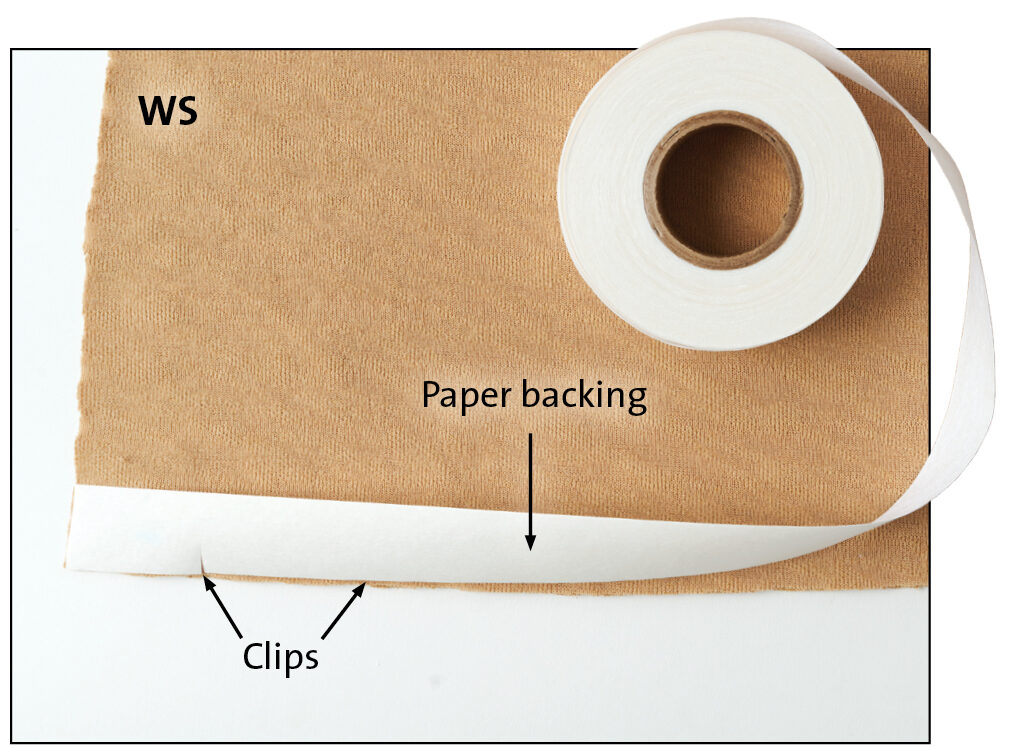
1. Prepare the hem allowance. Adjust it to 1 inch wide. Then clip the stay tape to fit the hem curve. Most hemlines are slightly curved even when they look straight. With the garment’s wrong side up, place the stay tape, fusible side down, just within the fabric’s cut edge. Apply 5 seconds of heat and steam to the strip to melt the adhesive.

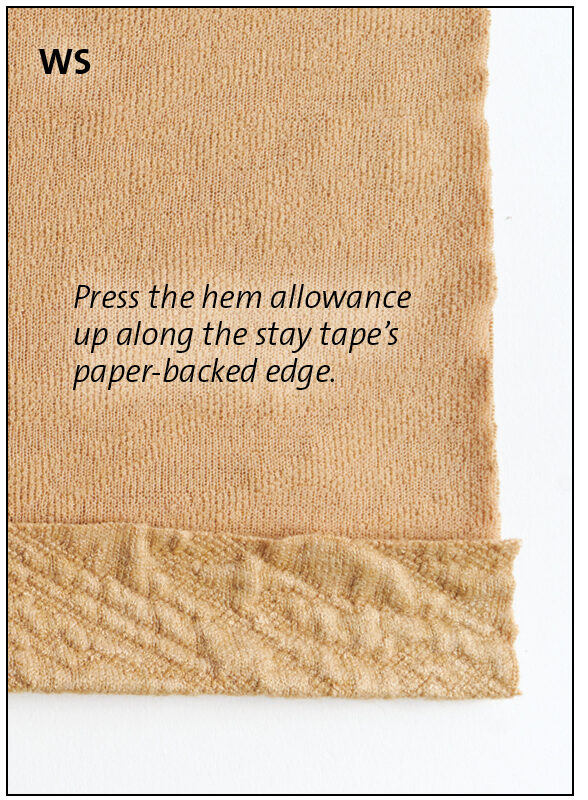
2. While the paper backing is still on the stay tape, make the hemline crease. The paper makes it easy to fold up the hem allowance at an even depth, no measuring required. Press the crease and allow the fabric and paper to cool. Peel the backing off the adhesive.

3. Fuse the hem allowance up along the established crease. With a curved hemline, a few small folds may form in the allowance, but they should be minimal. Use a press cloth and apply steam to melt all the adhesive.
4. Stitch the hem to secure. On the sewing machine, use a narrow zigzag with a 1.0 mm width and 2.5 mm length so the hem has a little give. You can alternatively use a cover stitch, which has plenty of stretch, covers the hem allowance edge within the garment, and utilizes differential…
Start your 14-day FREE trial to access this story.
Start your FREE trial today and get instant access to this article plus access to all Threads Insider content.
Start Your Free TrialAlready an Insider? Log in


Log in or become a member to post a comment.
Sign up Log in