


Watch this demonstration on how to serge seam allowances together. Serging works on nearly any fabric. A serger trims and overlocks the seam allowances separately or together as it stitches. This information is based on Threads author Sandra Miller’s simple techniques for sewing common seam finishes, which are detailed in “Seam Finishes, Part 1” Threads #165 (Feb./March 2013) and in “Seam Finishes, Part 2” Threads #166 (April/May 2013).
For Insider members, check out a tutorial post on four additional methods for sewing clean-finished seams: Learn the Four Fastest Flat-Fell Seams.
This video tutorial is part of the Threads Essential Techniques series.
Don’t miss Sandra’s techniques for sewing other common seam finishes. Sandra is a sewing teacher, pattern designer and tester for Cutting Line Designs, and she has authored many articles for Threads.
 How to Sew a Single-Fold, Clean-Finish Seam
This method works well with lightweight fabrics that do not fray much.
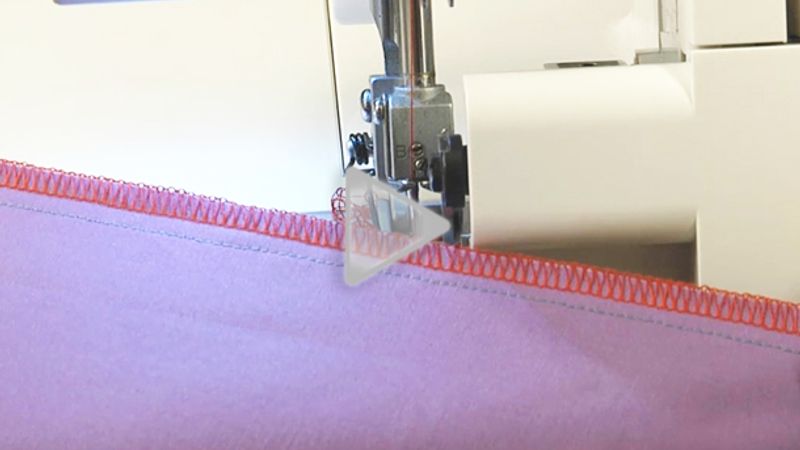
 How to Stitch Together Seam Allowances
This finish is useful when working with knits to keep edges flat and crisp. Try this method to achieve great-looking and durable seam allowances.
How to Sew a French Seam Finish
French seams work best on sheer, lightweight fabrics. The narrower you make them, the more professional they look. Learn how to sew a French seam with this quick video tutorial.
For more in-depth sewing tutorials hosted by Sandra, see these Taunton Press products:
Sewing Essentials: The Perfect Blouse


LUV these tutorials!
This one showed the sewing machine and serger working together, sharing screen time, for a stellar result. So often, the serger is treated as a stand alone, not a co-star.
Evamarie, you need to request a cigar and a studio in Hollywood - you have vision. Please bring Threads to the big screen, pronto.
My experience as teacher and designer is that well-made garment wouldn't have both seams sewn together. This gives too much bulk to make the seam lay flat. It is done in the ready to wear industry because it takes less time through the machine and saves money. The only place I could see this done in well-made garments would be if designer wants the seams to be top stitched, ie on the back yoke of jeans or on the inside legs(rather than a flat felled seam)
These instructions really need to be done in higher contrasting thread and fabric. I'm having a hard time seeing exactly what you did. Not everyone's eyes are perfect.
I fail to see the need for a serger in any of these videos. If your machine was made after 1990 in all liklihood you have one ore more overcast stitches on it. Together with a 'G' foot you can do any of those things. If you have an edgecutting attachment the need for a serger is reduced even further.
The only purpose or advantage a serger has is its simultaneous sew/overcast/cut ability. If you're not going to use it that way why spend the money?
Very nice tutorial..