Draft a Sleeve Block

Knit tops are a versatile, comfortable wardrobe staple—but if they don’t fit correctly, they can look sloppy or cheap. A too-loose sleeve and overlarge armhole create silhouette-obscuring folds. A too-tight sleeve isn’t especially flattering for most women and can feel restrictive to wear. For the best fit, make your own knit bodice and sleeve blocks, so you can design any garment style you like.
In Threads no. 186, Aug./Sept. 2016, I explained how to drape a knit bodice. Now, I’ll teach you how to draft a custom sleeve pattern that can be used as is for a simple, close-fitting long sleeve or as the basis for other styles. This process is easy and fast—and it’s the first step to creating a wardrobe of knit tops that look and feel wonderful.
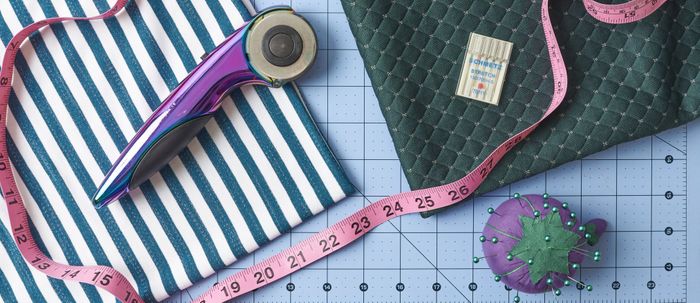
You’ll need: 1/8-inch-wide art tape for marking the body, a tape measure, large sheets of pattern paper, curved and straight rulers, pencils and markers, scissors, and transparent tape. Find a helper to take measurements, then use these measurements to draft your pattern. Let’s get started.
Mark and measure the body
The subject should wear a close-fitting garment, such as a T-shirt or tank top. Apply 1⁄8-inch-wide art tape or draping tape to mark important lines and junctions on the body, then measure.
Apply tape
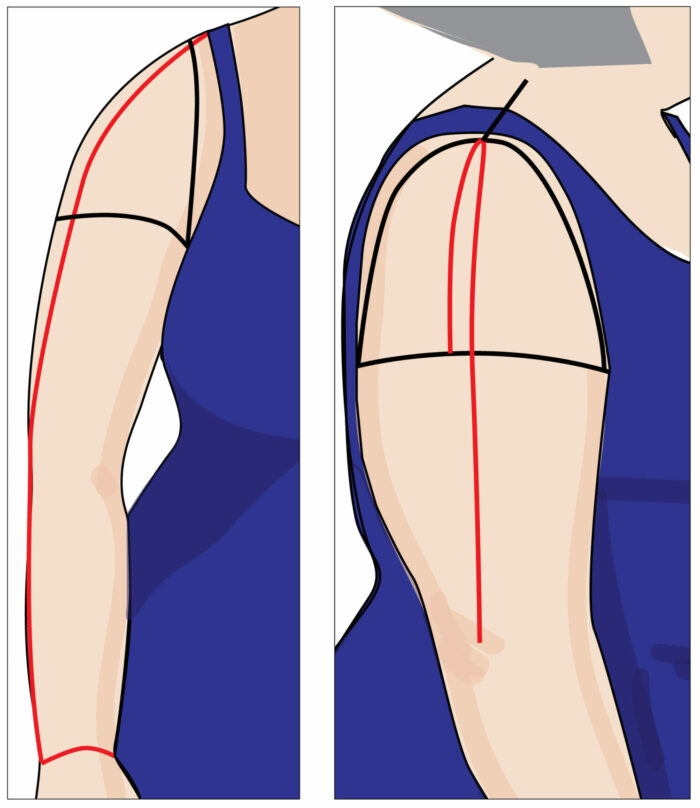
Place tape atop the shoulder to mark the shoulder seam. Extend it from the neck base to the “hinge” where the arm joins the torso.
Use tape to define the location of a traditional set-in sleeve’s armhole seamline. Begin taping at the shoulder point, and continue along the front and back underarm creases, so the tapes meet at the underarm.
Tape the high biceps at underarm level. Keep this line parallel to the floor.

Start your 14-day FREE trial to access this story.
Start your FREE trial today and get instant access to this article plus access to all Threads Insider content.
Start Your Free TrialAlready an Insider? Log in


I have been looking for two patterns that were in your magazine Sept #186 andFeb and March#189 and can't get either. I love this magazine but I'm tiring of looking for something this
long. Don't think iam going to renew this time either!
Thank you for nothing.
Maxine
Symmetrical sleevecaps aren't the best solution even with knits as can be seen in the pictures. On the front there is too much fabric near the armpit.
It's better to reshape the sleevecap. Take away some fabric from the front and add it to the back of the sleevecap. In other words N1 should be nearer to N, O1 more distant from O while L1 should be a lot more distant from L and M1 nearer to M.