

Darts Build Shape into a Garment
Mark accurately, stitch carefully, and press gently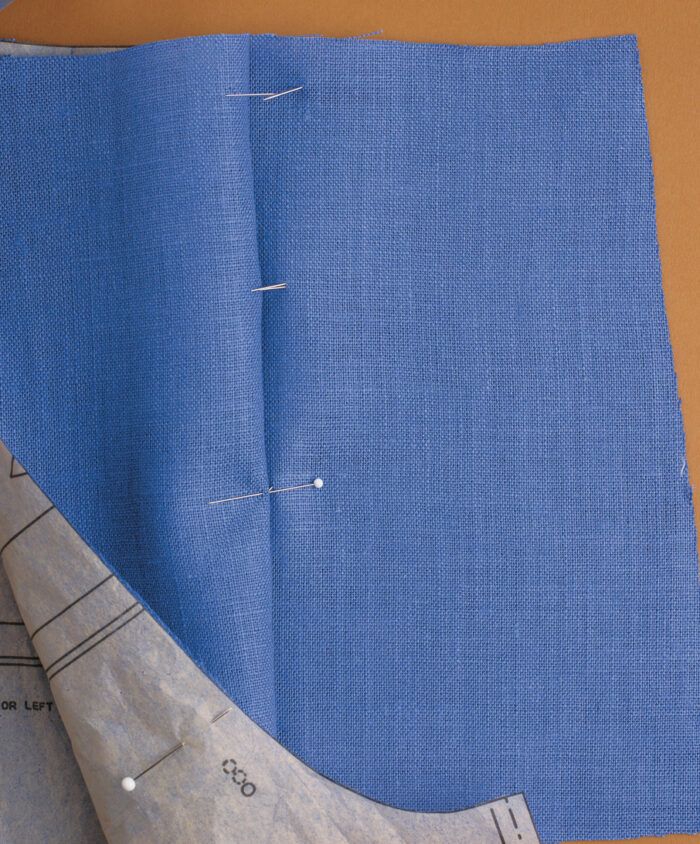
A dart is a long tuck that narrows to a point at one or both ends to build shape into a flat piece of fabric. Seemingly a simple matter, darts are important for fit and style. It’s easy to achieve perfect darts that shape the bust, hips, waist, and back of a garment, provided you remember to mark accurately, stitch carefully, and press gently. I’ll discuss the basics of sewing beautiful darts. First, let’s look briefly at how darts should fit.
The look of well-fitting darts

Well-fitting darts should point to, and end slightly before, the fullest part of the body. To check for placement and fit, pin-fit the pattern before cutting the fabric by pinning it along the darts and seamlines. Then “try it on” to check the position, length, and shape of the darts. (For more on pin-fitting, see “Basics: Tissue- and Pin-Fitting,” Threads #65, pp. 16–18.)
Darts can be straight, concave in shape—with legs that curve inward, or convex—with outward-curving legs. If you need to add room in the dart area of your garment, a concave dart takes up less fabric and adds needed fullness; conversely, a convex dart removes excess fullness for a closer fit. Making a dart slightly longer or shorter may also be necessary to match your body’s shape.
Transfer darts accurately from pattern to fabric
Mark darts with tracing paper, marking pencil, or tailor’s tacks made with thread or pins. Fast and easy to work with, tracing paper and marking pencils should be used on the fabric’s wrong side only and avoided on sheer fabrics, since they can leave permanent marks on the right side.
When using a tracing wheel, use a ruler as a guide to trace the lines of a straight dart, and a French curve as a guide for curved darts.
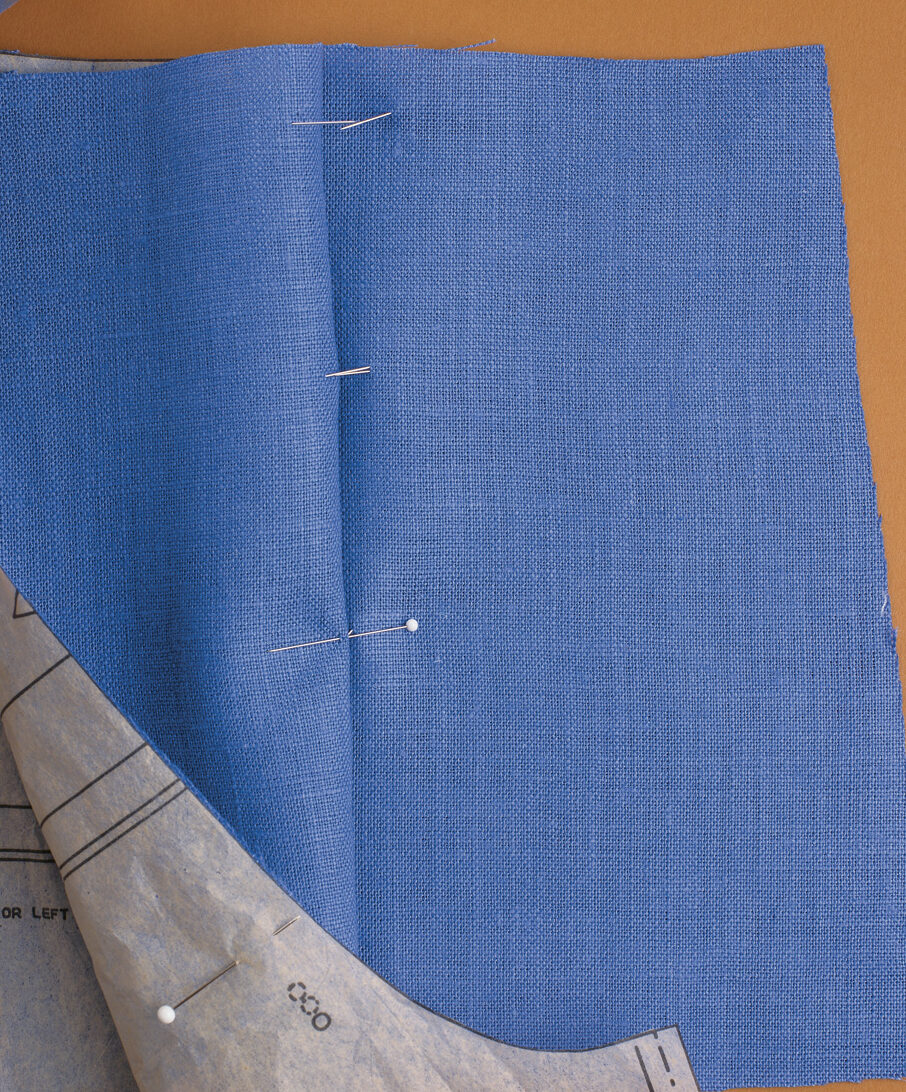
If you use a marking pencil, cut the garment piece and, before removing the pattern tissue, stick a pin through the pattern and
both layers of fabric at each dot along the dart. Lift the pattern piece and place a small mark on the wrong side of each layer of fabric at the point where the pin comes through.
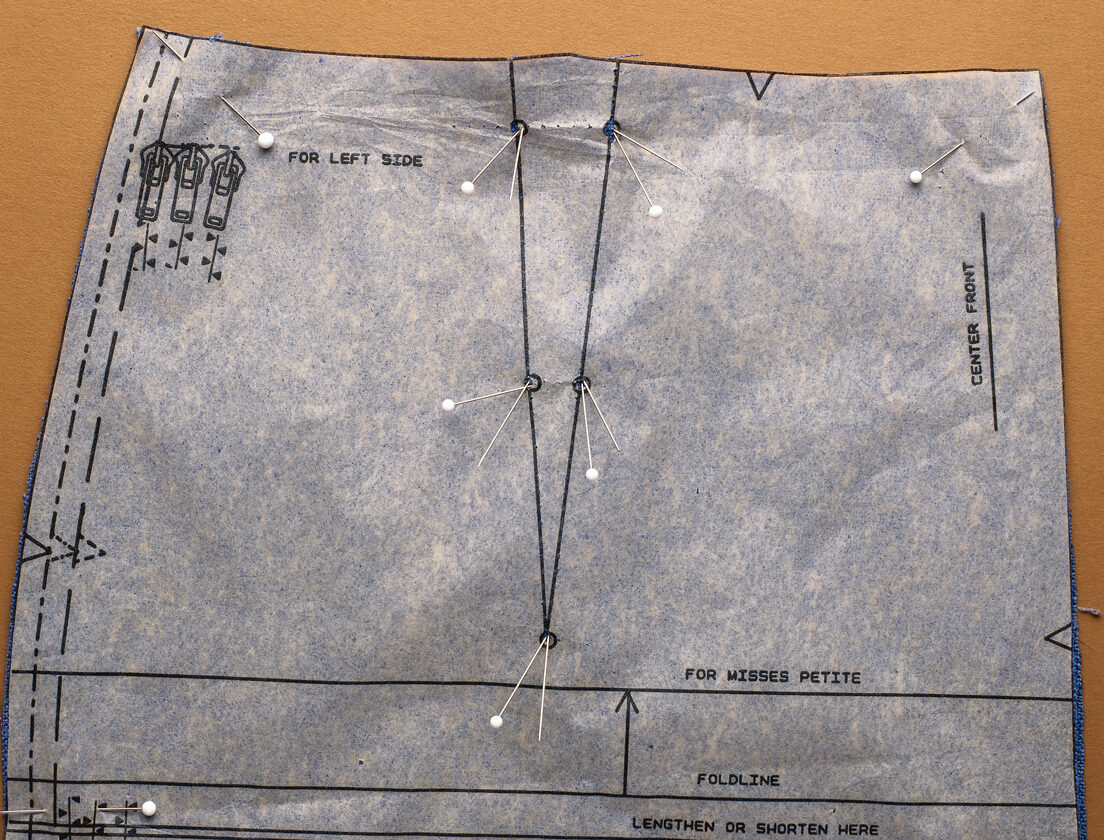
For tailor’s tacks, the procedure is similar, but marks are made with thread stitches or pins (use a thread color that’s visible and that won’t bleed) rather than with a pencil. For thread tacks, take two 1/8-inch stitches on each dot of the dart using a long, doubled strand of thread. Leave a 1-inch loop between stitches and long threads on either end. Snip the loop, remove the pattern piece, and separate the fabric layers, snipping the threads between layers.
Tailor’s tacks made with pins require a little practice, but they transfer darts accurately and quickly, without leaving permanent mark on the fabric.
|
|
|
Stitch perfect darts
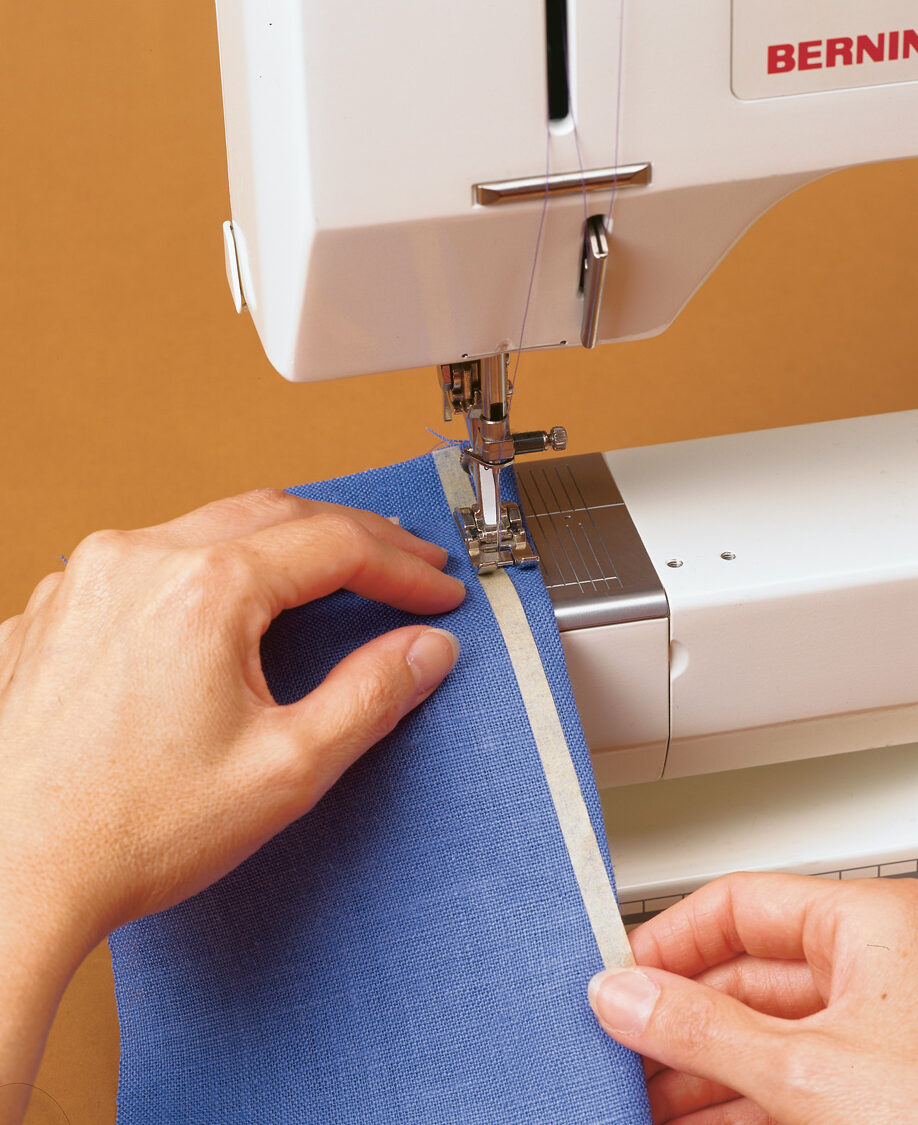
Masking tape guide
Use 1/4-inch-wide masking tape as a guide to stitch curved or straight darts that are well tapered at the point. Be sure to remove the tape as soon as the dart is completed so that the adhesive doesn’t remain on the fabric.
|
|
|
Stitch an open-ended dart
When stitching an open-ended dart at a seam or edge, begin at the wide end, backstitching at the seamline, then stitch to the point and off the fold. Don’t backstitch at the point; rather, leave long thread ends and tie them together in a tailor’s knot (see the top drawing at left) at the dart’s end.
Stitch a double-ended dart
To stitch a double-ended dart, sew from the middle of the dart to one point. Then flip the garment to the other side so you can again sew from mid-dart to the other end, overlapping the stitches in the middle, leaving long thread ends, and knotting at each point.
Darts in sheer fabrics
If you’re sewing darts in sheer fabrics, or when darts are sewn on the right side of a garment for a design detail, you can eliminate the thread knot at the dart end by stitching with one continuous thread. To do this, pull your bobbin thread up through the needle plate and thread it through the needle from back to front (the reverse of normal threading). Then continue to thread the machine in reverse to the thread spool and wind enough of the bobbin thread around the spool to stitch the dart. Then stitch the dart from the point to the wide area.
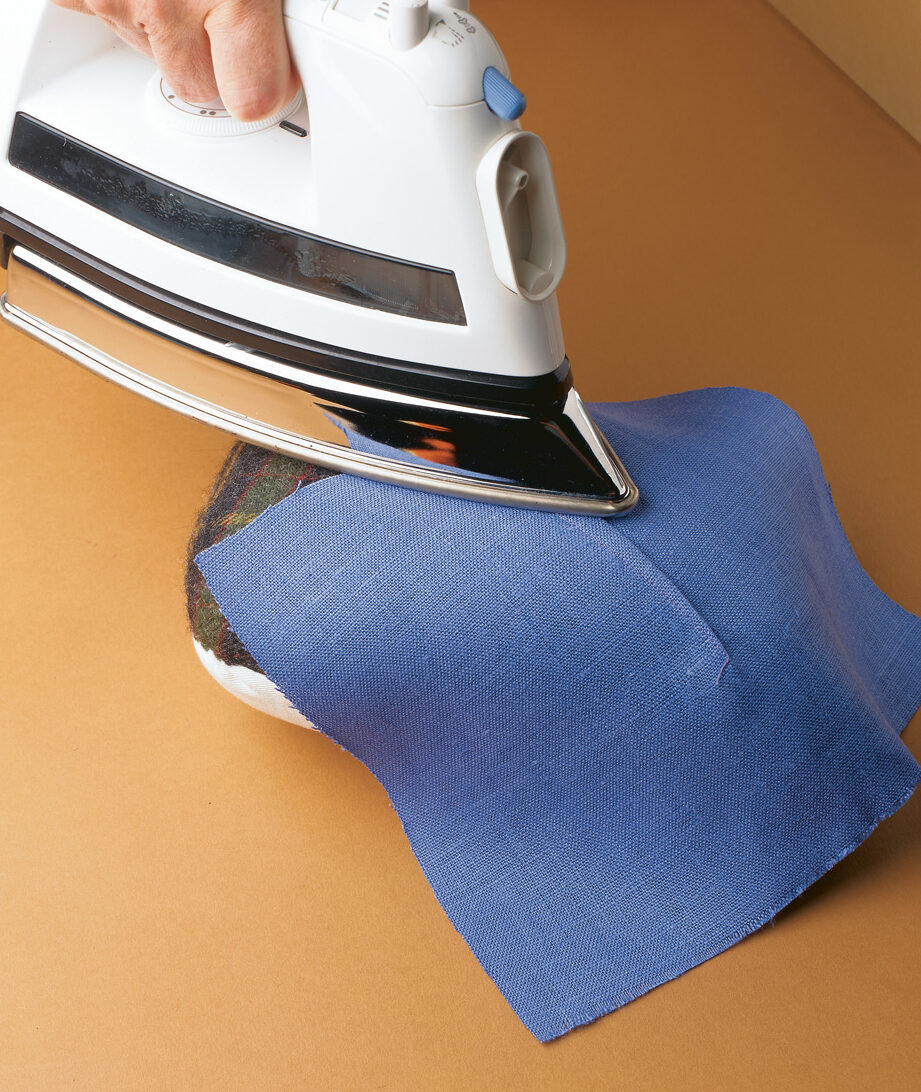
Pressing is critical
Press stitched darts first on each side, just to the end of the dart, so you don’t crease your fabric beyond the dart point. Then press to one side (as indicated in your pattern) over a tailor’s ham to retain the curved shape (see the photo at right, above). To prevent the dart’s outline from showing on the right side, insert a piece of heavy paper between the dart and the garment while pressing. Turn the garment to the right side and press again, checking to make sure the point blends smoothly into the rest of the garment. Use a press cloth, if your fabric requires it, when pressing from the right side. Follow these steps and you’ll have the beautiful, smooth darts that are so important to the fit and look of your garment.
Author Shirley Smith sews beautiful darts in White Salmon, Washington. This article first appeared in the “Basics” department in Threads #79, Oct./Nov. 1998.
Photos: Sloan Howard. Illustrations: Karen Meyer.
View PDF


Log in or create an account to post a comment.
Sign up Log in