

Make this fabulous quilt using denim and cotton fabrics. You can purchase new fabrics for the quilt, or recycle old jeans and cotton shirts and dresses for your fabrics. The quilt has no backing and no batting, so it’s quicker to make than a traditional quilt. I used cotton fabric scraps that were left from other articles in the issue, and I arranged them in an ombré layout which gives the quilt a modern appearance, and allows you to use lots of fabrics but still look organized.
The Denim Frames the Cotton
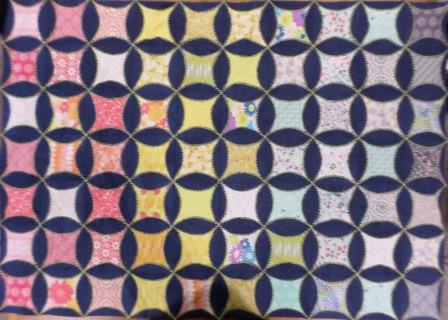
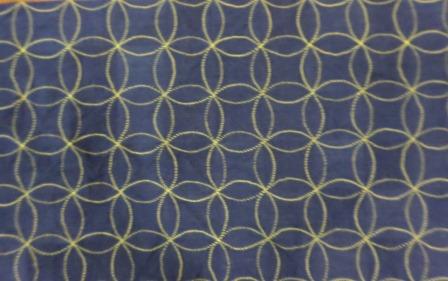
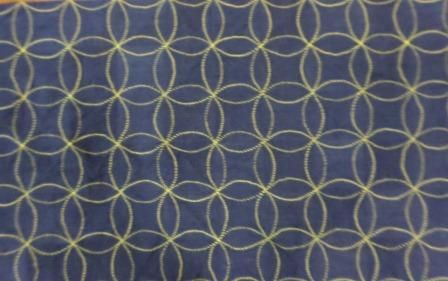
To make the quilt you need an equal number of denim circles and cotton squares. How many you start with depends on the finished size you desire. The denim circles are folded and stitched to form frames around the cotton squares. The decorative stitching that creates the frames, can be seen from the wrong side and results in a fabulous quilt on both sides.
The Finished Quilt
Here’s the front and back of the finished quilt:
Tweak As You Plan
For the purposes of this web article, I’ll work with 35 squares instead of 70 (as in the article) to make the squares easier to see in the photos. I’ve found it helpful to cut several spare squares to enable adjustments to the quilt design until the arrangement is pleasing. Adjusting the squares is a personal choice. What I like may not be pleasing to you, and visa-versa.
There is no rule or formula to follow. Just keep tweaking the squares until you like what you see. I’ve found taking a picture is often helpful. It’s also helpful to walk away from the quilt arrangement after you think it’s perfect. Then, come back to it in an hour, or later. A fresh look will either confirm your thoughts about the design or will point out areas that don’t look as good as you thought!
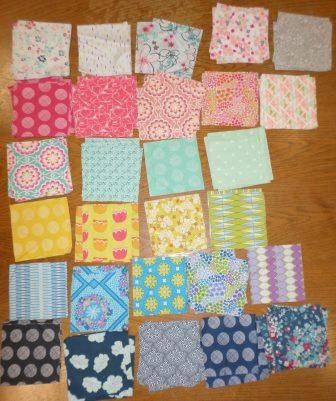
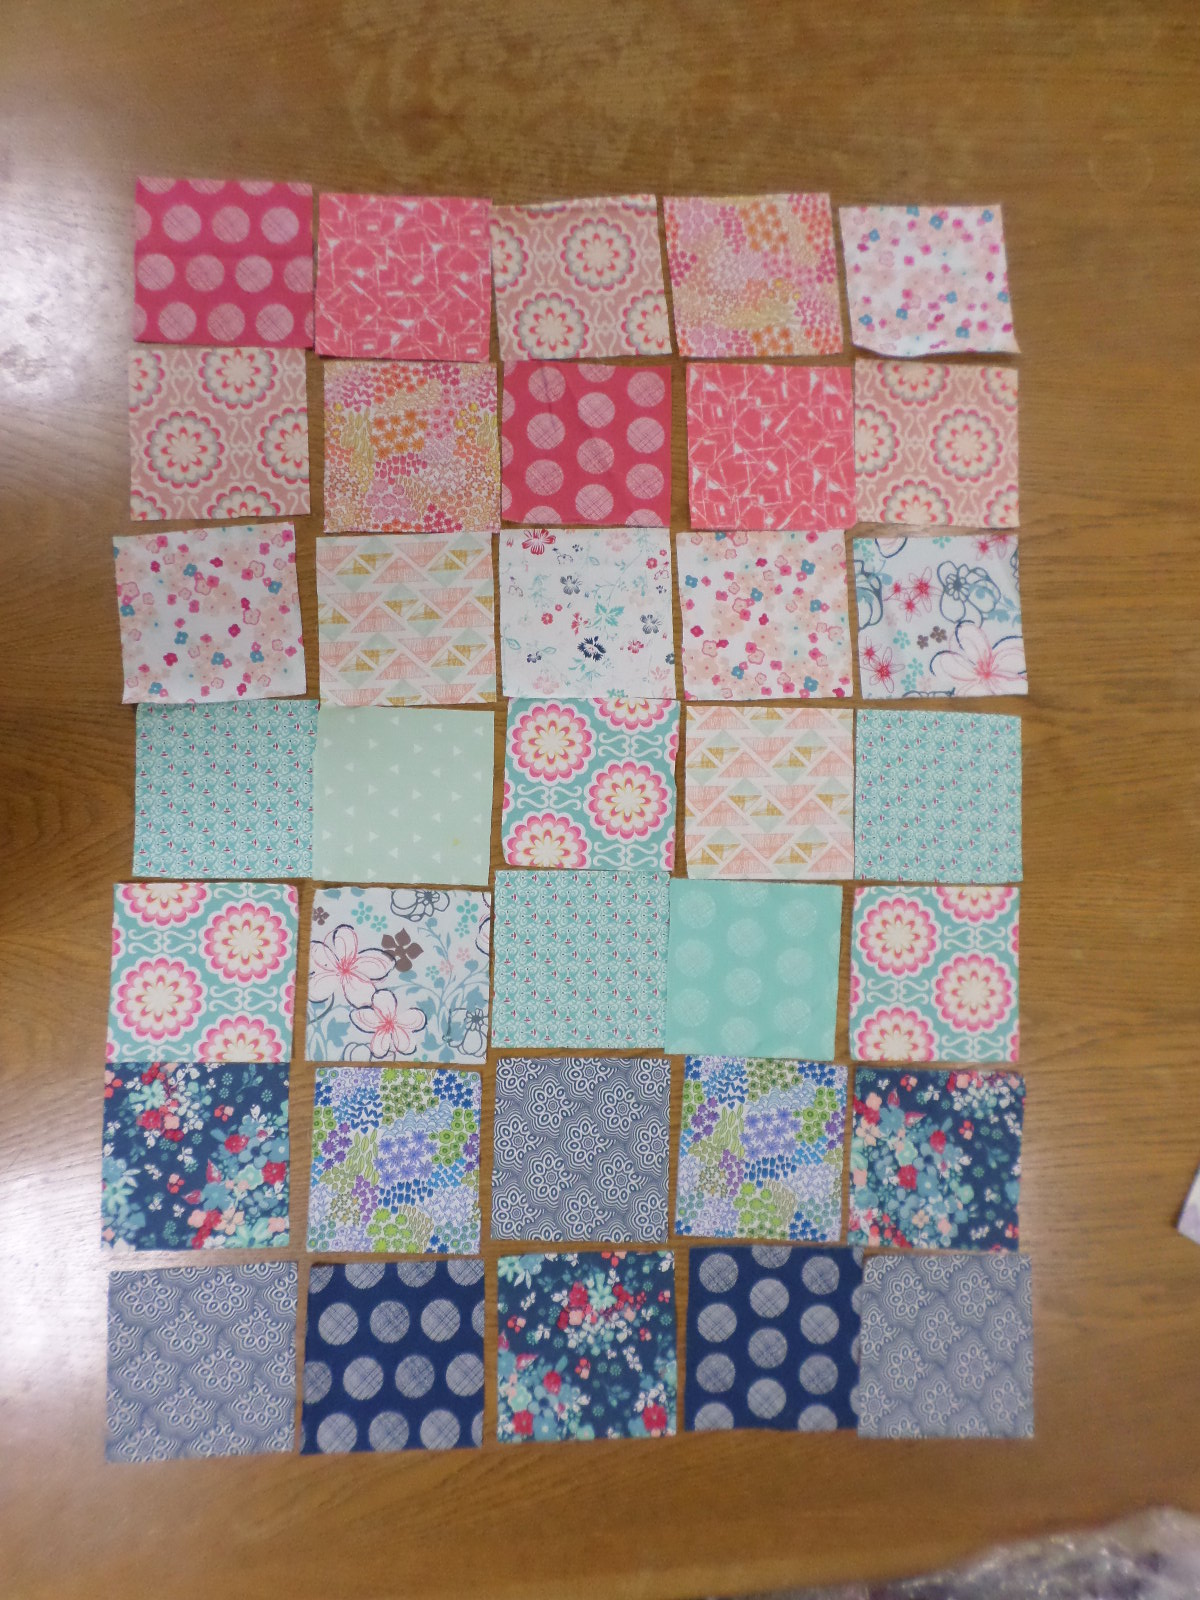
1. After cutting all of the cotton squares (and some extras), stack each different fabric in it’s own pile. Arrange the stacks in rows by color groups. Each row represents a different color group. Sometimes, a square fits into more than one group. Just go with the color that is more prominent in the square. You can always change it later. Put the squares that are very light along the top row.

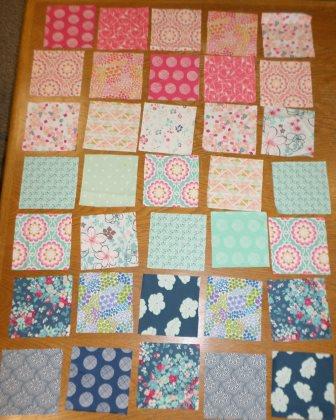
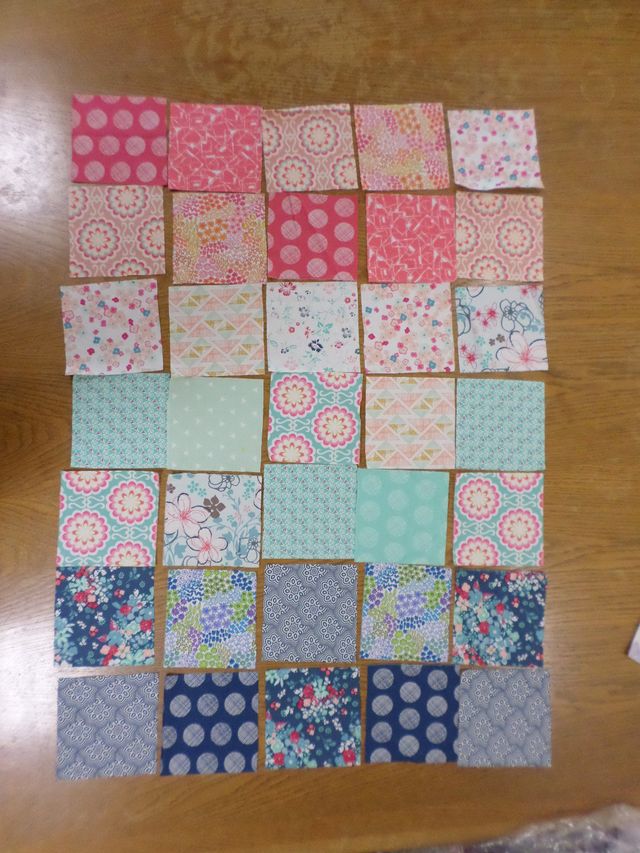
2. Now begin laying out the design for the quilt. Use a rainbow as a guide for the color order (red, orange, yellow, green, blue, indigo, violet). You can include all rainbow colors, or select only a few, but keep the colors you decide to use in rainbow order. For example, I eliminated the yellows, oranges, and purples from this quilt design, but I did include red, blue, and indigo. Here’s my first layout. Starting at the top row, examine the layout and make note of any identical squares that are too close together. I felt two squares that were diagonally across from each other needed to be separated (column 3, square 5, and column 4, square 4, are the same and too close for my liking). Either swap squares or use squares from your extras to correct the problem. I did some reorganizing.

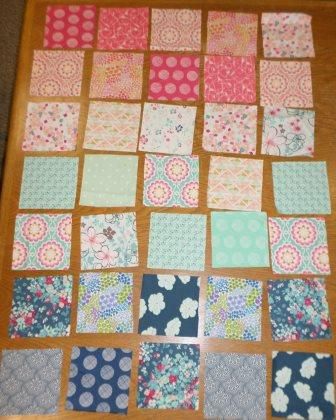
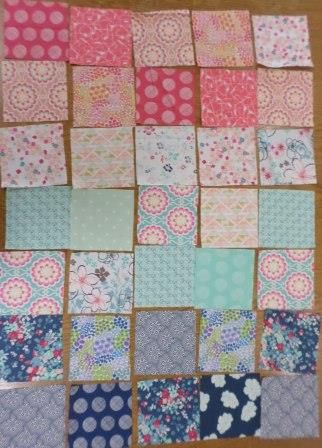
3. Unfortunately, fixing one problem sometimes causes another. The previous adjustment has caused two other squares to be too close (column 5, squares 2 and 4). While they’re not adjacent or diagonal, there are several other squares in this same fabric pattern (in different colors), so I thought they should be a little farther apart. I also don’t like a square (column 2, square 6). It has too much turquoise compared to the rest of the squares. I’ll remove that as well.

4. Now I’m happy with the first five rows, but I’m not fond of the last two rows. I don’t like one of the fabrics because it feels too bold compared to the rest of the fabrics (column 3, square 6; column 5 square 7). I’ll replace them with other squares from my extras to try to make a more pleasing array.
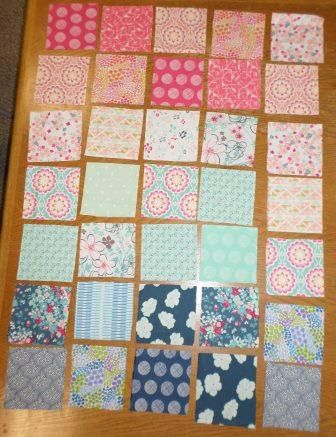
5. This is better, but I don’t like the repeat of the circle fabric at the top and bottom of the quilt (different colors), so I’m going to take out one of the circle fabric squares and replace it to see if it looks better. I’ll try replacing it with one of the fabrics I removed in the previous step. Sometimes one square of a particular fabric is pleasing, but two squares become too much.
6. I like this much better. This is the layout I plan to use.

Now Begin Stitching!
I like my finished product, but I will leave the squares on the table until tomorrow just to confirm my thinking. After finalizing the arrangement, stack the squares according to the directions in the article. All squares must be pressed if you haven’t already done so, but make sure you maintain the order of the fabrics in each stack while you iron. When you choose the thread for your decorative stitching, consider selecting a predominant color from one of the center rows. The quilt will feel more unified when you’re finished if you do that. There’s no wrong or right way; for instance, if you want to use pink thread because it will complement the room where you plan to use the quilt, then pink is perfect for your quilt. Be creative, and have some fun with this quilt design.


This is so 60-s. It will suit well for a straight line dress.
Emily, 60s were great!