Learn About Garment Ease
How to measure patterns and adjust the front and back separately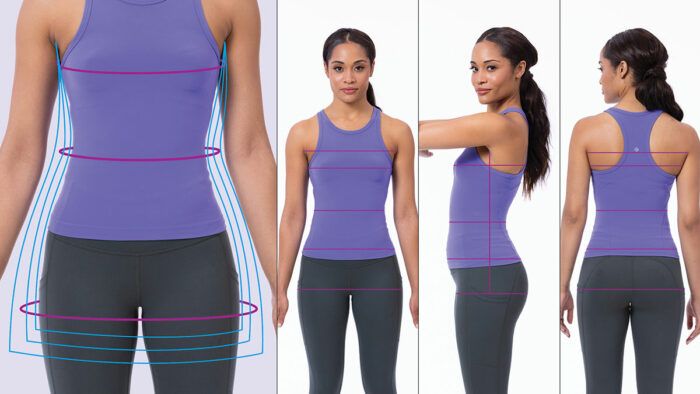
When working with clients on personal fitting, I usually ask them what size pattern they think they should wear. Often, they choose a size that corresponds to the largest area on their body. They believe this ensures a good fit because every part of them can fit into the garment. However, this makes alterations so much more difficult. Here’s how I guide them to a better fit with fewer major pattern adjustments.
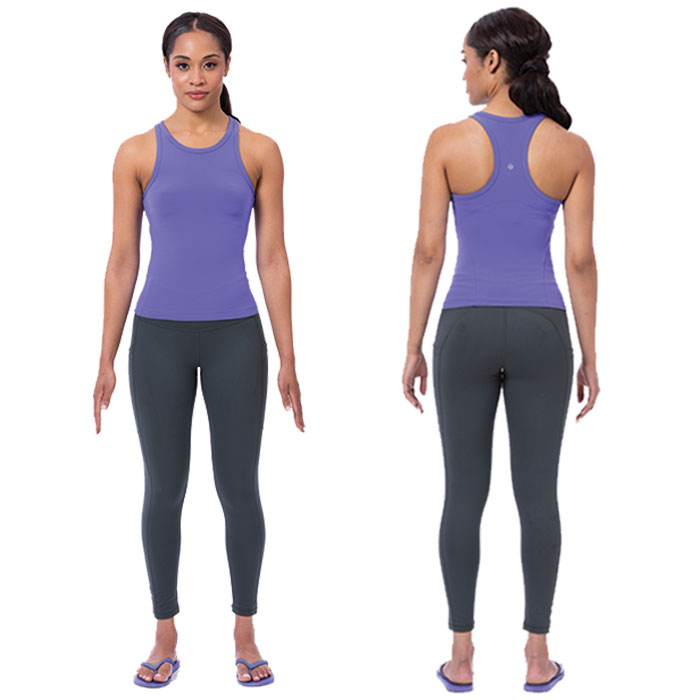
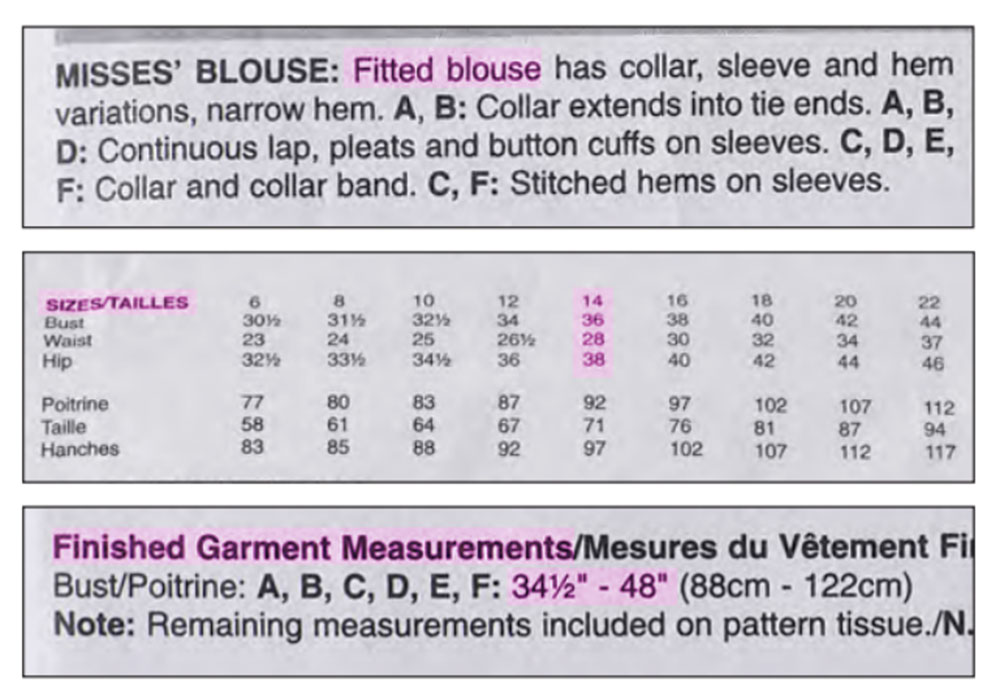
I start by having clients measure themselves in the usual way, and measure the pattern, but with one extra step: I ask them to measure the front and back of their body separately, at the bust and hip. These “half measurements” can be compared directly to the front and back patterns, providing key information about how the finished garment will relate to their shape.
Knowing how much total ease a person needs and likes in a garment is an important starting point in fitting. Getting that ease in the right place is the step that is often overlooked.
I’ll walk you through assessing ease in clothing and in patterns, so you can choose the correct pattern size. Then I’ll give you a couple of simple methods for adding or subtracting ease without unduly disrupting the intended design. The adjustments I talk about help to distribute the ease where your body needs it. Further fit refinements may be required to accommodate your posture and sleeve or armscye adjustments.
Understand ease options
In patterns, as in purchased clothing, different garments and styles include different amounts of ease. My guidelines help you get enough ease and then steer you toward figuring out how much additional ease will work for the garment you’re making.
Minimum ease
Also called “wearing ease,” it is needed for a garment to go around the body, be reasonably comfortable, and not look as though it is under much strain. Small figures can follow the list below; larger figures may need proportionally more wearing ease for comfort and mobility.
Bust: 2-1 ⁄ 2 inches to 3 inches
Waist: dresses—1 inch or more; skirts and pants—1 inch to 1-1 ⁄ 2 inches
Hips: 2 inches to 3 inches (more for plus or extended hip sizes)
Crotch depth: 1 ⁄ 2 inch to 3 ⁄ 4 inch (for plus or extended sizes)
Wrist: 1 inch
Design ease
This is volume added to a pattern to achieve a desired look. It can be a couple of inches or many. Note that this ease is usually circumferential. Lengthwise ease is added only if a garment is intended to drape or blouse.
“You have an opinion” ease
Do you like your garments to be close-fitting, or do you like them to skim your body? Do you like a lot of volume? The good news is that you can have an opinion about the amount of design ease you include in your garments. While this is a benefit, it can lead to confusion. Read on for my recommendations of how to determine a reasonable amount of ease.
—Louise Cutting, owner and designer of Cutting Line Designs, is a Threads contributing editor.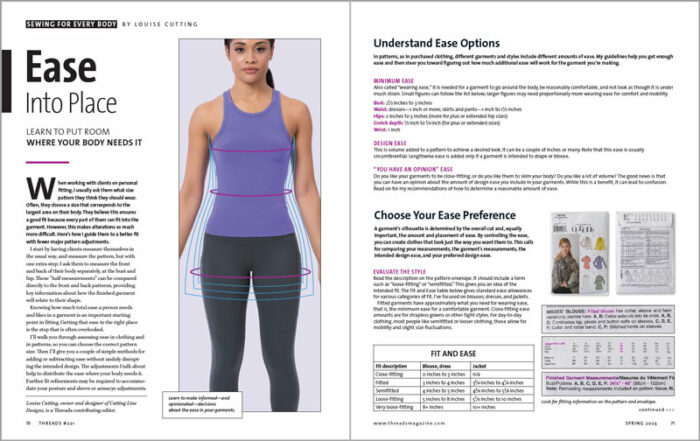
Photos, except where noted; Mike Yamin.
Illustrations: Steven Fleck.
For more photos and details, click the View PDF button below:
From Threads #221
View PDF






Log in or create an account to post a comment.
Sign up Log in