
Fashion a Magnificent Braid from Bias Tubes
This luxe-looking trim stands out on any garment section

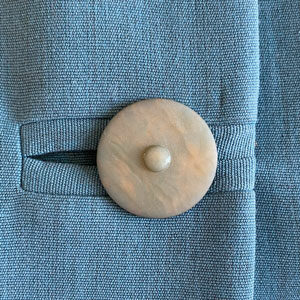
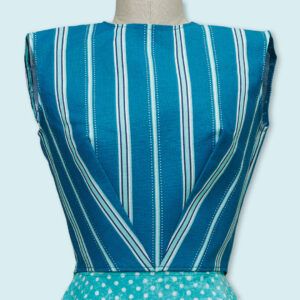
The wedding gown on the inside back cover embodies the glamour of 1930s fashion. Aside from shirring on the bodice, its only embellishment is a band of intricate braid encircling the upper arm at the dropped-shoulder seam. The self-fabric trim looks modern and Renaissance-romantic.
Design Analysis
When I saw the trim, I was determined to figure out how to make it. Surprisingly, it isn’t as complicated as it looks. It appears to have three sections: a center band made of parallel bias tubes, running perpendicular to the trim’s length, flanked by two narrower bands that look like three-strand braids. After studying the photo, I realized this was similar to crochet, and the three bands are actually one wide structure.
Gauge Calculations
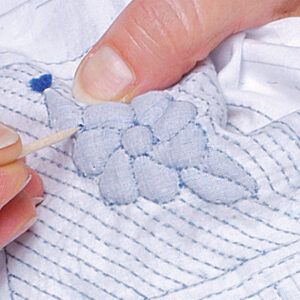
In crochet as well as knitting, you need to determine gauge before making a piece. I made an educated guess that the area between the edges was 1 inch wide, and this was secured by rows of machine stitching. This set of dimensions served as my starting point. I also estimated that the filled tubing was 1/4 inch thick. I experimented using the 1/4-inch-thick tubing, as well as 3/8-inch-thick tubing. These are what I based this article on.
Since I knew that this trim would eat up the tubing, I also needed to solve the question of yield. I made samples to determine roughly the length of tubing per inch the trim would require. For ¼-inch-thick tubing, you need 14-1/2 inches of tubing for every 1 inch of finished trim. For the 3/8-inch-thick tubing, you need 11 inches of tubing for every inch of finished trim. No matter what size tubing you use, it’s a good idea to create a piece of test trim that’s 2 inches to 4 inches long to determine how much material you need.
Contributing Editor Kenneth…
Start your 14-day FREE trial to access this story.
Start your FREE trial today and get instant access to this article plus access to all Threads Insider content.
Start Your Free TrialAlready an Insider? Log in


Log in or become a member to post a comment.
Sign up Log in