
A Bound Buttonhole from a Balmain-Designed Uniform
Borrow this chic detail from the 1960s designer jacket
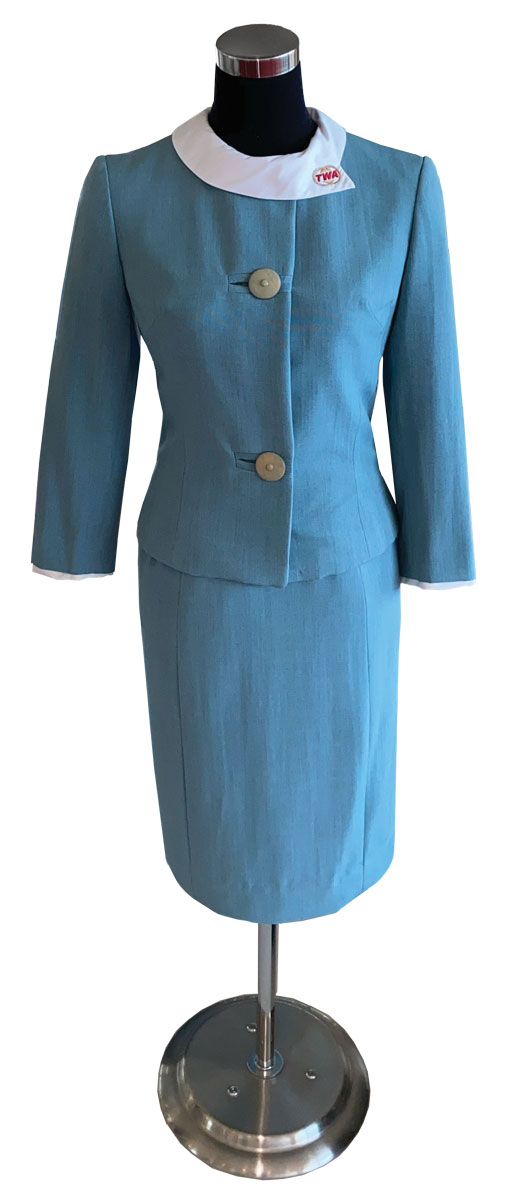
In 1965, French couturier Pierre Balmain was commissioned to design modern, stylish uniforms for the “air hostesses” of Trans World Airlines. These uniforms would reflect and enhance the glamour of air travel.
Recently, I saw one of these uniforms exhibited at the TWA terminal at JFK International Airport in New York. The iconic terminal, by Finnish-American architect Eero Saarinen, was completed in 1962.
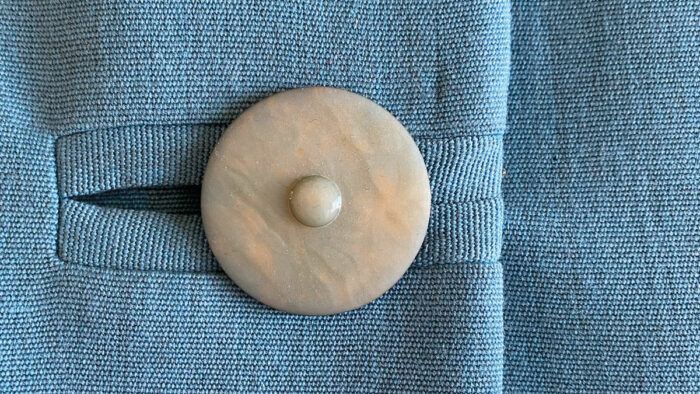
 I was intrigued by the buttonholes on the uniform’s two-button jacket: They look like bound buttonholes but continue to the edge of the garment. I was determined to decode the construction. To update the style, I’ve made the end opposite the garment edge into a point.
This detail adds a subtle touch of interest to a jacket or coat. In a smooth, solid fabric, it is easy to see. Balmain included this buttonhole in a Vogue Paris Original pattern from 1964, where it was shown in a chunky tweed. You can try it in linen or other suiting fabrics, as long as you can press a crease. Other than the fashion fabric (which can be the same as the garment or a contrasting material), you only need shirt-weight woven fusible interfacing. Woven interfacing is important: The buttonhole isn’t as successful if you use nonwoven fusible interfacing.
Prepare the Garment and Welts
1. Mark the buttonhole opening. On the garment body, draw a chalk line on the fabric’s right side to indicate the opening location, where the welts will meet. Baste along this line.

2. Create woven fusible interfacing supports. For each buttonhole, cut a rectangle 3-1⁄2 inches by 5 inches. Pink the edges to keep the interfacing from creating an impression on the fashion fabric’s right side. Draw a center line, and parallel lines on either side, 1⁄2 inch from the center line:
Center line length = button diameter…
Start your 14-day FREE trial to access this story.
Start your FREE trial today and get instant access to this article plus access to all Threads Insider content.
Start Your Free TrialAlready an Insider? Log in


Log in or become a member to post a comment.
Sign up Log in