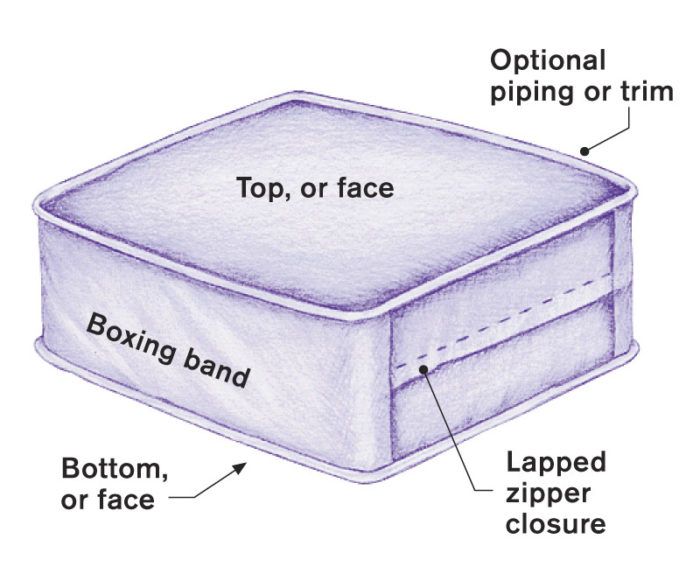
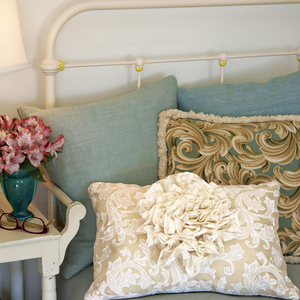
Learn how to combine ample proportions, luxurious fabrics, and a few basic techniques to update this classic cushion.
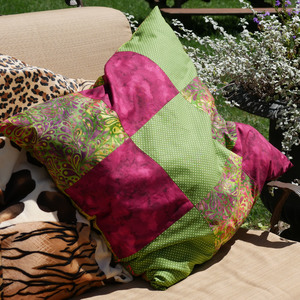
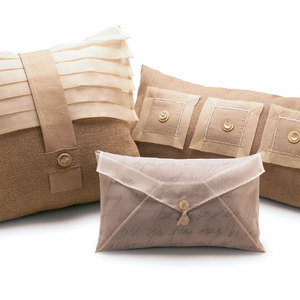
Traditional square-cornered box pillows are showing up with entirely new humdinger proportions such as extra-long rectangles, extra-thick circles, and atypical shapes, like stylized flowers, stars, and triangles.
With these basic instructions, you can add a bright orange pillow to a subdued color palette, or make an oversized pillow for that dainty chair. Choose any shape and make it into a pillow.
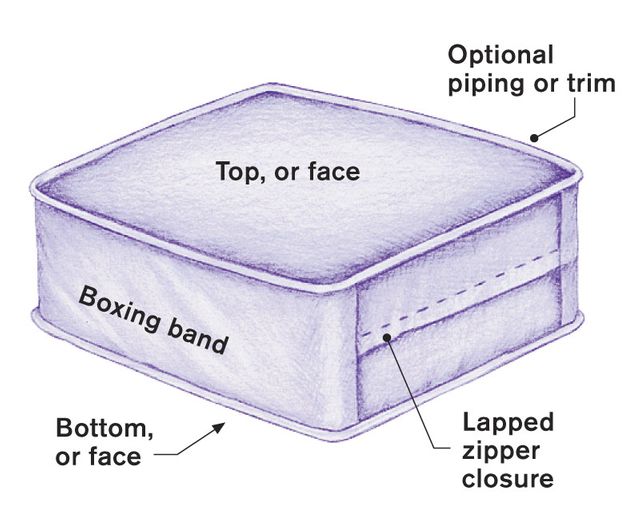
Anatomy of a box pillow
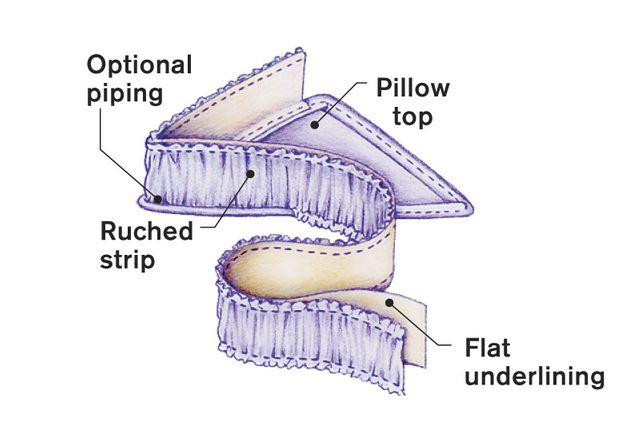
A box pillow is a simple design, whatever its shape: a top and bottom layer of fabric separated by a band, or boxing. The pillow’s closure is housed in the boxing, and after you’ve decided on the type of closure, it’s the first element to be constructed.
To make the closure
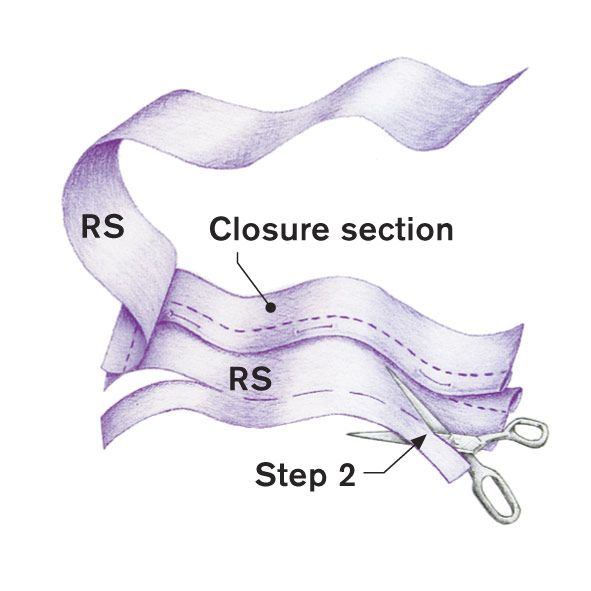
1. Make lapped-zipper or button-placket closure from two strips of fabric, each the length of one pillow side plus seam allowances, and whose finished width equals at least boxing’s width. (Zipper opening for round pillow is as long as required to insert filler form.)
2. Trim completed closure’s width to match that of boxing.
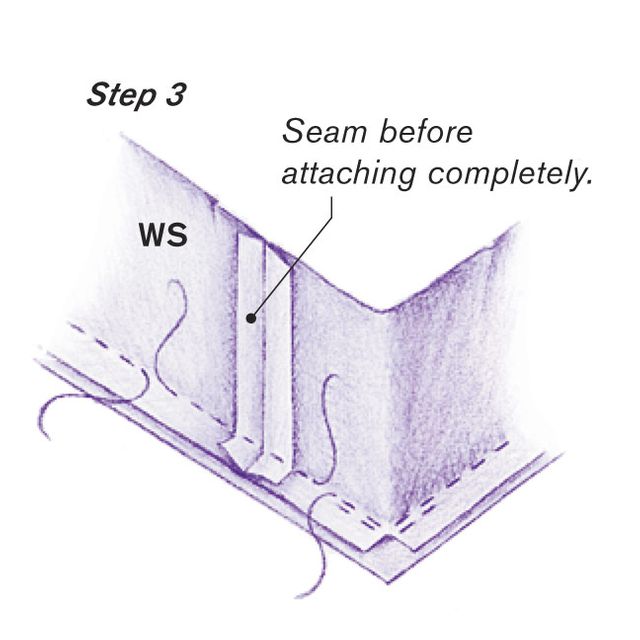
3. Sew end of closure to one end of boxing (other ends will be connected later).
To attach the boxing
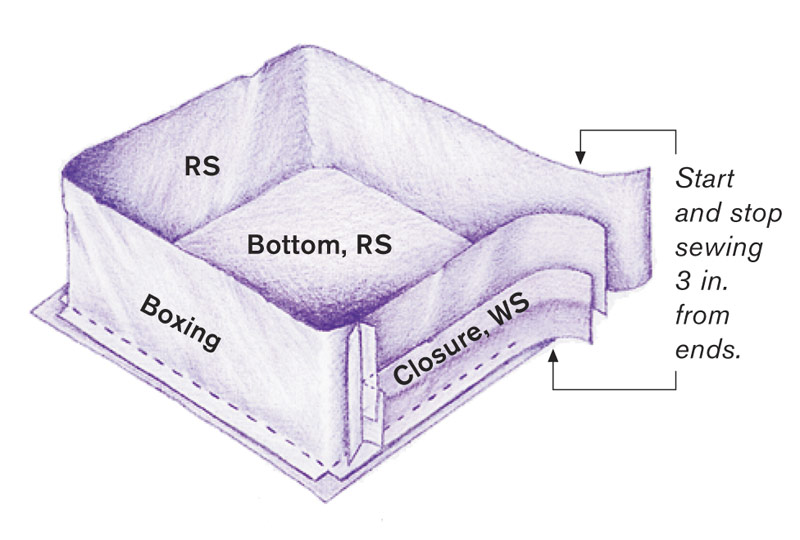
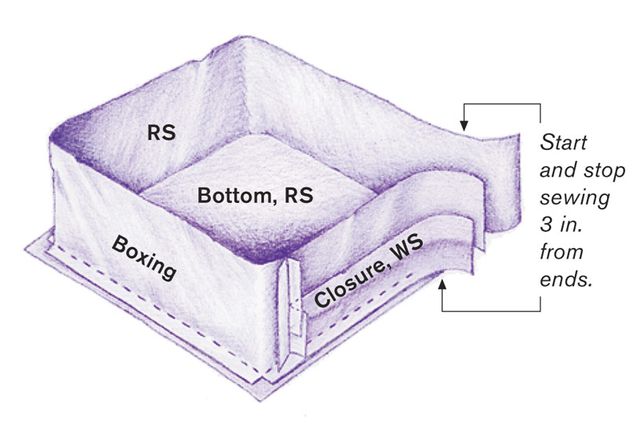
1. With RSs of boxing and bottom together, start on least conspicuous side of pillow, and arrange band so ends of closure are positioned correctly with bottom’s corners.
2. Sew band to bottom, beginning and stopping 3 in. from band’s unsewn ends (3 in. allows enough room for final fitting of boxing to bottom).
3. Bring two short unconnected ends of band together, fit to space, and sew seam. Finish attaching boxing to bottom.
4. When you get to a corner, lower needle into exact corner, clip boxing to needle, pivot fabric, spread boxing around corner, and continue sewing. Repeat at each corner.
5. After boxing is attached to one pillow face, mark exact corresponding corner points on unsewn boxing band edge. Pin pillow top’s corners to corner markings and sew as above.
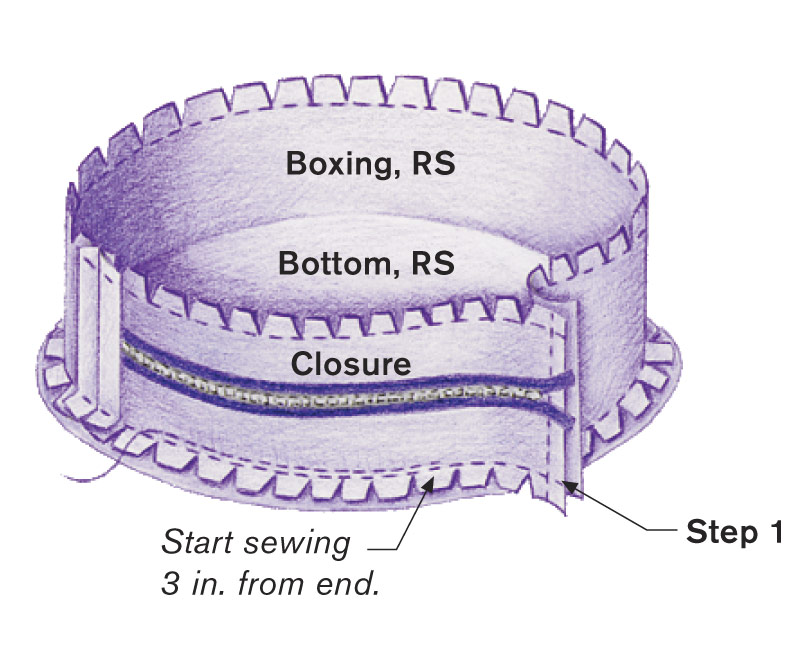
To attach the boxing to a round pillow
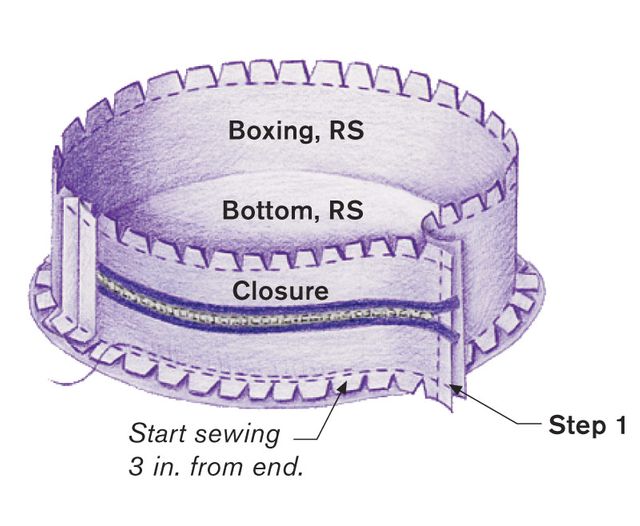
1. Staystitch seamline on boxing band and clip to staystitching.
2. Align boxing and bottom, RSs together, with round edge on bottom and band on top. Sew a few stitches at a time, then stop with needle down to adjust fabric so round edge is always flat and not distorted. Keep pivoting round edge on needle, stopping every few stitches to adjust. Finish ends as above.
Pillow Details:
Interior designer, author and Threads contributing editor, Linda Lee pipes a mean pillow in Topeka Kan.
Drawings: Eugene Marino III
More on home decoration:
• Video: How to Make Reversible Chair Covers
• How to Make an Abstract Pillow Top
• Slipcover a Side Chair, Dressmaker-Style
• How to make a Faux-Foliage Rug







Can they make a quick video? Artwork is great and the instructions are well written but I need to see how too's.
Beginner level sewer's question here... so if I want to have simple 20inch deep, 2inch tall and 45inch wide bench cushions in this box style without piping or fancy trims, but which way do I lay out my fabric in order to cut? Bottom and boxing on selvege or??? This pattern is perfect for what I'm trying to do but I'm not sure where to start with the first step! Anyone please advise? THANK YOU!!!
I am a total novice to sewing box pillows.
I see in the first initial illustration that the corners of the material on the box strip are cut.....do we do this prior to sewing? After? I am not clear on how and when to do this.
I hate to start on new fabric and ruin it and waste dollars spent!
Any suggestions?
Thank you!
@apeke -- you make this cut as you are sewing, per step #4. When you get to the corner, you keep your needle down, lift your presser foot, then clip. Pivot (turn your fabric so you can sew the next side, clip again, lower your presser foot, and sew.
Hope this helps.