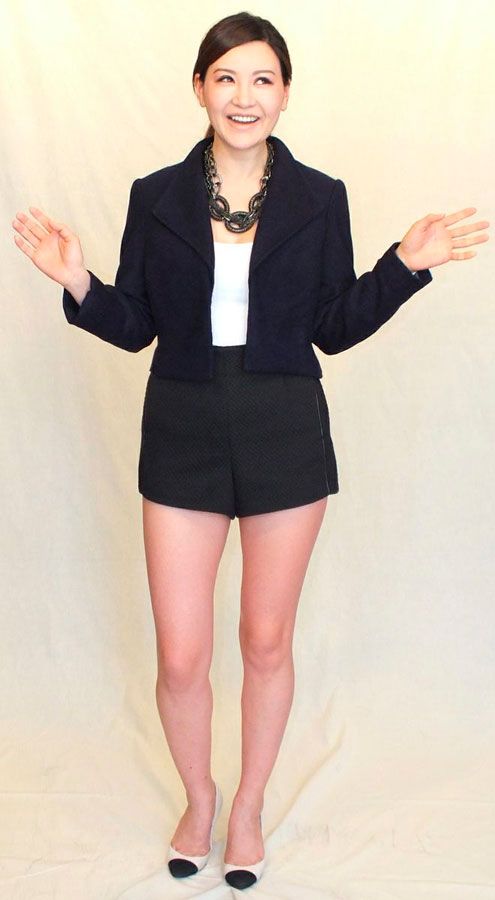
Jackie Chae's jacket
by Melissa Watson
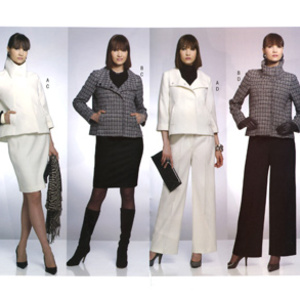
Hello all! Last semester at the Parsons School of Design, 4 girls made the Melissa Watson for Palmer/Pletsch jacket McCalls M6294 for their sewing I class. I would like to share with you their experiences, trial and tribulations! It was so great watching them pick out fabrics and add their own design details to the jacket. This jacket has been popular across the board. The woman who won “Win a Palmer/Pletsch Workshop” did so with this very jacket! The versatility and options seem to be endless, you can see with how the different girls made 4 very different looks!
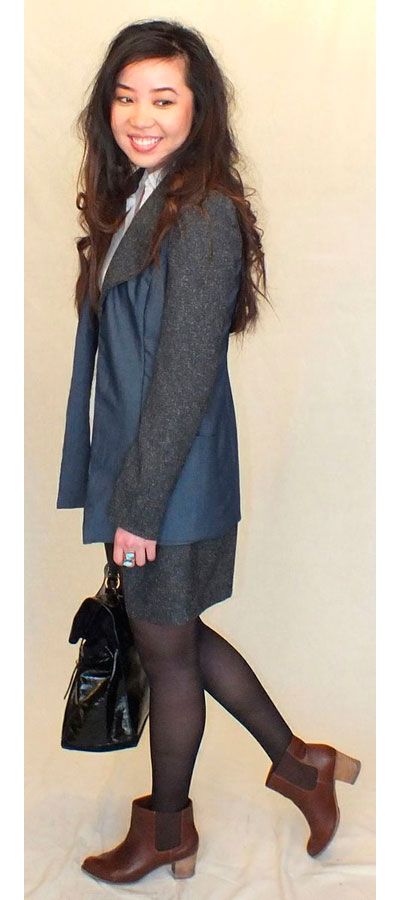
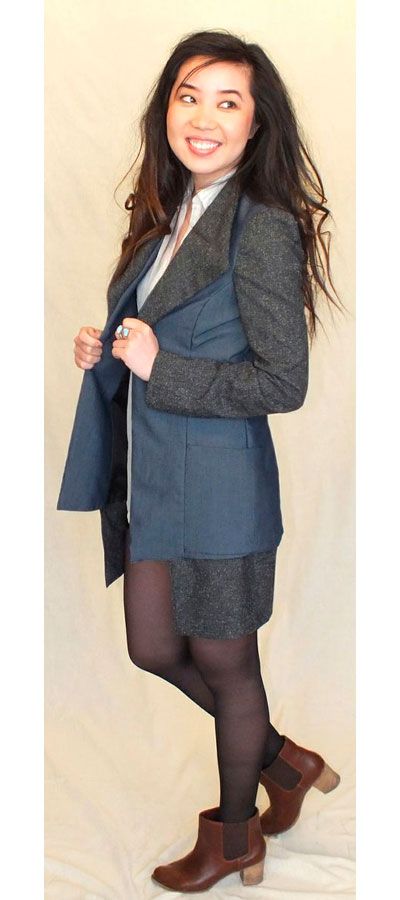
Jenny Yan
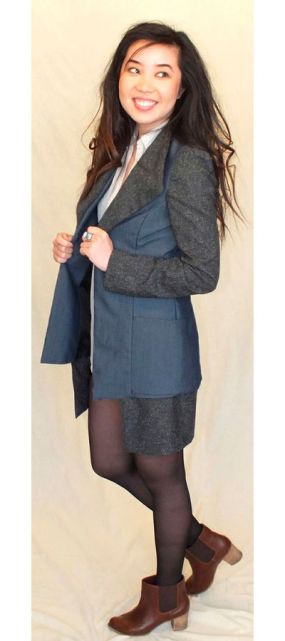
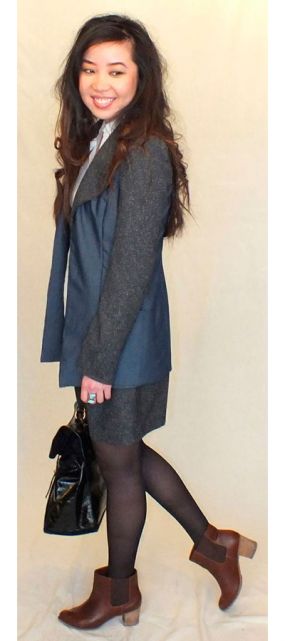
This jacket is one of my first finished pieces that I had constructed from fabric to finish, and that is the most rewarding part of the project. I love seeing it and just knowing exactly how it was made. Sewing the lining to the jacket was probably the hardest part of the experience because – more than anything – it’s was just hard to visualize how the patterns were going to look and how they were going to attach to everything else, especially since I had no knowledge of sewing prior to the class. But once I started to work on it, everything literally fell into place with each step. Tedious at times too though, because I would mess up with wrongly attaching one piece to another, and it took a while to rip the seams and do it over. However, the instructions included with the pattern was definitely helpful – without the guidelines, I wouldn’t have finished the jacket when it was due! In fact, I actually finished it with good time, so I decided to do some extra design to it. I had just really wanted to add something unusual so that it can stand out from being a standard jacket – I attached an overflowing panel to the lining and a couple inches passed the hem. The panel is cropped width-wise, so the ends of it doesn’t meet the front ends of the jacket. From the front, this creates two corners on both sides, and from the back it looks like I’m wear a longer layer of something underneath the jacket. The fabric I used also brought some design to the jacket – I had this navy blue (almost denim-y in the appearance) cotton poly blend fabric for the body panels, and a very lightweight salt and pepper tweed for the sleeves, collar & lapel, and the extra panel I added to the hem. It’s great to have my first jacket to go so successfully like this and actually be finished with lining and everything, so I really enjoyed the project and creating this piece.
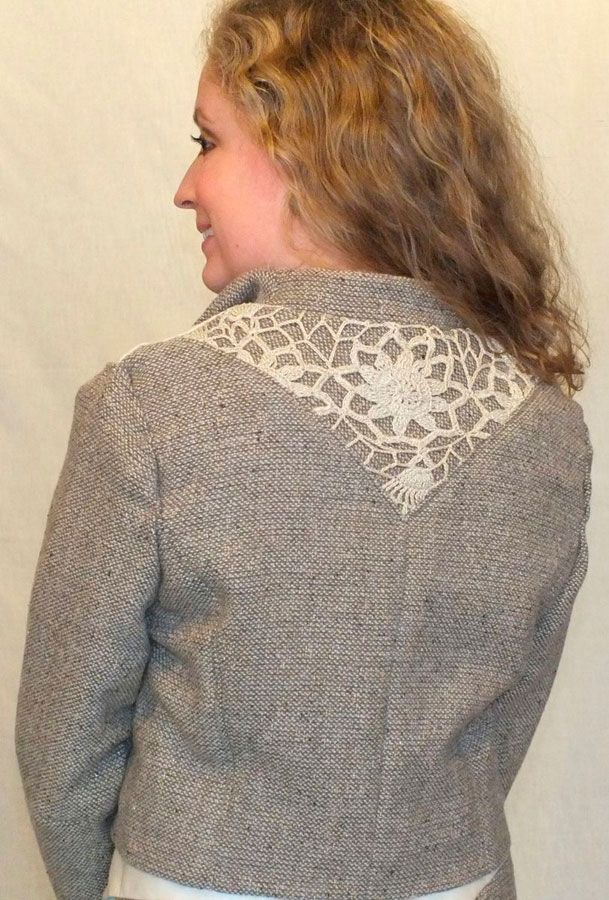
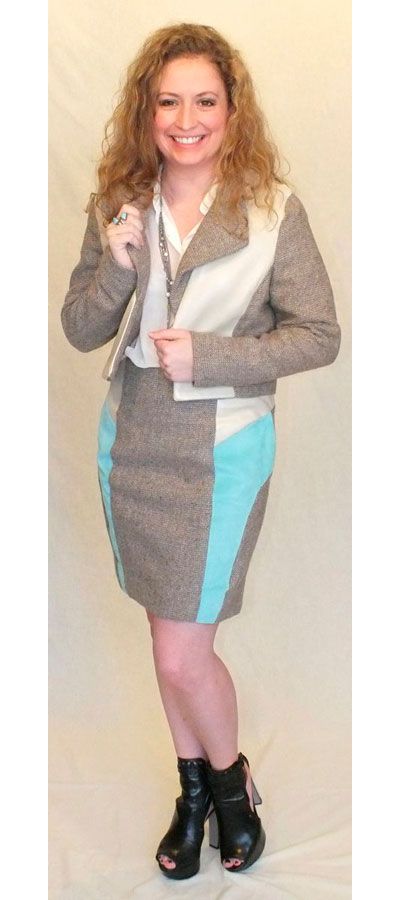
Jessica Cragg
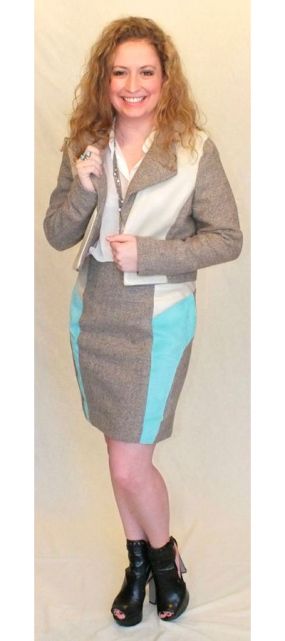
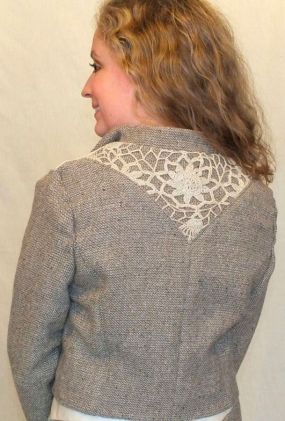
This Palmer/Pletsch Jacket is the first jacket I made at Parsons. Since it was winter, I wanted to make the jacket in heavier material. I had some experience with sewing before attending Parsons, so I wanted to challenge myself with this jacket. I decided to incorporate leather because I wanted more practice sewing with this tough material. I decided to use a wool tweed with a cream colored leather, then I would have a jacked to match my skirt that I had just made!
The sewing was going well, for the Palmer/Pletsch directions were quite helpful. During the sewing process, I decided to add one more detail. I have a large collection of my great grandmother’s doilies that she made, and I’m constantly trying to incorporate them into my art as well as my sewing. I hand stitched a doily onto the triangular yoke on the back of the jacket for a personal touch.
Sewing from this Palmer/Pletsch pattern for my first jacket at fashion school was a really good idea and has been very beneficial for post assignments. I just finished sewing another jacket from a pattern that I designed, and it would have been more difficult if I hadn’t had the experience sewing this jacket by Melissa Watson, Palmer/Pletsch. If you can learn how to sew a jacket, you can learn how to sew anything!
Maria Silva
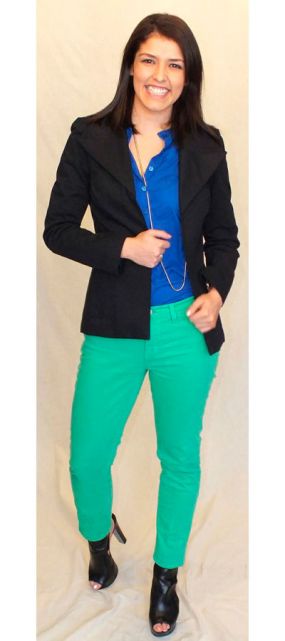
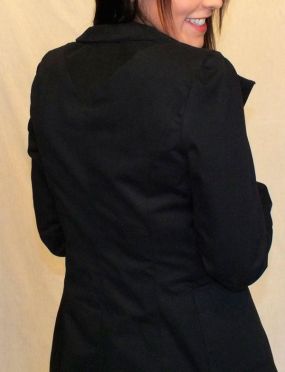
I decided to do this jacket in a 100% Cotton fabric with a black and golden lining. The cotton fabric was very stable dimension-wise which helped with precision when sewing (specially the triangle on the back), but gave me a little bit of a hard time when trying to insert the sleeves because the fabric wouldn’t stretch.
A few tips:
1. when sewing the triangle on the back: start sewing from center back towards one shoulder and from center back towards the other shoulder. That guarantees that the tip of the triangle sits perfectly on center back.
2. If you are using a stiff fabric like I did, give a little more ease on collar at Center back so it rolls naturally.
3. Read everything before starting!
4. Instructions tell you to baste some seams before actually sewing…Very important! specially if your fabric tends to stretch
5. Didn’t have time to do the fitting of the pattern but it still fit pretty good!
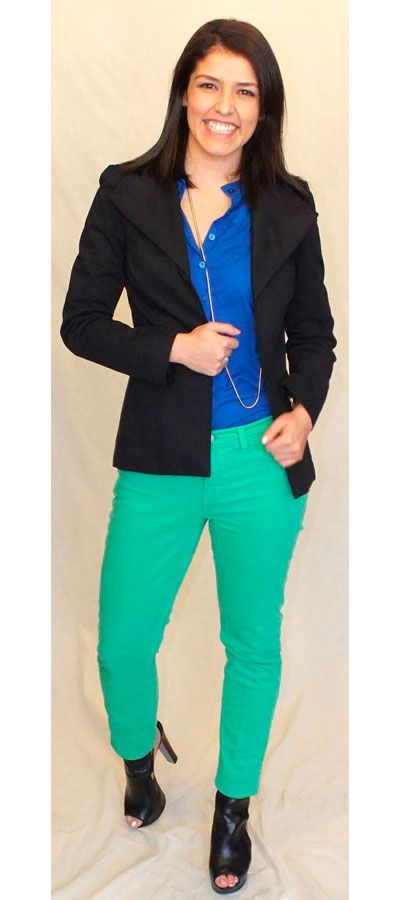
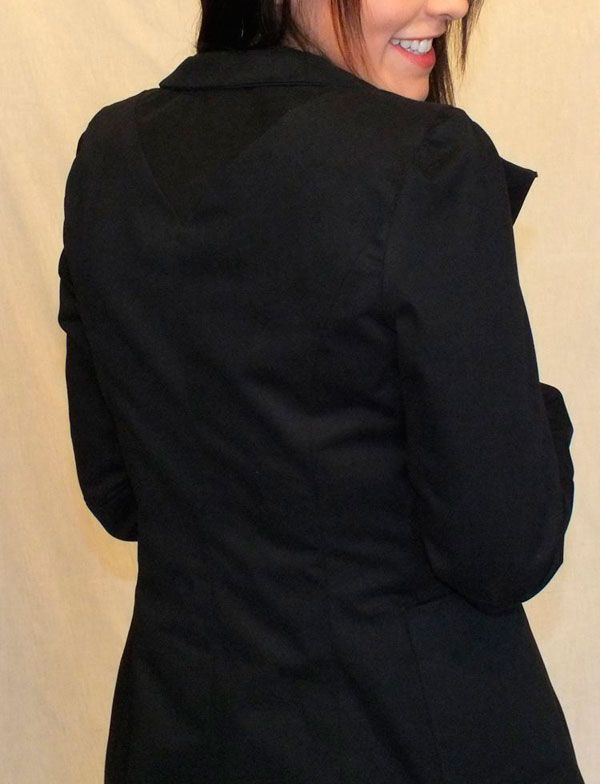
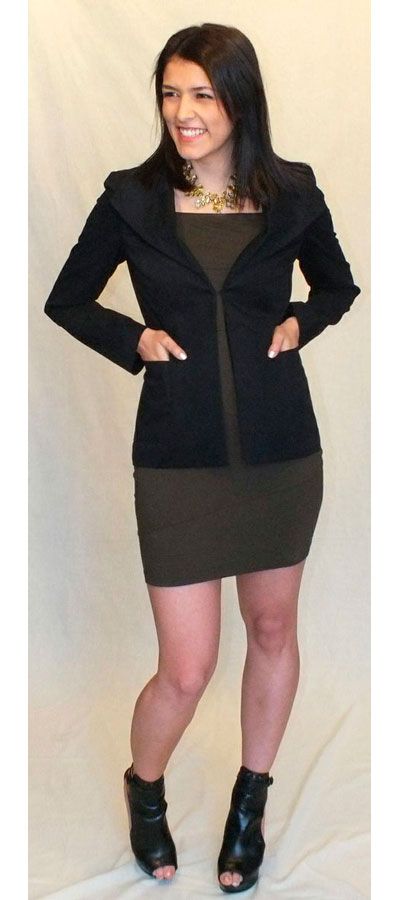
Jackie Chae
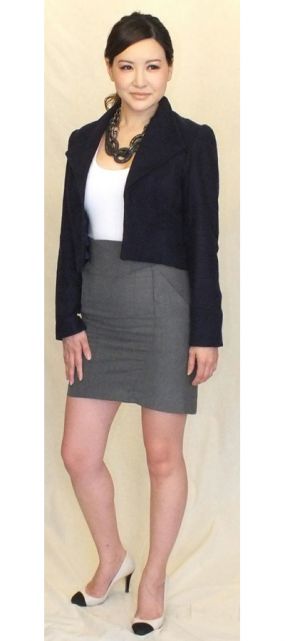
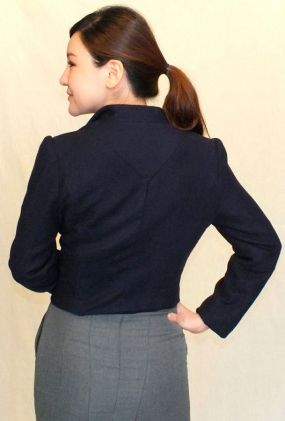
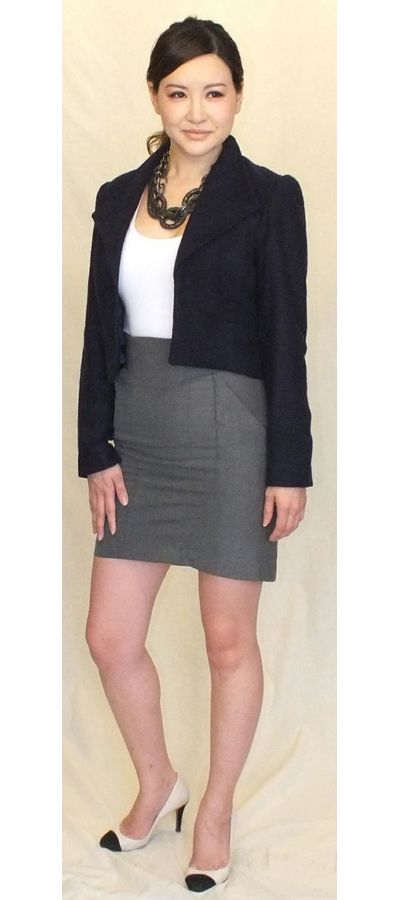
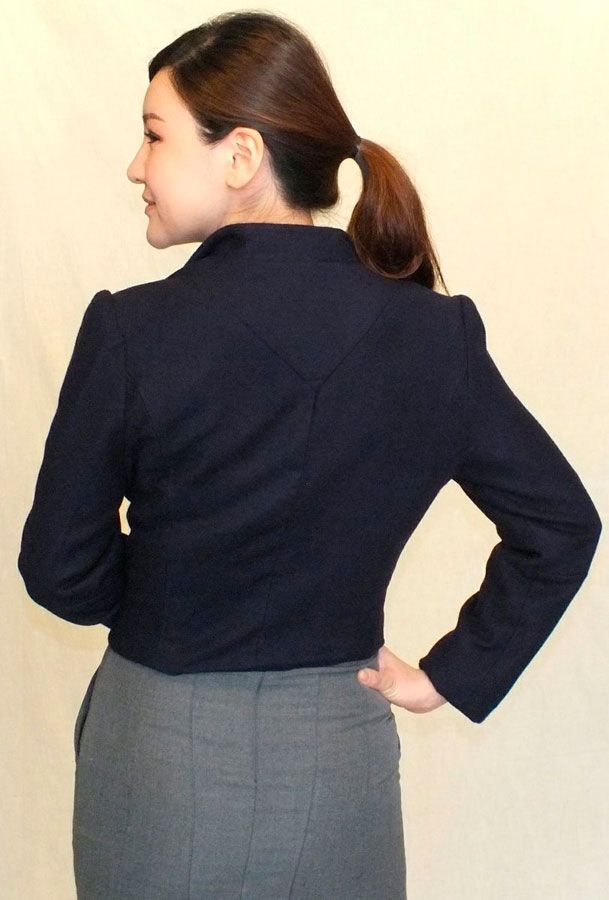
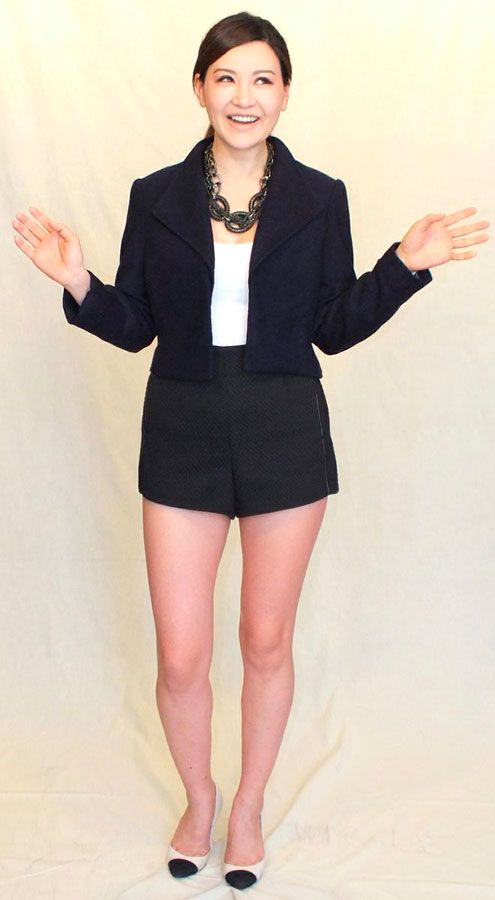
I’m a beginner when it comes to sewing, but I fell in love with the design of the jacket and right then I had a vision of the fabric I wanted to use. The instructions were straight forward and very easy to follow. there’s also an instruction to tailor the pattern to your exact size. When I was finished with the garment it was so well structured and it fit me perfectly. I used wool fabric and I think it’s easier to sew than other fabrics. The whole process was so enjoyable and the jacket just feels like a bonus.
Melissa Watson was featured in “Designer Insider” in the Summer 2011 issue of SewStylish.





Log in or create an account to post a comment.
Sign up Log in