

A Guide to Sewing Professional Sleeve Plackets
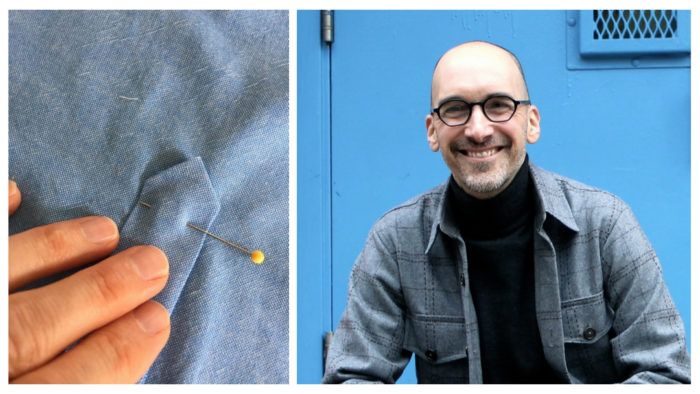
Threads Digital Ambassador Peter Lappin explains how to create a professional sleeve placket.
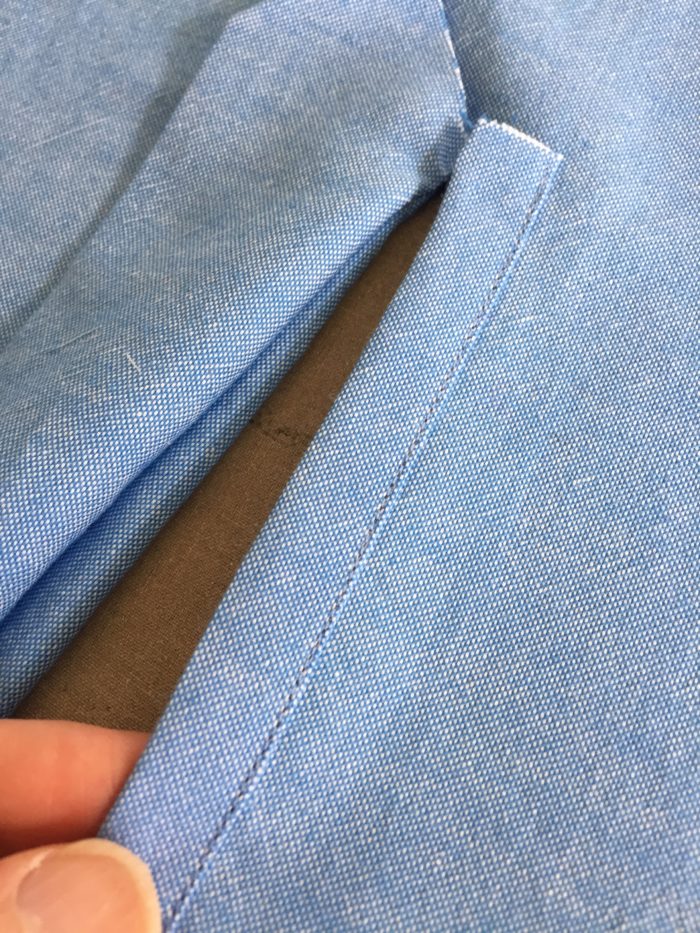
What is the purpose of a sleeve placket? The finished opening just above a shirt cuff, with its peaked “roof” at the top, is an essential sleeve construction detail. I’ll explain the best way to sew a pair of perfect plackets to finish a shirt sleeve.
Consider this: A standard men’s shirt sleeve narrows toward the wrist and fits snugly at the cuff. If there were no opening above the cuff, it would be impossible to get one’s hands through a shirt sleeve.
There are three ways this essential opening is commonly finished: with a facing (frequently seen in western-style shirts); with a narrow strip of bias fabric called a continuous lap, which is generally used in women’s blouses; or with a sleeve placket.
If you examine ready-to-wear shirts (I’m using men’s shirts as examples, but this applies to many women’s shirts as well), the sleeve placket is generally standard.


The overlap part of the placket, with the peaked roof, is roughly 6 inches long and 1 inch wide. The underlap section is approximately 1/2 inch wide.

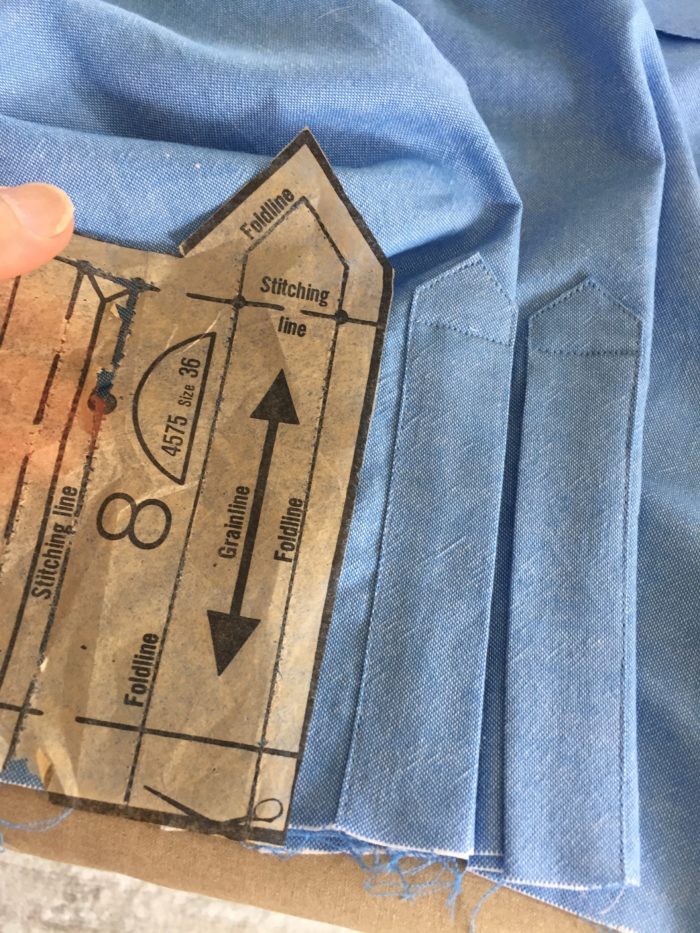
For this tutorial, I have chosen to use the placket pattern piece from a vintage Butterick men’s shirt pattern. From pattern to pattern, the placket piece rarely changes. The one I’m using does not have a button in the center, and is drafted shorter than the ready-to-wear plackets, at 5 inches long.
Note: All fold allowances on the placket pattern’s perimeter are 3/8 inch wide.

A placket pattern can be confusing at first glance with all those fold and cut lines. Don’t worry, I will walk you through the process.
The most important facts about sleeve plackets are: The finished placket buttons toward the back, i.e., toward the sleeve seam allowance; and the placket overlap (the part with the peaked roof) folds over the underplacket.

Note on the sleeve pattern how the sleeve placket marking is on the back side of the sleeve (the side with the two notches at the armscye). Always check to make sure the placket is positioned correctly; otherwise you may create a beautiful placket that is, unfortunately, on the inside of your sleeve, or a placket that buttons in the wrong direction.

Another recommendation, which applies to all sewing projects: If the right and wrong sides of your fabric are identical, as mine are in this tutorial, mark the wrong side with chalk or with a washable ink pen. This will save you many hours of frustration (see previous caveat).
Cut the sleeve and pattern pieces. On the sleeve, clip approximately 1/4 inch into the slash line of the placket placement diagram on the sleeve pattern. Not always clearly labeled, this is the line between the two narrow stitch lines that ends in a V shape toward the top.

Make a similar clip on the placket pieces: both right and left, with the wrong sides clearly marked in chalk.
Next, place the right side of the placket on the wrong side of the shirt sleeve, lining up the two clips you’ve made on the sleeve and the placket pieces.

Check your work: On the left sleeve, the placket is positioned toward the back of the sleeve (the side with the two shoulder notches). It should look like this:
The right sleeve will be the mirror image of the left sleeve:

I will focus solely on the left sleeve placket.
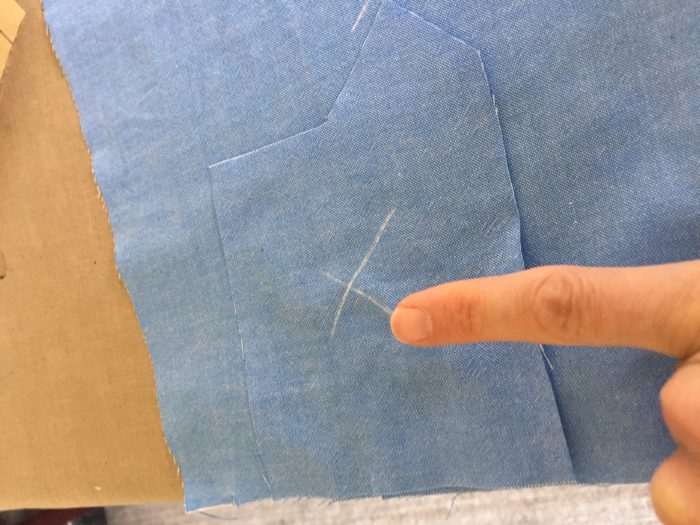
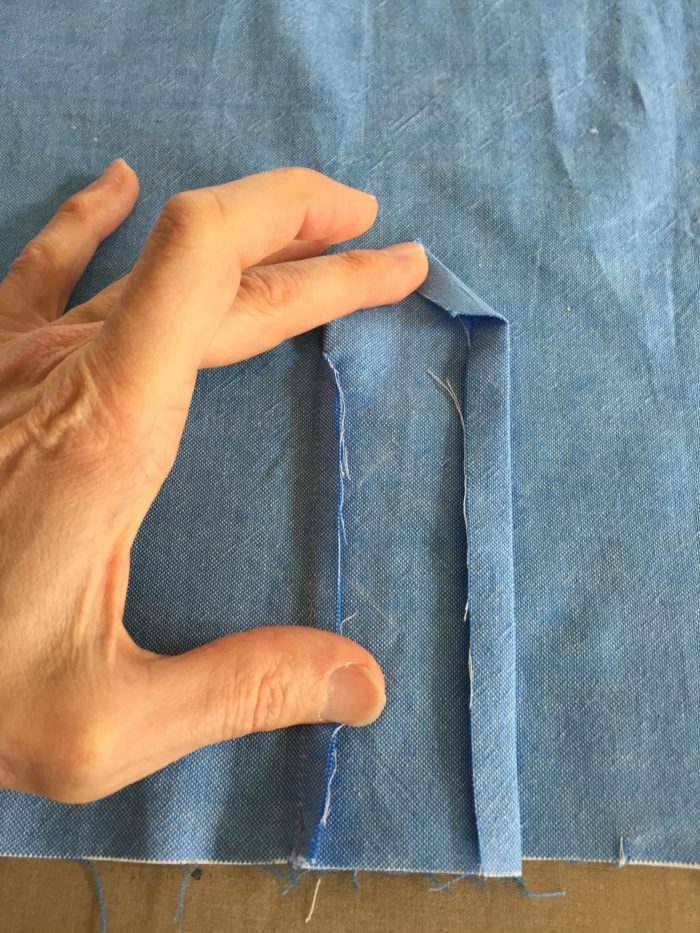
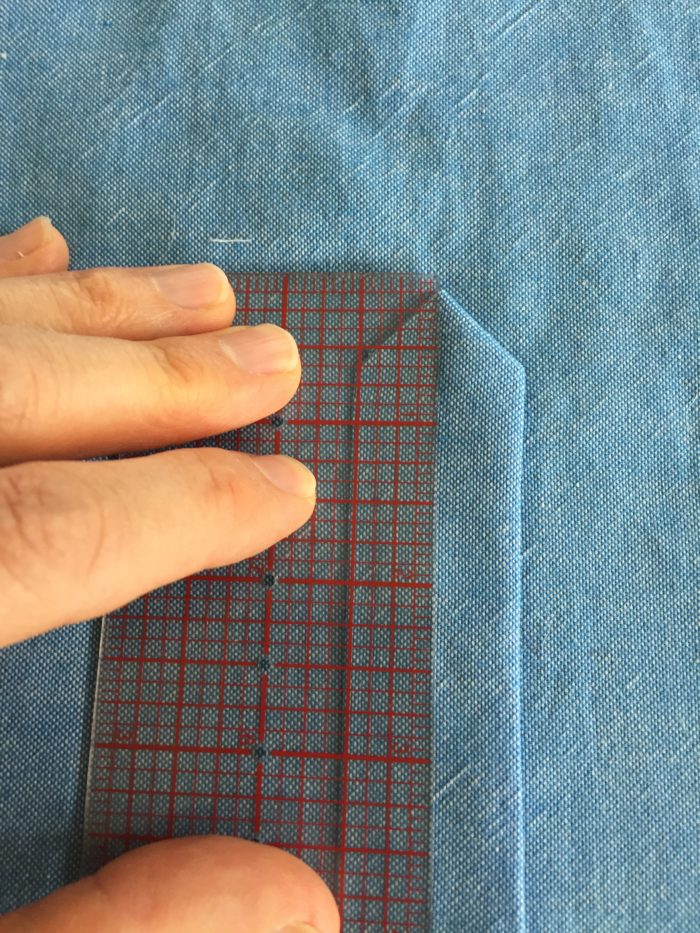
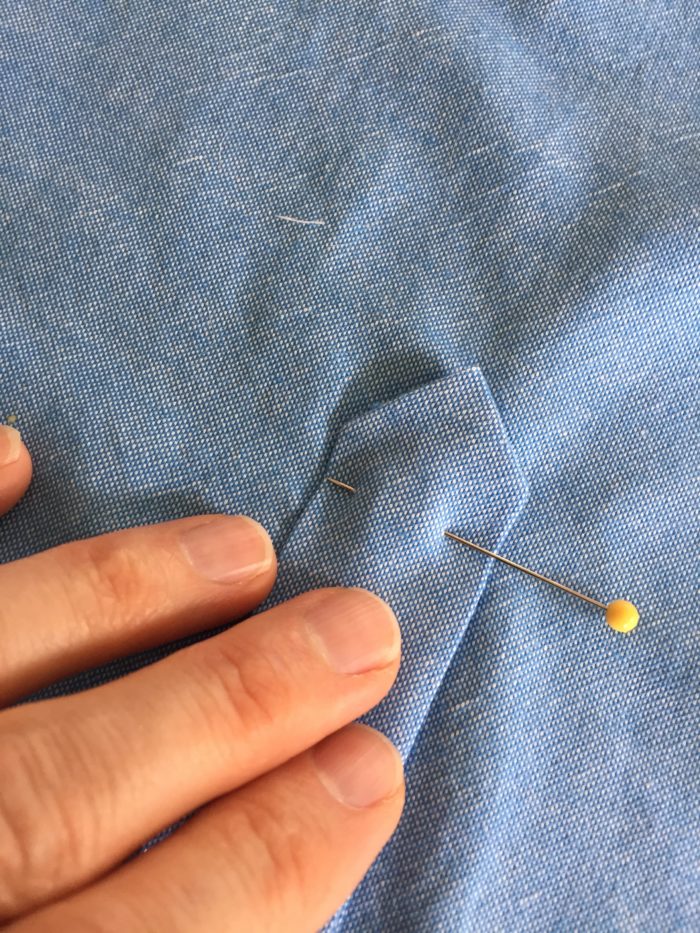
Make just one marking with chalk or pen/pencil on the placket, to rule the “slash” line. I’ve marked mine in red. We are going to stitch around this line to form a rectangle that’s 1/2 inch wide, meaning the stitches should be 1/4 inch on either side of the red line. The two red dots above the line represent the top corners of the rectangle. They are 3/8 inch below the placket’s top edge, and approximately 3/8 inch above the red slash line. Pin the placket to the sleeve on the red slash line.

Before stitching, look at the pattern piece again. Remember, all outer foldlines are 3/8 inch from the perimeter of the pattern. We’ll be the stitching 1/4 inch from the slash line.

With a very short stitch length, machine-stitch vertically, 1/4 inch from the red line, turning at the red dots, and coming back down the rectangle. The stitched placket should look like this:

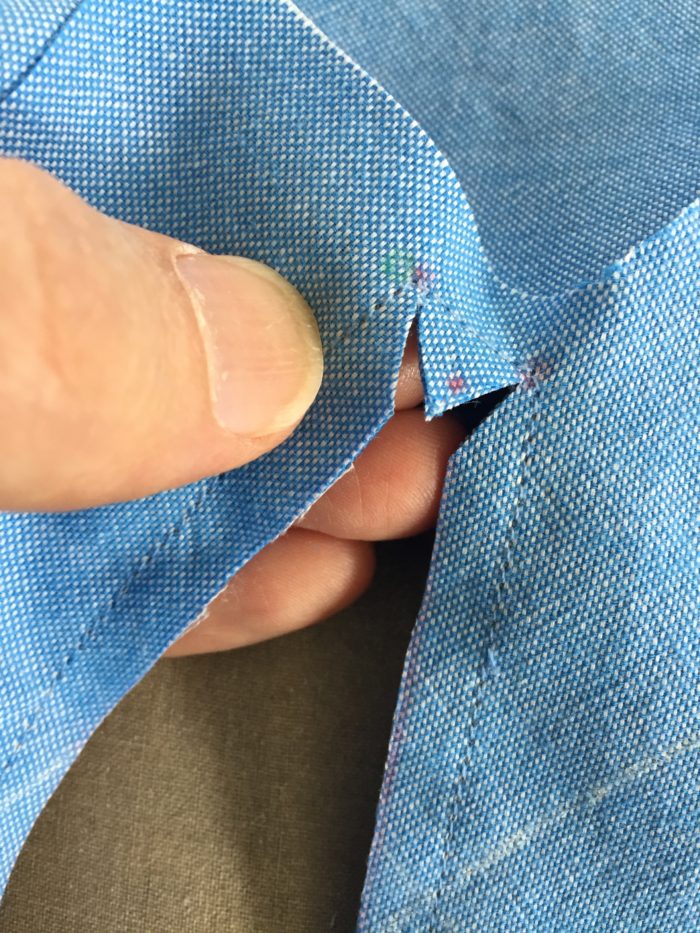
With sharp-pointed scissors, slash up the red line. Roughly 3/8 inch below the two red dots, cut a V shape, up to but not through the stitch line.
Before turning the placket to the right side, make two 3/8 inch folds on each long edge of the placket.

Make an additional 3/8-inch fold on the outside edge of the peaked roof.

Turn the sleeve over and gently fold the placket to the right side. If the top corners of the open rectangle do not flatten easily, clip closer to the red dots.

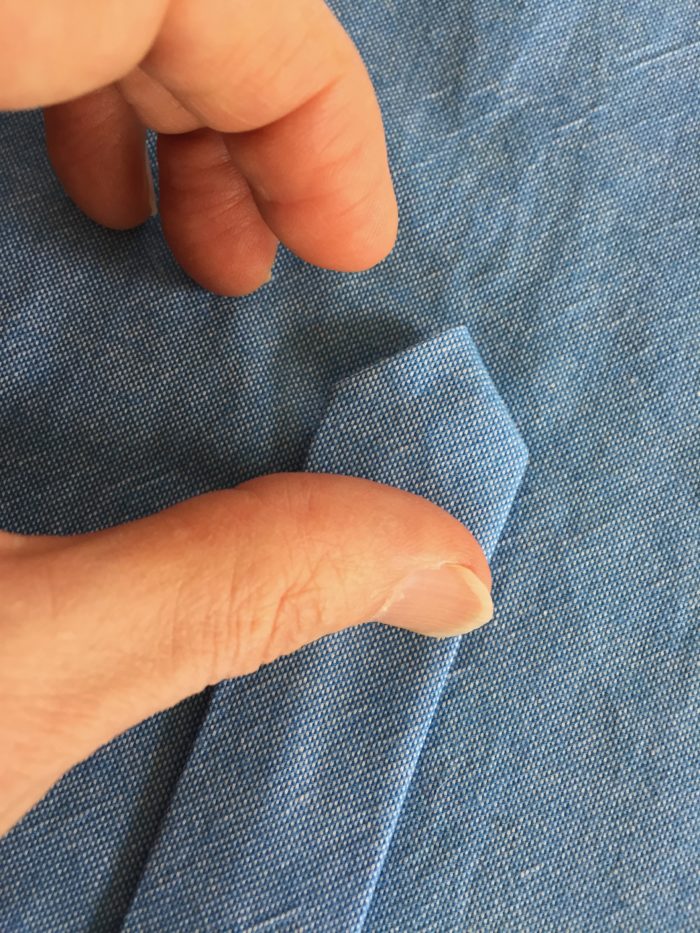
It’s time to fold the placket underlap side (the side closer to the back sleeve edge). You’ve already folded the outer edge under 3/8 inch. Finger-press the placket underlap into position so that it’s 1/2 inch wide.

Edgestitch the outer edge of the fold.
Next, fold the peaked roof side, which will become the placket overlap. This will fold toward the left, and is positioned atop the placket underlap. Remember, the placket overlap is 1 inch wide.
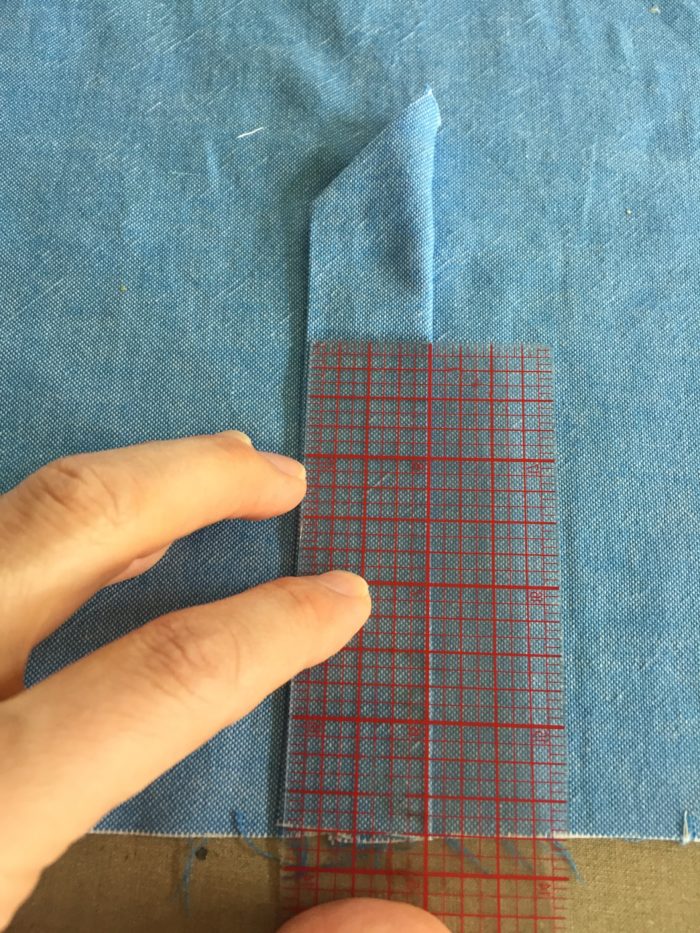
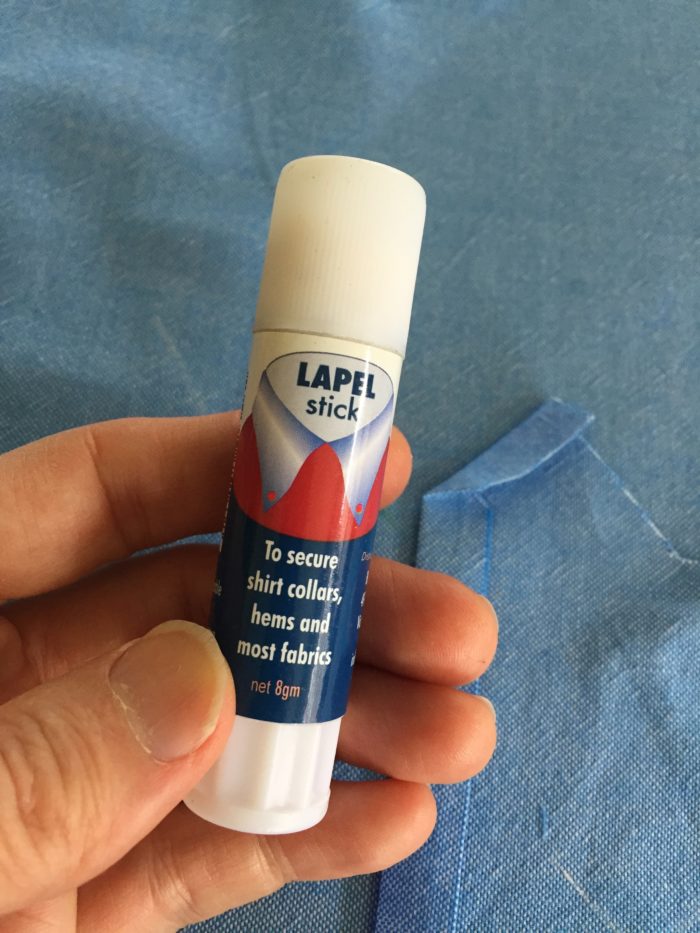
We must now fold the peaked roof edge down (the right edge in the photo above) to match the left side. A ruler helps. The peak of the roof should be exactly at the center of the placket or 1/2 inch from either edge. Press as you go. If the peaked roof doesn’t stay in place with steam, a glue stick applied to the wrong side of the fabric can help.
To edgestitch around the upper placket, first turn the sleeve wrong side up. There is a vertical fold at the top of the underplacket. Inside this fold is the V-shaped fabric above the slash line cut earlier.
We need to stitch a horizontal line just above this fold, which will also hold the upper placket in place. If we stitch below this line, the V-shaped piece of fabric can come out. By stitching just above it, it will be anchored. You can feel this bit of bulk from the right side of the placket. Insert a pin from the right side just above the fold. Check that it’s correctly in place. This pin marks the horizontal stitch line.
Starting at the folded raw edge of the placket overlap, edgestitch horizontally, then up along the edges of the peaked roof, and back down, securing the outer fold to the sleeve.
Note: Make sure you are not stitching down the opening of the placket and are stitching the folded-under raw edge.

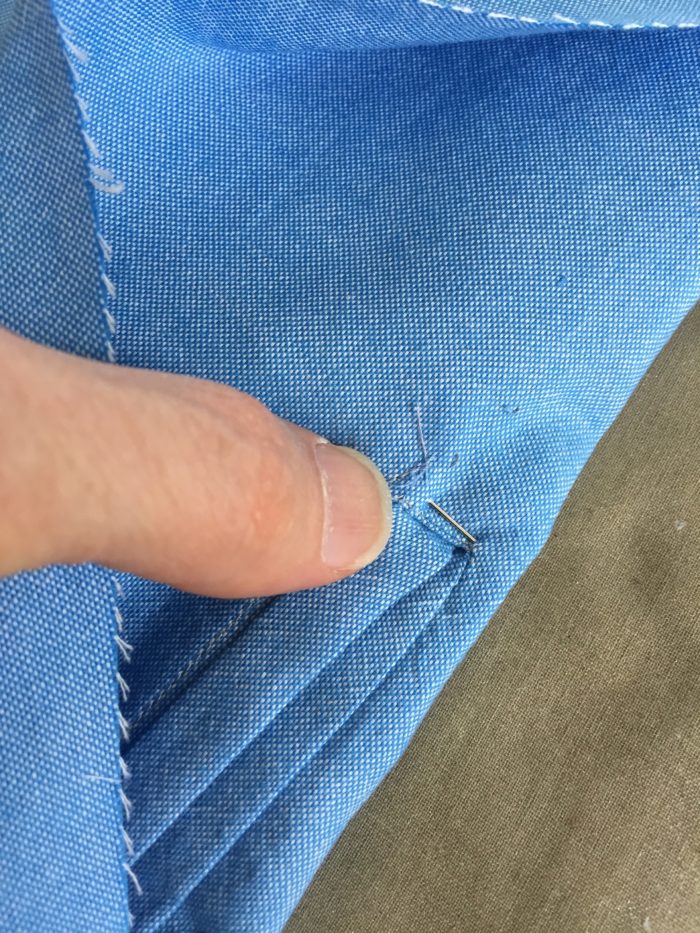
After stitching is completed, lift the placket overlap. The placket underlap is just below it, offset slightly from the overlap’s edge, and the horizontal stitch line catches the V in the fold.
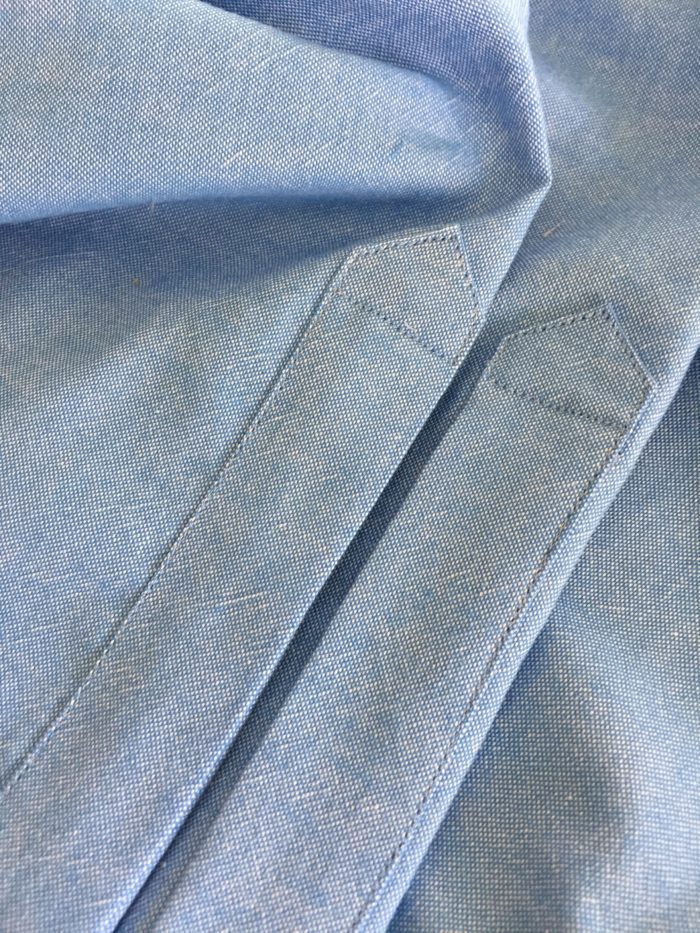
This completes the left sleeve placket. The right sleeve placket is created following the same method and is a mirror image of the left placket.
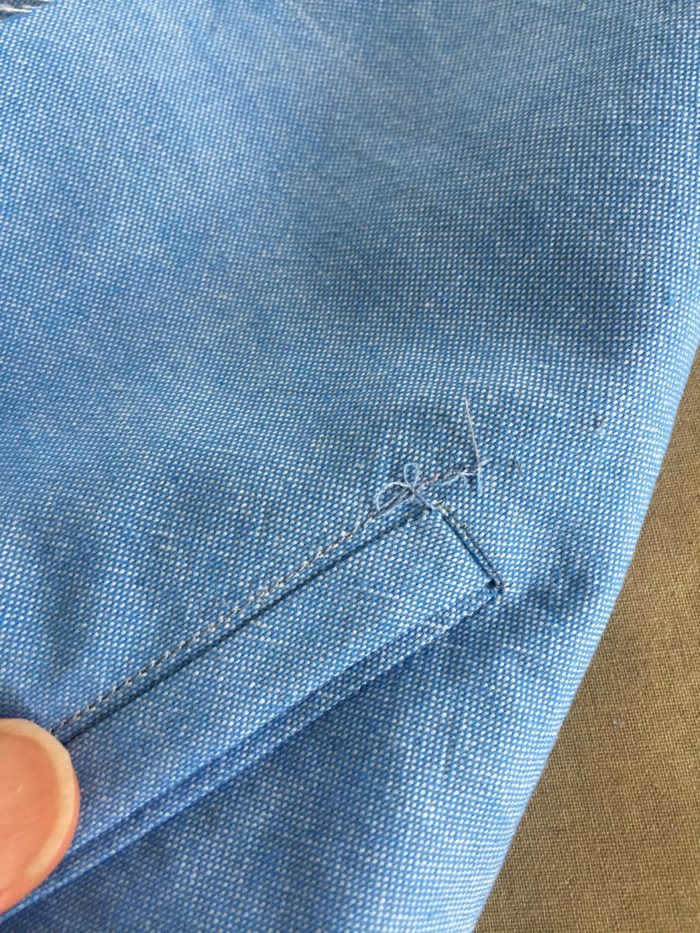
When you’re finished, compare right and left plackets. They should be identical.
Give yourself a hand.


Looks a lot like David Coffin's method, from his shirt making book, which is also really great. I thought that was also posted by Threads before too?