Q&A: Buttonhole Orientation
What is the correct orientation for buttonholes? Louise Cutting provides the answer.
Q: Which way should buttonholes be placed, vertically or horizontally? I’m making a shirtdress of my own design and can’t decide.
—Donna Drake, Van Nuys, California
A: Pattern designer and Threads Contributing Editor Louise Cutting replies:
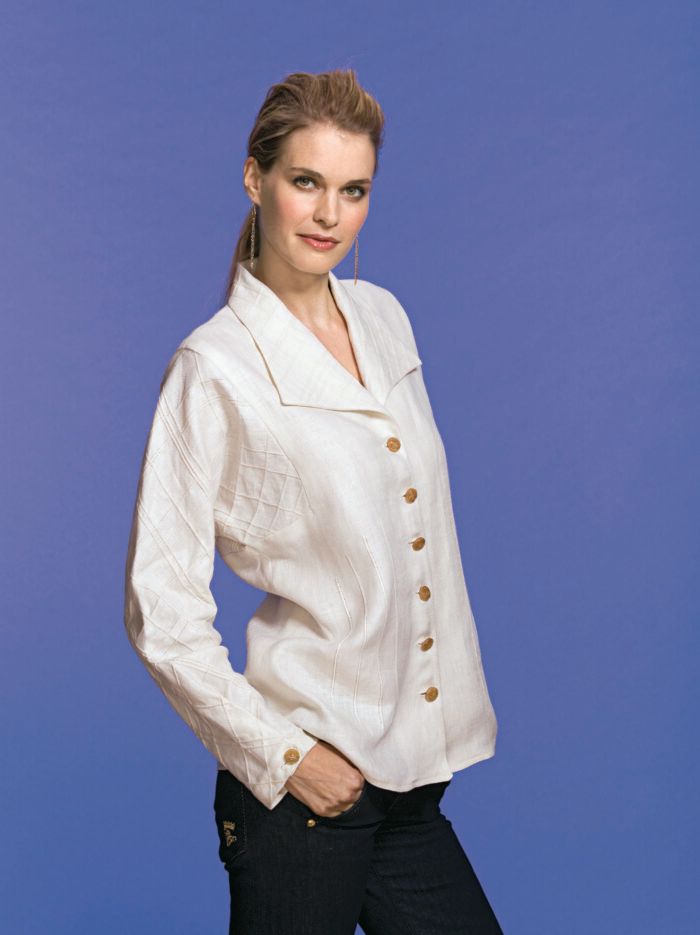
What is the correct orientation for buttonholes? It depends. On a men’s-style shirt with a tab front (a placket that is edgestitched on each vertical side), the buttonholes are oriented vertically to fit within the tab’s narrow width. All other shirts, blouses, dresses, and button-front skirts should have the buttonholes placed horizontally. The button will slide toward the buttonhole end closer to the garment center and not slip out. These days, nearly all ready-to-wear garments have vertical buttonholes, maybe because it looks sportier or because it’s easier in manufacturing to position buttonholes this way as the garment moves through the sewing machine.
I recommend placing the main button and buttonhole at the bust-point level to prevent gaping there. Space the remaining buttons above and below. It is acceptable in a garment with a collar band for the topmost placket button to sit closer to the collar. Spacing buttons about 2-1/2 inches apart helps to prevent gaping. Purchased clothes often have wider spacing, as a cost-cutting measure; don’t scrimp on your sewn garment.
When you sew horizontal buttonholes, be sure to place them the correct distance from the garment’s opening edge. Position the end that is closer to the edge at a distance equal to the button’s diameter minus 1/8 inch. When the garment is closed, the buttons sit comfortably away from the edge.


Log in or create an account to post a comment.
Sign up Log in