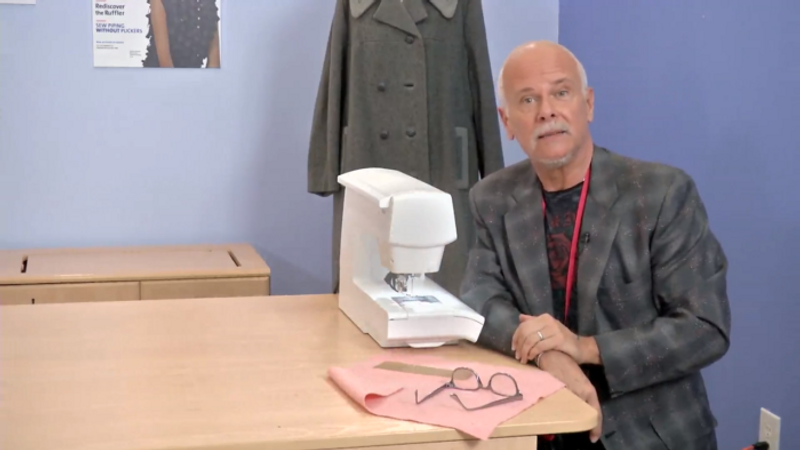
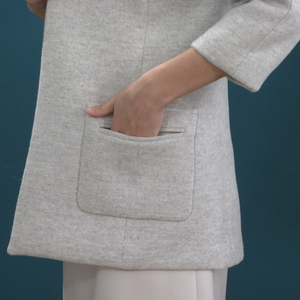
Threads Contributing Editor Kenneth D. King demonstrates the patternwork and sewing involved in creating a pocket welt with hidden mitered ends. This is a single-welt pocket in which the welt’s seams have been cleverly shifted from the edges, where they create unwanted bulk, to the underside. This creates a flatter, more balanced welt.
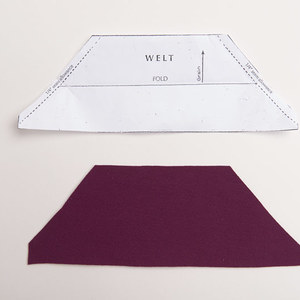
Create the welt pattern
Kenneth starts by describing how this pocket welt differs from a classic pocket. Then he provides an overview of the patterns required to make his version.
To demonstrate making the pocket welt pattern, Kenneth works on a piece of graph paper. By manipulating this pattern, he shows how to create a mitered end seam for the welt, to replace the original end seams.
Prepare the welt
Trace the welt pattern onto silk organza. Then cut hair canvas the size of the finished welt; shave a sliver off the long edge to accommodate the turn of cloth.
Zigzag-stitch the canvas to the organza, then lay this unit on the fashion fabric’s wrong side, with the canvas side up.
Hand-sew the organza to the fashion fabric along three sides with a running stitch. Machine-sew the remaining side.
Kenneth then shows how to fold, sew, trim, and press the welt seams to create the finished welt, ready for attachment to the garment.
Construct the welt pocket
The pocket bag front and back are cut as a single unit, and you’ll sew the welt, right side up, on the pocket’s fold, right side up. Kenneth offers tips for getting an application that’s durable and accurate.
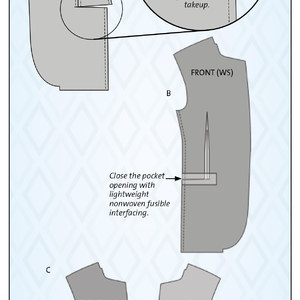
Then it’s time to attach the welt/pocket-bag unit to the garment. It’s important to stabilize the pocket location first, with a strip of fusible, nonwoven interfacing on the wrong side. Mark the pocket location with tailor’s tacks.
Kenneth shows how to properly position the welt on the garment’s right side, so you can pin and then baste it in preparation for machine sewing. His method for machine sewing eliminates the chance of a fabric bubble forming in the pocket lining. He suggests using a generic zipper foot for these steps, to provide greater control. Some of the stitching can be fussy, and he explains how to achieve a professional-looking finished welt pocket.
Once the pocket unit has been attached to the garment, you’ll cut the opening. Begin by cutting through the pocket bag’s center fold, and then through the outer fabric, in separate steps. Then cut through all the layers, all the way to the end stitching.
Pull the pocket bag sides through the opening to the garment’s wrong side, and press all the seam allowances toward the pocket bag. Then pin and sew the pocket bag’s outer edges, beginning and ending as close to the welt as possible.
Finally, sew the welt ends to the garment’s right side. Kenneth uses a cross stitch and sews from the wrong side. Working by feel, stitch through the layers to catch the welt end without letting any stitches go through to the garment or welt right side. On outerwear that requires extra durability, you can alternatively topstitch the ends by machine.




Excellent instruction. I will certainly try this on my next jacket. Thank you Mr. King.
Timely video! My next step in pocket "skills" is the welt pocket. So glad I checked this out! Easy!
I completely wrecked a skirt because I could not get the welt pockets to work, and boy, once you've cut that fabric - yikes! Thank you for this; it looks like it is certainly worth practicing, too.
I believe this welt pocket was originally taught by Judy Barlup, as part of her Japanese tailoring instructions.