

Creating a Beautiful Shirt Hem
Five methods for finishing a shaped, or curved, shirt hem
Since shirttails are usually tucked into pants and not visible, how important is the shirt hem? My answer: very!
As one of the last steps in the shirtmaking process, hemming is easy to neglect. Having made hundreds of men’s shirts, I know that by the time I am ready to hem, I am often not sewing at my best, and I’m eager to be finished.
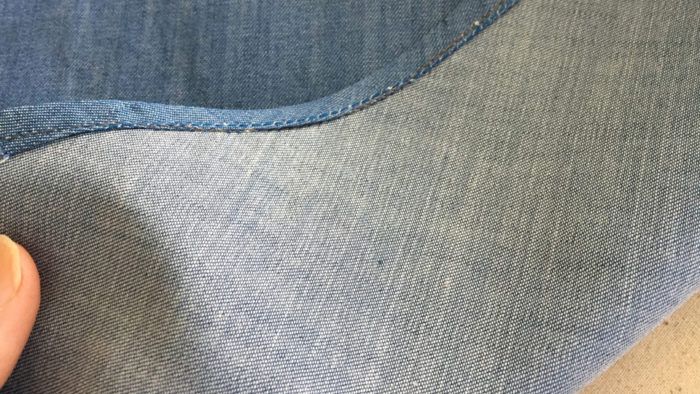
I want to share a number of methods I use to achieve the best look possible on the shaped hem of a dress shirt. A straight hem is easy to achieve. Hems with deep curves present challenges, though. Like all fabrics cut on the bias, curves are prone to stretching. Even on ready-to-wear shirts, it’s common to find a wavy, uneven-looking hem. That’s a clear sign the bias edges have been stretched more than they should have been.
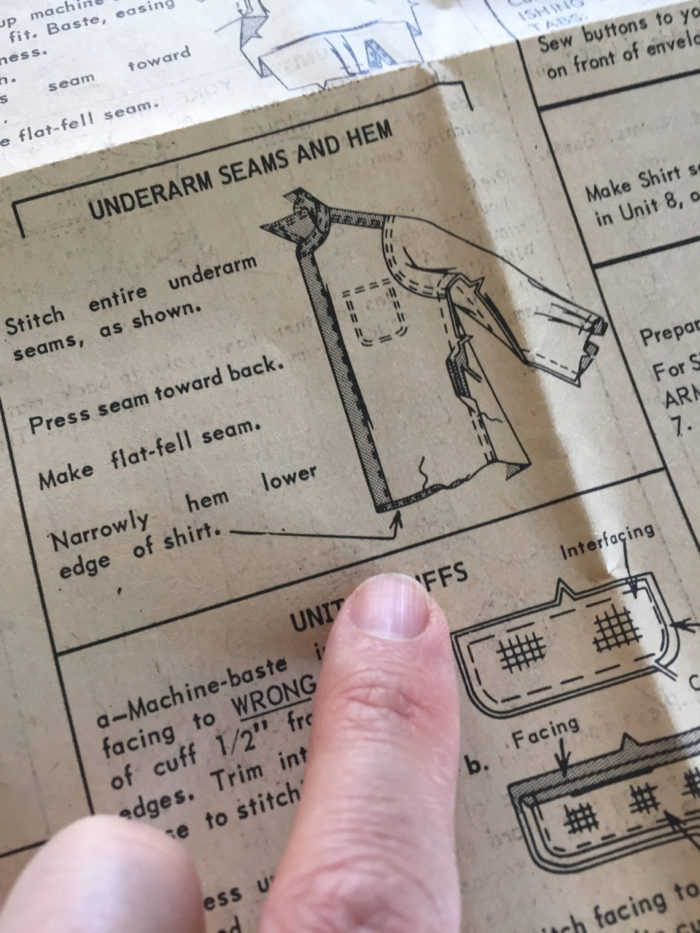
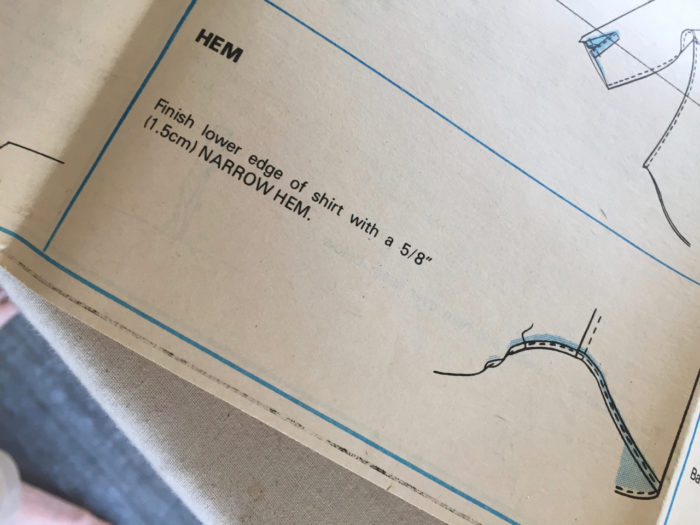
Sewing pattern instructions are often vague about how to hem shirttails. They may tell you to fold the bottom edge twice at various widths, but they rarely offer tips to getting a clean result.

Regardless of the method used to finish the hem, a few steps are always necessary. You must check to make sure the front placket (where the buttonholes are placed) and the underlap (where the buttons are attached) are the same length. The placket side (the left side of a men’s shirt, the right side of a women’s) can be 1/8 inch longer since it will be lapped on top, but it must never be shorter. I like to hem the shirt only after the buttonholes are made and the buttons attached.
Quick-and-easy method: serging and turning
I rarely rush through my sewing projects, but occasionally I just…
Start your 14-day FREE trial to access this story.
Start your FREE trial today and get instant access to this article plus access to all Threads Insider content.
Start Your Free TrialAlready an Insider? Log in


Great advice.
I have also had success using wash away fusing tape to glue down the final turned edge. Then you don't have to remove pins and the layers don't shift.
That's an excellent idea -- thanks for sharing it!
I wish you had explained in more detail the tricky part of stitching the hem over the side seams as, even with just a serged edge, it is very difficult to keep that area consistent with the rest of the hem. Something I still struggle with so simply avoid curved shirt hems.
You can try a few things if that area is giving you trouble: use some fusi-web double-sided fusible in the area first, pin the thick part carefully before sewing, or -- easiest of all -- trim away some of the bulk before stitching, being sure, however, that the trimmed area will not be visible after hemming.
I’ve been sewing shirts and their hems for many years, and the quickest and best method I have found is a modification of your first technique. Yes, do a three thread, narrow serge of the hem first as you explained, but then turn twice as narrowly as possible (usually a fraction less than a 1/4”) and edge stitch on the wrong side. Since the raw edge has been beefed up with serging and the fold is narrow, there will be minimal stretching and distortion at the curvy parts of the hem, making for a flat and pucker free result.