Basics of Sewing Patch Pockets
Best practices for smooth, sturdy results
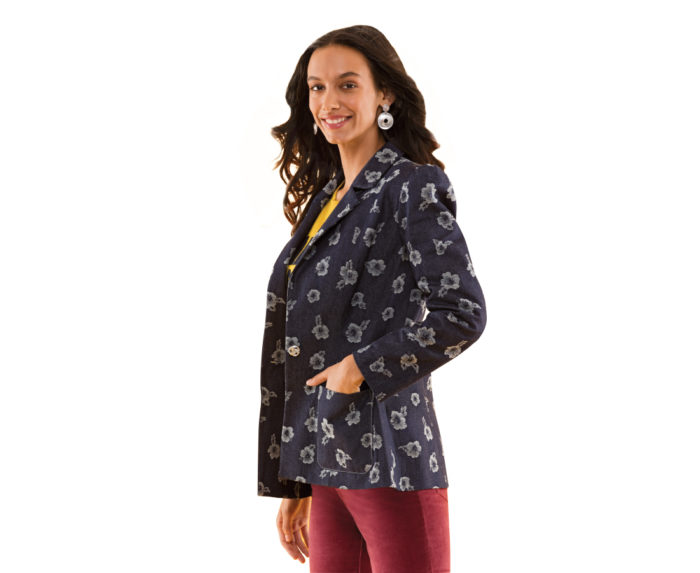
Patch pockets grace every style and type of garment—shirts, jackets, skirts, and pants. They appear on tops, bottoms, fronts, backs, and sides. Patch pockets are popular, and they may seem simple. It takes practice, however, as well as a few methods not typically taught in pattern guide sheets, to sew them so they do not look homemade.
A typical commercial garment pattern provides a single pocket pattern piece. You attach the fabric pocket to the garment by topstitching along three sides of the pocket. You must mark the pocket placement on the garment, finish the top edge of the pocket, then sew the pocket to the garment.
I have tips and enhancements for each stage of pocket application. I’ll show you how to achieve results that look better than ready-to-wear. The pockets are symmetrical, precisely placed, and precisely topstitched. For beautiful, fuss-free patch pockets, read on.

Prepare the pieces
If your garment requires two patch pockets, one on each side of a shirt or jacket for instance, both pockets should be created at the same time and compared before they are placed on the garment. Here is how to cut and fold each pocket before it is topstitched in place.
Start your 14-day FREE trial to access this story.
Start your FREE trial today and get instant access to this article plus access to all Threads Insider content.
Start Your Free TrialAlready an Insider? Log in


Log in or become a member to post a comment.
Sign up Log in