

Construct a Flawless Collar Band

Collar bands on garments are prominent and should be sewn perfectly. For me, attaching a collar band is like building a house. The shirt is the foundation, the collar band is the walls, and the collar is the roof.
The problem with commercial patterns is that they often have you sew the collar band to the collar before attaching the shirt. This makes it hard to trim the excess fabric from the curves after it is sewn. And if too much fabric is removed before sewing it to the shirt, it ravels. With this method, the collar band is sewn to the shirt first, and all the excess material can be cut away.
While similar techniques have been used by many notable sewers, I wasn’t fully satisfied with their methods when I taught them in a sewing class. After seeing what the students came up with, I continued to refine these techniques until I discovered a foolproof method. Here’s a streamlined way to construct a banded collar completely by machine to achieve professional-looking results.
Prepare to sew
Before you begin sewing, apply interfacing to the collar band, accurately transfer all pattern markings, and mark the end curves. Preparation is key for sewing the collar band properly.
1 Interface the upper- and undercollar bands. Place each collar band wrong side up on the ironing board and compare them to the pattern piece. Fix any discrepancies before interfacing the bands’ wrong sides.
2 Transfer the pattern markings. Mark dots and clip according to the pattern.

3 Mark end curves between the dots. Use a curved ruler or pocket template (CuttingLineDesigns.com) to draw the collar band front end curves on collar bands at the stitching line.
Attach the band
It is time to attach the collar band pieces to the…
Start your 14-day FREE trial to access this story.
Start your FREE trial today and get instant access to this article plus access to all Threads Insider content.
Start Your Free TrialAlready an Insider? Log in


THANK YOU Louise; clear (as usual) instructions. I've always loved your patterns and instructions.
Patti
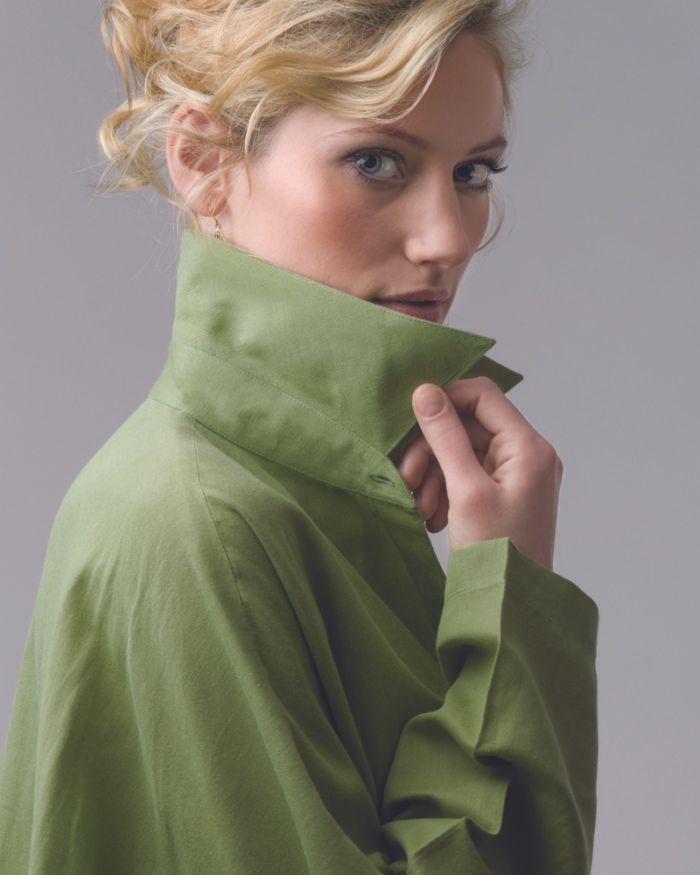
Louise could you help me by suggesting ways to get a collar to stand up at the back (rather like the green image in your article) so that I have a sort of fifties look with the wings opening at the front? I love that crisp college girl look, even though I'm decades away from college!
I'm guessing that I would have to insert boning/collar stays to keep the back of the collar up. Any help would be very much appreciated.
Brenda in Hong Kong
What a convoluted way to attach a collar. The section where the collar and band meet could be very messy if not an experienced machinist. It could look worse than a corner on the band. Try altering the pattern so that the collar band end is almost at right angles to the neck, this shape allows more room to tuck in fabric, gives a better corner and allows the collar room to fold well. Using 0.5mm seams on curved edges and a smaller stitch on curves gives a good result.
Dear Brenda,
Sorry it has taken so long to get back here...hope you check back and find this answer.
I have the collar pattern piece in my Cutting Line Design Patterns. It is cut all in one...upper and under collar are one very long piece and the entire collar is interfaced using a light weight fusible. This way there are no seams along the front short vertical edge, removing bulk along that seam and in the collar corners. I wrote an article about how to transform a conventional collar to this way a few issues back.
With changing the collar to this method, the under collar is off grain or to almost bias and has a center back seam...all of this makes it stand up in the back. I too like my collars fliped up...makes the neck look longer and frames the face in color.
As for the sewing method of the collar band and inserting the collar...I have sewn the stand in this way for the past 20 years. I have taught it for an equal amount of time sewing the bands to the garment and inserting the collar between the opening of the outside and inside band.
Every student I had making the sample 'got' it the very first time and had a beautiful curve along the front edge of the band and collar could be inserted exactly between the stitch termination dots at both end of the collar band curves...all is sewn by machine. I learned this method myself from a retired Savile Row shirt maker while taking a master class.
All I can suggest is to try it.
Louise
Very clear description of process and good photos. Thank you, Louise!
Very clear description of process and good photos. Thank you, Louise!
I love this explanation. I am an experienced sewer and this is the best technique I have ever used!! Love the results. Thank you so much!